A cluttered home is exhausting in a way you feel before you can name it: drawers that jam, closets that avalanche, counters buried under stuff. The 30 day declutter challenge is the gentlest fix that actually works — one small, specific task a day for 30 days, starting with easy wins and ending with the rooms that scare you most. By month’s end you will have touched every zone of your home, decided the fate of hundreds of items, and built a habit that keeps going on its own. No marathon purges, no guilt, no buying organizers first.
How the challenge works: rules and mindset
These five rules stop the two things that kill decluttering for beginners: decision fatigue and guilt.
- One task a day, 15–30 minutes. When the task is done, you stop — even if you feel motivated.
- Do the day’s task the day it arrives. Batching turns the challenge into the exhausting weekend purge you are avoiding.
- No buying before purging. Organizers come after you know what you are keeping. A beautiful bin of junk is still junk.
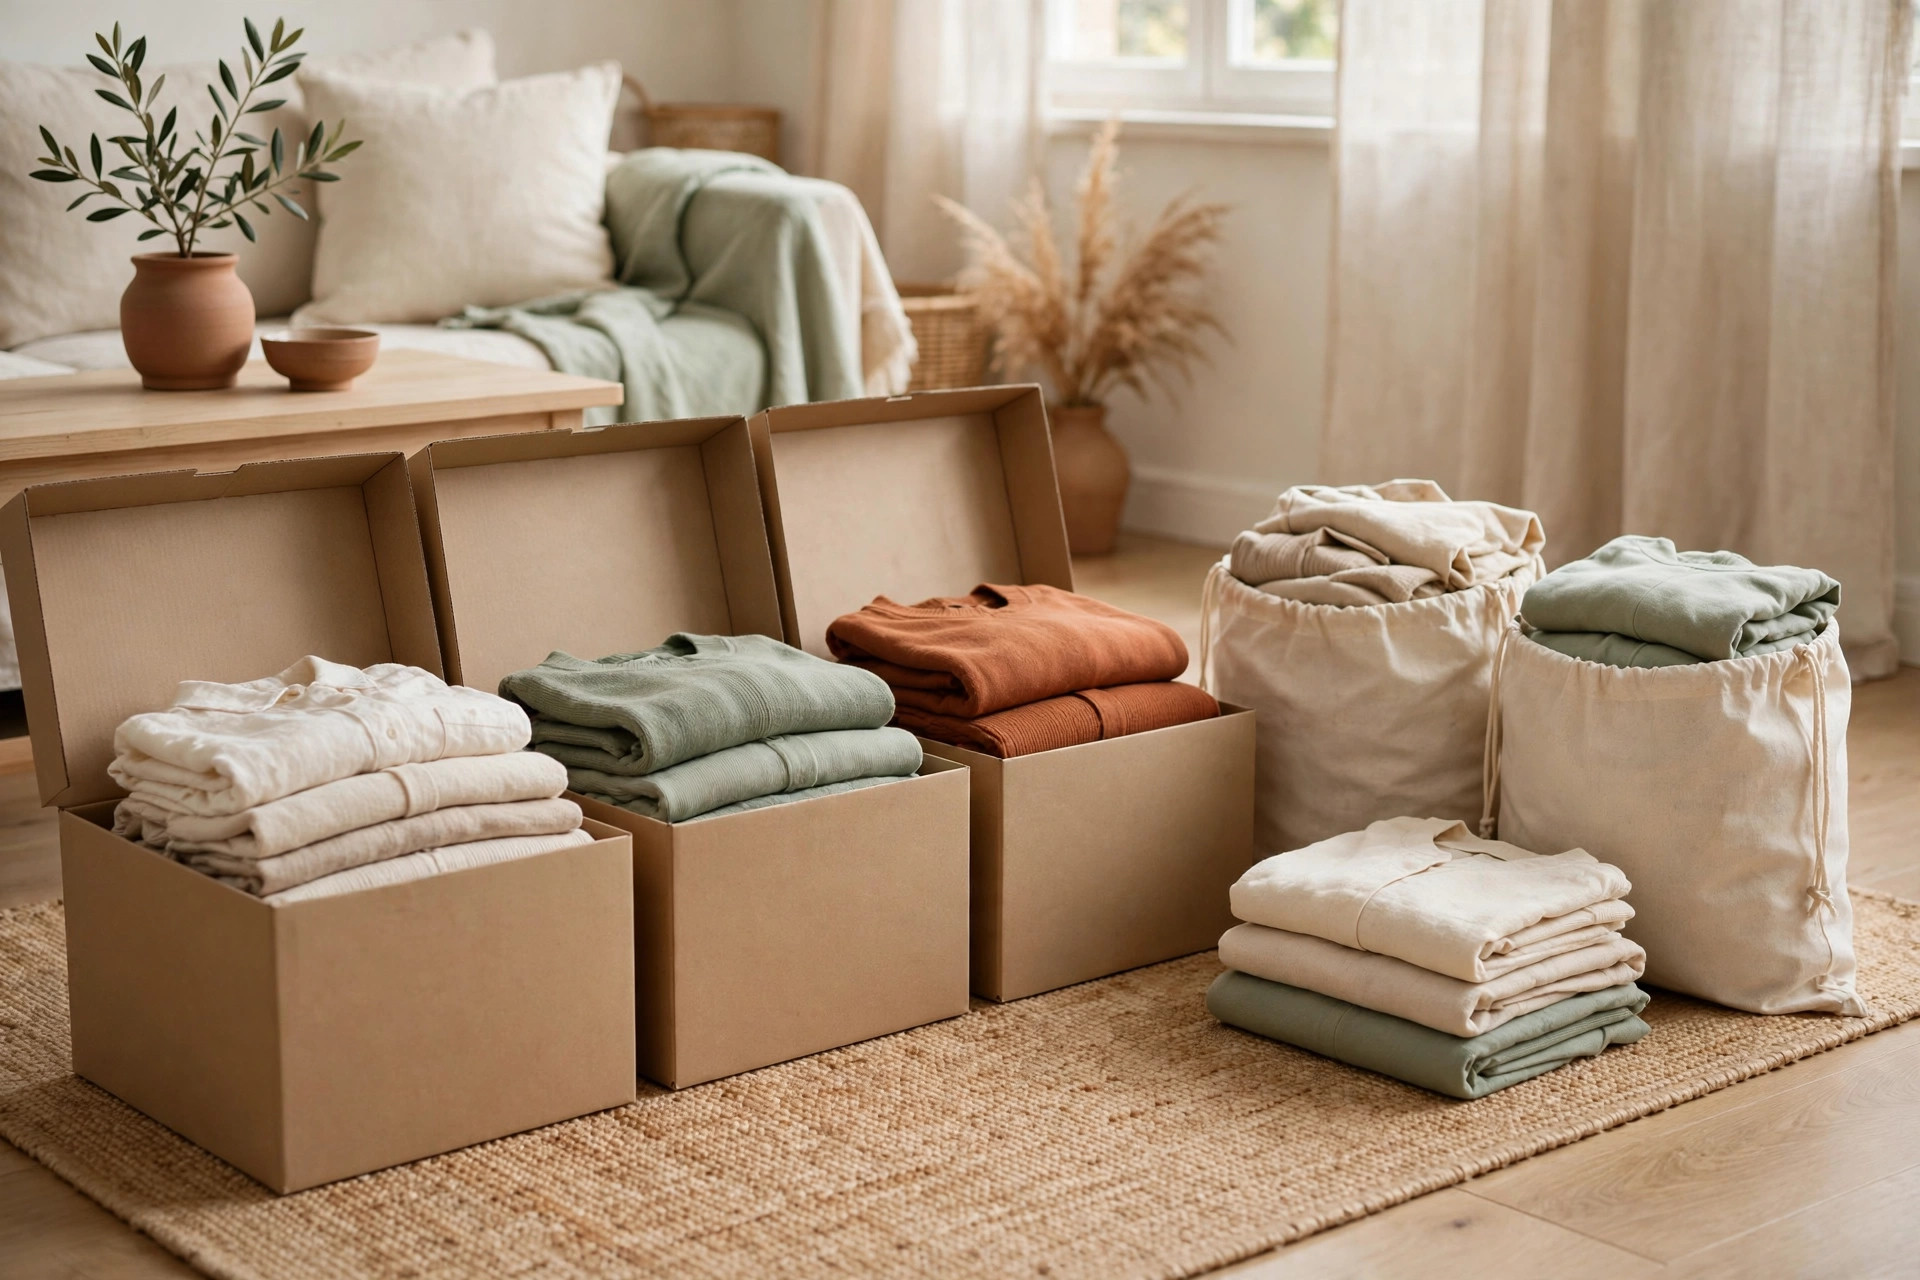
- Four boxes, every day. Keep, Donate, Sell, Trash/Recycle. Everything you touch goes into one. Trash empties daily; donations leave weekly.
- Touch it once. Pick something up, decide its fate before touching the next thing. Decisions, not shuffling.
The mindset: you are not judging past purchases — you are choosing your present space. Sentimental items get their own days (27 and 28), so early guilt gets a simple answer: “not today — that has a day.” Progress is measured in decisions made, not bags filled.
Week 1: Easy wins (drawers, surfaces)
Week one trains your “keep or release” muscle on low-stakes items nobody agonizes over.
1. The junk drawer
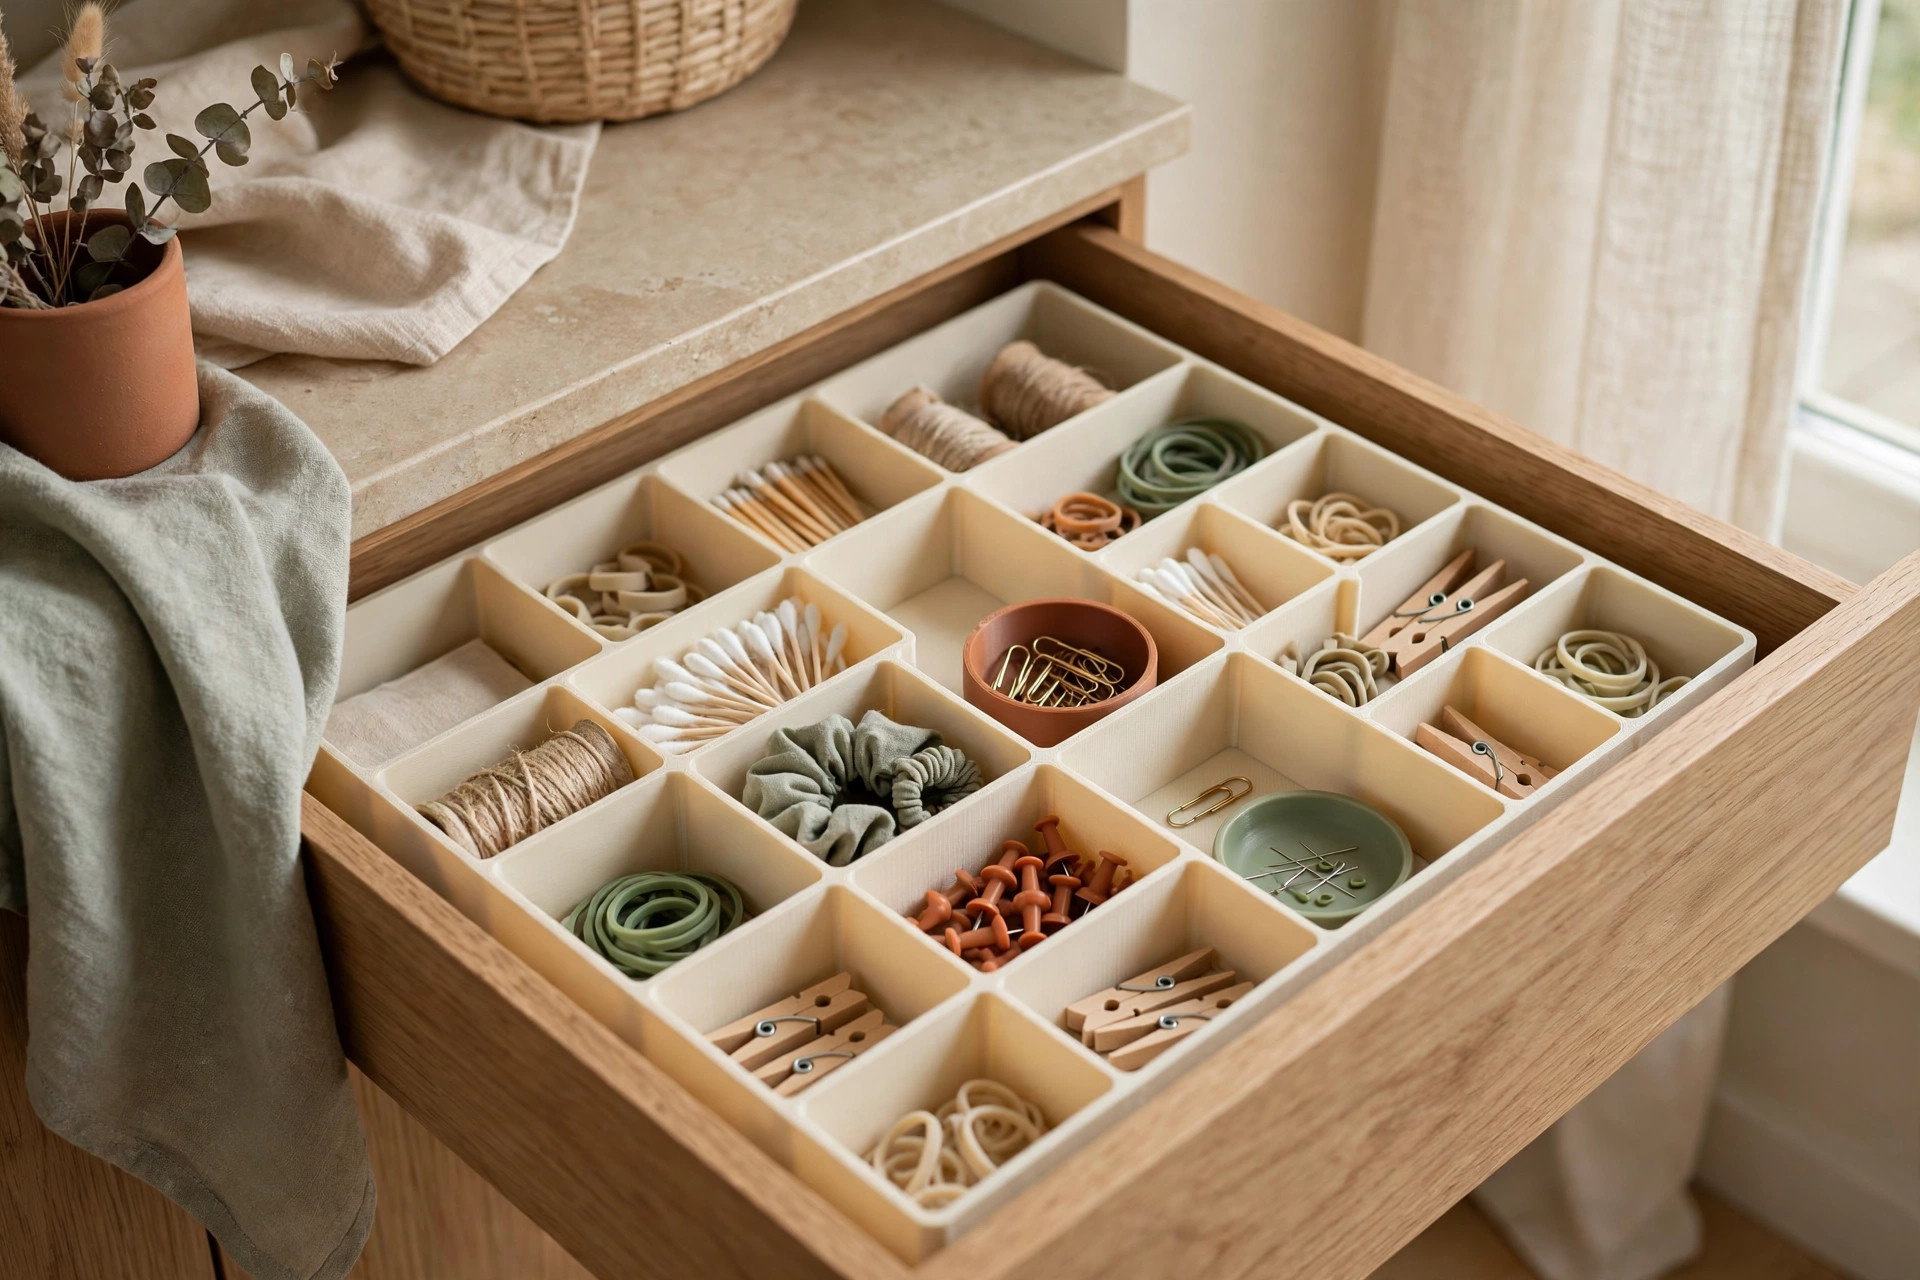
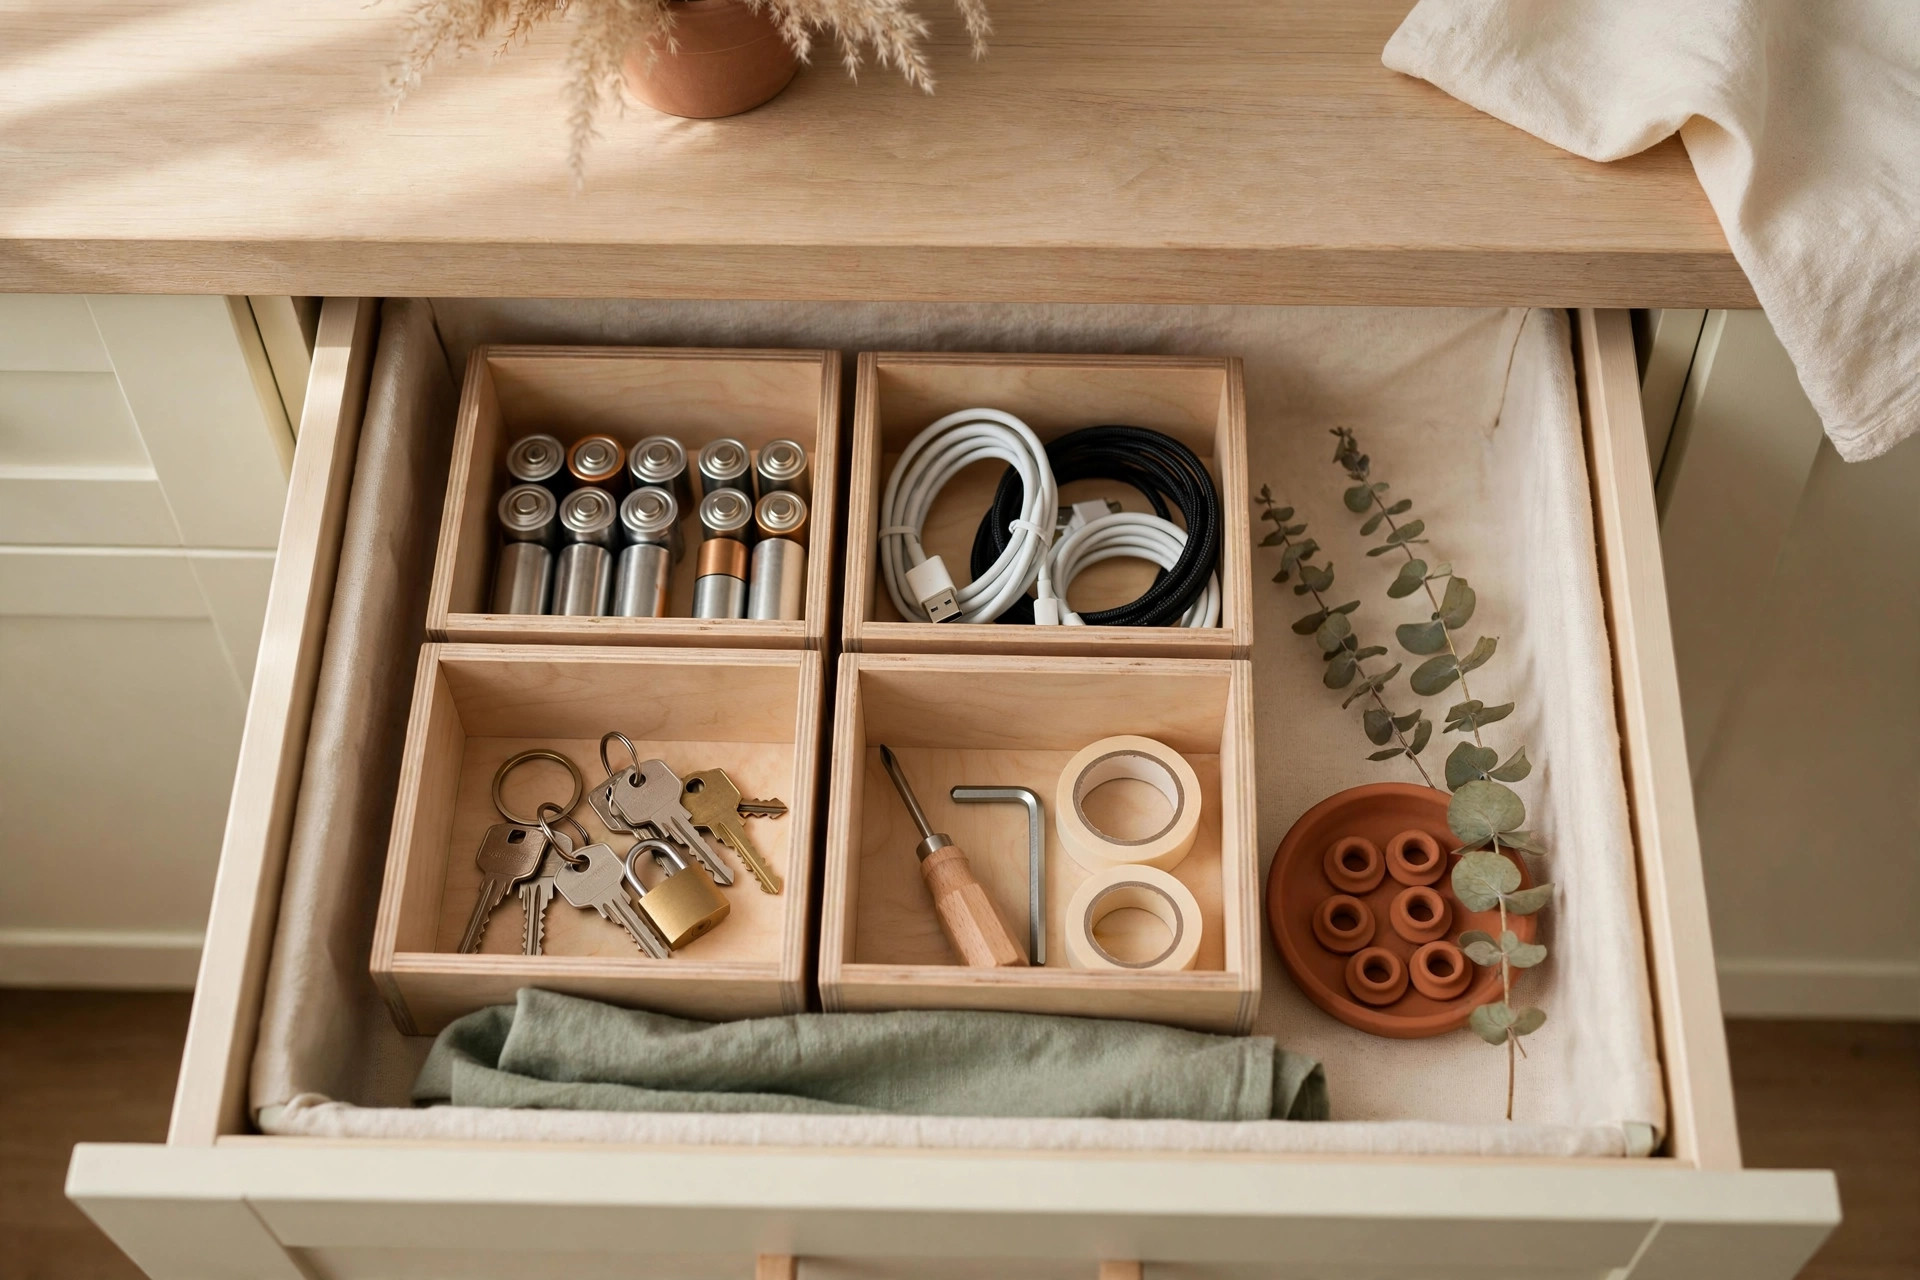
Empty it onto a surface, wipe it out, and return only what you reach for: one working flashlight, unexpired batteries, scissors, a tape measure, one roll of tape. Test every pen — toss the dead ones — with takeout menus, mystery keys, and old batteries.
2. Nightstand and bedside area
Clear the top. Keep: lamp, the book you are reading, a water glass, your charger. Recycle old receipts and magazines older than a month.
3. Bathroom counter
Remove everything, wipe the surface, and return only what you use weekly. Half-empty products you disliked get recycled or used up this week. Corral daily items in one small tray (about 12×8 inches) so the counter cleans in one sweep.
4. Entryway landing zone
Keep one hook per household member for the bag they carry, one pair of daily shoes each, and a small lidded basket for keys and sunglasses. Everything else goes back to its room. Recycle unopened junk mail on the spot.
5. Kitchen counter — visible layer
Remove everything that is not a daily-use appliance. Coffee maker and kettle stay; the bread maker you use twice a year moves to a cabinet or the donate box.
6. Medicine cabinet or under-sink shelf
Take everything out, check dates, and toss expired or unidentifiable items (pharmacies take back old medications). Group what remains — daily meds, first aid, skincare — in small clear bins so everything is visible. The same zone logic applies under the kitchen sink (under-sink guide).
7. Purse, wallet, everyday carry
Dump your bag. Toss expired cards and crumpled receipts; park loose change in a jar instead of back in the bag. Keep only what you used in the last two weeks. Photograph rarely-scanned loyalty cards, then let the plastic go.
Week 2: Closets and clothes
The week most beginners dread — and the one they end up loving, because the results are dramatic.
8. Hanging clothes — the hanger test
Turn every hanger backward today. From now on, re-hang items the correct way after wearing them. Anything still backward at month’s end leaves. For today, remove everything damaged, stained beyond repair, or worn out.
9. Folded clothes: t-shirts, jeans, casuals
Empty one drawer or shelf. Ask each item: does it fit today, is it in good condition, would I buy it again right now? “Maybe” is a no. File-fold what stays so every item is visible — a core technique in 17 Renter-Friendly Closet Organization Ideas (No Drilling Required).
10. Shoes
Line up every pair. Keep what fits comfortably, is in wearable condition, and suits your actual life — not the life where you suddenly start trail running. Scuffed pairs you never fixed: donate or toss.
11. Coats, jackets, outerwear
Try on every coat. Broken zippers, buttons never sewn back on, coats that no longer fit your climate — donate. Keep one heavy coat, one medium jacket, one rain layer per person, plus specialty gear you genuinely use.
12. Accessories: bags, scarves, hats, belts
Spread them all out. Keep what you reach for regularly plus one or two statement pieces you love. Purses with broken straps, single gloves, and belts that no longer fit go. For no-drill storage of what stays, Over-the-Door Organization Ideas for Every Room covers renter-safe hooks and racks.
13. Underwear, socks, sleepwear
Match every pair of socks. Holes, stretched elastic, missing partners — trash. Underwear you would be embarrassed to wear outside the house — same. A drawer of “backup” pairs you never reach for is clutter, not preparation.
14. Drop off donation box #1
Take the Donate box to a charity shop or bin today — mid-challenge, not at the end. Watching the box leave is the reset that carries you through the harder weeks. While you are out: buy nothing “for the challenge.”
Week 3: Kitchen and storage
The kitchen’s clutter is the functional kind: duplicates, single-purpose gadgets, forgotten food.
15. Utensil drawer and cooking tools
Empty the drawer. Keep one of each daily tool — one wooden spoon, one spatula, one ladle — plus your most-used tongs and whisk. Duplicates, melted spatulas, and the avocado slicer go. Simple drawer dividers keep what stays in zones; the same approach in the tiny drawer organization guide.
16. Pots, pans, lids
Pull everything out. If you own six frying pans but reach for the same two, donate the other four. Lids without matching pots get recycled. Warped, flaking, or wobbly handles are a safety decision, not a preference one.
17. Plastic containers and food storage
Match every container to a lid; orphans go immediately. Keep only what stacks neatly — about 6–8 containers in mixed sizes covers a real household. Warped or cracked plastic gets recycled. Containers are cheap; cabinet space is not.
18. Pantry — dry goods and cans
Pull everything out and check dates. Toss expired items, stale open packages, and the specialty flour from one 2024 recipe. Group what remains: breakfast, grains and pasta, canned goods, baking. Decant only into containers you already own — no shopping today.
19. Fridge and freezer
Toss expired condiments, leftovers older than four days, and freezer-burned items you have been avoiding. Wipe one shelf at a time. The freezer rule: if you would not serve it to a guest, it is occupying space actual food needs.
20. Small appliances and gadgets
Gather every small appliance on the counter. Keep what you used in the last 60 days. The bread machine, the yogurt maker, the fondue set — donation candidates. One honest question settles each: “If this broke tomorrow, would I buy it again?”
21. Under-sink and cleaning supplies
Consolidate half-used duplicates into single bottles. Toss anything expired, separated, or unlabeled. Keep a realistic set: all-purpose cleaner, dish soap, one bathroom cleaner, laundry supplies, sponges.
Week 4: Rooms and sentimental items
The final week: big rooms plus the emotionally hard stuff — paper, photos, keepsakes.
22. Bedroom — surfaces and under-bed
Clear dresser tops, shelf tops, and any chair that became a clothing rack. Then pull out every under-bed box: out-of-season clothes skipped in week 2 get decided now; gift bags and old magazines recycle.
23. Living room — shelves, media, decor
Keep what you genuinely like looking at; dusty figurines and books you will never reread go. Sort remotes and media into one basket. If your living room doubles as other zones, the zoning ideas in Studio Apartment Organization: How to Create Zones in One Room work in any shared space.
24. Linen closet and towels
Two sheet sets per bed plus one guest set is plenty. Towels: two bath towels per person plus a couple of spares. Threadbare or stained towels retire to cleaning rags or textile recycling. Fold everything the same way so stacks stay tidy.
25. Home office or desk area
Recycle dead pens and finished notebooks. Shred or file loose paperwork (day 29 handles the real paper pile). Keep one working pen set, the notebook in use, and current chargers — one cable of each type. Coil cables with a simple tie.
26. Kids’ toys and games
Sort together if kids are old enough: keep, donate, broken. Broken and missing-piece sets go. Maintenance rule: for every new toy arriving, one leaves. Fewer visible toys means longer play — rotate rather than displaying everything.
27. Photos and memorabilia — first pass
Set a 30-minute timer. Keep photos that make you feel something; recycle blurry duplicates and near-identical shots. Keep the small representative keepsake — the concert ticket, not the whole shoebox of stubs.
28. Sentimental items — final decisions
Return to the “decide later” box from day 27. Keep what you would genuinely miss if it vanished; photograph what you want to remember but not store. Display one or two true treasures — a kept item you never see is barely kept.
29. The paper purge
Gather every paper pile: mail, school papers, manuals, old bills. Shred or recycle what you do not need. Keep one “action” folder for this month’s bills and one archive box for tax documents and vital records. Open mail over the recycling bin from now on — decide once, at the door.
30. Final sweep and reset
Walk every room with a trash bag and your four boxes. Catch stragglers: the broken hanger, the dried-out marker, the shirt that survived week 2 but bothers you now. Wipe the cleared surfaces. Then stand in your doorway and look at your home with fresh eyes — this is the moment the month was for.
What to do with the piles: donate, sell, trash
Donate: Charity shops and shelters accept clothes, kitchenware, books, and small furniture in clean, working condition — most recycle textiles they cannot sell, so even worn clothes go. Drop off weekly; never let the Donate box become furniture.
Sell: List only items worth at least $20 that are easy to ship or pick up — furniture, tagged name-brand clothes, working electronics. Anything smaller is not worth the effort; donate it. The U.S. EPA’s guidance on reducing waste through donation and reuse is a good reminder that keeping usable goods in circulation beats the landfill.
Trash and recycle: Broken, stained, or worn-out items are trash — donating garbage is not generosity. Check your city’s rules for electronics, batteries, and hazardous waste; most run free drop-off days. Old medications go to a pharmacy take-back program, never down the drain.
Mistakes to avoid
Buying organizers first. Containers are the reward for a finished purge, not the starting tool. Measure cleared spaces after week 3, then buy exactly what fits — one trip, one list.
Starting with sentimental items. Beginning with grandmother’s letters guarantees you quit by day 3. Photos and keepsakes sit at days 27–28 on purpose: your decision muscle is strongest by then.
The “maybe” pile. A maybe pile is clutter with a new name. Beginners do not get one — every item gets yes or no.
Decluttering someone else’s stuff. Do not touch your partner’s or kids’ belongings without them. Declutter your zones, model the calm, let them join when ready. Forced purges create resentment, not order.
Confusing organizing with decluttering. Rearranging clutter into prettier piles is not this challenge. If your home’s item count has not dropped, you organized — and the relief will not last.
Doing it all in one weekend. Marathon purges end in exhaustion and a half-finished mess. Thirty small days beat two heroic ones, because the habit — not the event — keeps the house clear.
Frequently asked questions
How long does the 30-day declutter challenge take each day?
Most days take 15 to 30 minutes — that is the whole point. Each task is scoped to one drawer, shelf, or category so it fits a normal evening. Final-week tasks on paper and sentimental items can run closer to 45 minutes.
Can I do this challenge in a small apartment?
Yes — it works even better in a small space, because every cleared surface is proportionally more visible. If a task mentions a room you do not have, apply it to the equivalent zone: no linen closet means your towel shelf; no garage means your entry closet.
What if I fall behind a few days?
Do not “catch up” by doubling tasks — that turns the challenge into the marathon you are avoiding. Resume with today’s task and let the missed ones go, or tack them onto the end as bonus days. A 34-day challenge you finish beats a perfect 30-day plan you abandoned on day 9.
Should I declutter room by room or category by category?
This challenge mixes both: weeks 1 and 3 lean category-based, which prevents the “half of every room is done” problem, while week 4 does full rooms. For beginners, category-first is easier because it limits decisions to one type of item at a time.
Do I need to buy anything to start the challenge?
No. You need four boxes or bags you already own — Keep, Donate, Sell, Trash — and a trash bag. Buy storage products only after you finish purging and measure cleared spaces, so every purchase solves a real, known problem.
Conclusion
Thirty days, thirty small tasks, one calmer home. You started with a junk drawer and ended with the sentimental boxes — and somewhere in the middle, decluttering stopped feeling like a project and started feeling like a habit. Keep the four-box system, keep the weekly donation drop-off, and keep the one-in-one-out rule for everything new. Save this pin for later, and explore more ideas in the storage ideas collection.