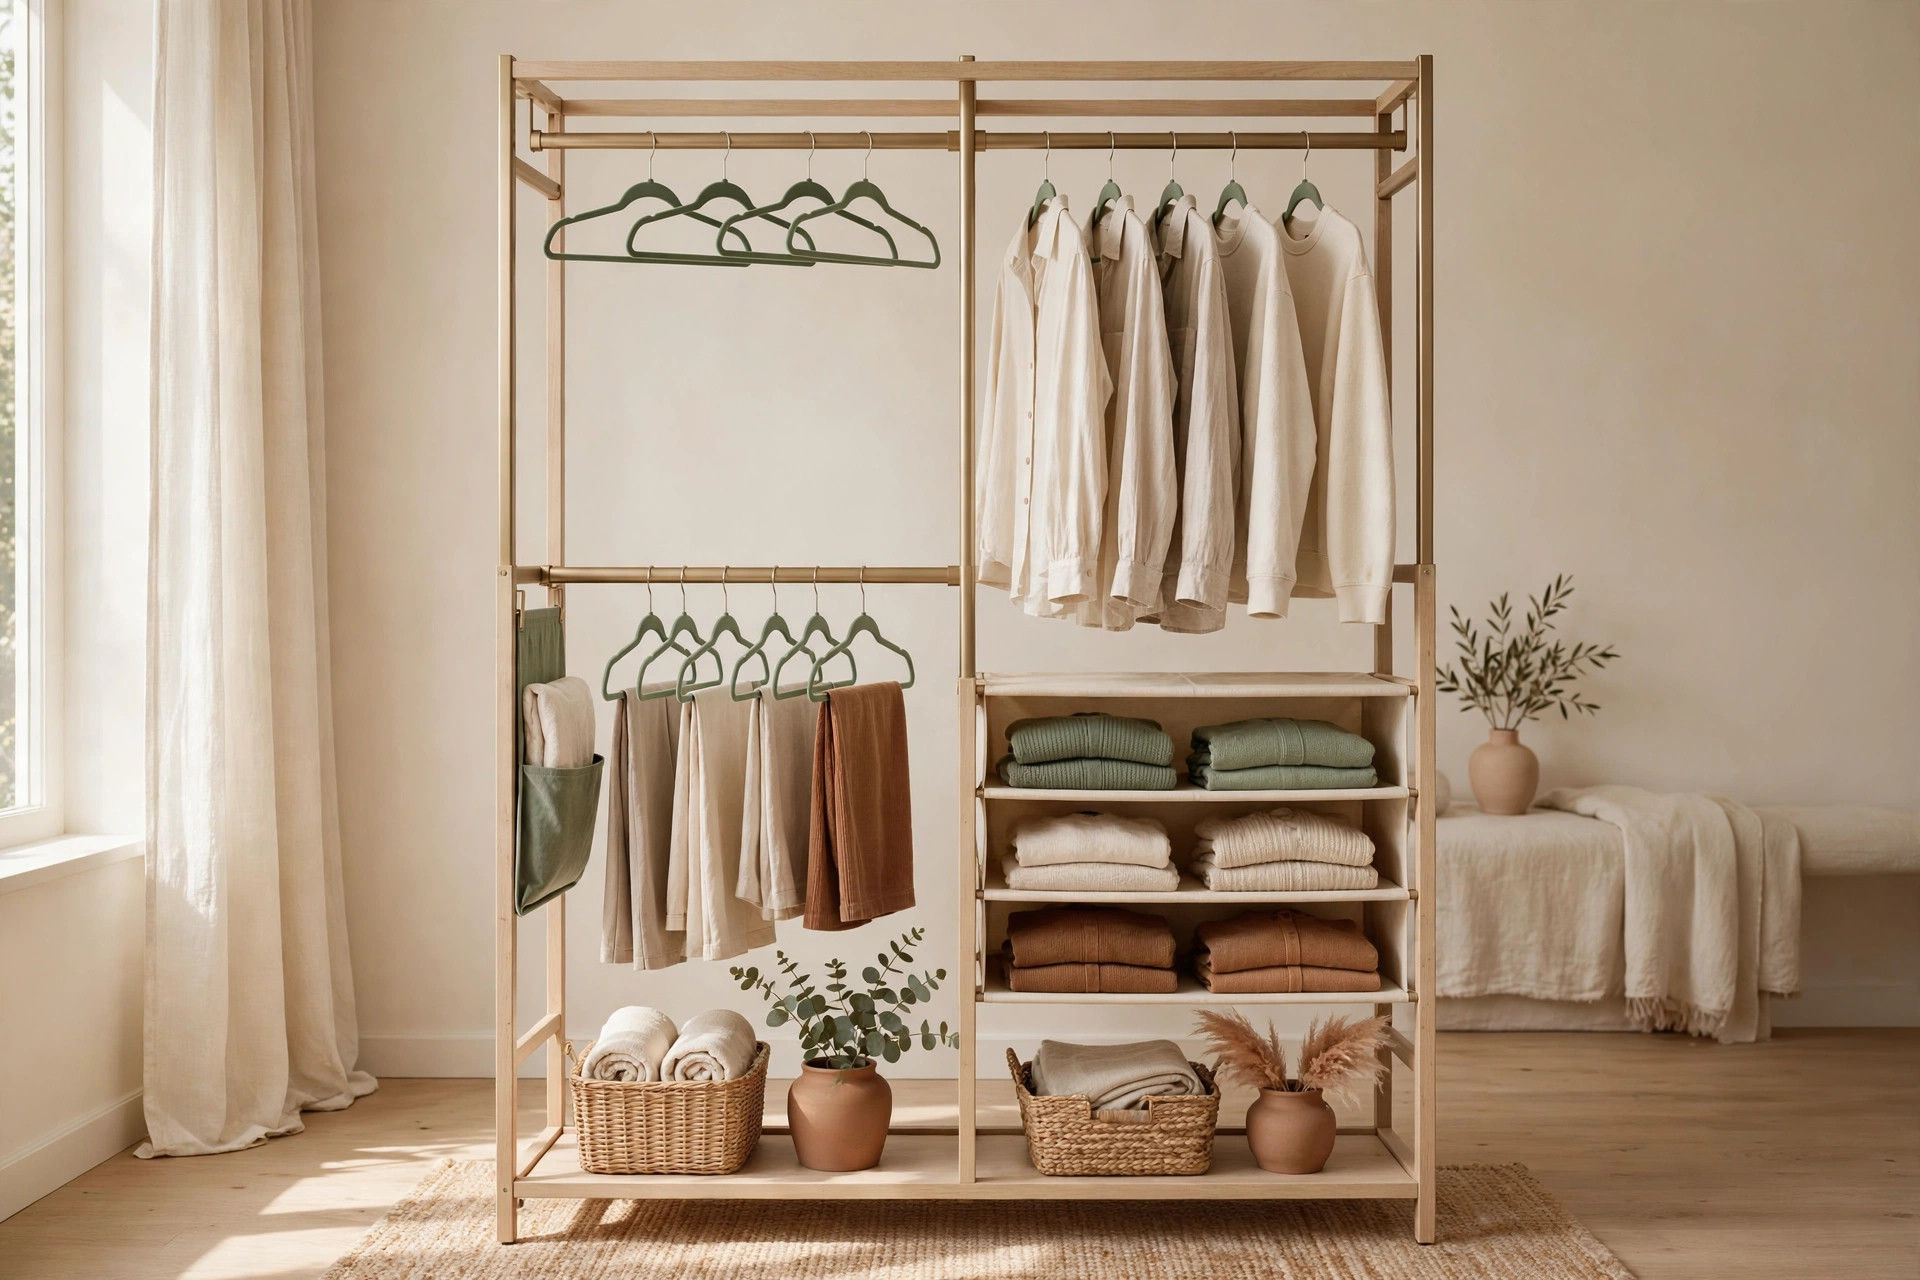
The standard apartment reach-in closet is roughly 5 feet wide and 24 inches deep, and out of the box it holds exactly one thing well: disappointment. One rod at 60 inches, one wire shelf above it, and everything you own in a pile on the floor. But small reach in closet organization is not about buying a bigger wardrobe — it is about reclaiming the air the builder left empty. These 18 ideas are built for the classic single-rod rental closet: a double-hang conversion, dead-corner storage, a working door, and a rotation system for tiny wardrobes. Together they can roughly double what your closet holds — no drilling, no renovation, and most of it for about the cost of a takeout dinner.
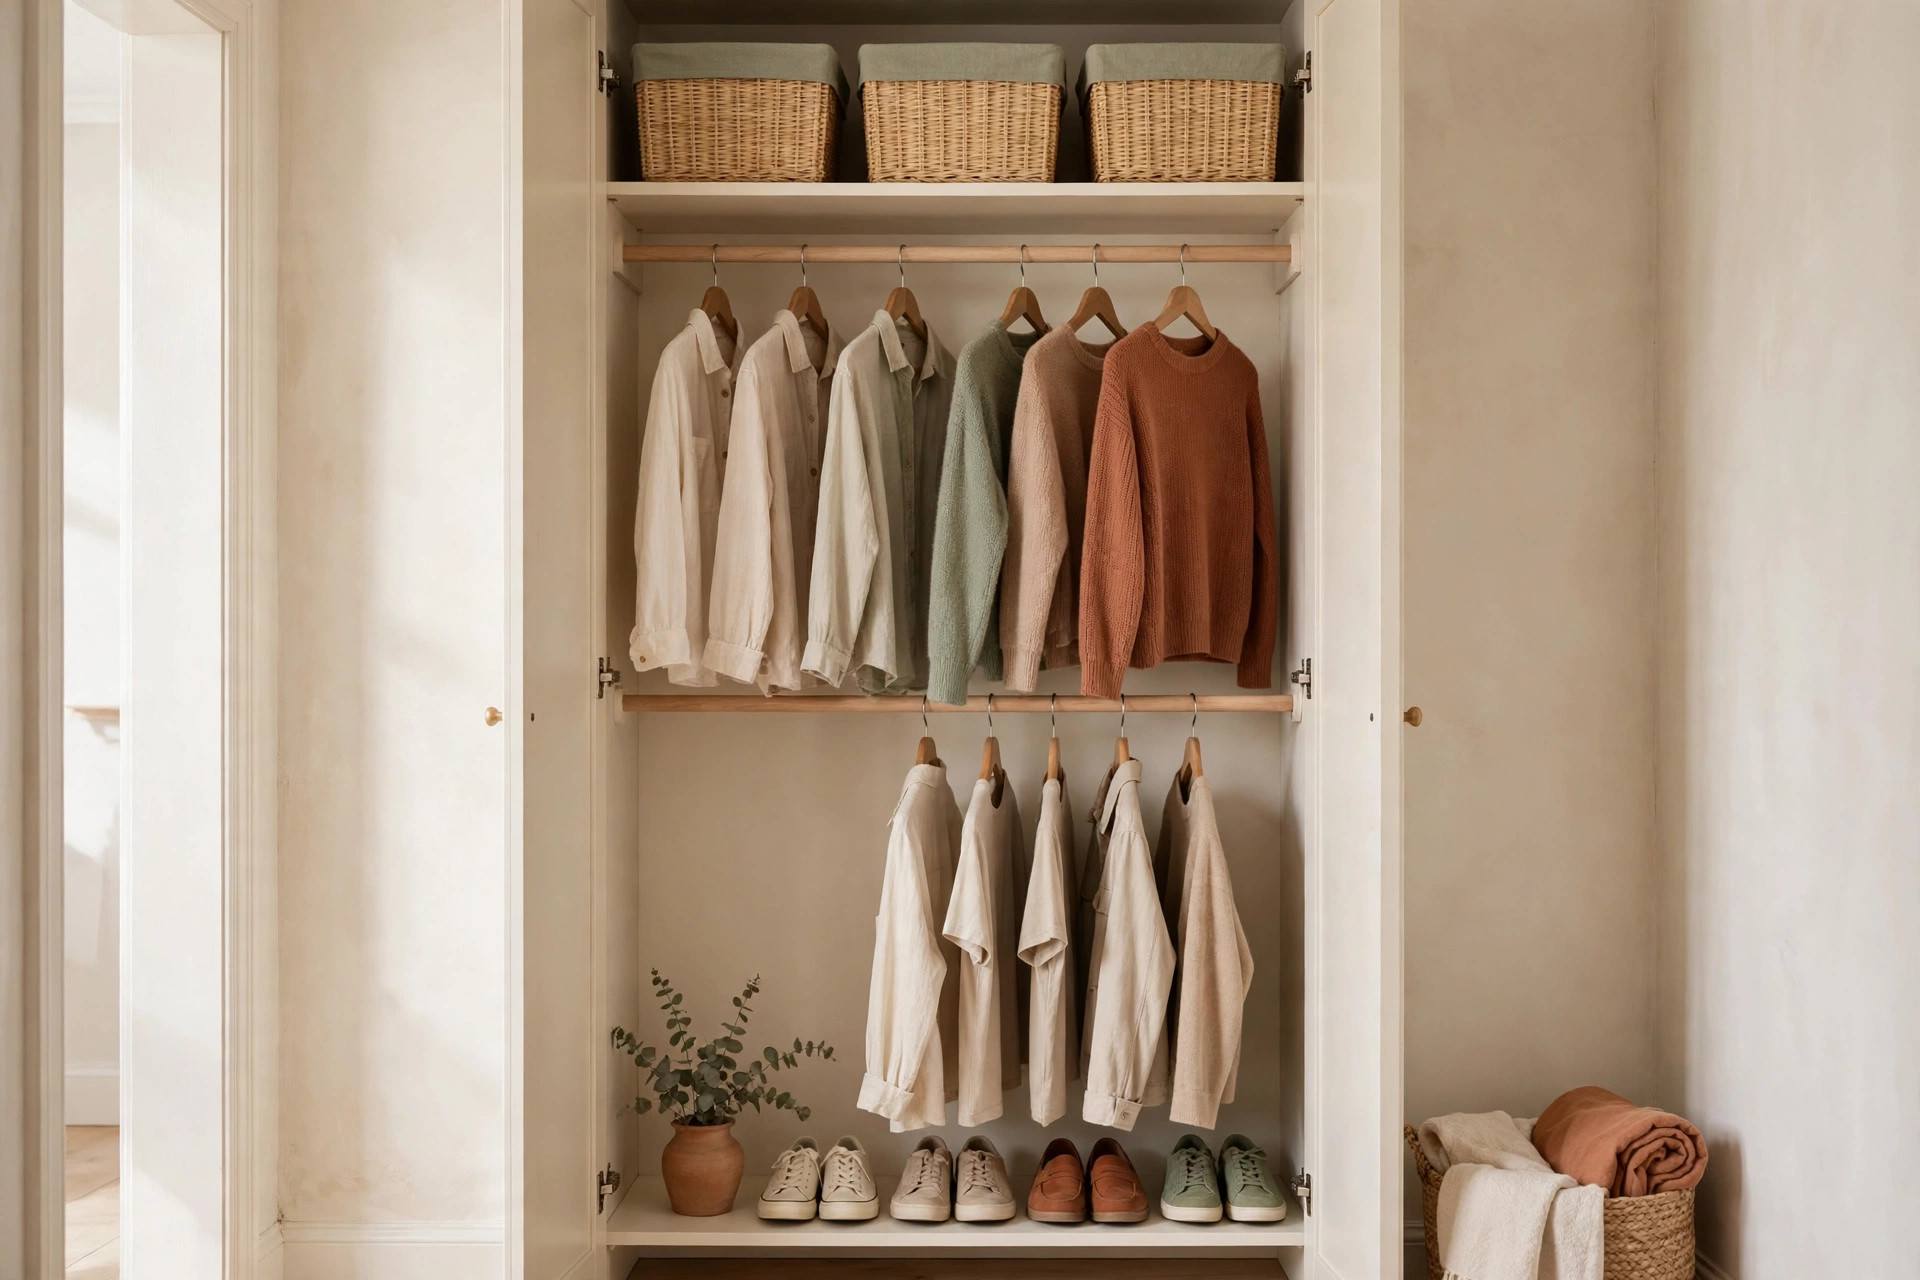
Anatomy of a reach-in closet: why the standard layout wastes space
A typical reach-in is 48 to 72 inches wide and 24 inches deep, with one rod and one shelf — which leaves roughly half its volume unused: everything below the hanging clothes and above the shelf. Read the closet in three zones: the rod zone (rod to floor), the shelf zone (above the rod), and the door zone (the door’s inside face). Every idea below targets one.
1. Measure every zone and write the numbers down. Interior width, rod-to-floor height, rod-to-shelf clearance, door width. A reach-in rod usually sits 60 to 65 inches off the floor — that number decides whether a second rod clears your longest dresses (needs 54+ inches below) or only shirts and pants (about 40 inches per tier). Measure first; most closet products fail because they were bought for a guess.
2. Count your longest items first — they dictate the layout. Pull out every full-length dress, long coat, and jumpsuit. Fewer than ten? Give them 18 inches of rod and double-hang the rest. Mostly long? Skip double-hang and build around side towers and the door.
Double-hang conversion for the main rod zone
The highest-impact change in any reach-in: two shorter tiers where one rod hung, doubling hanging capacity in the same width. A hanging rod extender — a second rod suspended by straps or hooks — costs about $20 to $30 and installs in ten minutes. If your lease bans drilling, the same concept works renter-safe: our 17 Renter-Friendly Closet Organization Ideas (No Drilling Required) guide covers no-drill rod solutions in detail.
3. Set the second rod 40 to 42 inches below the top rod. That spacing fits shirts, blouses, and folded pants on both tiers. Keep the lower rod 3+ inches off the floor; extenders rated for 30+ pounds won’t bow if hangers are spread evenly.
4. Sort tiers by frequency, not garment type. Top tier: current-season tops and jackets you grab weekly. Lower tier: pants, skirts, off-season pieces. The top tier becomes a zero-planning daily capsule.
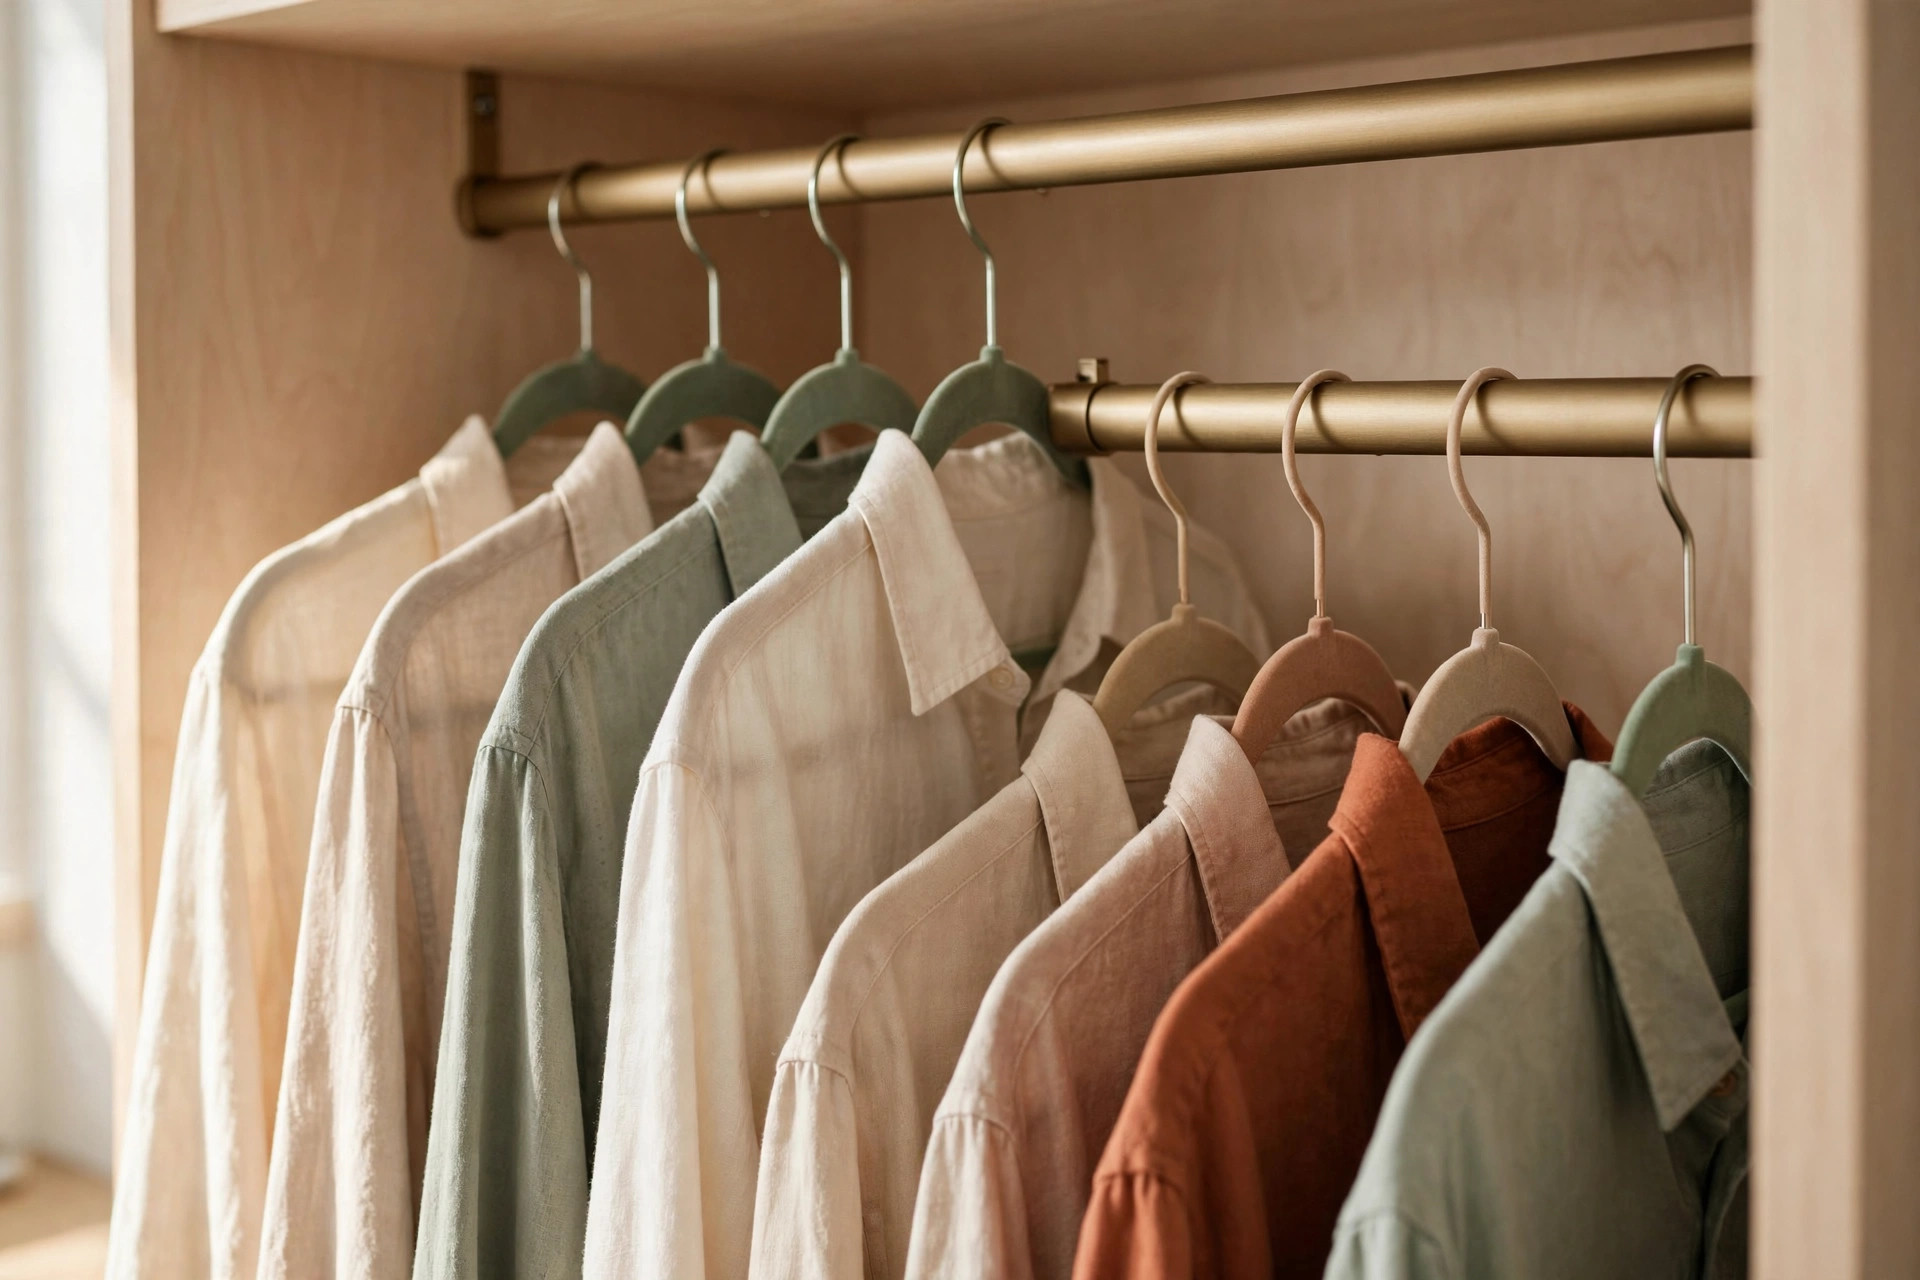
5. Switch to slim velvet hangers and reclaim 4 to 6 inches of rod. Standard hangers run about 0.4 inches thick; slim velvet ones about 0.2. Over 40 garments that’s roughly 8 inches of freed rod — the difference between cramming and breathing. A box of 50 costs about $20: the cheapest upgrade after the rod itself.
The dead corners: what fits in 12 inches of side space
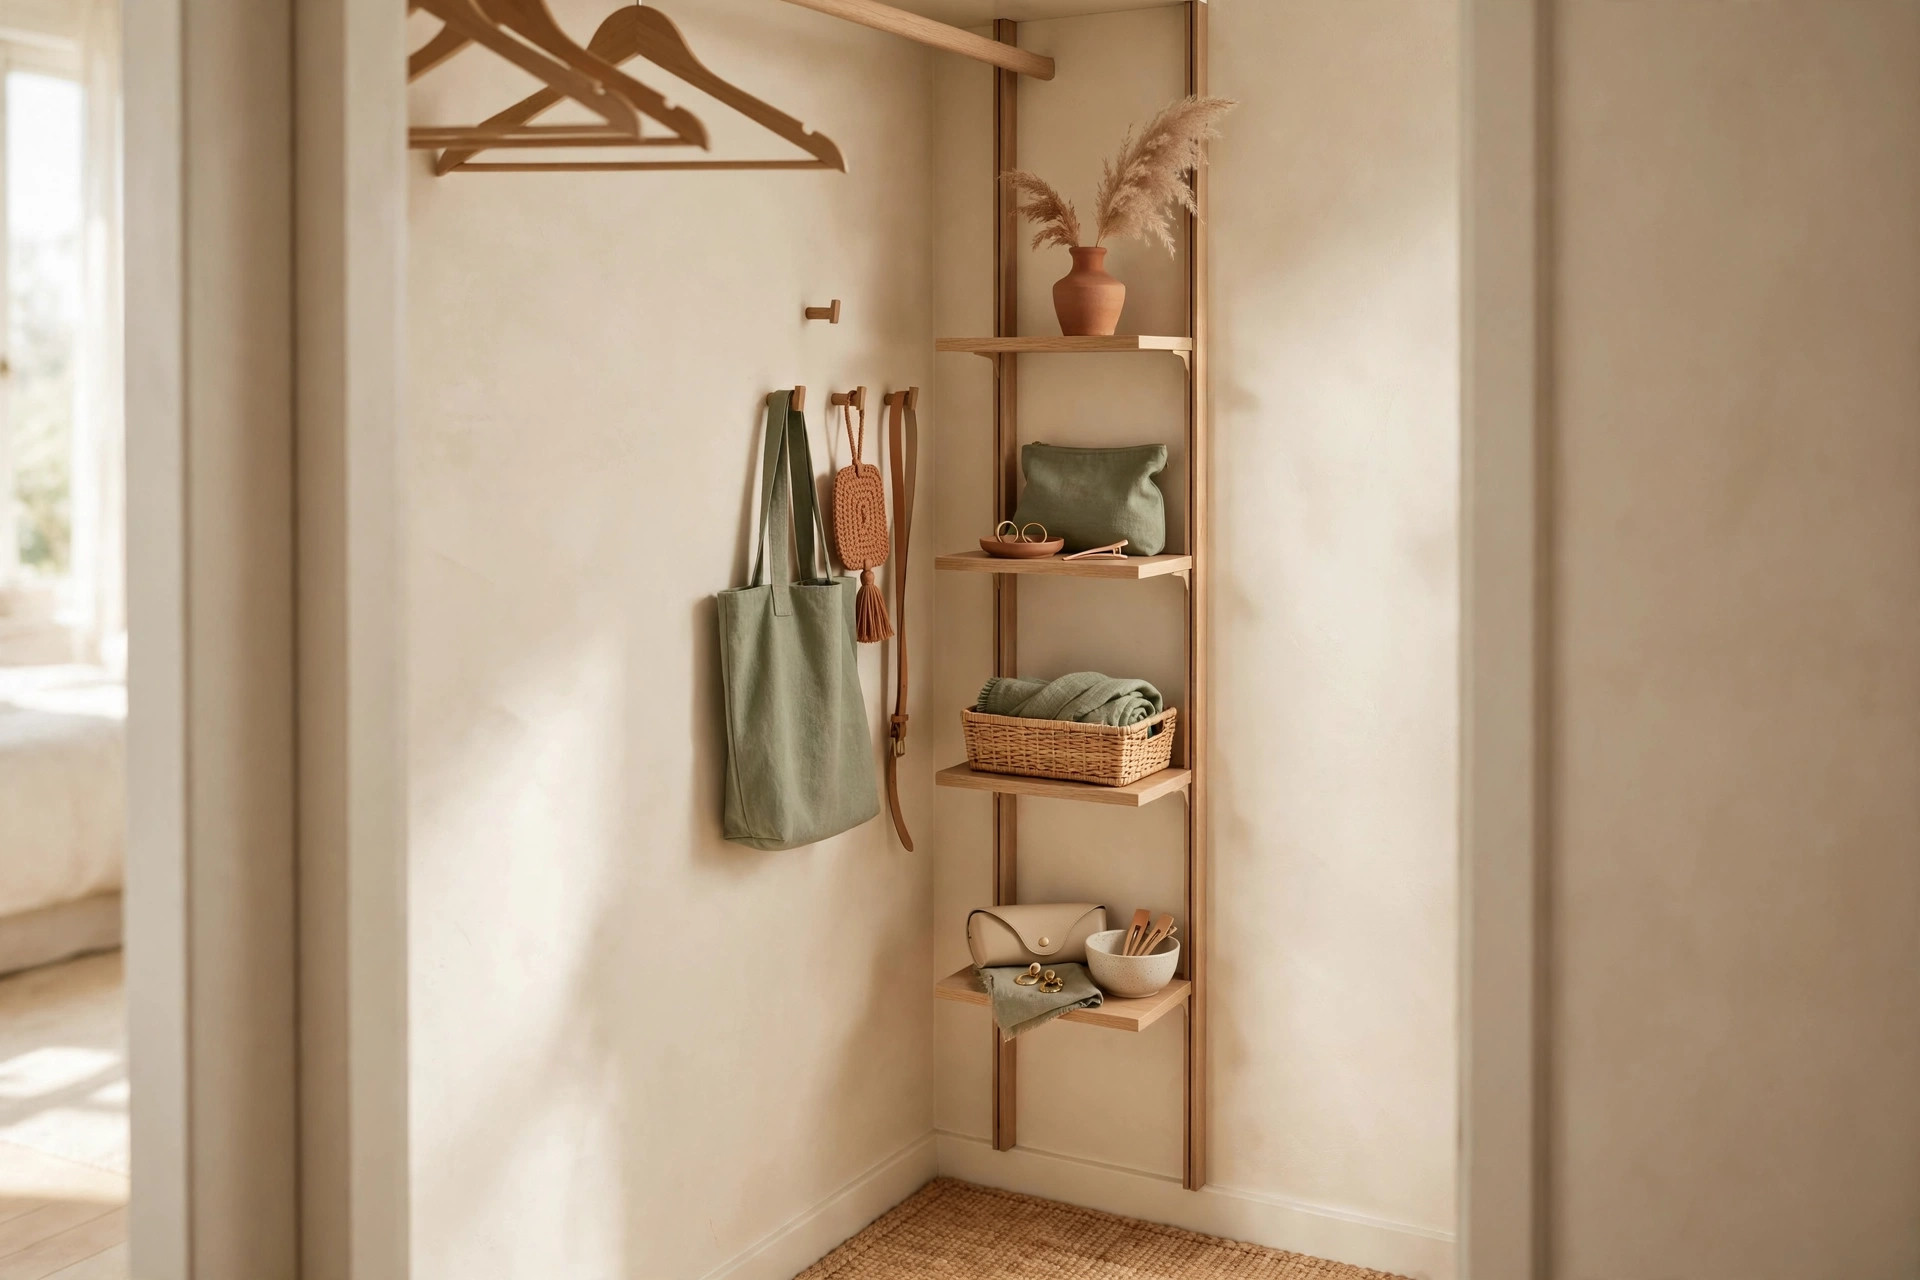
Every reach-in has two vertical dead zones: the 8- to 12-inch wall strips at each rod end — too narrow for hangers, tall enough for real storage.
6. Stand a slim tower in the dead zone. A 10- to 12-inch-wide freestanding tower with 4 to 5 shelves fits where hangers can’t, holding folded sweaters, clutches, and rolled scarves. In a 60-inch closet, one tower per end converts about 2 feet of dead air into shelving without stealing rod space.
7. Use the side walls for hooks and slim hanging organizers. The wall at each rod end takes adhesive hooks rated at 3 to 5 pounds — enough for belts or a jewelry organizer. A slim canvas shelf there gives sunglasses and small bags a visible spot they never get in a drawer.
Shelf above the rod: bins, dividers, and what goes up high
The shelf above the rod is about 12 inches deep with 12 to 18 inches of vertical space — prime territory for monthly-touch items. Most people waste it on a teetering sweater stack.
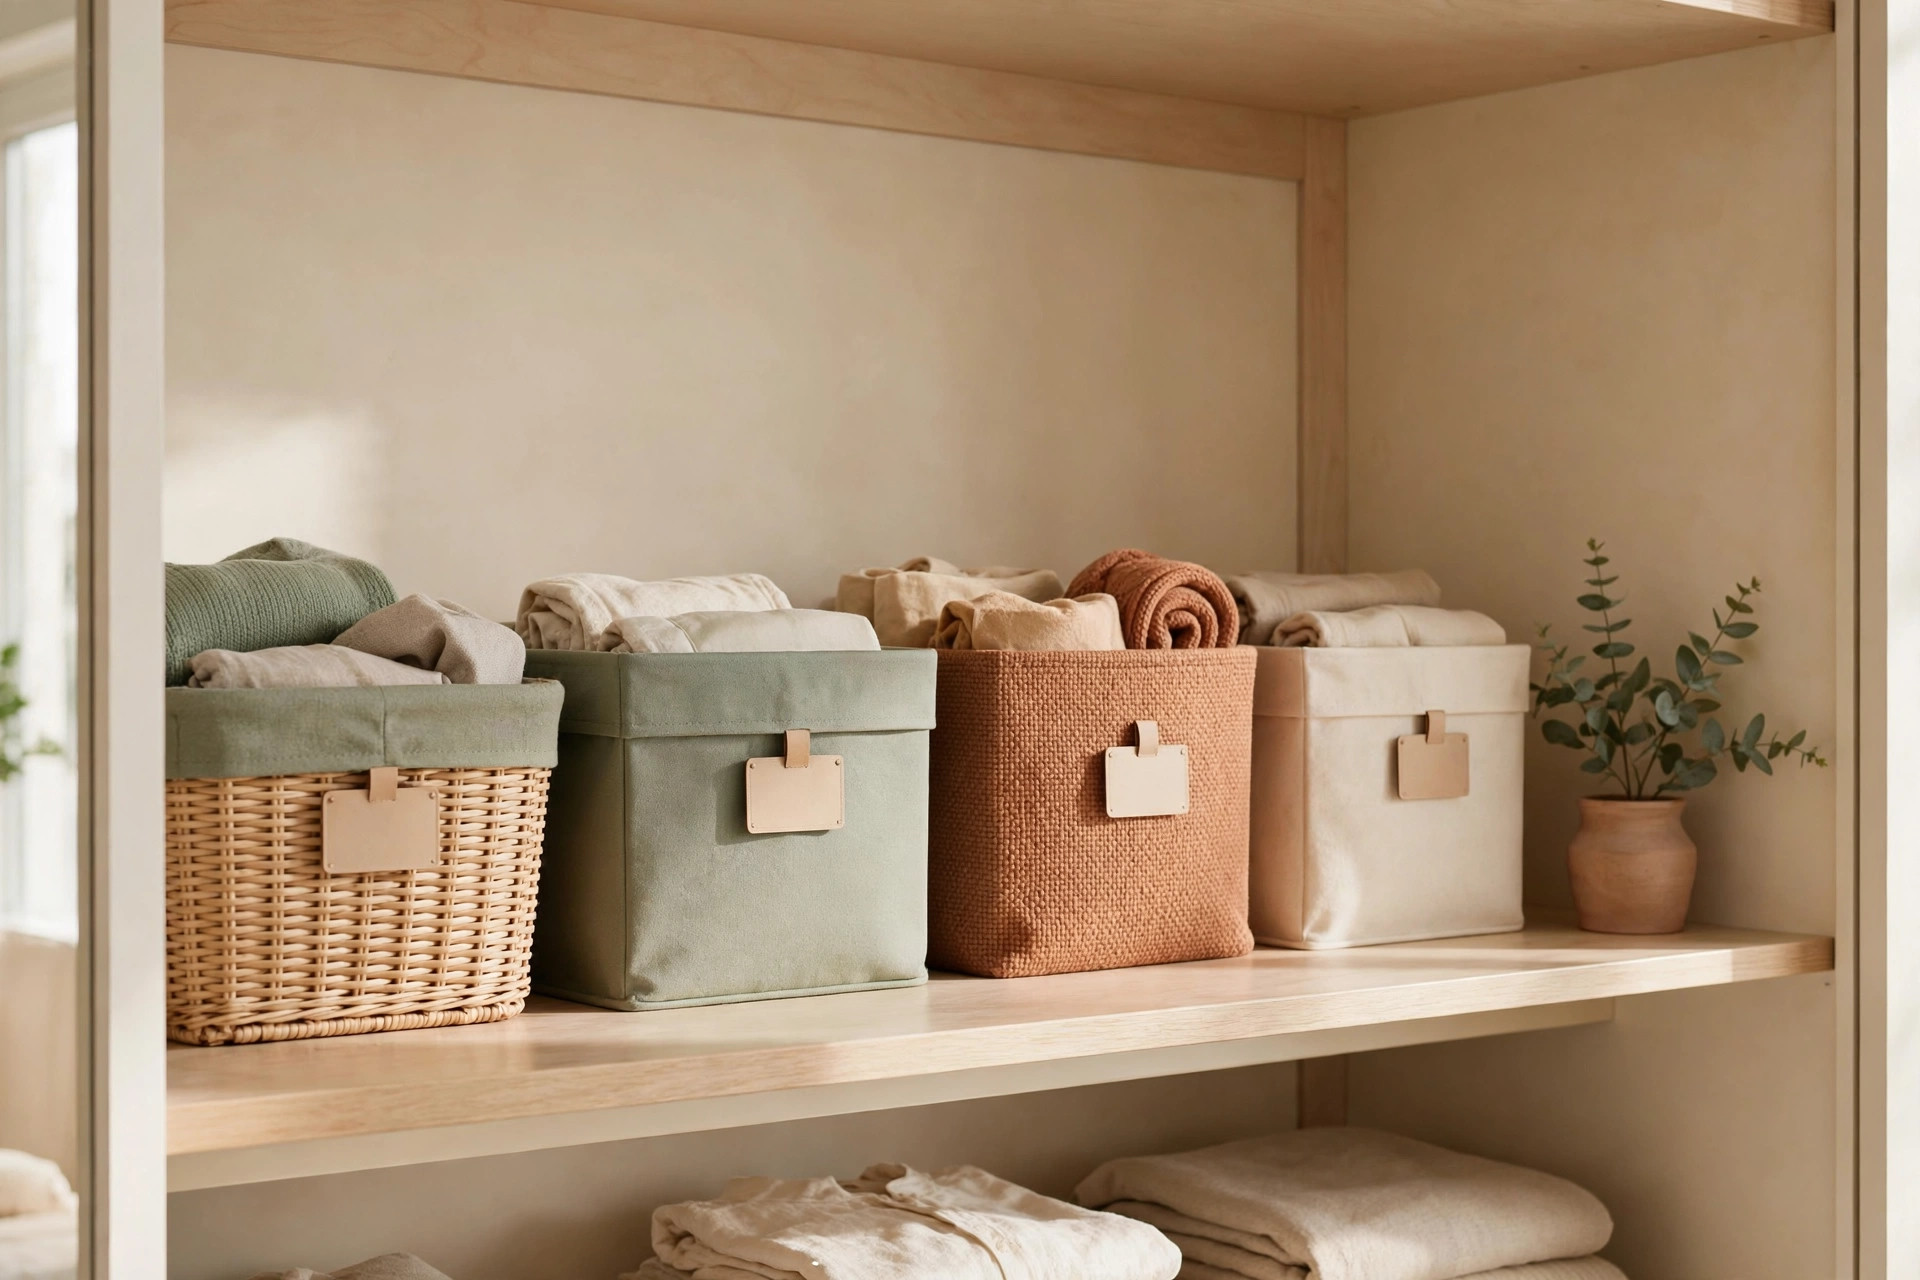
8. Bin the shelf by category with stackable 12×6×6-inch bins. Standard 12-inch-deep bins sit flush with the edge. One bin per category — scarves, swimwear, handbags, gift wrap — stacked no more than two high. Clear-front or labeled bins only.
9. Reserve the top shelf for off-season and sentimental only. The ski jacket in April, the Halloween costume, the formal bag — that’s what lives here. Anything you’ll need this month doesn’t. Shelf dividers (about $12 a pair) stop the remaining stacks from avalanching when you pull one item out.
Floor zone: shoe racks, drawers, hamper — in priority order
The floor is roughly 5 feet by 2 feet — the smallest zone, and the one most people surrender to a shoe avalanche. Priority: shoes first (daily), drawers second (weekly), hamper third (as needed).
10. Put shoes in a low 2- to 3-tier angled rack, never a tall tower. A rack 10 to 12 inches tall fits under hanging clothes and holds 6 to 9 pairs in a footprint the clothes already claim; angled shelves keep heels from catching. Reserve tall towers for 15+ pair collections — otherwise a tower eats the vertical space you just reclaimed.
11. Slide a 3-drawer stackable unit under the rod. A unit about 12 inches wide and 20 inches tall fits beside or under the double-hang tiers. Assign drawers top to bottom: underwear and socks, workout clothes, loungewear. Pull-out drawers beat lidded boxes here because you need one-hand access.
12. Give the hamper a defined 14×14-inch footprint — or move it out. A collapsible hamper under the lowest hanging tier earns its floor space. If the floor is full, the hamper leaves the closet — bedside beats a closet you can’t open. If your closet doubles as the laundry drop-off, our 16 Small Laundry Closet Organization Ideas That Actually Fit guide covers the slim-hamper math.
Door: the most underused square footage in the closet
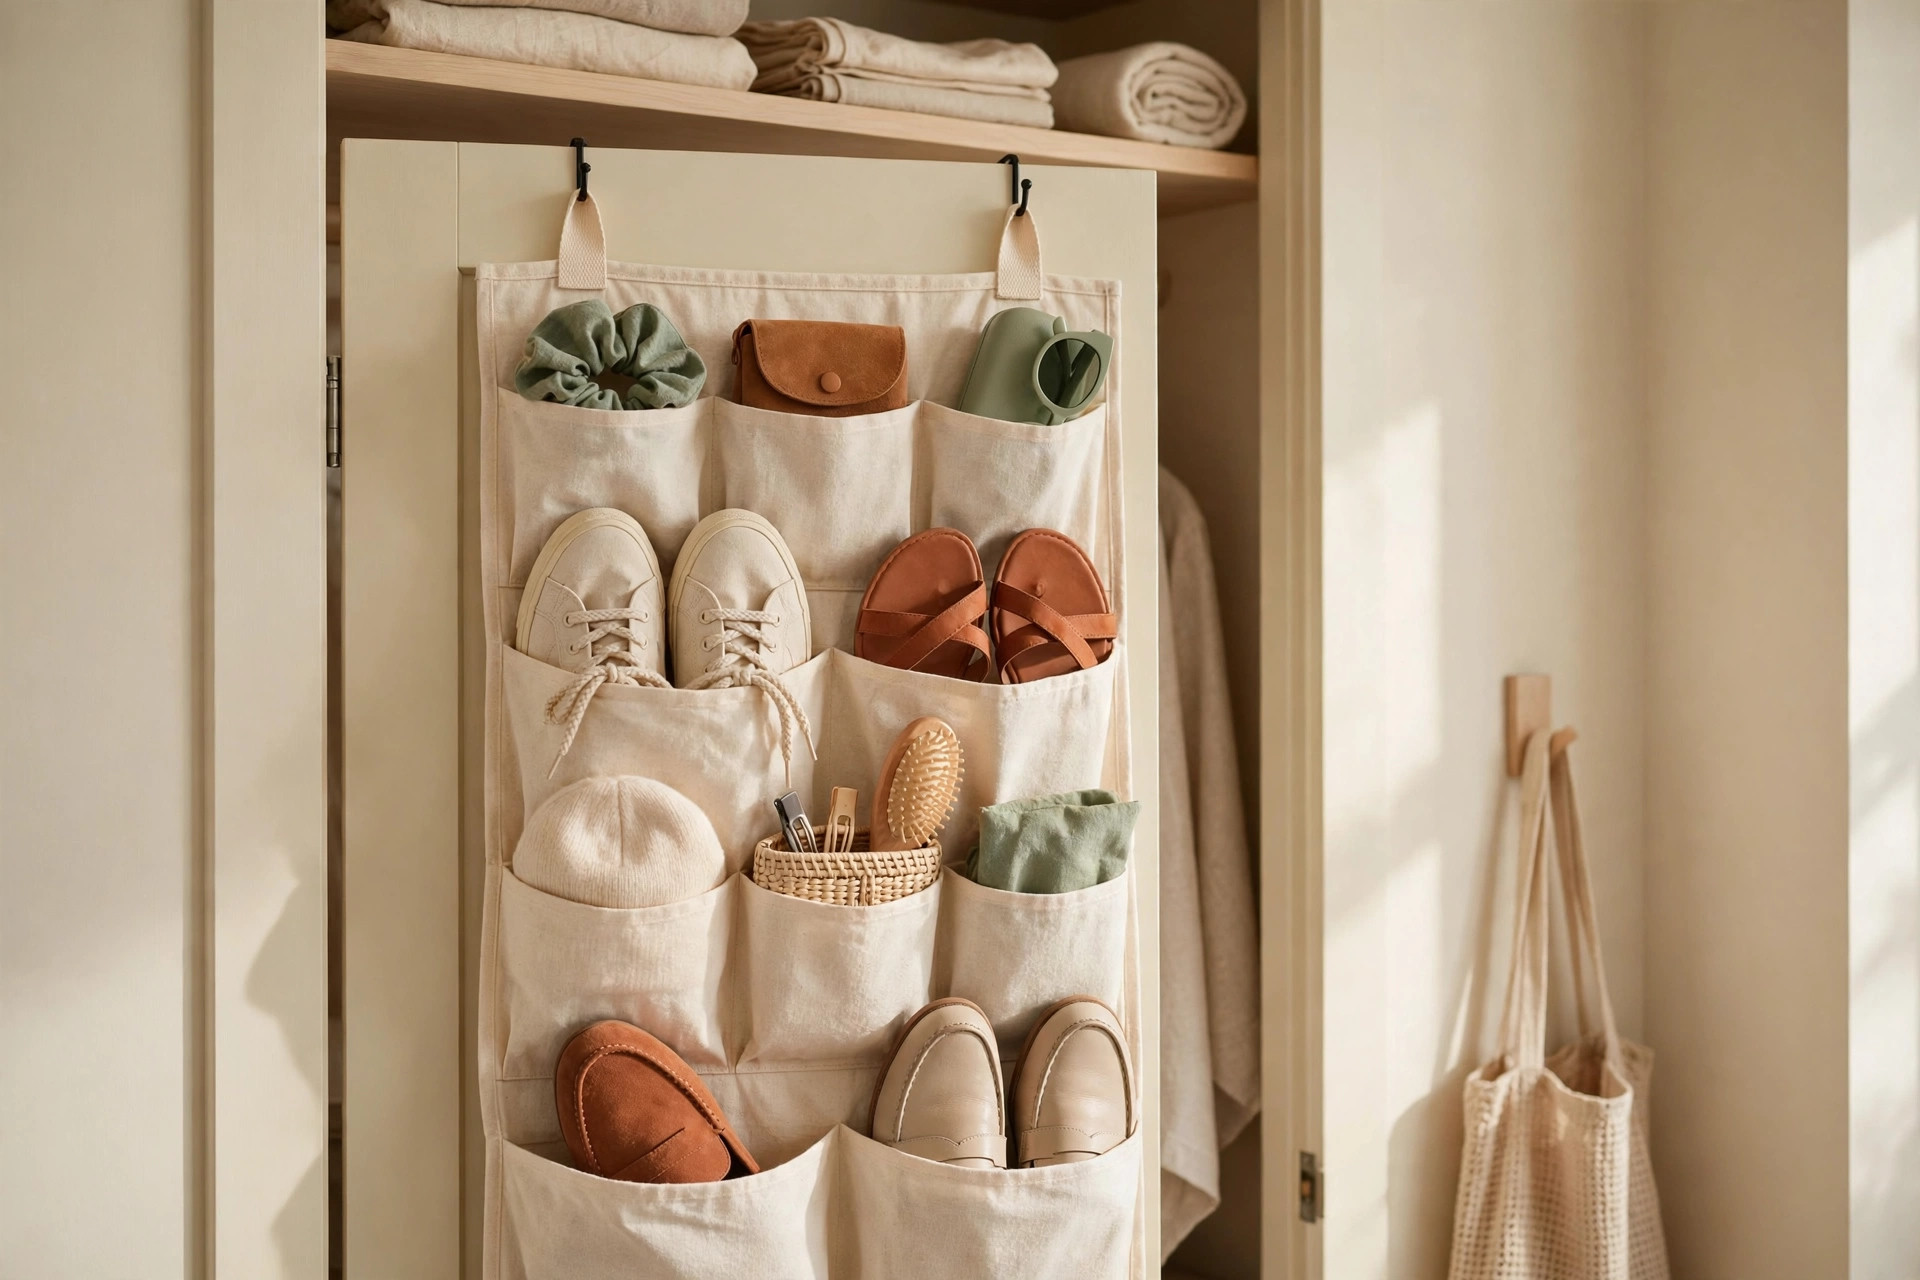
The inside of a standard 24-inch closet door is about 5 square feet of vertical storage that never competes with the rod, shelf, or floor — until you overload it.
13. Hang an over-the-door organizer with clear pockets. A 24-pocket canvas organizer holds sunglasses, ties, rolled belts, hair tools — the small things that vanish into drawers. Keep total weight under 10 pounds, heaviest items in the middle rows where the door flexes least.
14. Mount hooks on the door’s inside face for tomorrow’s outfit and the “worn once” zone. Two to three removable hooks at chest height hold tonight’s outfit pick, a robe, or jeans worn once and good for another day — the single biggest anti-chairdrobe tool in a small bedroom. Confirm the door still swings freely with the hooks loaded.
Seasonal rotation system for tiny closets
A small closet can’t hold four seasons at once. Rotate twice a year: current season in the closet, everything else stored away — two focused swaps keep the closet at half capacity.
15. Swap the closet twice a year into labeled under-bed bins. In October and April, move off-season clothes into flat 35×18×6-inch bins under the bed. Label by season and year (“Winter 26/27”) and run the one-year test: anything unworn this season goes in the donate bag. Our 17 Under Bed Storage Ideas for Small Bedrooms guide has the bin-sizing math for low bed frames.
16. Keep a transition shelf for the two-week weather window. Every season has 10 to 14 days of unpredictable weather when you need both wardrobes. One corner-shelf tier or drawer holds the capsule: one jacket, two layers, weather-flexible shoes. After the window closes, the transition items join the outgoing season — no drifting back “just in case.”
The 15-minute weekly closet reset
Organized closets decay at roughly the speed of one bad week. A 15-minute standing appointment — Sunday evening works best — stops entropy before the pile returns.
17. Run the four-pass reset: hang, sort, surface, scan. Rehang anything on the floor or the chair. Return shoes to the rack and accessories to their hooks — 4 minutes, biggest visual payoff. Wipe the shelf fronts and toss what drifted in (receipts, tags, multiplying hangers). Scan for one item to donate or relocate. Four passes, 15 minutes, one timer.
18. Keep a permanent donate bag on a door hook. “Get rid of this later” fails without a destination. A fabric tote on a door hook collects everything that fails the weekly scan; when full, it leaves the house the same day. Find a drop-off with Goodwill’s donation search so a full bag never sits in the closet becoming clutter again.
Mistakes to avoid
- Buying storage before measuring. The #1 money sink is a 15-inch organizer for a 14-inch gap — measure every zone first.
- Double-hanging long garments. A second rod at 40 inches drags coats on the floor. Count long items first — they decide whether double-hang works.
- Overloading the door. Bifold doors aren’t built for 20-pound organizers. Stay under 10 pounds or the track warps and the door never closes right.
- Using opaque bins up high. Above eye level and invisible means you’ll buy a duplicate and forget the original. Clear-front or labeled, always.
- Skipping the seasonal rotation. Fitting a winter coat next to summer dresses is how a closet becomes an unreachable wall. Rotate twice a year or it stays full year-round.
- Storing shoes in their boxes. Boxes triple the footprint and hide pairs. An open rack holds the same shoes in a third of the space.
Frequently asked questions
How do you organize a small reach-in closet with no built-ins?
Treat the closet as furniture, not architecture: a rod extender for a second tier, a freestanding tower for the dead corners, labeled bins for the top shelf, an over-door organizer for the door. No drilling, no built-ins.
Can you double-hang a closet if you own long dresses?
On part of the rod. Dedicate 18 to 24 inches to full-length items on the original rod, then double-hang the rest. If most of your wardrobe is long, skip double-hang and build out the side towers and door instead.
How much does it cost to organize a small reach-in closet?
About $60 to $120: rod extender ($20–$30), 50 slim hangers ($20), stackable bins ($15–$25), over-door organizer ($15–$25). Drawer units and towers add $25–$40 each.
Where should shoes go in a reach-in closet?
On the floor under the hanging clothes in a low 2- to 3-tier rack — 6 to 9 pairs in a footprint the clothes already claim. Overflow goes in a dead-corner tower, never in a pile on top of the first rack.
Conclusion
A small reach-in closet doubles its capacity without a renovation — a second rod, furnished dead corners, a binned top shelf, a prioritized floor, a working door. Rotate seasonally, reset 15 minutes weekly, and it stays that way. Save this pin for later, or browse our closet collection.