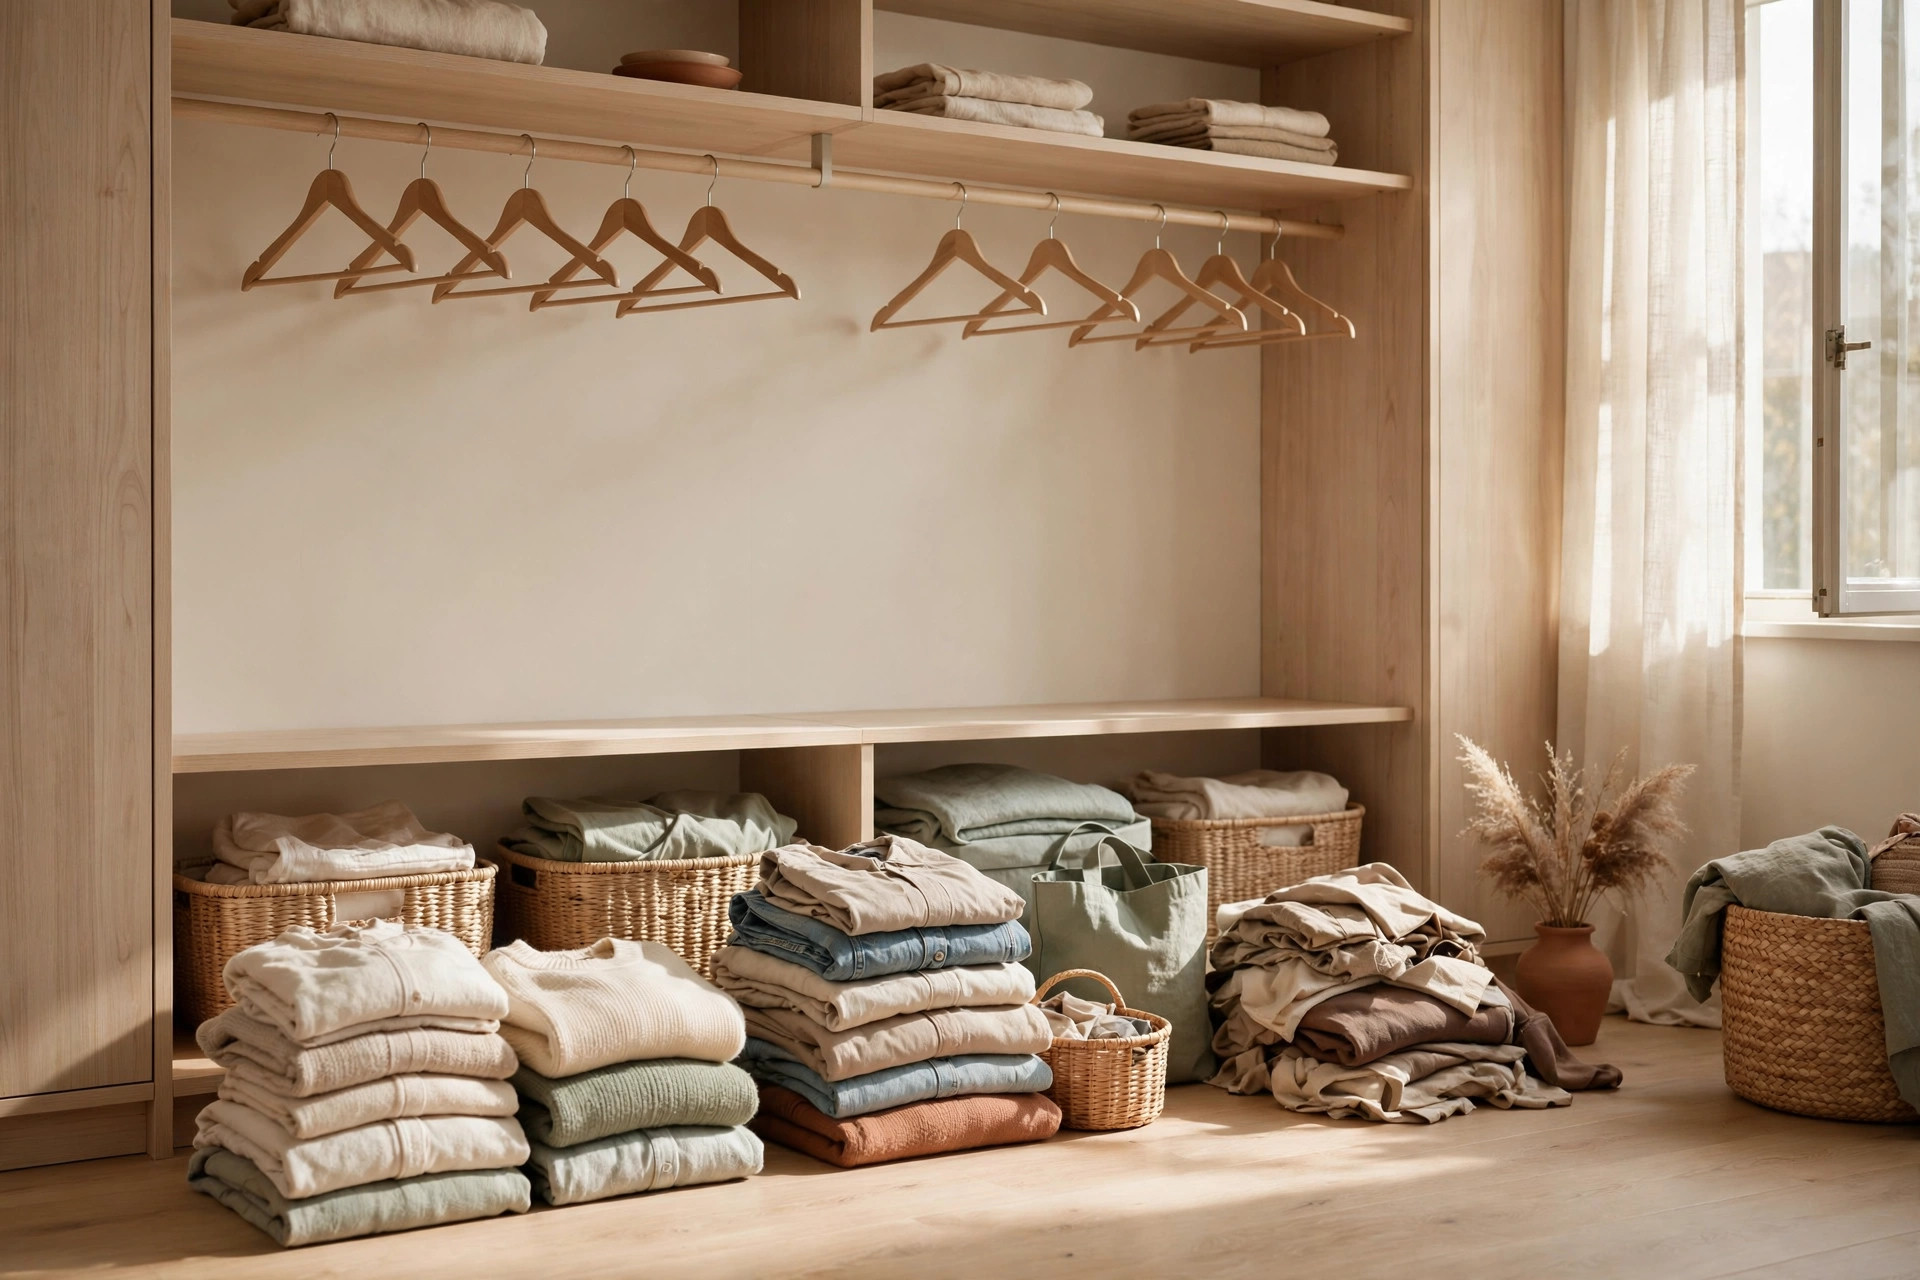
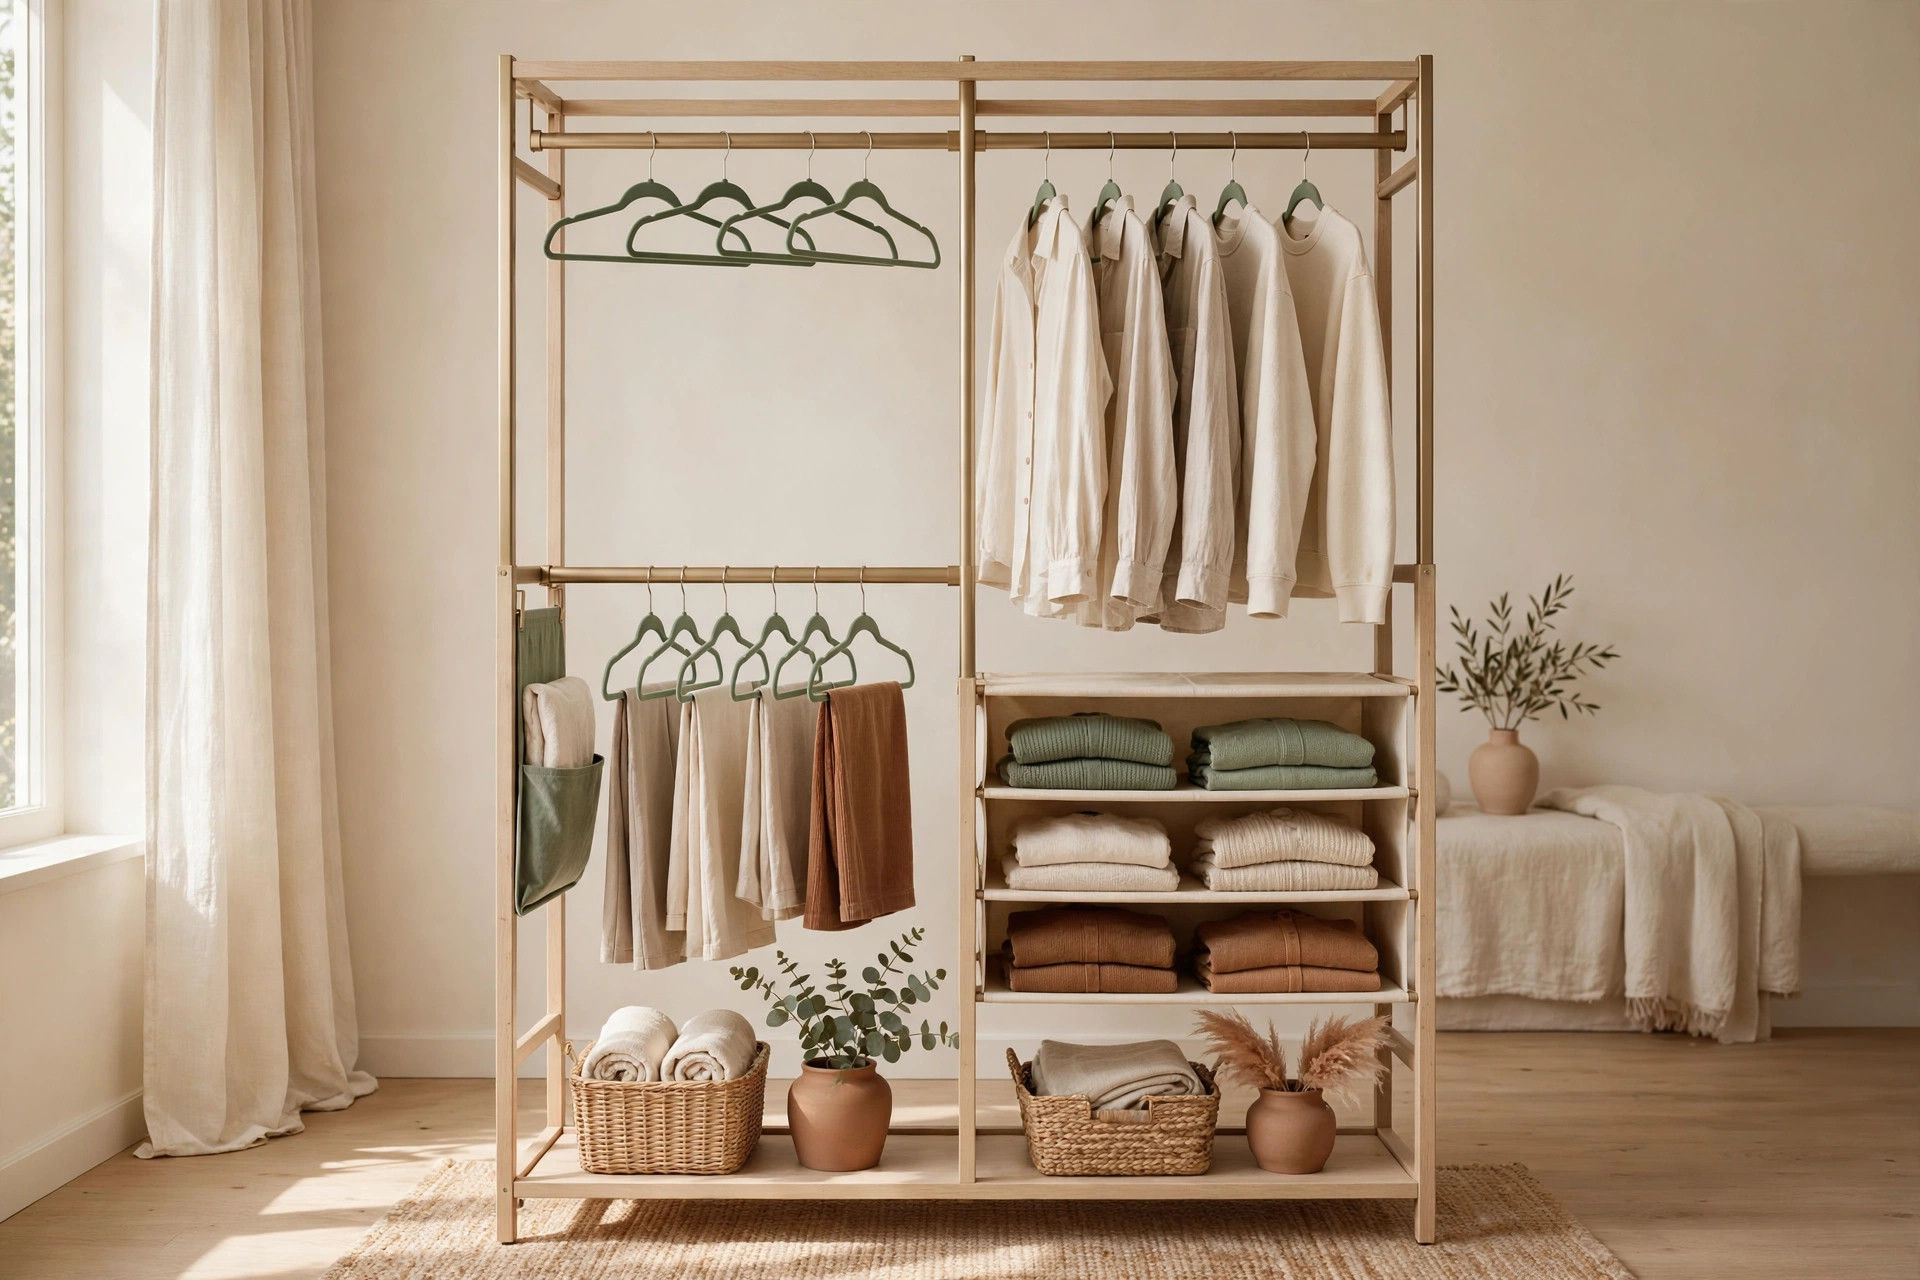
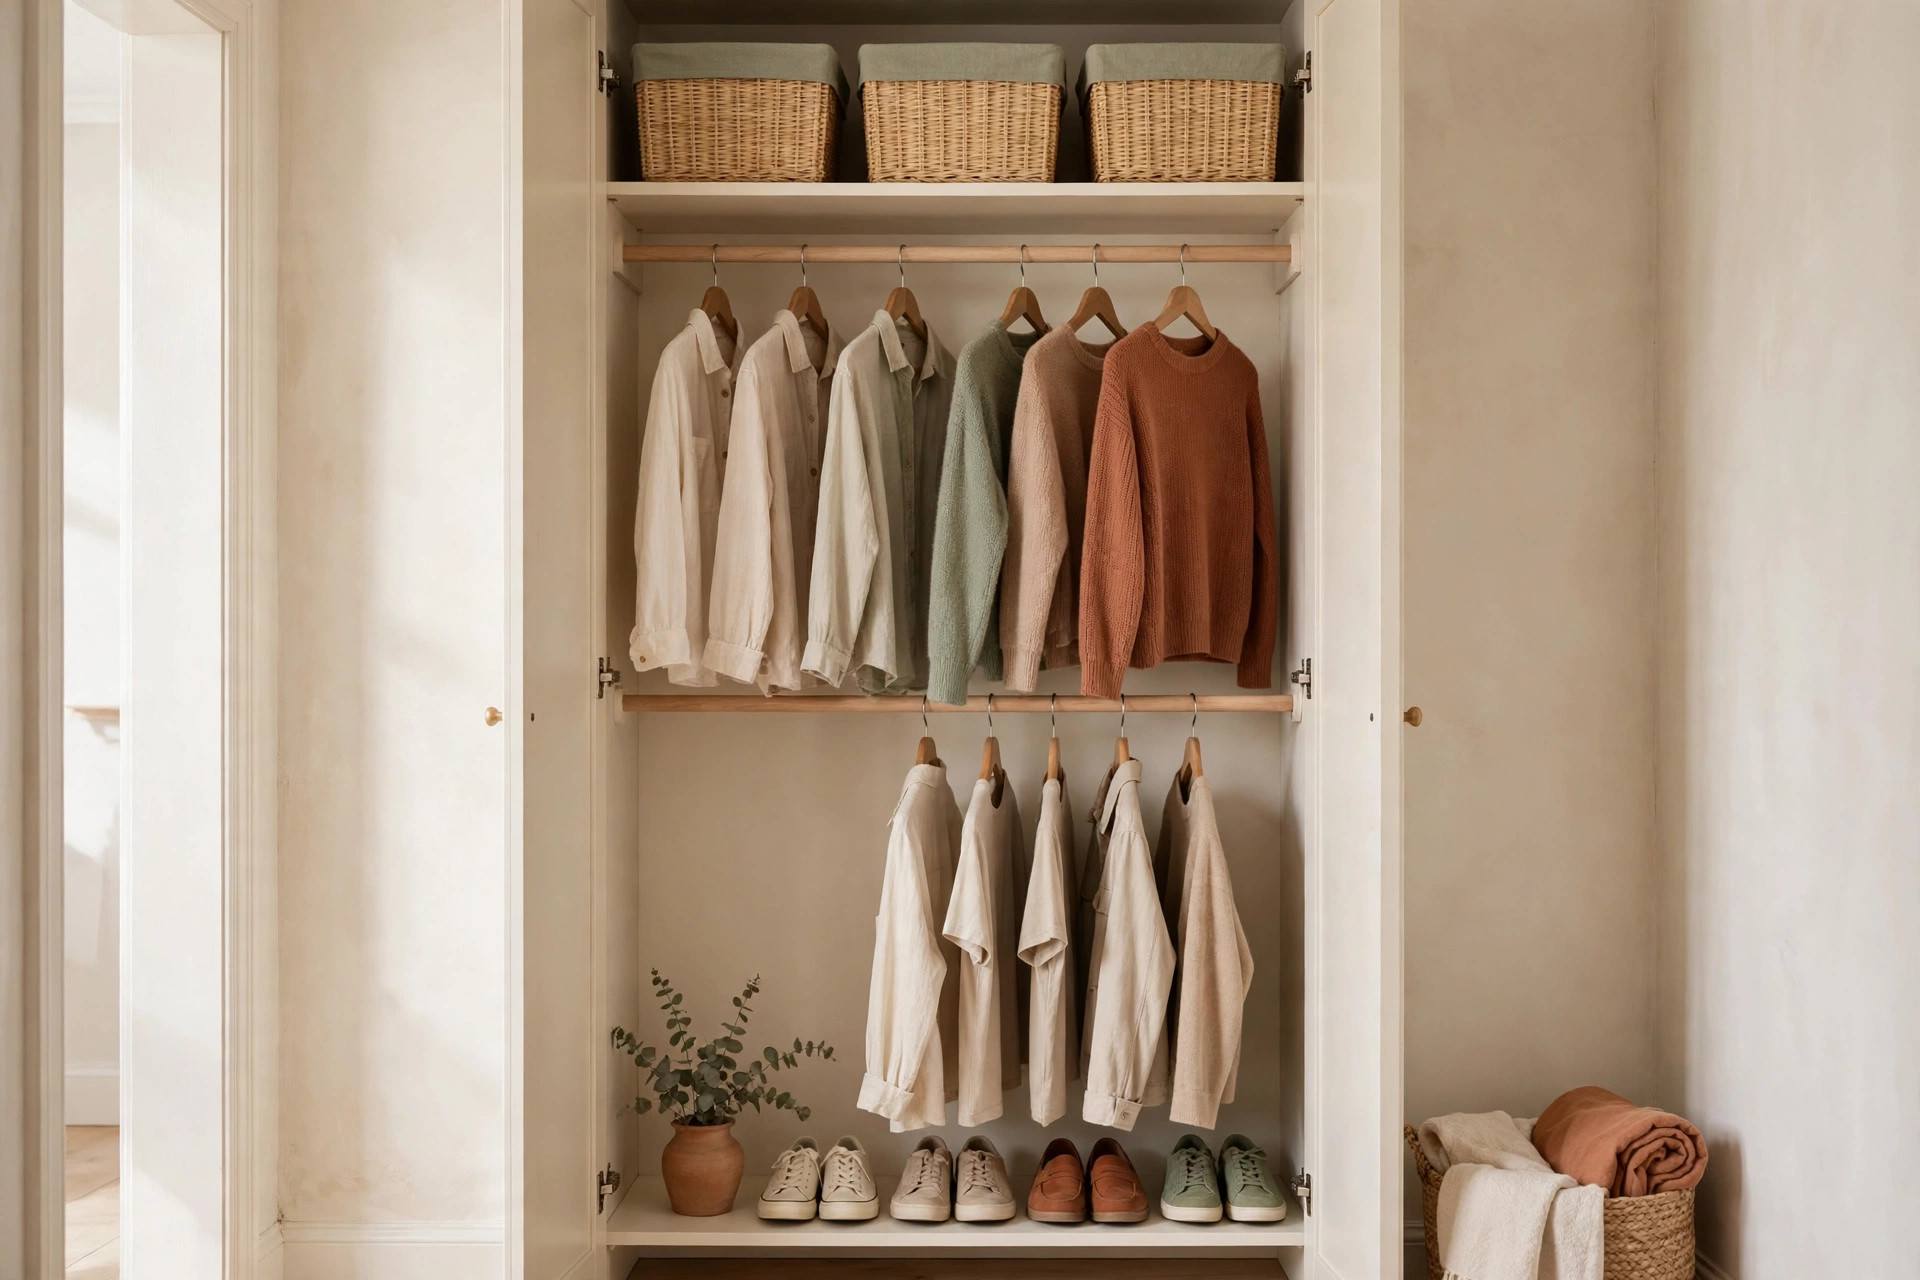
You can step inside your closet, turn around, and still find nothing to wear. That is the specific frustration of a tiny walk-in: four walls, one rod, one shelf you cannot quite reach, and a floor buried under shoes. Small walk in closet organization is not about a custom closet system or a weekend of carpentry. It is about zoning what you already have, doubling your hanging space with a $20 extender rod, and spending the rest of your budget on cube units, shoe racks, and lighting that actually lets you see. This plan costs under $100 total, requires zero drilling, and finishes in a single afternoon.
The walk-in advantage: zones beat square footage
A walk-in closet that is only 4 by 5 feet feels small because of how it is used, not how big it is. Most small walk-ins contain one rod spanning two or three walls and one high shelf above it. Everything mixes together: long coats hang next to short shirts, shoes pile under the lowest point, and the back corner becomes a dead zone nobody reaches.
The advantage of a walk-in is that you can stand inside it, which means you can reach all three walls. A reach-in only gives you the back wall; a walk-in gives you roughly twice the usable rod and shelf footage in the same width. That is the entire game here: assign each wall a job and stop treating the closet as one shared container.
Start by pulling everything out and grouping it into four piles: things that hang, things that fold, shoes, and accessories (bags, belts, scarves, hats). Do not buy anything yet. The pile sizes tell you how to split your walls. Measure width, depth, and rod height before you shop — every budget product in this plan works best at specific dimensions.
Zone plan: hang, fold, shoes, accessories
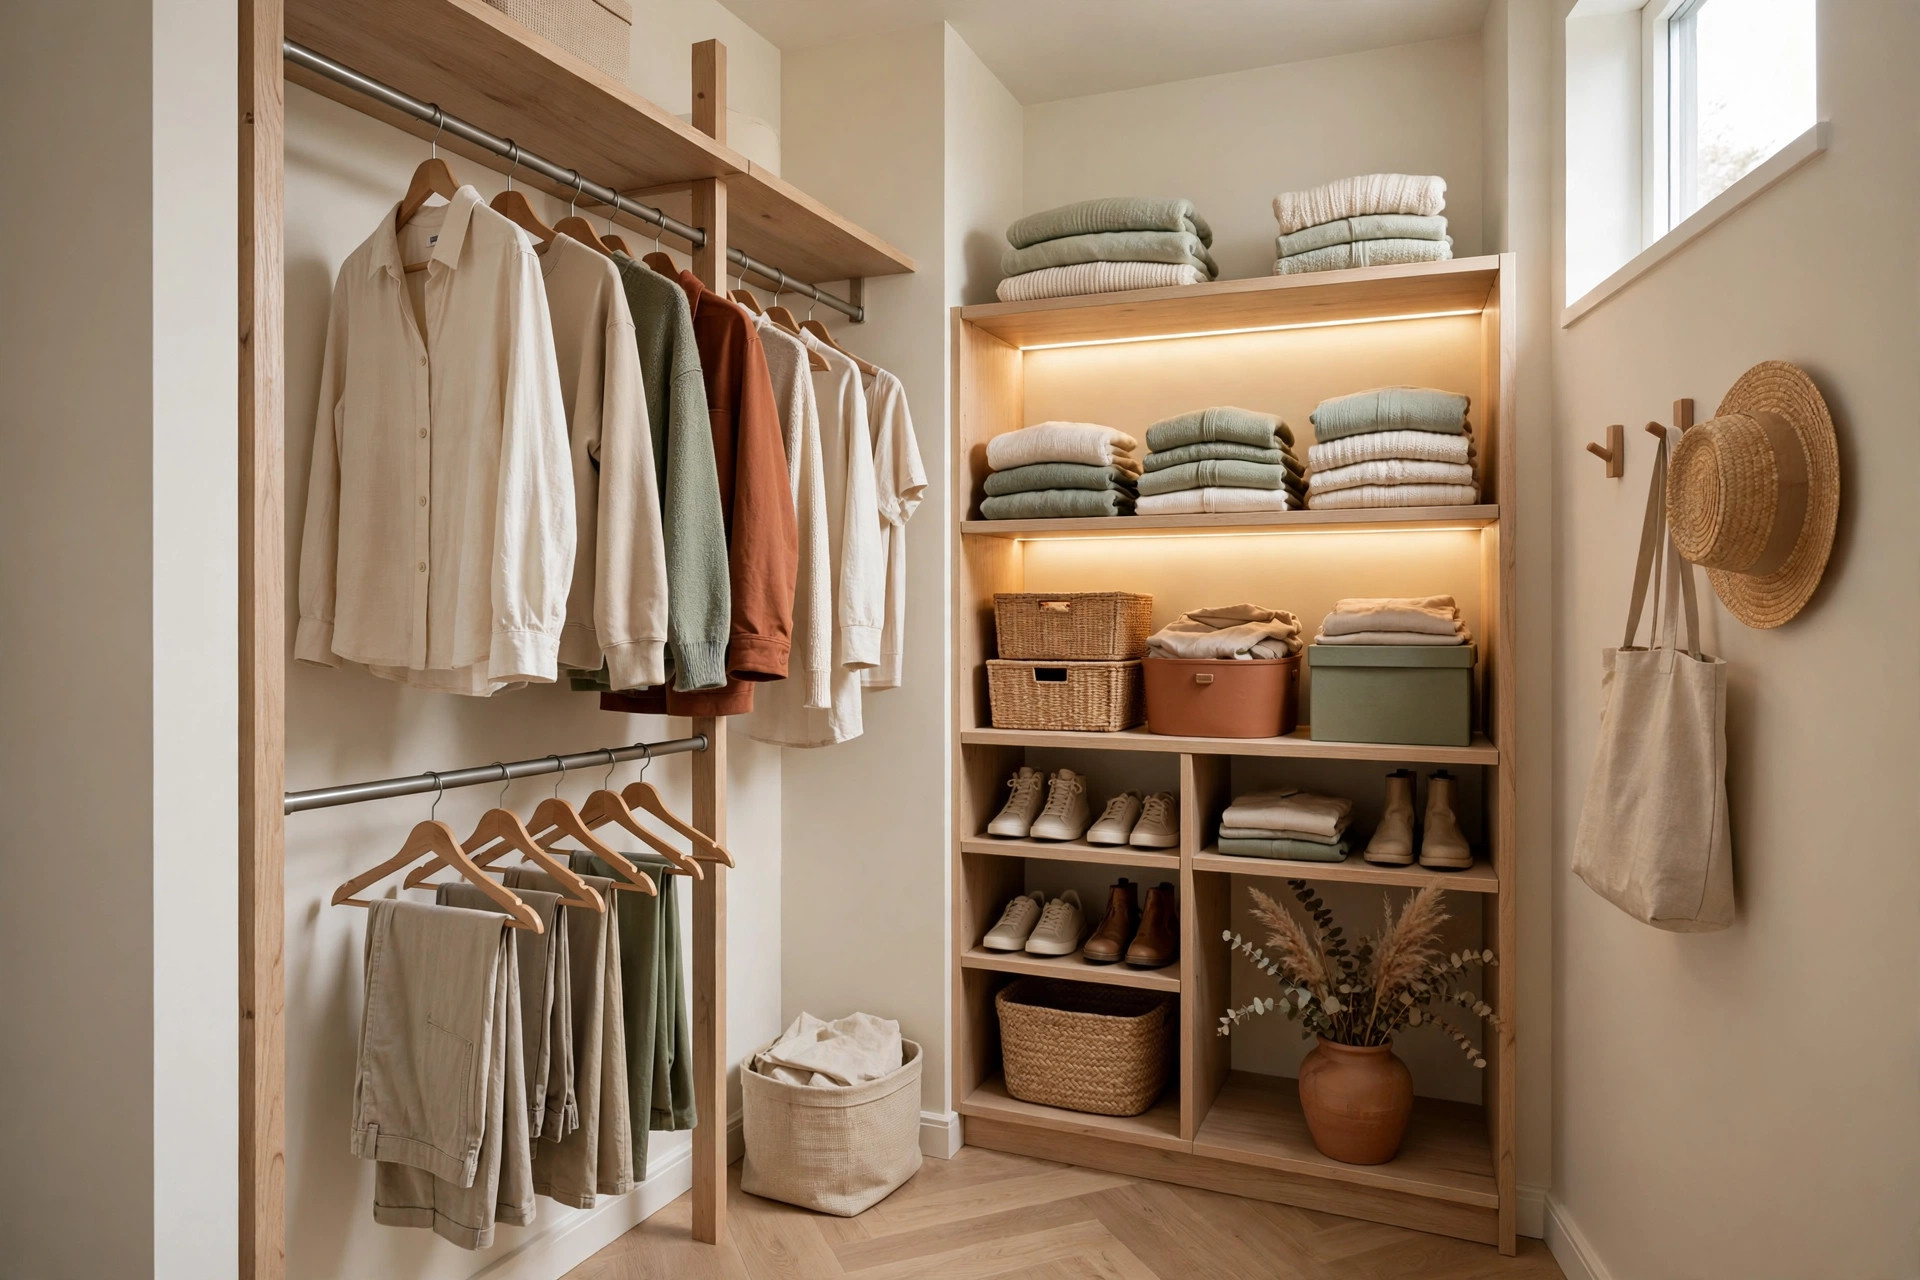
Once your walls are empty, draw a simple zone map: hang, fold, shoes, and accessories. In a typical 4-by-5-foot walk-in, dedicate the longest wall to hanging, one short wall to folding, the floor under the rods to shoes, and the back wall or the door to accessories. Every item lives in exactly one zone — drift is how clutter comes back.
Hang zone
This is your longest wall, holding two hanging levels after the double-hang conversion below. Put most-worn categories here: shirts and blouses on the upper rod, pants and skirts on the lower. Long dresses and coats get their own short section at one end with full floor-to-ceiling clearance (about 60 to 65 inches).
Fold zone
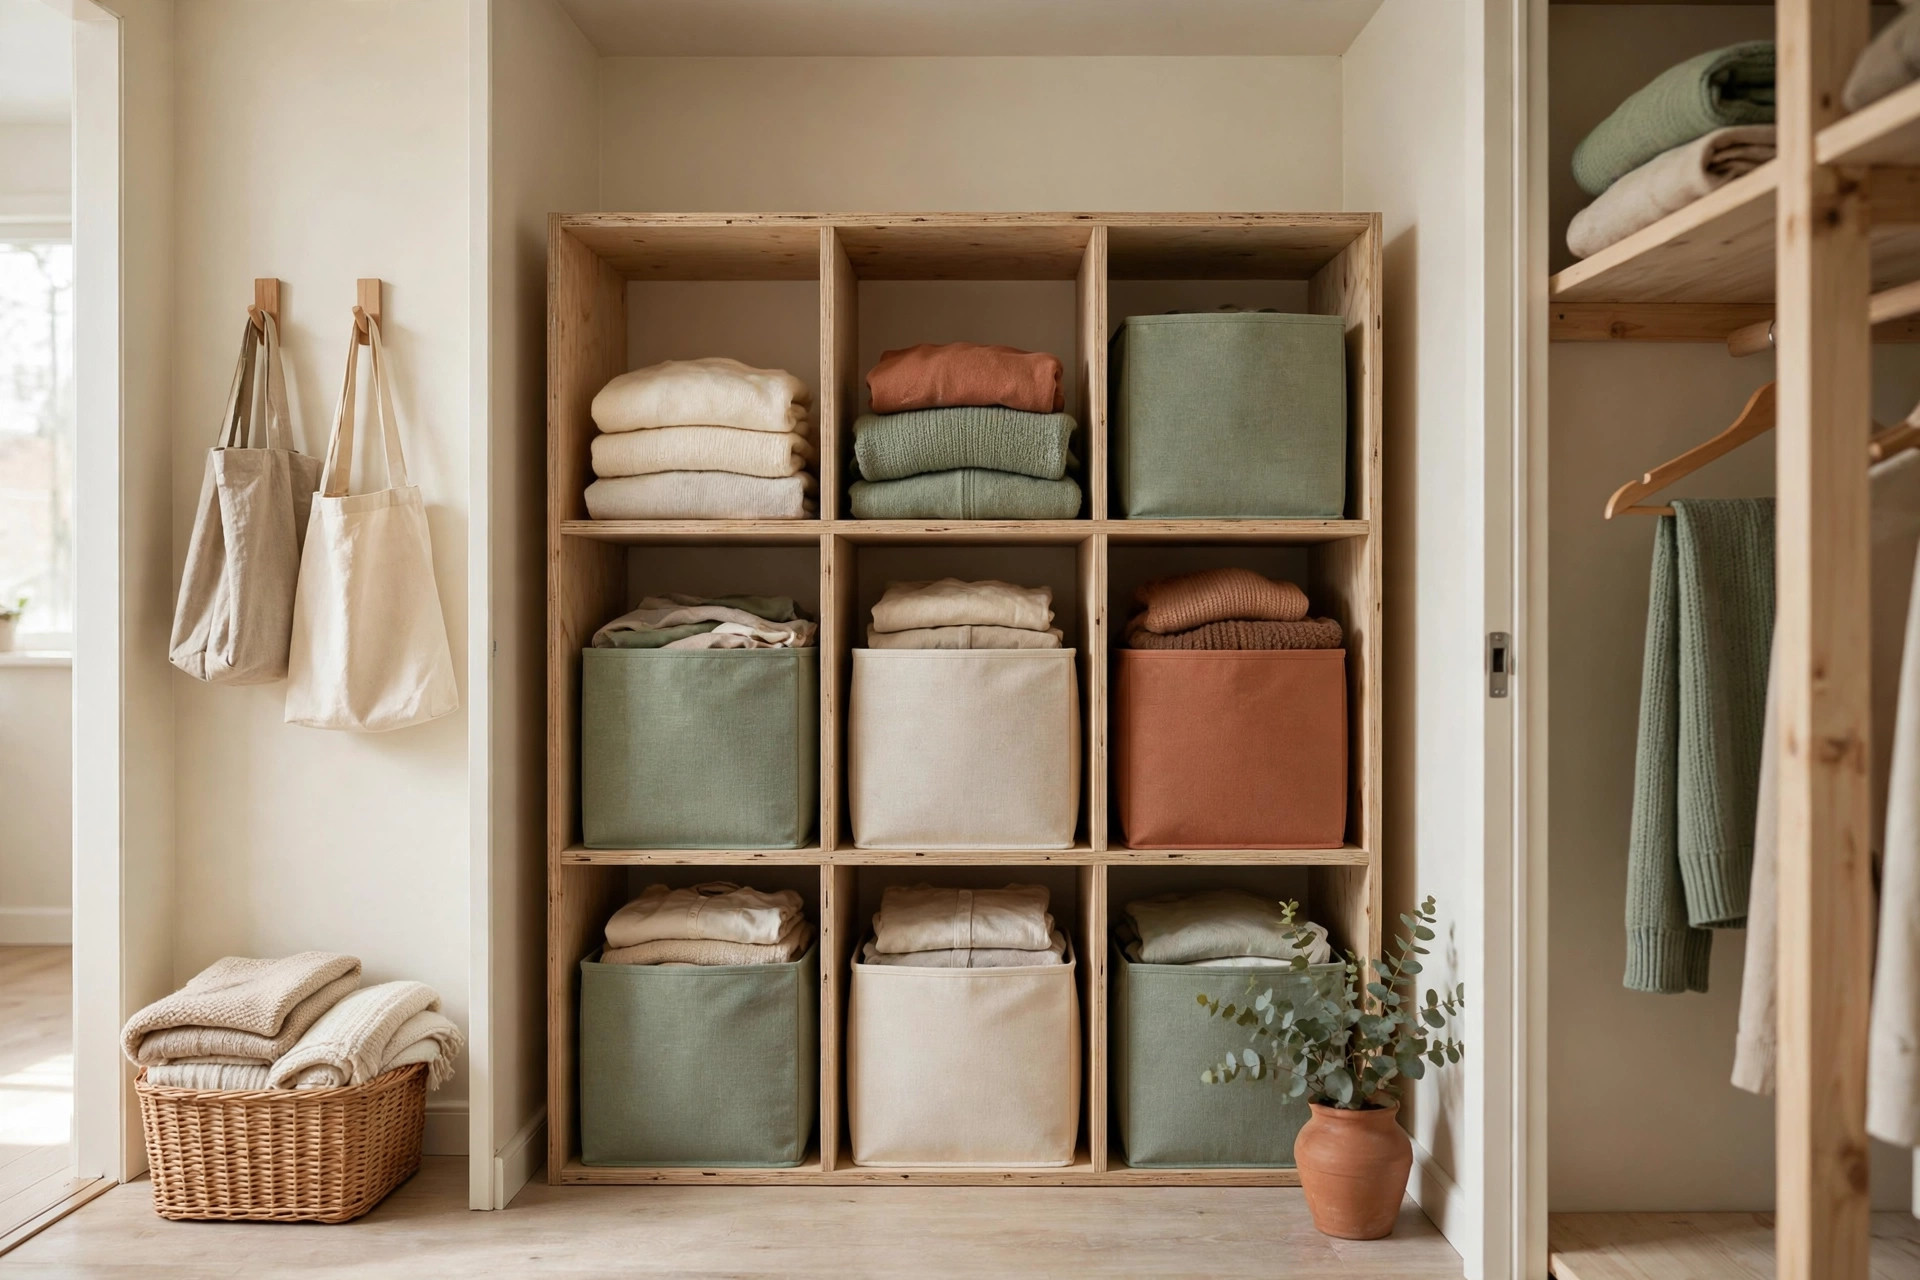
Sweaters, t-shirts, jeans, and workout clothes fold better than they hang — hanging wastes rod space and stretches them out. A 4-cube unit on one short wall holds roughly 24 to 32 folded garments, which covers most people’s fold pile.
Shoe zone
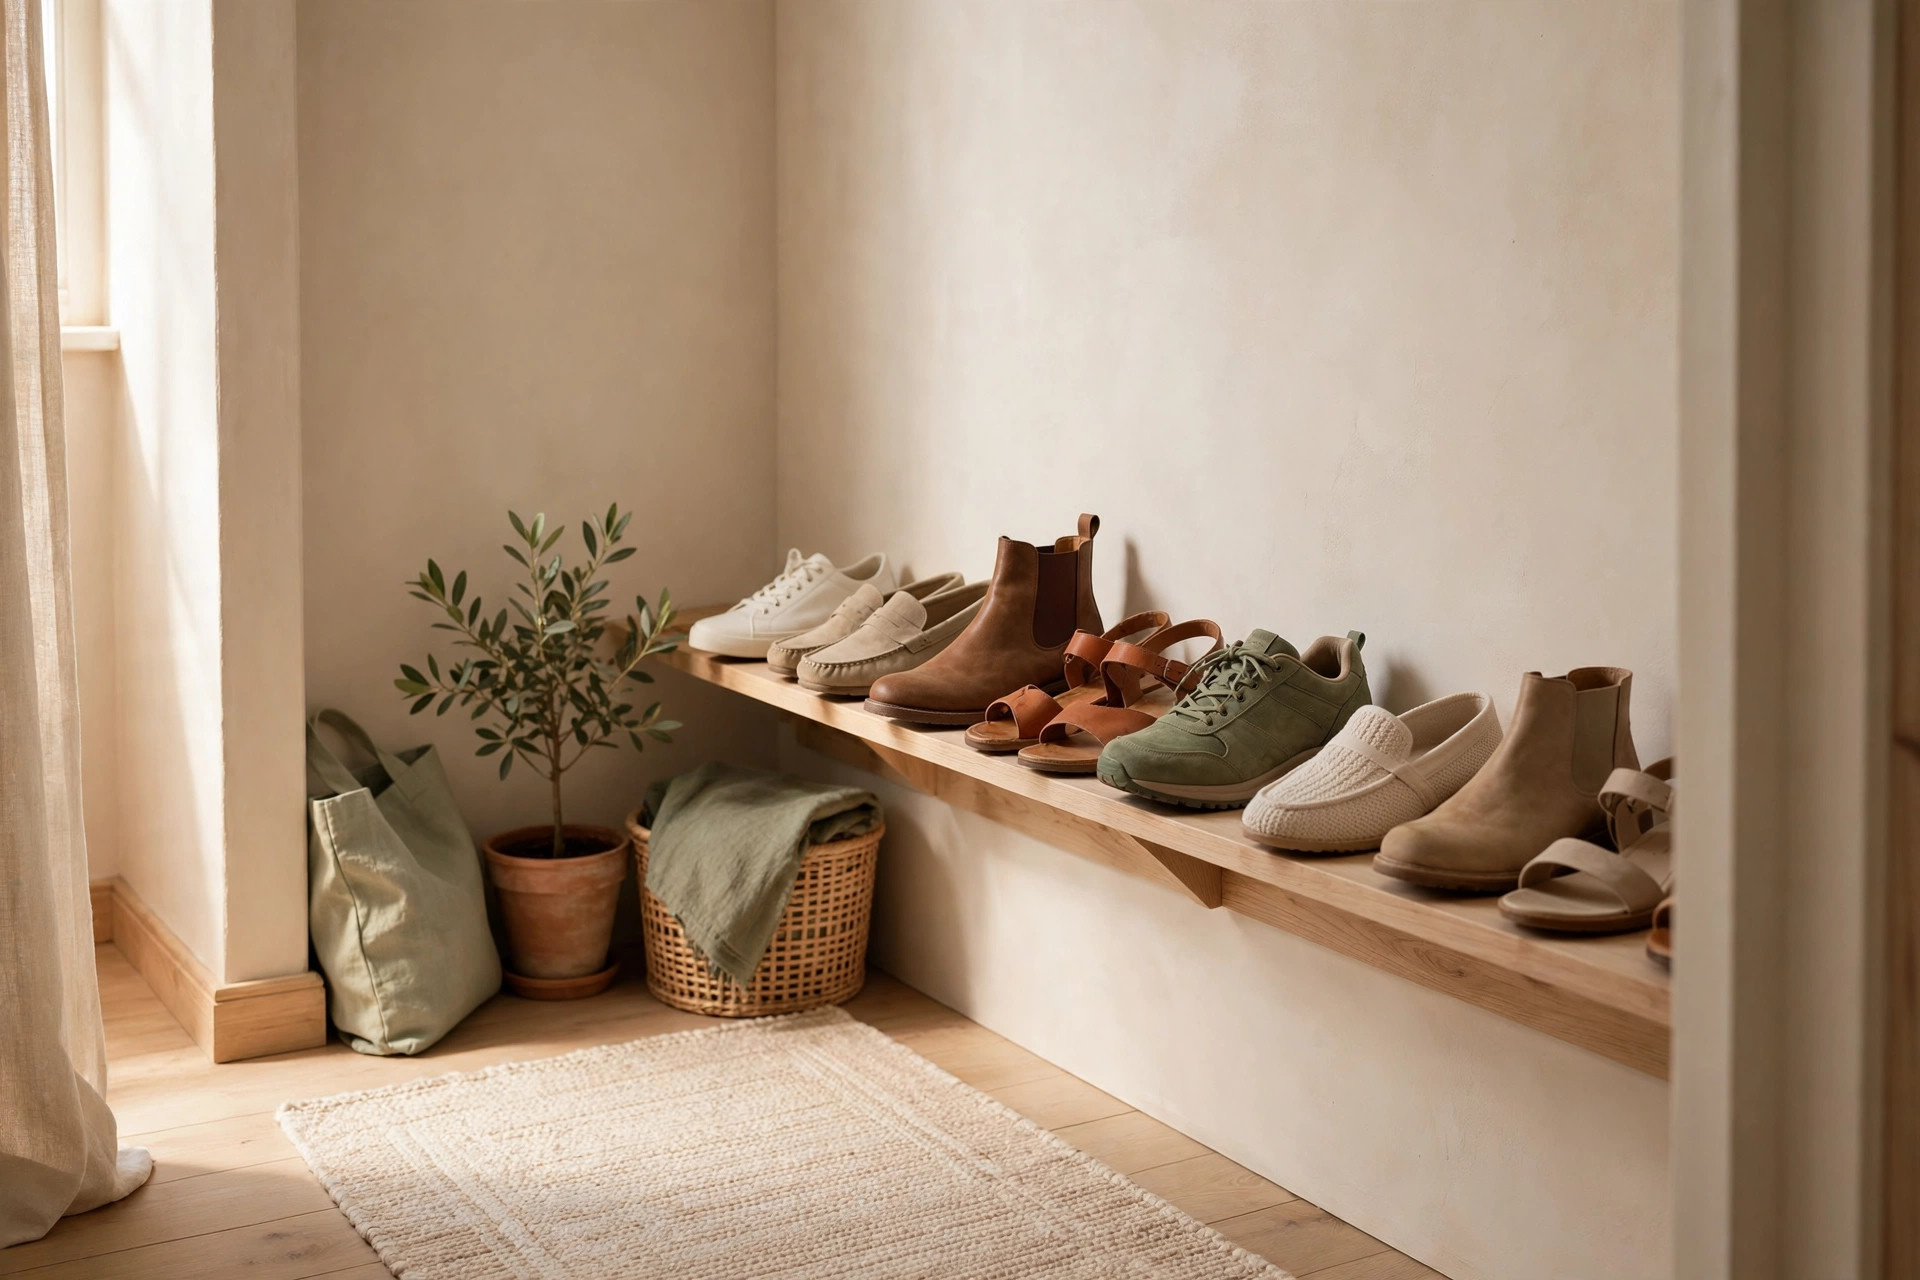
Shoes own the floor under the hang zone. A 60-inch wall fits about 12 to 15 pairs per row at 4 inches per pair, and a two-tier rack doubles that.
Accessories zone
Belts, bags, scarves, and hats go on the back wall, the inside of the door, or the top shelf above the rods. Hooks hold bags, a tension rod across a narrow wall holds scarves, and the high shelf is for seasonal items you do not reach for daily.
If drilling is off the table, the freestanding systems in our 17 Renter-Friendly Closet Organization Ideas (No Drilling Required) guide show no-damage ways to add every zone without touching the walls.
Double-hang conversion for instant capacity
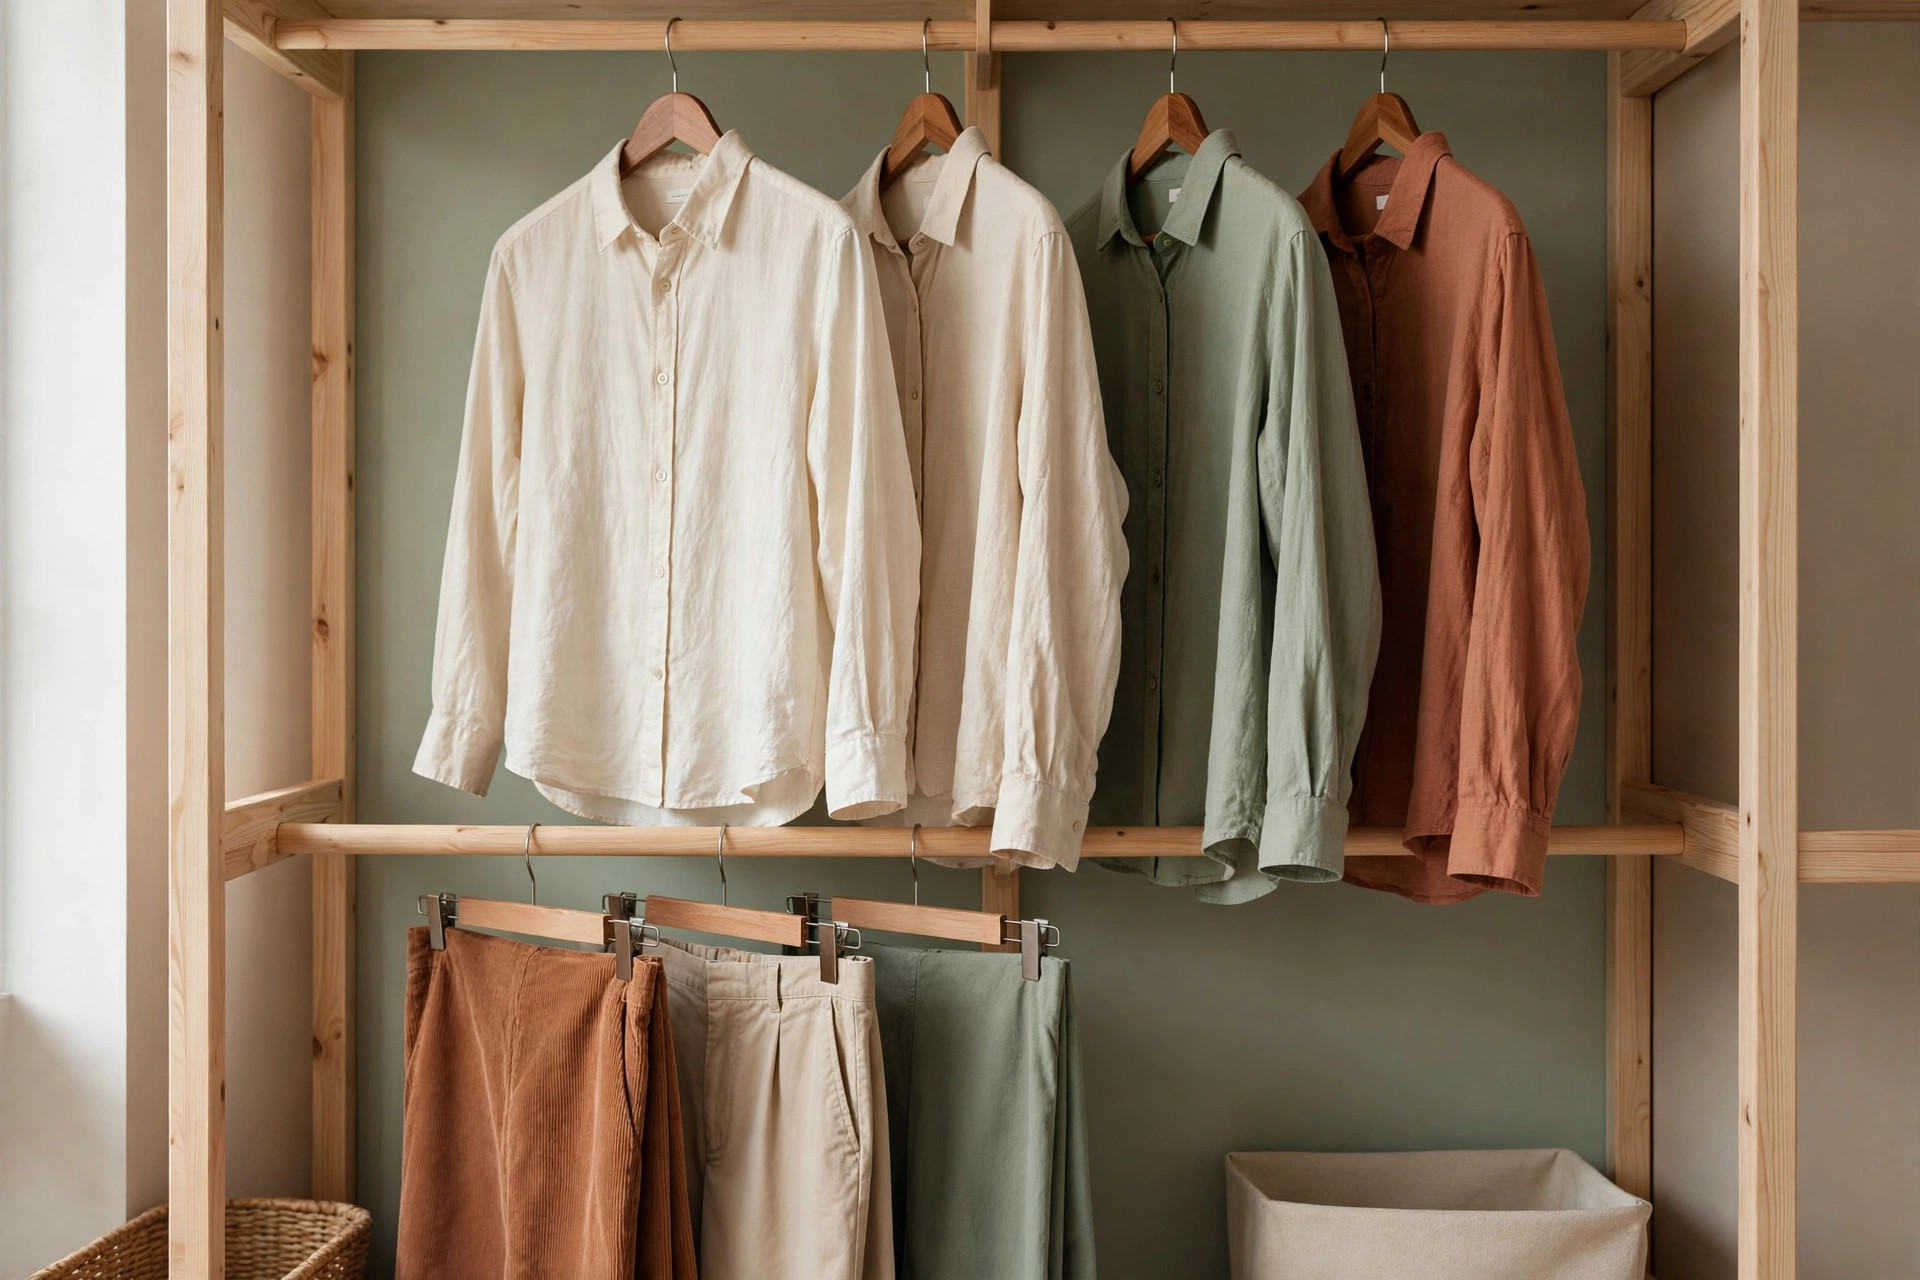
This single upgrade does more for a small walk-in than anything else you can buy. Most closets install one rod at 65 to 80 inches — the right height for long dresses but a giant empty column under every shirt and pair of pants. A double-hang conversion splits that column: shirts and jackets above, pants and skirts below.
Buy a hanging rod extender — the kind that hooks over your existing rod — for roughly $15 to $20. Hang it so the lower rod sits at about 40 inches and the upper stays at 75 to 80. A hanging shirt needs about 42 inches of clearance; pants folded over a hanger need about 45. Reserve one short upper-rod section for long dresses (55 to 65 inches) and never double-hang under it.
Next, swap your hangers. Standard plastic hangers are about 2 inches thick at the hook; slim velvet hangers about 0.2. Across a 48-inch wall, that is roughly 24 shirts versus roughly 60. A 30-pack costs about $12 to $15 — the cheapest capacity boost in closet organization. Keep five to ten sturdy wood hangers for heavy coats and blazers.
The same double-hang principle powers our 18 Small Reach-In Closet Organization Ideas That Double Your Space guide, and it works even better in a walk-in because you can reach both sides of the rods. Total cost for this section: roughly $27 to $35.
Budget shelving and cube units
Shelving is where folded clothes, bags, and daily accessories live, and you do not need custom built-ins. A freestanding cube organizer — the 11-inch kind sold everywhere — costs $25 to $40 for a 4-cube unit and fits a small walk-in perfectly. Place it on one short wall or in the dead corner where rods cannot reach. Each 11-inch cube holds 6 to 8 folded shirts or sweaters, so four cubes absorb 24 to 32 items off your rod and out of the laundry-chair pile.
Match the cubes with fabric bins at about $3 to $5 each, one per category: underwear, socks, workout gear, off-season accessories. Label the bins if you share the closet — shared closets stay organized only when ownership is visible. Stack two bins max per cube; three looks tidy for a week and then slides.
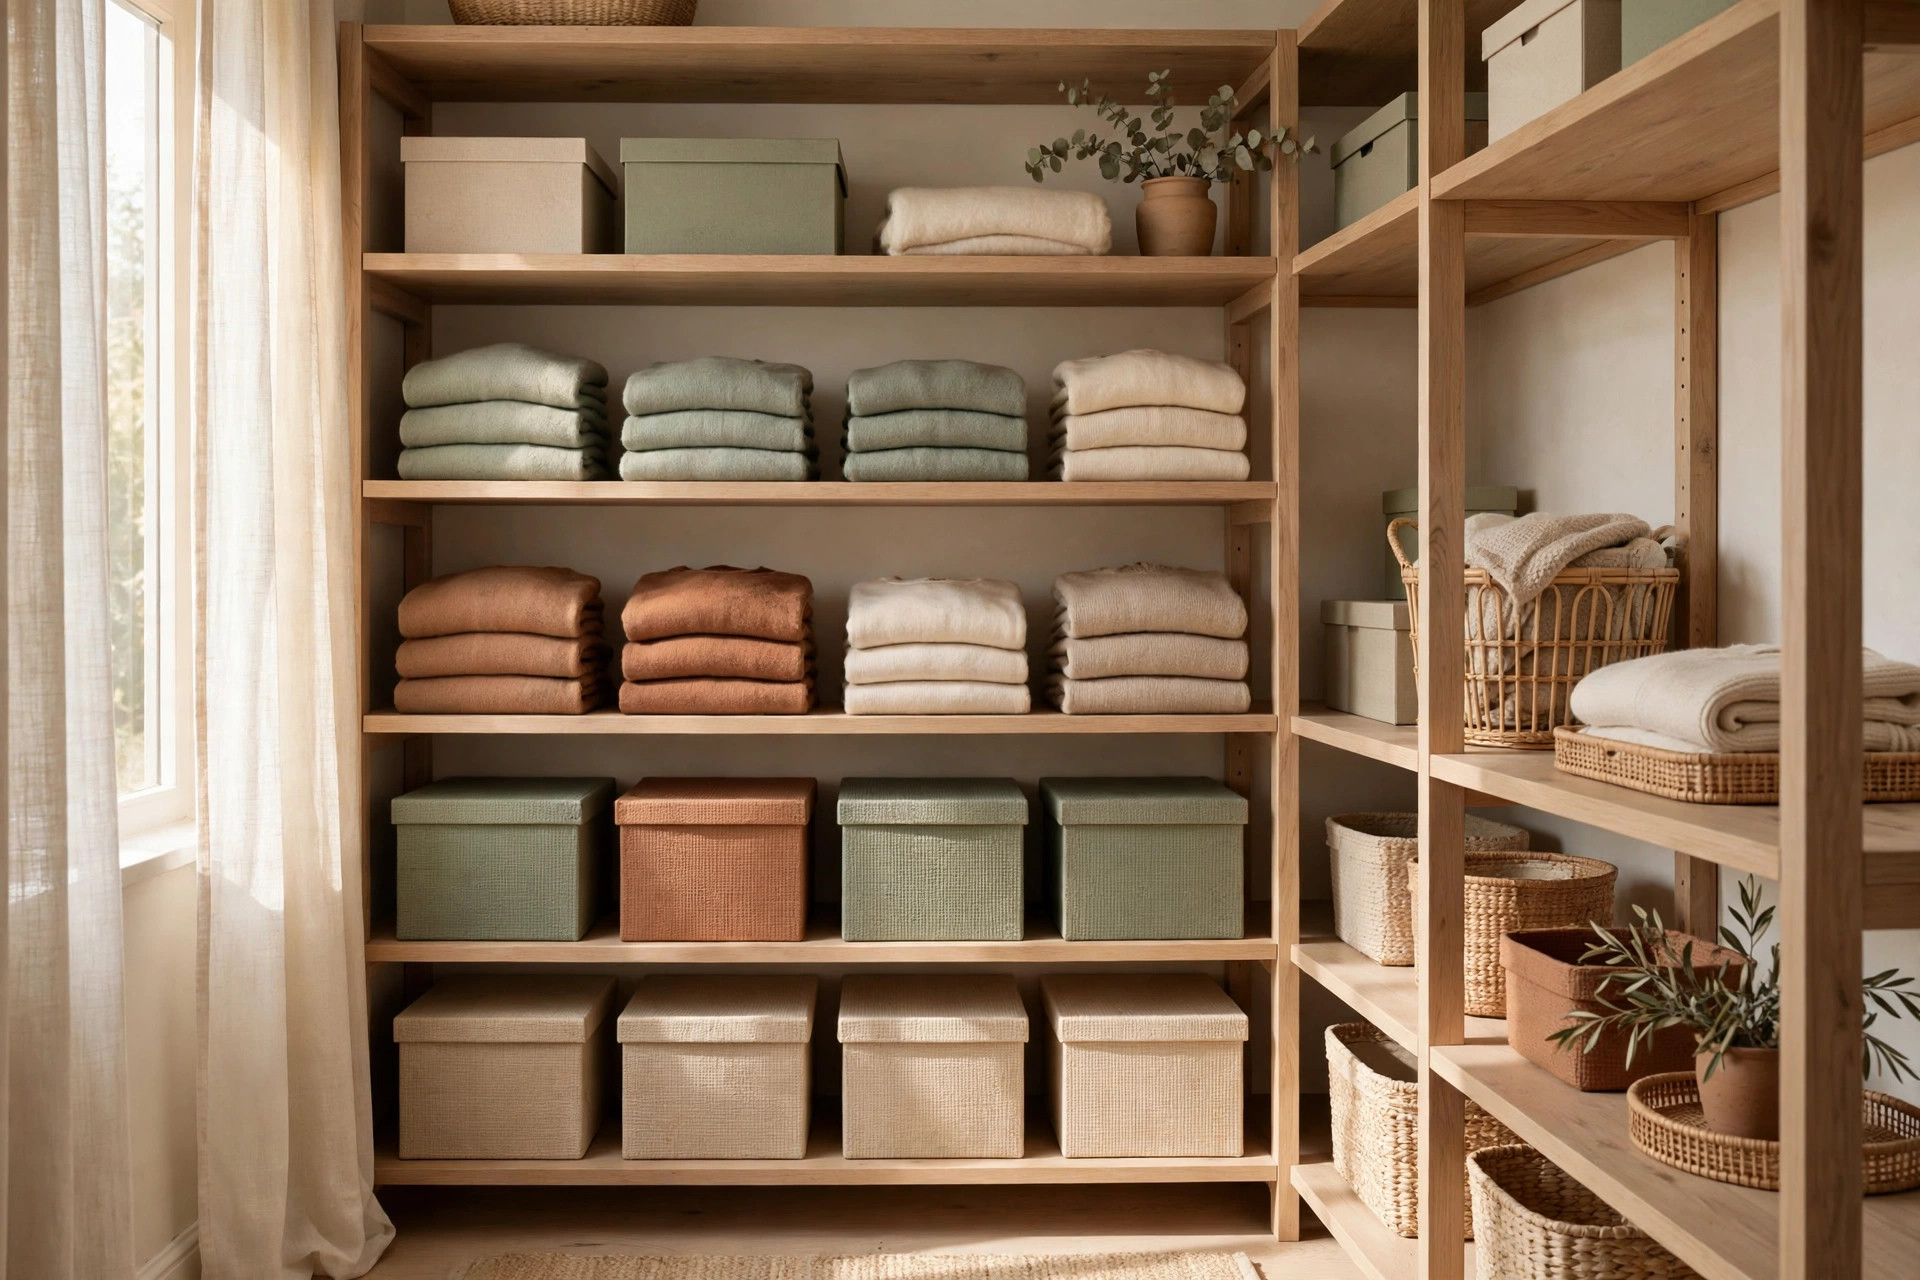
For the shelf above the rods, add shelf dividers (about $10 for a 6-pack) to keep stacks of jeans, handbags, or storage boxes from toppling. The top shelf is deep — often 12 inches or more — so store in front-to-back rows rather than one deep stack, and keep a small step stool nearby so you actually use it.
One trade-off: cube units eat floor space. If your walk-in is narrower than 4 feet, a 15-inch-deep unit on the short wall can block the path to the long wall. In that case, stack fabric bins on the high shelf instead — you lose a little convenience but keep the walkway clear.
Shoe storage that fits the floor
Shoes are the fastest fix — they only need floor space you already have. A small walk-in typically has 20 to 30 square feet of floor, and most of it sits empty under the hanging rods. Line your shoes in a single row under the lower rod with 4 inches of width per pair. For a 60-inch wall, that is 12 to 15 pairs per row.
The cheapest setup that actually works: a two-tier under-rod shoe rack for $12 to $18. It lifts half your shoes to a second level, doubling capacity in the same footprint. For boots, use boot shapers or clip them to a hanging boot organizer — boots laid on their sides waste the depth of the whole shelf.
Sort shoes by wear frequency, not by type. The three pairs you wear weekly go at the front edge, easy to grab without moving anything. Seasonal shoes — sandals in winter, boots in summer — go in a labeled bin on the top shelf, out of the daily zone entirely.
If your collection still overflows after this, our Bedroom Storage Ideas for Small Rooms With No Closet guide has overflow strategies — under-bed bins and over-door racks — that work for shoes that will not fit inside the closet.
Lighting: the $15 upgrade that changes everything
Small walk-ins are almost always dark, and a dark closet gets messy because you cannot see what you own. You skip the black sweater because you cannot tell it from the navy one. Lighting fixes this for less than the cost of the hanger pack.
Buy a 6-pack of battery-powered LED puck lights for about $10 to $15. Stick one under each shelf, one inside the cube unit, and one or two on the walls above the shoe zone. Choose 3000K to 4000K color temperature — warm enough to look like real light, cool enough that colors read accurately. Avoid ultra-blue 6000K+ lights; they make everything look harsh and colors look wrong.
If you want motion sensing, battery-powered LED strips run about $15 to $20 for a two-pack and turn on when you step in. Mount one strip along the top of the back wall and one under the main shelf. They run on USB-rechargeable batteries that last several weeks between charges.
Do the lighting last, after all the zones are in place, so you position the lights around the actual layout instead of guessing where shadows will fall.
The 15-minute weekly reset
This 15-minute reset keeps every zone working — systems fail from neglect, not bad design. Set a timer and do it in order; the sequence matters because each step clears space for the next one.
- Hang the strays (4 minutes). Walk the closet and bedroom, collect everything draped on chairs or doorknobs, and hang it in the hang zone.
- Refold the fold zone (4 minutes). Straighten the cube bins and refold the top two layers of each stack.
- Fix the shoe line (3 minutes). Push every shoe back against the wall or onto its tier. Shoes migrate forward during the week; three minutes puts the row back in formation.
- Clear the floor (2 minutes). Anything on the floor that is not a shoe goes back to its zone. The floor is a walkway, not storage.
- Scan for exits (2 minutes). One item you have not worn in a year leaves the closet — donate, sell, or trash. A closet that never loses items eventually overflows any system.
Mistakes to avoid in a small walk-in closet
Most small walk-ins fail for the same five reasons, and all of them are fixable without spending more money.
Buying before measuring. A rod extender that hangs too low, a cube unit that blocks the walkway, a shoe rack deeper than the space under your rods — every one of these comes from shopping before measuring. The three numbers from the start of this guide prevent all of it.
Storing long items in the double-hang section. One long coat hung in the middle of your lower rod pushes everything aside and defeats the whole conversion. Keep long items on their own dedicated section of the upper rod, at one end of a wall.
Using the floor as overflow. The moment non-shoe items live on the floor — bags, laundry, the box you meant to unpack — the walkway narrows, you stop going into the back, and the back corner becomes a dead zone.
Mixing zones. When belts hang in the hang zone and scarves live wherever, the system stops being findable. Every item gets one home, and the weekly reset enforces it.
Ignoring the top shelf. That high shelf holds 12-plus inches of depth across every wall — real storage, not decoration. Seasonal items and labeled bins live there. If you never reach it, that is a step-stool problem, not a shelf problem.
Frequently asked questions
How do I organize a very small walk-in closet?
Assign zones first: one wall for hanging, one for folding with a cube unit, the floor for shoes, and the door or back wall for accessories. Then double-hang the longest wall with a rod extender and slim hangers — roughly double the hanging capacity. Finish with lighting so you can see what you built.
Can you organize a walk-in closet on a budget?
Yes. The full plan here costs under $100: a rod extender ($15–$20), slim hangers ($12–$15), a 4-cube organizer ($25–$40), fabric bins ($3–$5 each), a two-tier shoe rack ($12–$18), and battery puck lights ($10–$15). Zoning and double-hanging beat custom carpentry in a small walk-in.
How do I add a second rod without drilling?
Use a hanging rod extender that hooks over your existing rod — no tools, no holes, and it comes down cleanly if you move. Hang the lower rod at about 40 inches for shirts, pants, and skirts, and keep long dresses and coats on a dedicated section of the upper rod.
What is the best way to store shoes in a small walk-in closet?
Line them in a single row under the lower hanging rod with about 4 inches per pair, then add a two-tier under-rod rack to double that row. Keep your most-worn pairs at the front edge, and move seasonal shoes to a labeled bin on the top shelf so the daily zone stays clear.
How do I keep a small walk-in closet organized long-term?
Run the 15-minute weekly reset: hang strays, refold the fold zone, fix the shoe line, clear the floor, and remove one item you no longer wear. Anchor it to laundry day or Sunday evening — systems fail from neglect, not bad design.
A small walk-in closet does not need a renovation — it needs zones, a second rod, and light. Do the double-hang conversion first for the biggest capacity win, add cube units and shoe racks with whatever budget is left, and finish with lighting so you can see the system you built. For more closet projects, browse our closet organization category, and save this pin for later so the zone plan is waiting when your weekend opens up.