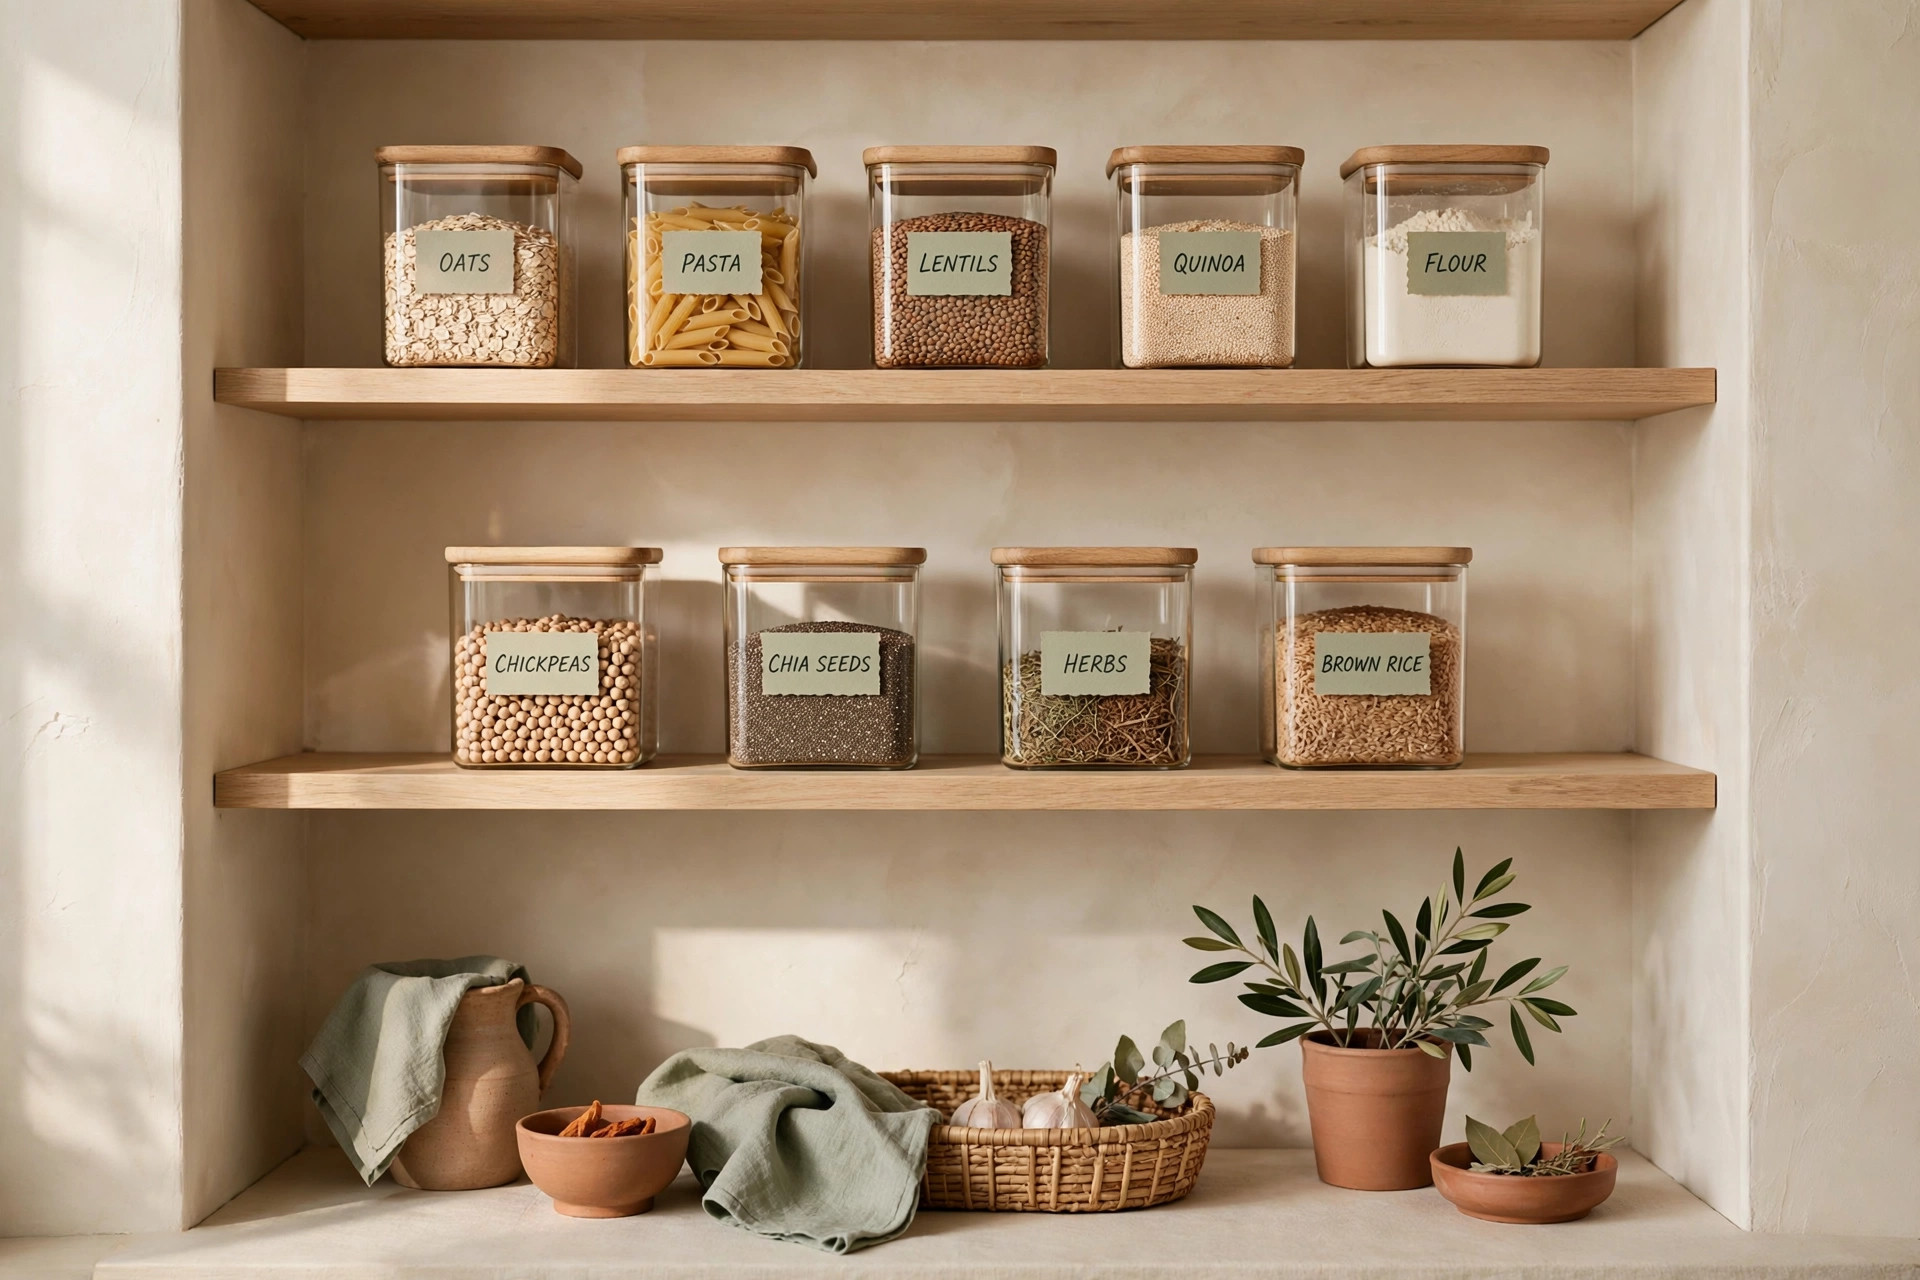
The space under your kitchen sink is the most awkward cabinet in the house. It’s narrow, it’s damp, and a forest of pipes eats up the middle — so most people just shove cleaning bottles in and hope the door closes. If you’re looking for under sink kitchen organization that works in a tiny cabinet, stop fighting the pipes and plan around them. These 15 specific, renter-friendly ideas — from a $10 tension rod trick to a grab-and-go cleaning caddy — turn that chaotic cabinet into the hardest-working storage in your kitchen.
Measure Around the Pipes First (the Step That Determines Everything)
Most under-sink organization fails before it starts: bins sized for the cabinet’s outer dimensions don’t fit around the P-trap. Five minutes of measuring saves a return trip.
Idea 1: Measure the cabinet and the pipes, then sketch a paper template
Measure the cabinet’s interior width, depth, and height, then the pipes separately: drain diameter, how far the trap juts from the back wall, and the trap’s lowest point from the cabinet floor. Cut a paper grocery bag to the cabinet’s interior footprint, lay it on the floor, and mark where the pipes land. Bring that template to the store and test every bin against it — if a bin can’t sit flat without overlapping a pipe mark, it won’t fit, no matter what “under-sink sized” packaging claims.
Idea 2: Map three zones around the plumbing
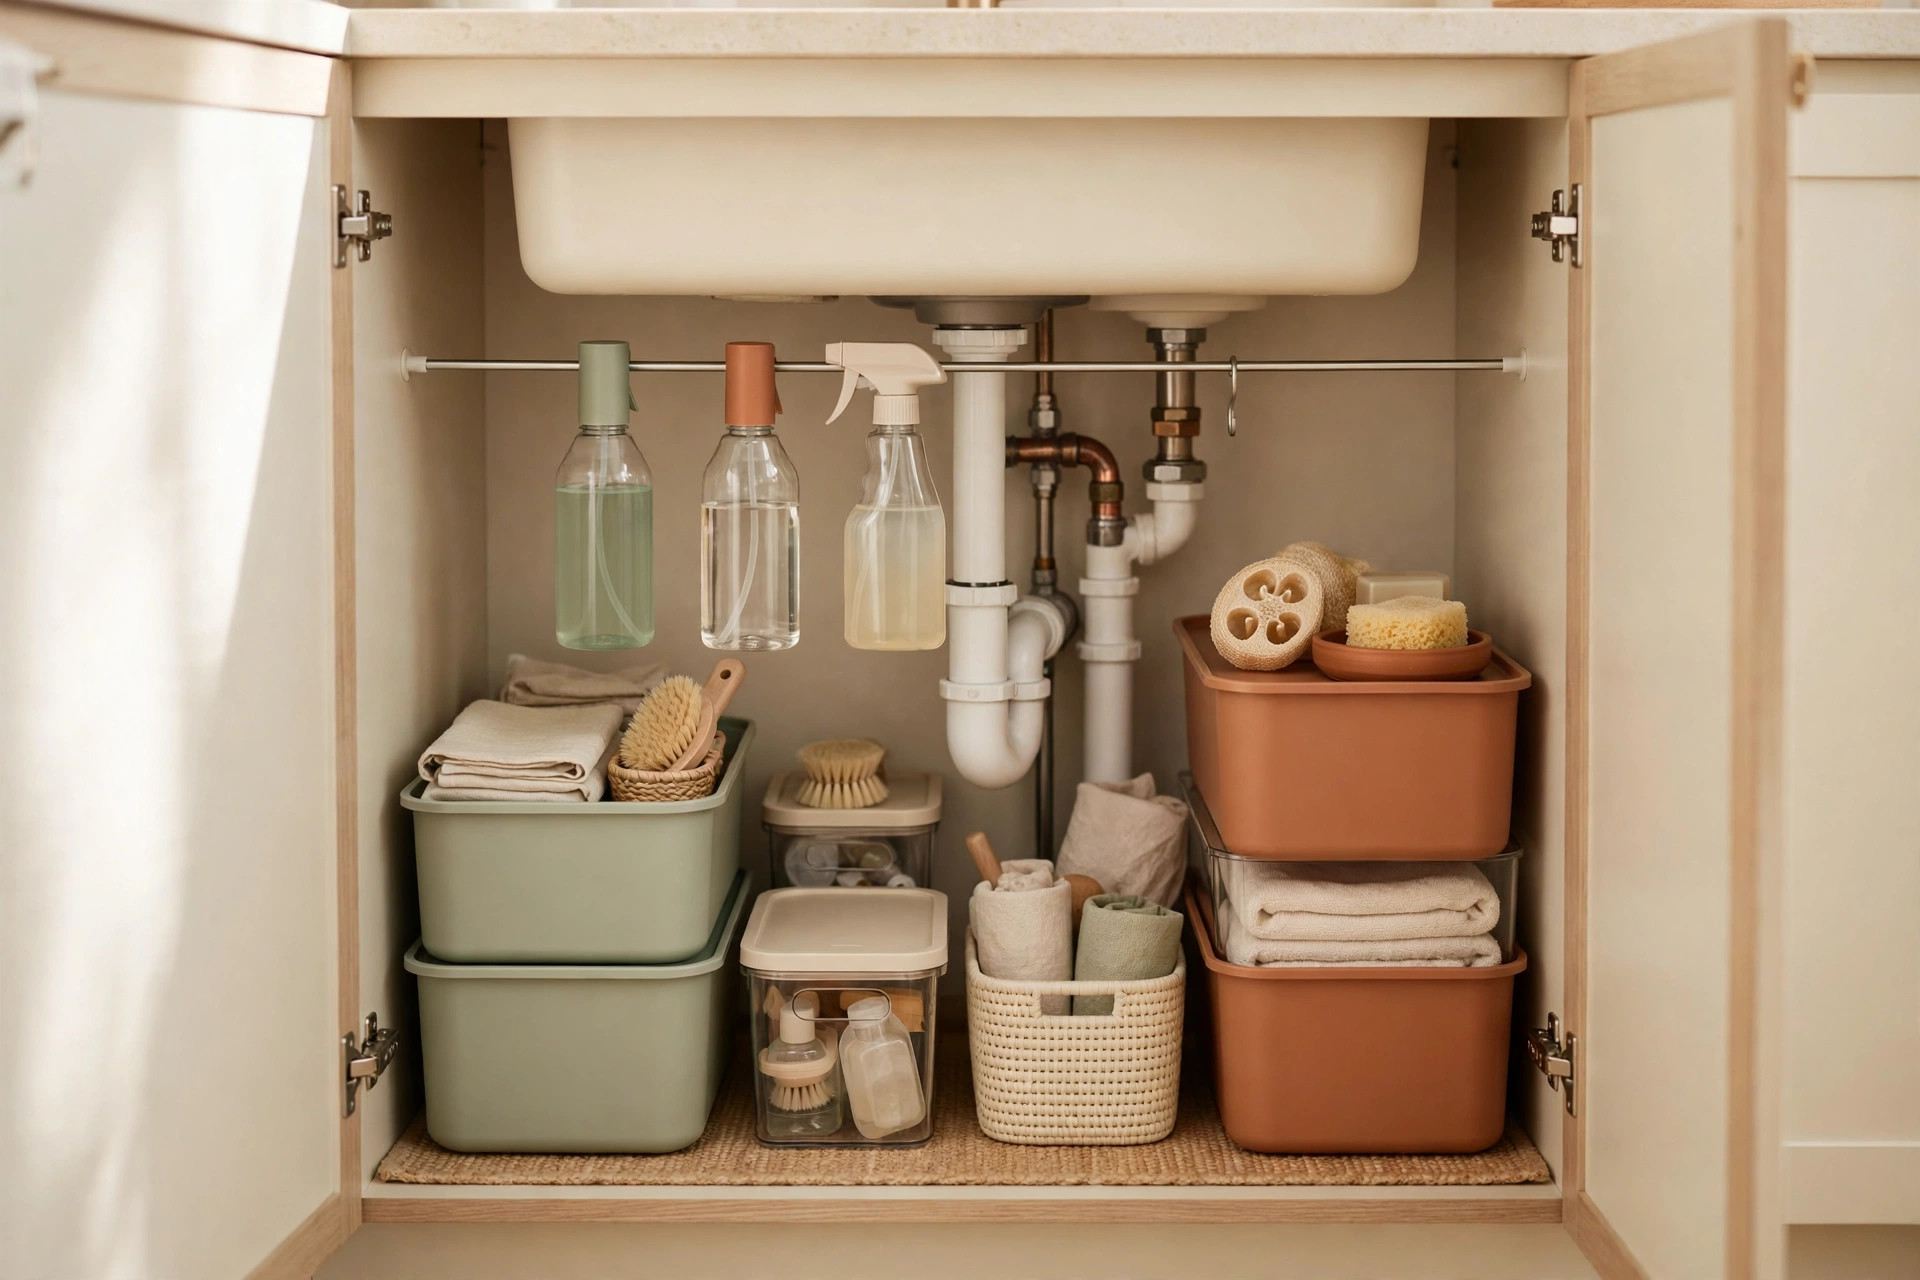
Make the pipe-divided layout official with three zones. The center zone (under the drain and disposal, if you have one) is tall and awkward — best for hanging storage. The side zones beside the pipes are shallow but usable — that’s where bins and pull-outs live. The door zone (the back of the cabinet door) is flat and the driest spot, perfect for slim organizers. Once you think in zones, every purchase has a home before you buy it.
Stackable Bins vs Pull-Out Drawers: What Fits Your Cabinet
The answer depends on your cabinet’s shape — each suits a different zone.
Idea 3: Use stackable 10×6×6-inch bins for the side zones
For narrow clearances beside the pipes, small stackable bins win. Look for open-top bins roughly 10 inches wide, 6 deep, and 6 tall — they slide into the side zones without colliding with the trap, and you can stack two for dish pods, sponges, and trash bags. Choose tapered bins (wider at the top) so they nest when empty, leave half an inch of clearance per side, and label the fronts so you grab without pulling everything out.
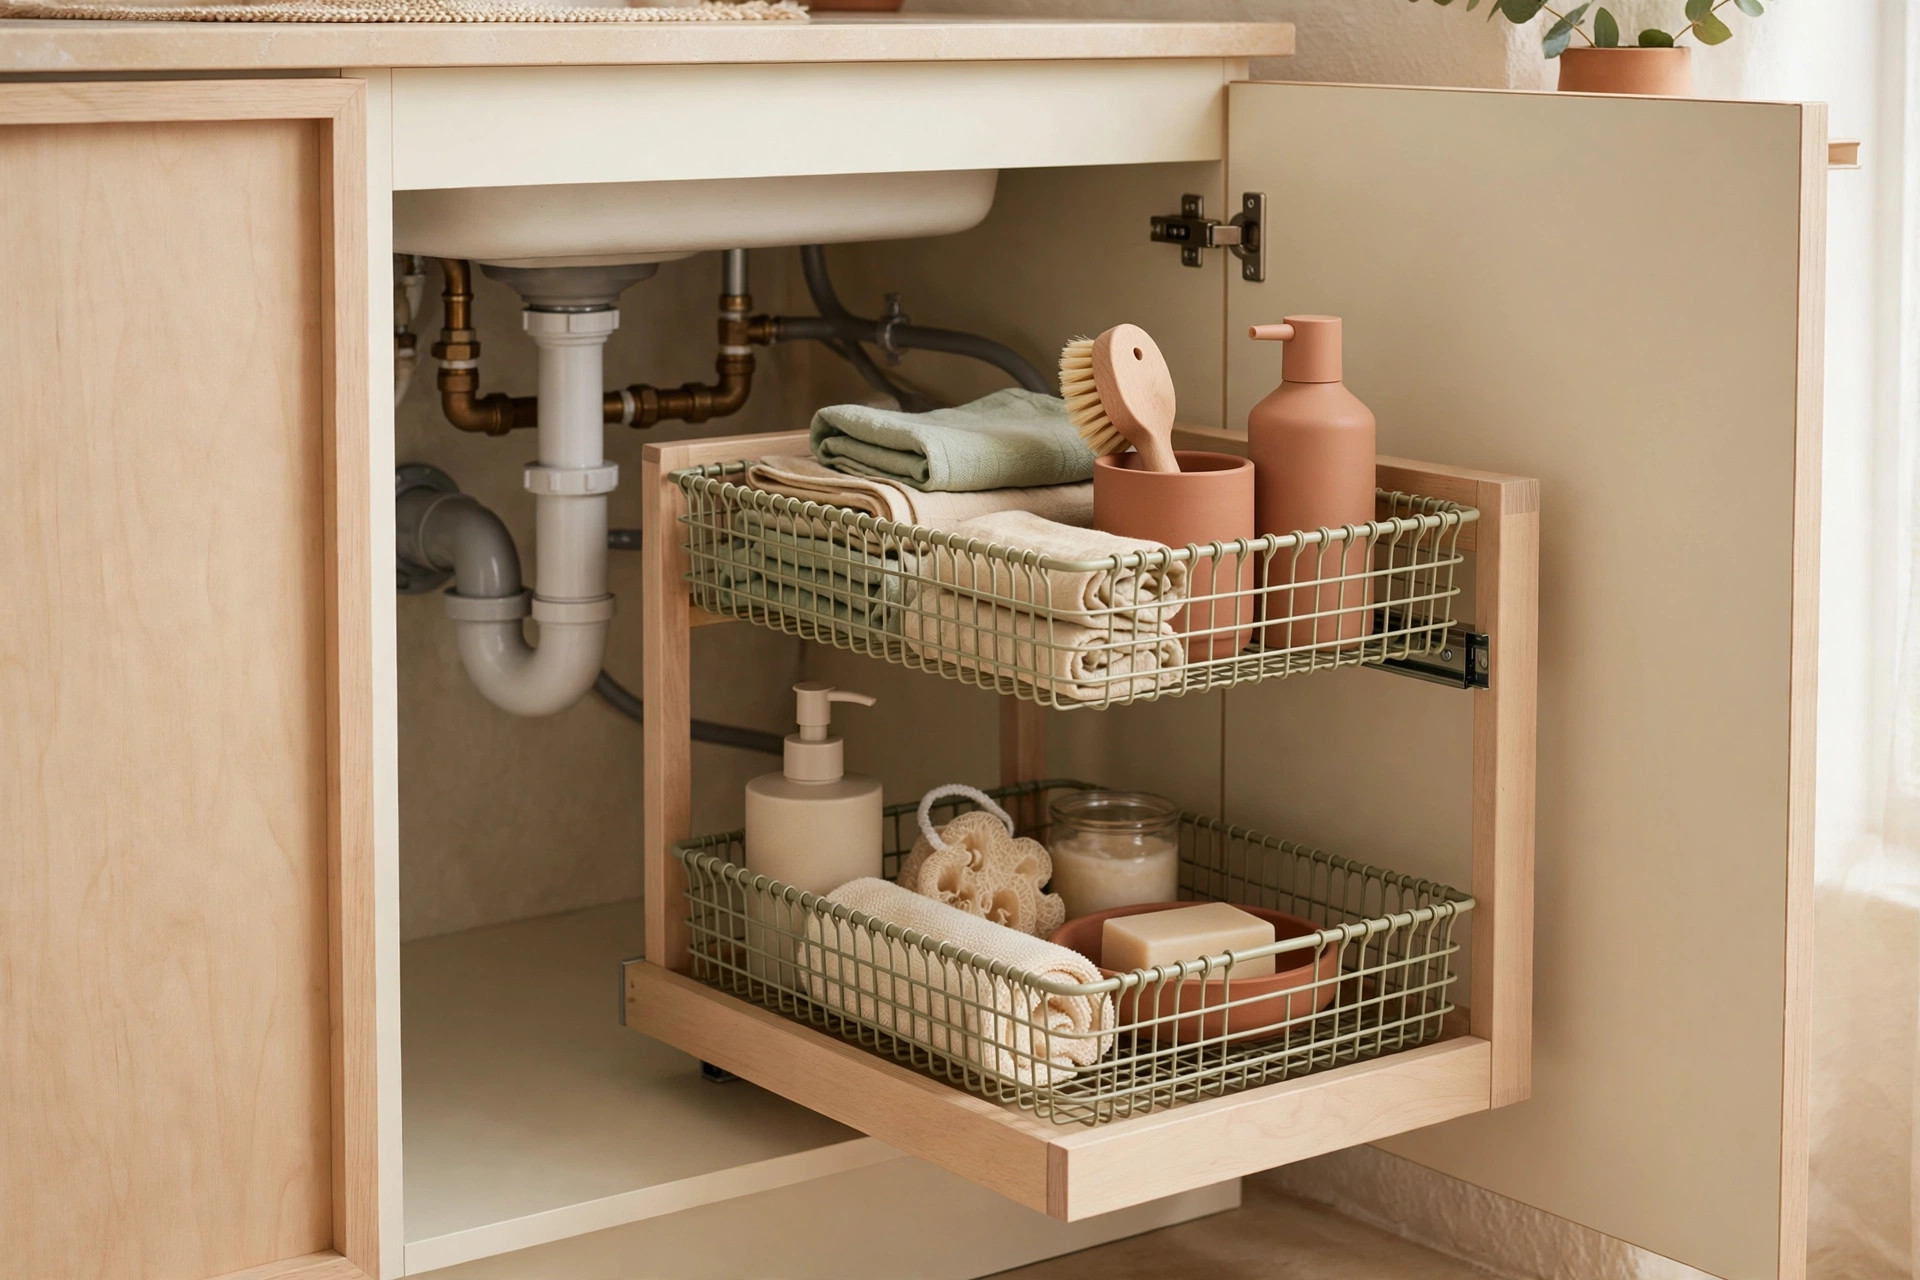
Idea 4: Put a two-tier pull-out basket on the widest side
If one side of the cabinet has at least 8 inches of clear width, a two-tier pull-out basket turns that dead rectangle into real vertical storage. The pull-out matters because under-sink cabinets are deep — without it, back-row bottles die of old age. Get one with a front handle for one-handed pulls: daily bottles (dish soap, all-purpose spray, sponge refills) on top, the tall detergent jug below. Measure floor-to-lowest-pipe first: most two-tier pull-outs need about 16–17 inches of clear height.
The Tension Rod Trick for Hanging Spray Bottles
Spray bottles are the tyrants of under-sink cabinets: tall, tippy, unstackable. The $10 fix uses the cabinet’s most ignored space — the air above the pipes.
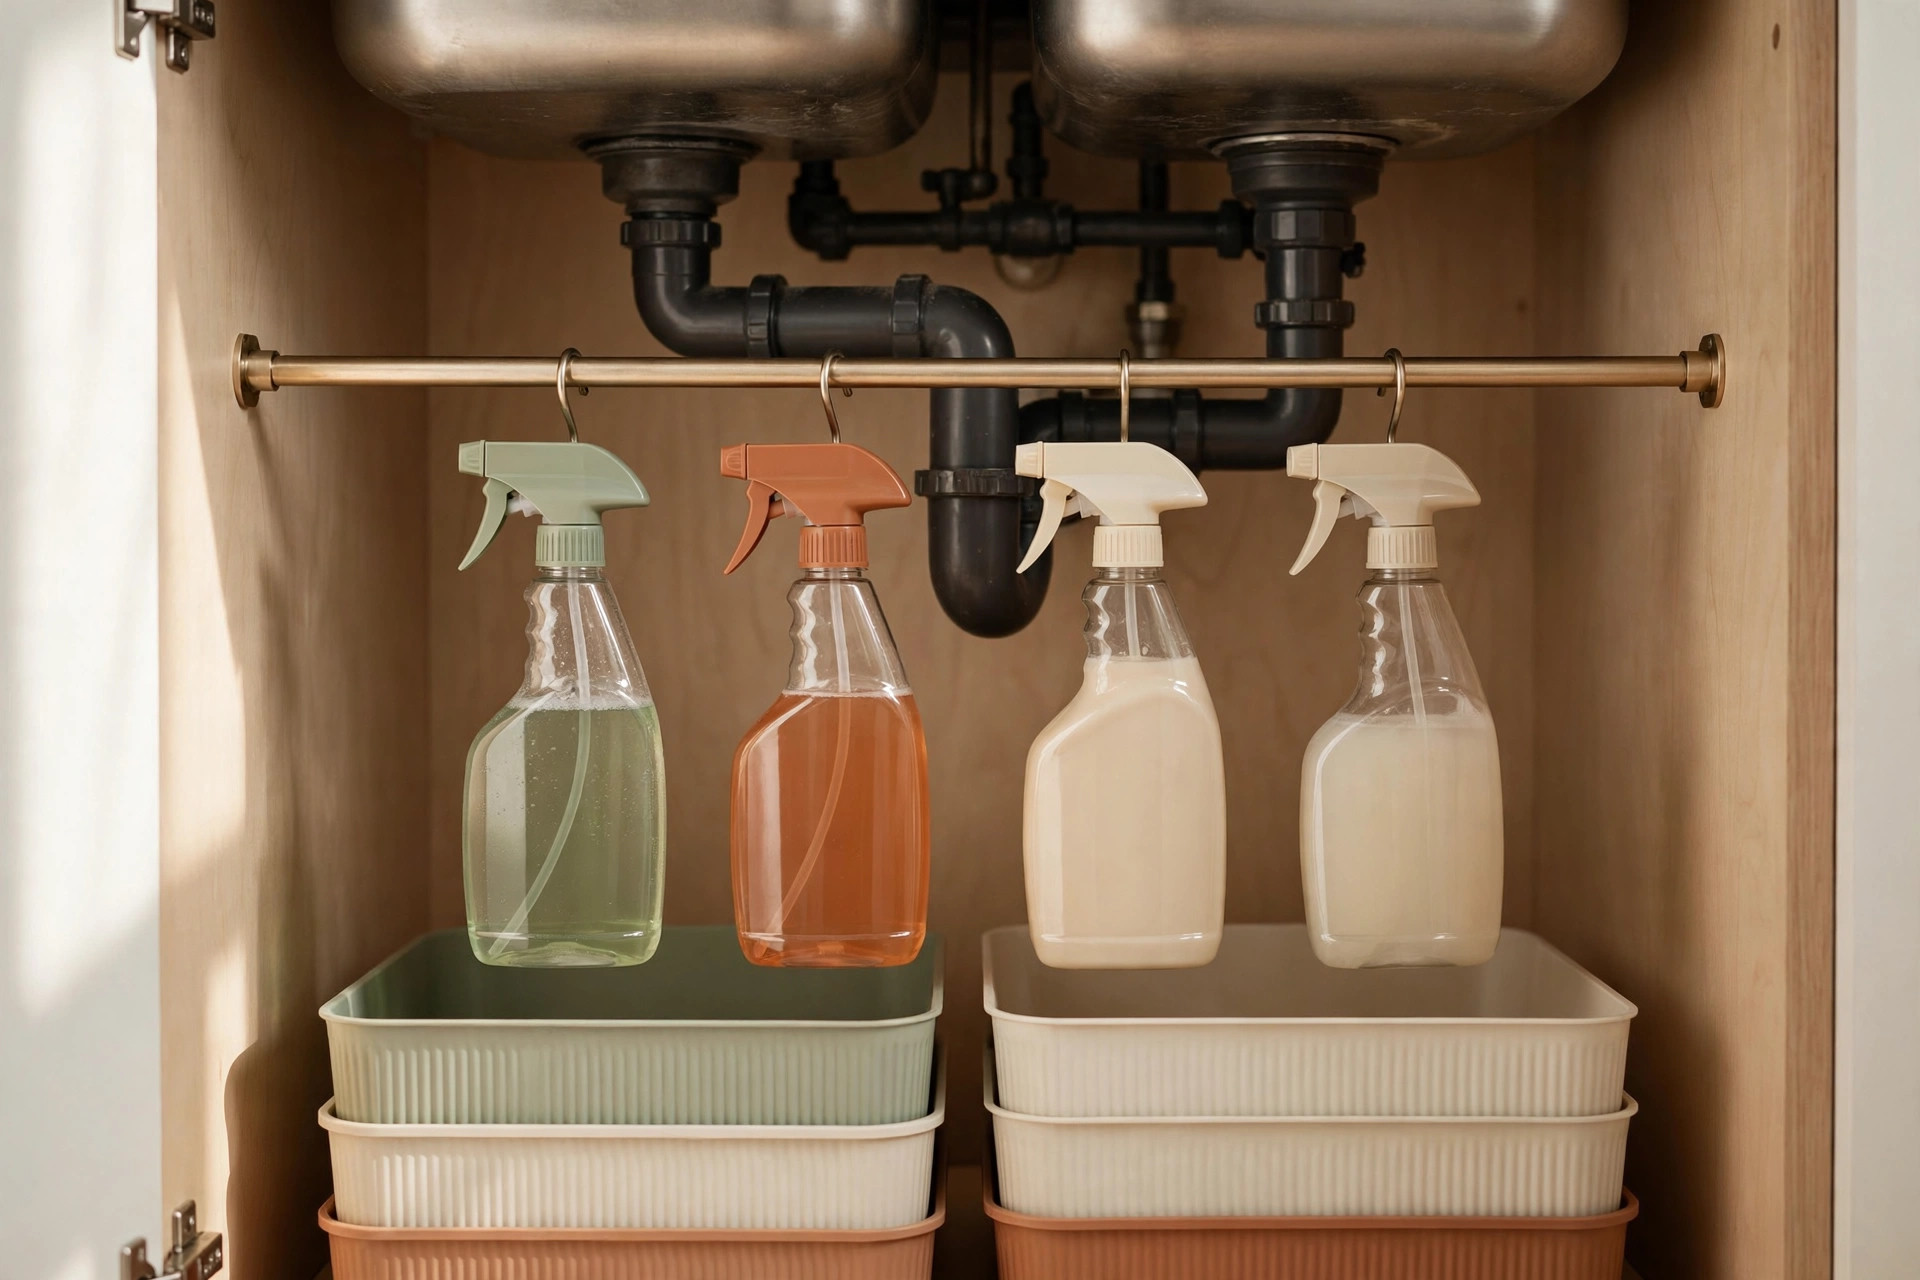
Idea 5: Hang spray bottles from a tension rod mounted high across the cabinet
Twist a spring-loaded tension rod (common spans: 16–24 or 24–36 inches) into place as high as possible — at least 2 inches above your tallest bin stack. Hang spray bottles by their trigger handles — a small cabinet fits 3–4 this way, every label visible, nothing tipping. Re-check the tension every few months; humidity loosens it over time.
Idea 6: Add S-hooks on the rod for scrub brushes and dish gloves
Double the rod’s value with two or three S-hooks: scrub brush, dish gloves (by the cuff), and vegetable brush — items that otherwise rot in a damp floor pile. Hanging in the cabinet’s warm, dry center air lets them dry between uses. Same hanging-beats-piling logic as the under-sink section of our tiny bathroom organization guide.
Door-Mounted Organizers for Sponges and Brushes
The back of the cabinet door is a square foot of ignored storage: flat, in your hand the moment you open it, and the driest real estate under the sink.
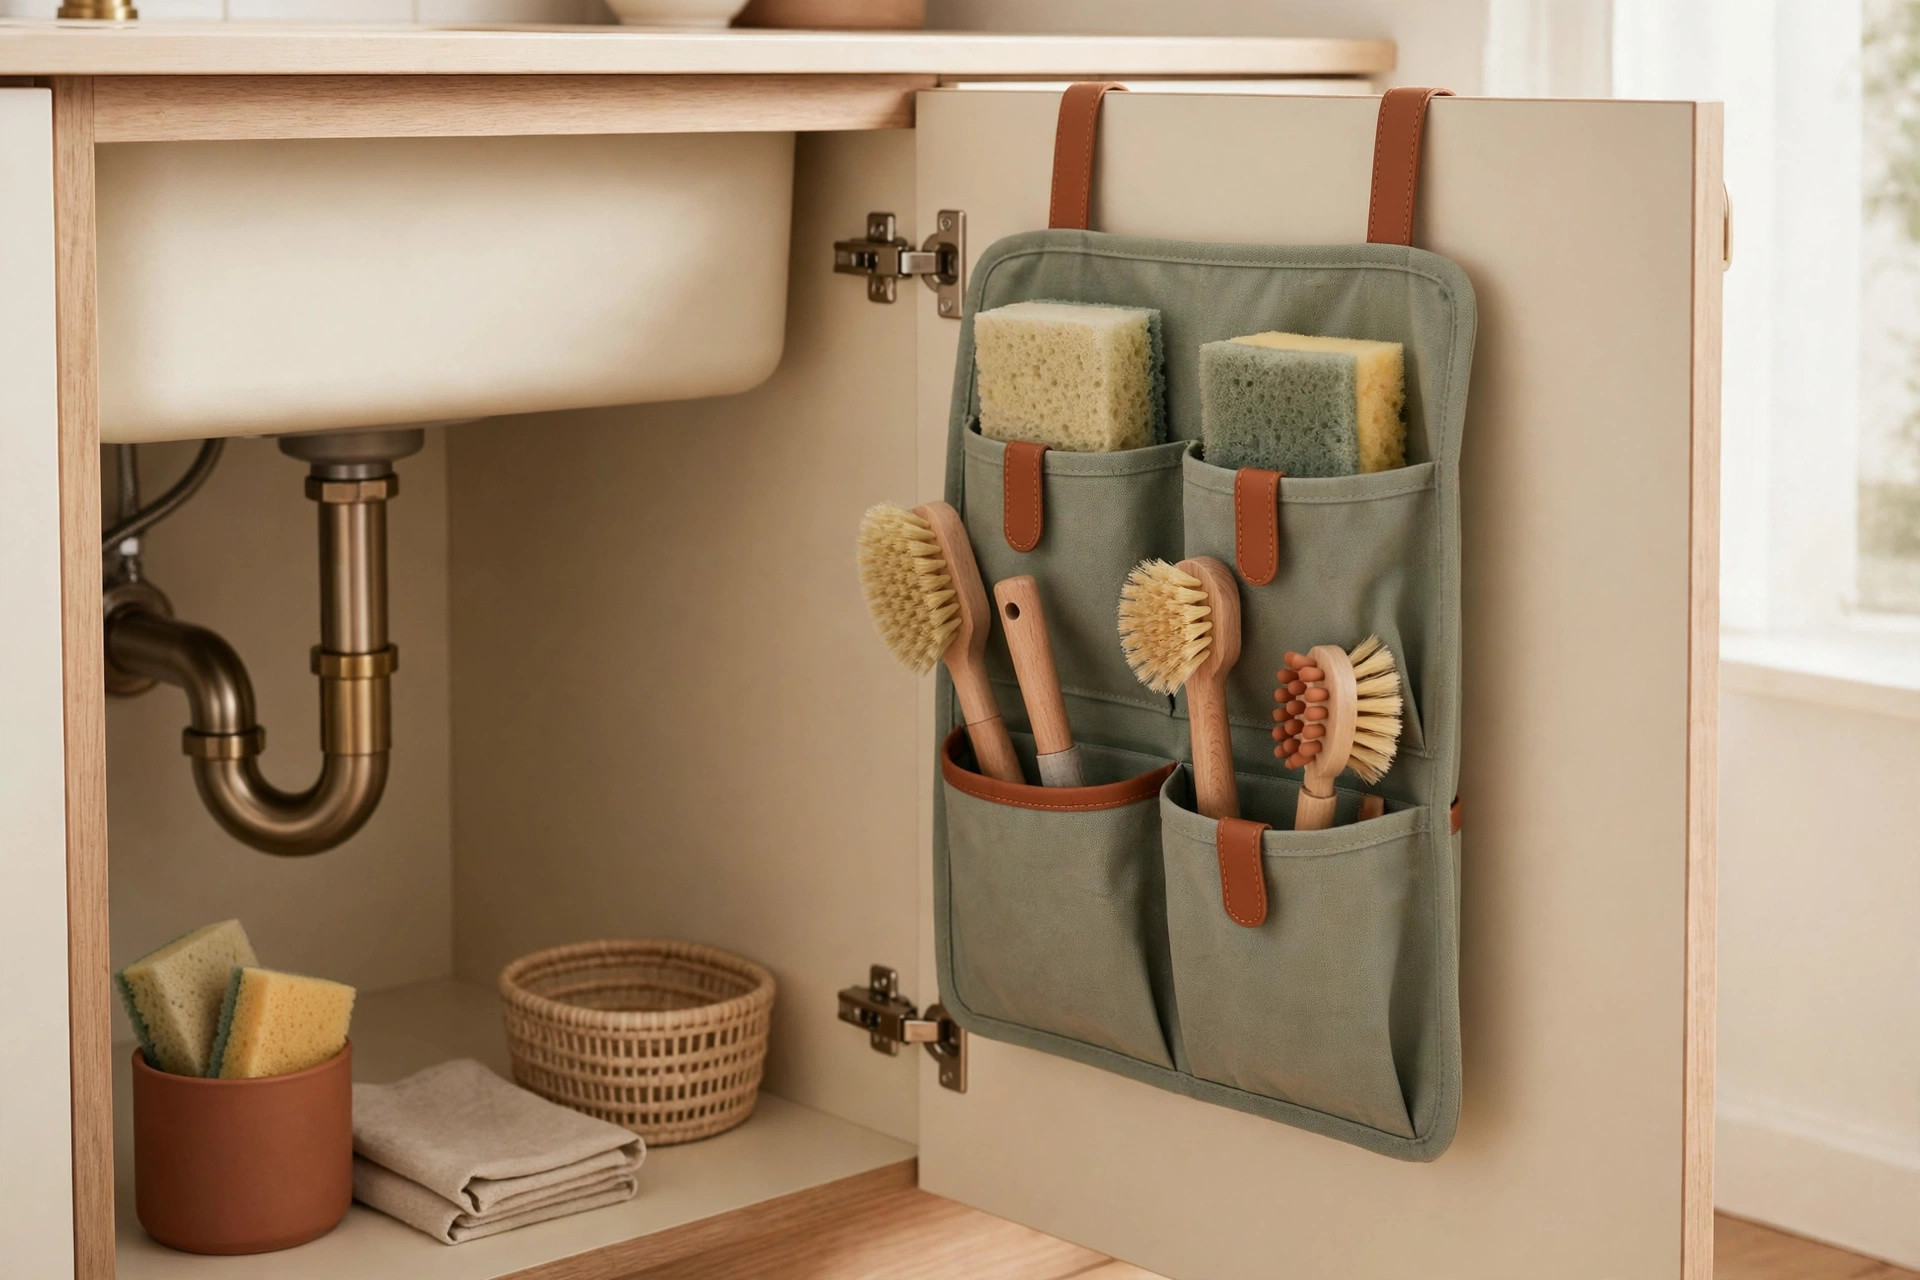
Idea 7: Mount a slim wire basket on the inside of the door
Mount a no-drill adhesive basket (rated for at least 5 pounds — check the package rating, not just “heavy duty”) centered on the door, low enough to clear stacked bins when closed. Close slowly the first time to check clearance. It holds daily sponges, the sink stopper, and a small dish brush — your most-grabbed items reach your hand first, so the interior stays organized longer.
Idea 8: Stick two adhesive hooks inside the door for brushes and the strainer
One hook near the top for the scrub brush (bristles down), one near the bottom for the sink strainer or a small dish towel — damp items air out instead of stacking wet on wet. Use removable pull-tab hooks for clean move-out. Doors are free storage everywhere: the same idea behind small entryway organization on closet doors applies double here.
Decanting Cleaning Supplies: When It Helps, When It’s Clutter
Decanting — moving products into uniform containers — is the prettiest under-sink trend, and the fastest way to waste money if you do it wrong.
Idea 9: Decant only the three bottles you touch every day
Decanting pays off in speed: uniform pump bottles are faster to grab. But limit it to your daily trio — dish soap, hand soap, all-purpose spray — in 10–12 ounce refillable bottles. Everything else keeps its original label — it carries dilution ratios, warnings, and the product name you’d need in an emergency. Pretty is fine; legible is safer.
Idea 10: Keep bulk refills OUT of the under-sink cabinet
The gallon jug of dish soap and warehouse pack of dishwasher pods don’t belong under a tiny sink — they eat your daily system’s space. Stash bulk refills on a closet shelf; keep one small refill per product under the sink and refill the daily bottle from the stash. More on this logic: small apartment pantry organization.
The “Cleaning Caddy” Method: One Grab-and-Go Kit
Stop organizing the cabinet as storage — organize it as a launch pad for one kit.
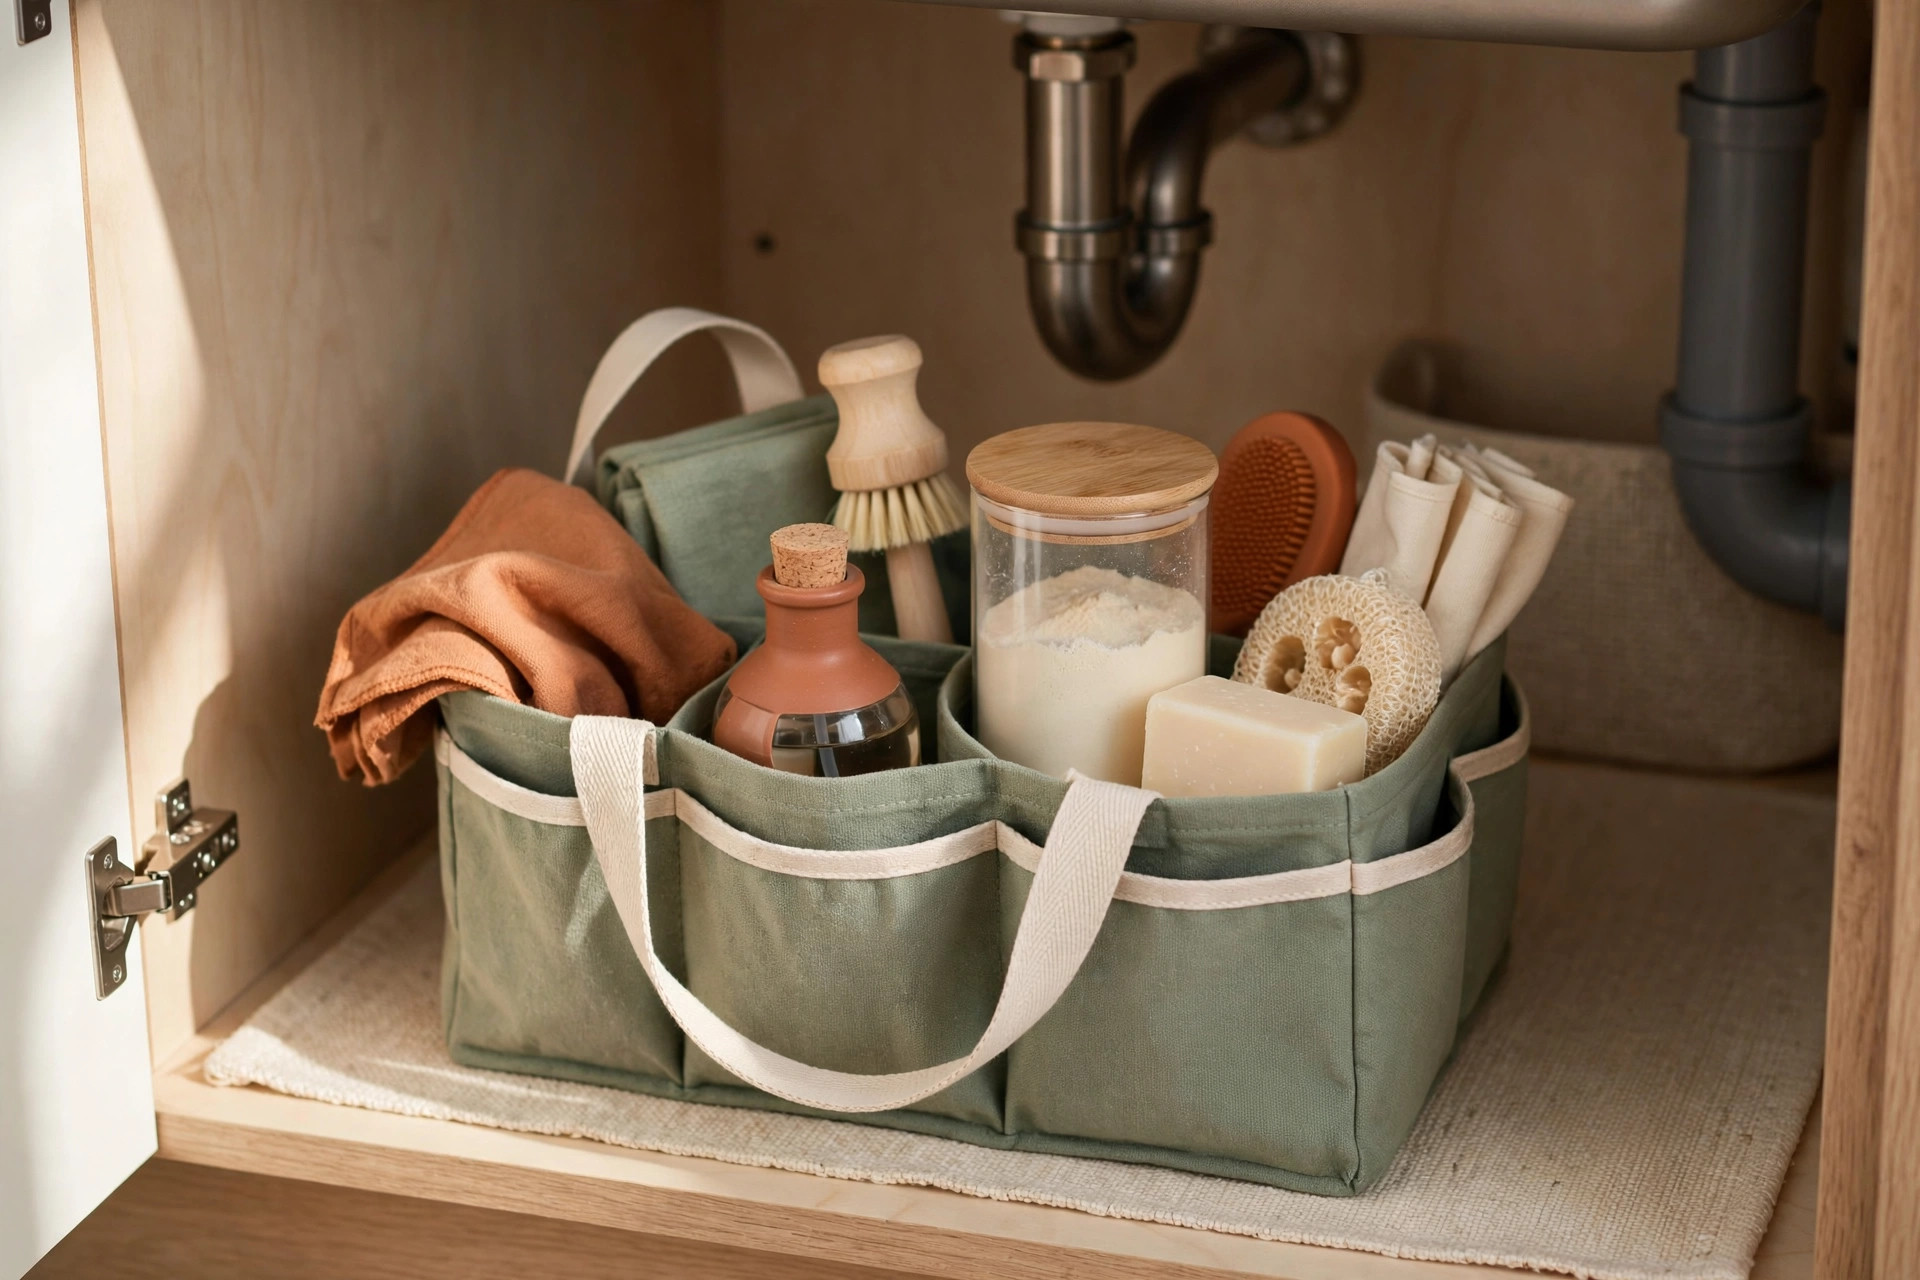
Idea 11: Build one caddy that holds your entire kitchen-cleaning routine
Use a handled caddy roughly 12×8 inches — big enough for the essentials, small enough to carry one-handed — stocked with exactly what a wipe-down takes: all-purpose spray, dish soap, sponge, microfiber cloth, scrub brush. Nothing else. Grab and go when it’s time to clean; everything returns when you’re done — the same “kit, not clutter” thinking in our small laundry closet organization ideas.
Idea 12: Park the caddy front-and-center so it’s the first thing your hand finds
The caddy lives directly behind the cabinet door, centered, nothing in front — bins and pull-outs to the sides. Its empty spot is your reminder: the caddy is out and needs to come home. One kit, one home, zero excavation.
What NOT to Store Under the Sink (Moisture + Chemical Rules)
Under-sink cabinets are damp, warm, and prone to slow leaks you won’t notice for weeks — so this section is about keeping the wrong things out, not fitting more in.
Idea 13: Evict anything that can’t survive a drip
Paper towels, cardboard trash-bag boxes, pet food, and paper sacks don’t belong here — one slow pipe sweat makes a mold farm. Never store anything you ingest in the same cabinet as cleaning chemicals, even on opposite sides. For safer picks in the bottles you do keep, the EPA’s Safer Choice program certifies less-hazardous cleaning products.
Idea 14: Stop buying “under-sink organizers” sized for somebody else’s cabinet
The $30–$50 expandable under-sink kits are designed for wide double-basin cabinets — and they’re the #1 thing abandoned in tiny kitchens. Before buying any organizer, check the listing’s minimum width, maximum width, and height. If the minimum width exceeds your widest pipe-free zone (Idea 1’s template), it won’t fit, reviews notwithstanding. What works in tiny cabinets is almost always boring: small bins, one tension rod, adhesive hooks, a caddy. Boring fits. Fancy doesn’t.
The 10-Minute Monthly Under-Sink Check
Under-sink cabinets are where small leaks become big damage — so the last idea is maintenance, not storage. Set a monthly phone reminder for the first Saturday.
Idea 15: Run a 3-step check — look, sniff, wipe
Pull everything out (the caddy and bins make this a two-minute job). Look: pipe joints and floor for drips, stains, warping; squeeze each spray bottle to catch leakers. Sniff: musty means trapped moisture — find it. Wipe: damp cloth over the floor and bin bottoms, toss sponges older than a month. Ten minutes a month catches the leak that would have cost you the cabinet.
Frequently Asked Questions
How do you organize under a kitchen sink with pipes in the way?
Measure the pipes and plan around them: bins or a pull-out in the side zones, spray bottles on a high tension rod, flat organizers on the door. The paper-template trick (Idea 1) stops you buying bins that don’t fit.
Can you put a tension rod under the kitchen sink?
Yes — a spring-loaded rod pressed between the side walls holds spray bottles by their trigger handles plus S-hooks for brushes. Mount it high, clear of the pipes, and re-check tension every few months; humidity loosens it.
What should you not keep under the kitchen sink?
Keep out anything moisture kills: paper towels, cardboard, pet food. Never store anything you ingest with cleaning chemicals. Bulk refills live elsewhere — one small refill per product under the sink.
How do you keep under the sink from smelling?
Hang damp items on hooks or a rod instead of piling them wet, wipe the floor monthly, toss sponges after a month. Musty smell means trapped moisture — check pipe joints for slow drips.
Conclusion
Tiny under-sink cabinets need a plan that respects the pipes, not expensive organizers: measure first, zone the space, hang what you can, keep one grab-and-go caddy. Start with the tension rod trick this weekend — it’s the fastest win. Save this pin for later, and browse more kitchen organization ideas when you’re ready for the next cabinet.