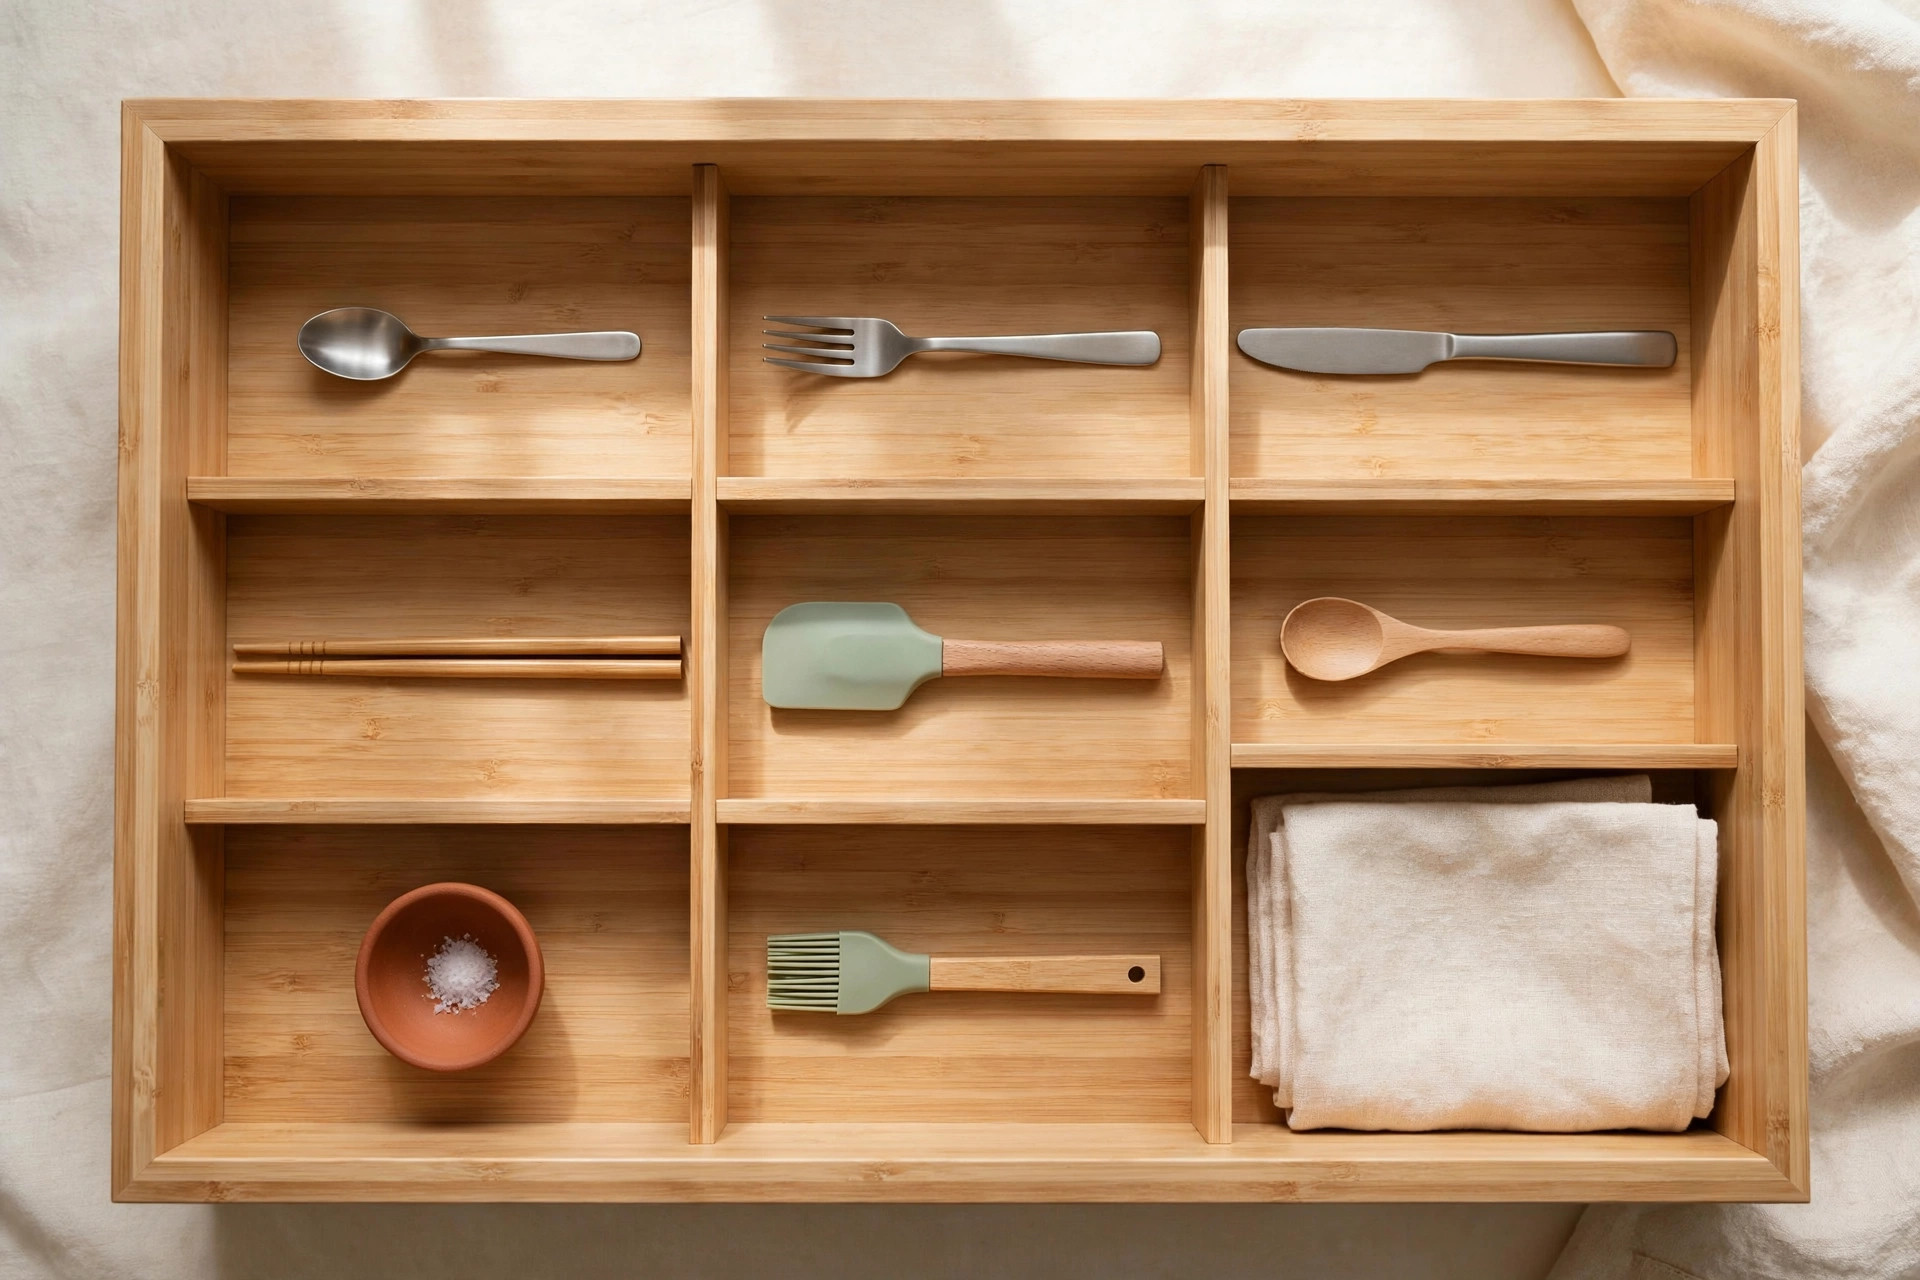
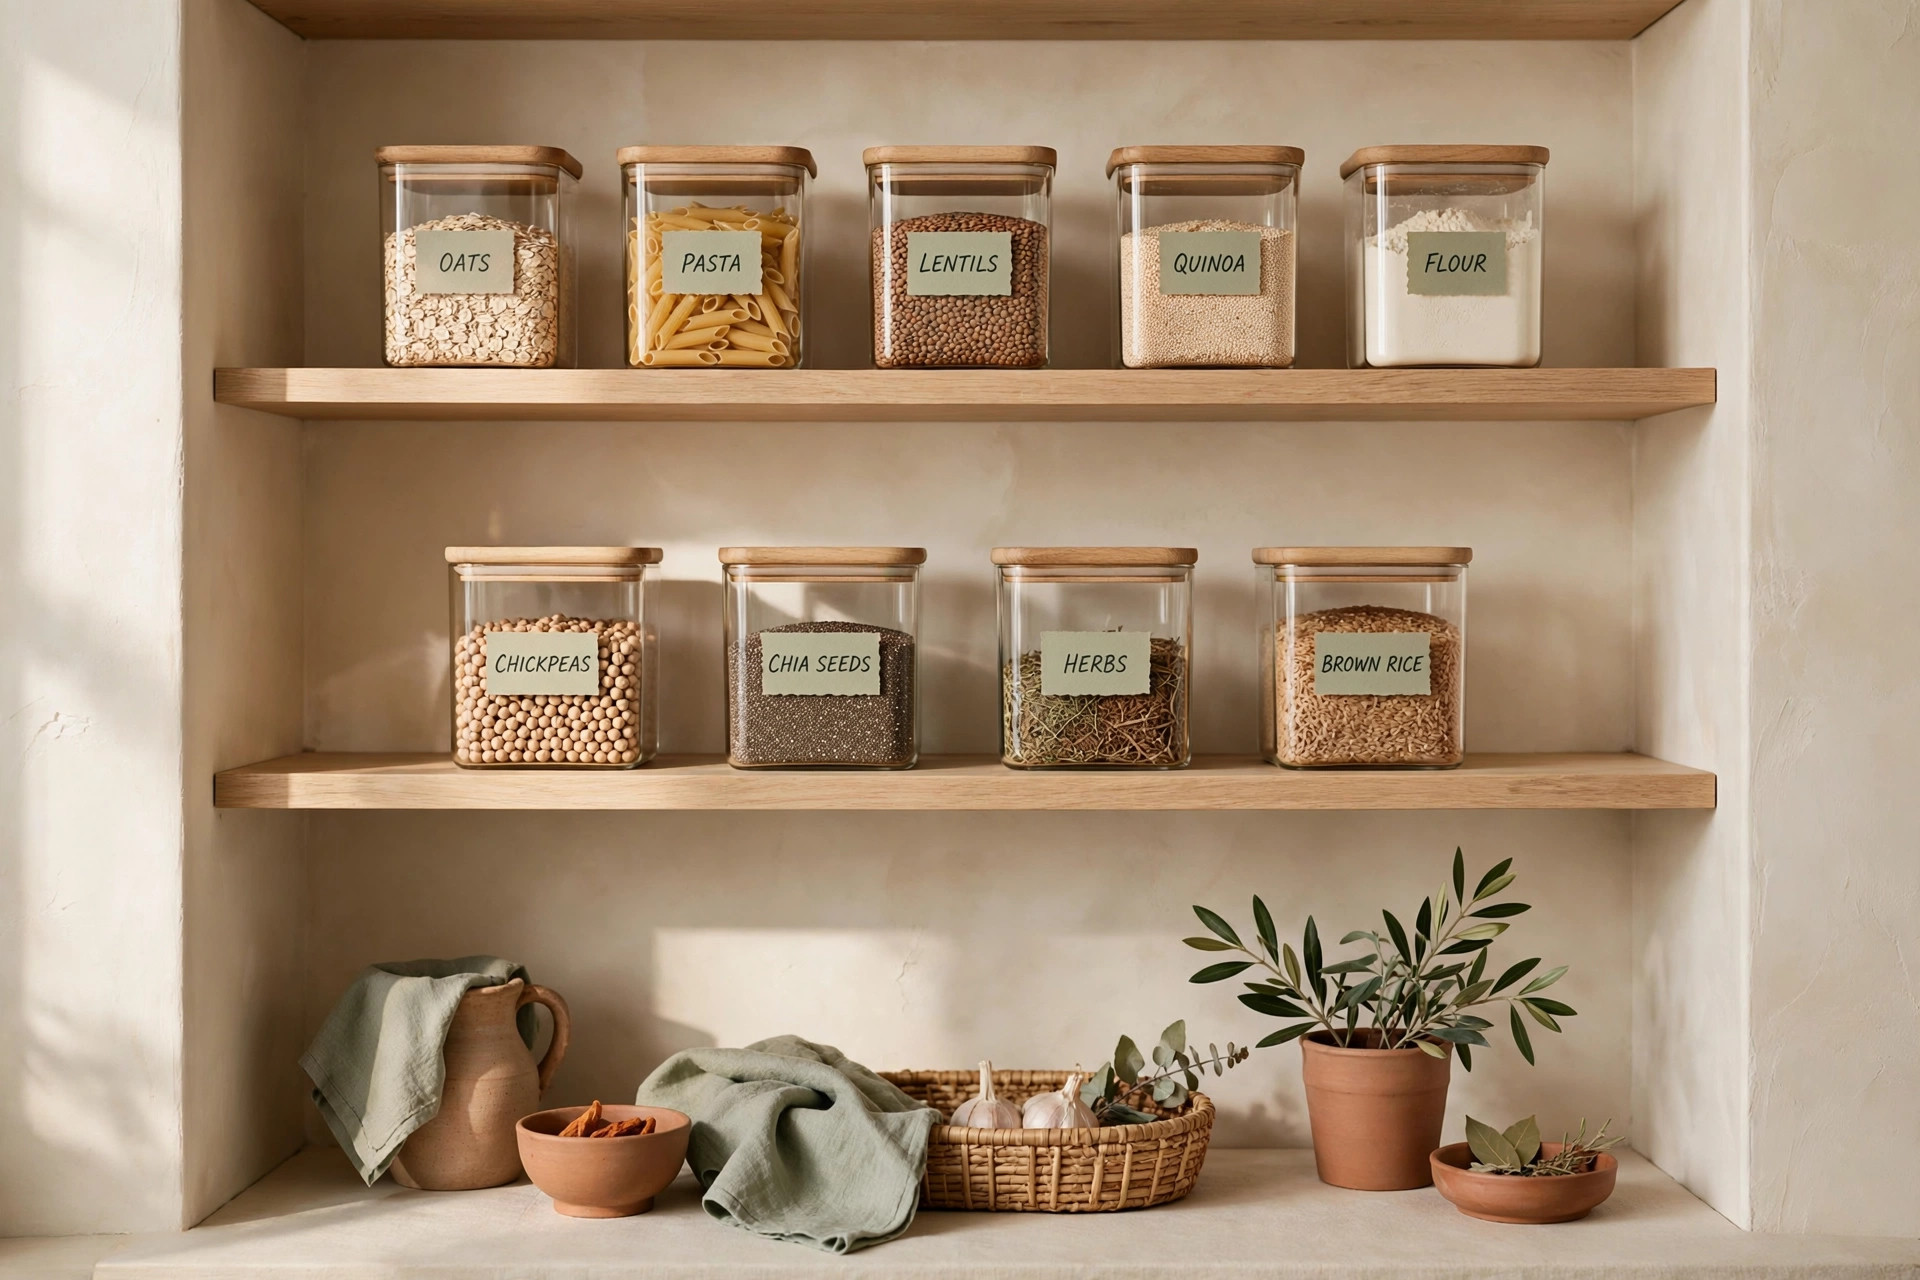
Small kitchen cabinet organization is the make-or-break factor in a tiny kitchen. Counter space is limited, drawers fill fast, and cabinets are where everything either has a home or becomes a daily avalanche. If opening a cabinet door triggers a small landslide, you’re not alone — standard cabinets waste shocking amounts of space, with tall shelves, deep blind corners, and lids that fit nowhere. The good news: you don’t need a remodel or custom cabinetry to fix it. With shelf risers, stackable containers, turntables, door-mounted storage, and task-based zones, you can roughly double what fits on every shelf. These 18 ideas are all renter-friendly, need zero drilling, and most cost less than a lunch out.
The purge-first rule: cabinets can’t organize what shouldn’t be there
Start with subtraction, not shopping — you can’t organize what shouldn’t be there.
1. Pull everything out, cabinet by cabinet
Take everything out of one cabinet at a time — never all at once. Wipe the shelves, then sort into daily use, occasional use, and “why do I own this.” The third pile goes straight to donation. This step alone typically clears 20–30% of cabinet volume.
2. Apply the one-cabinet test before buying anything
Every surviving item must pass a simple test: does it belong within one cabinet of where you use it? Pots near the stove, mugs near the coffee maker, bowls near your prep area. If you cross the kitchen for something daily, its home is wrong. Test arrangements with tape labels on the shelves for a week before committing.
Shelf risers: doubling every shelf for the price of lunch
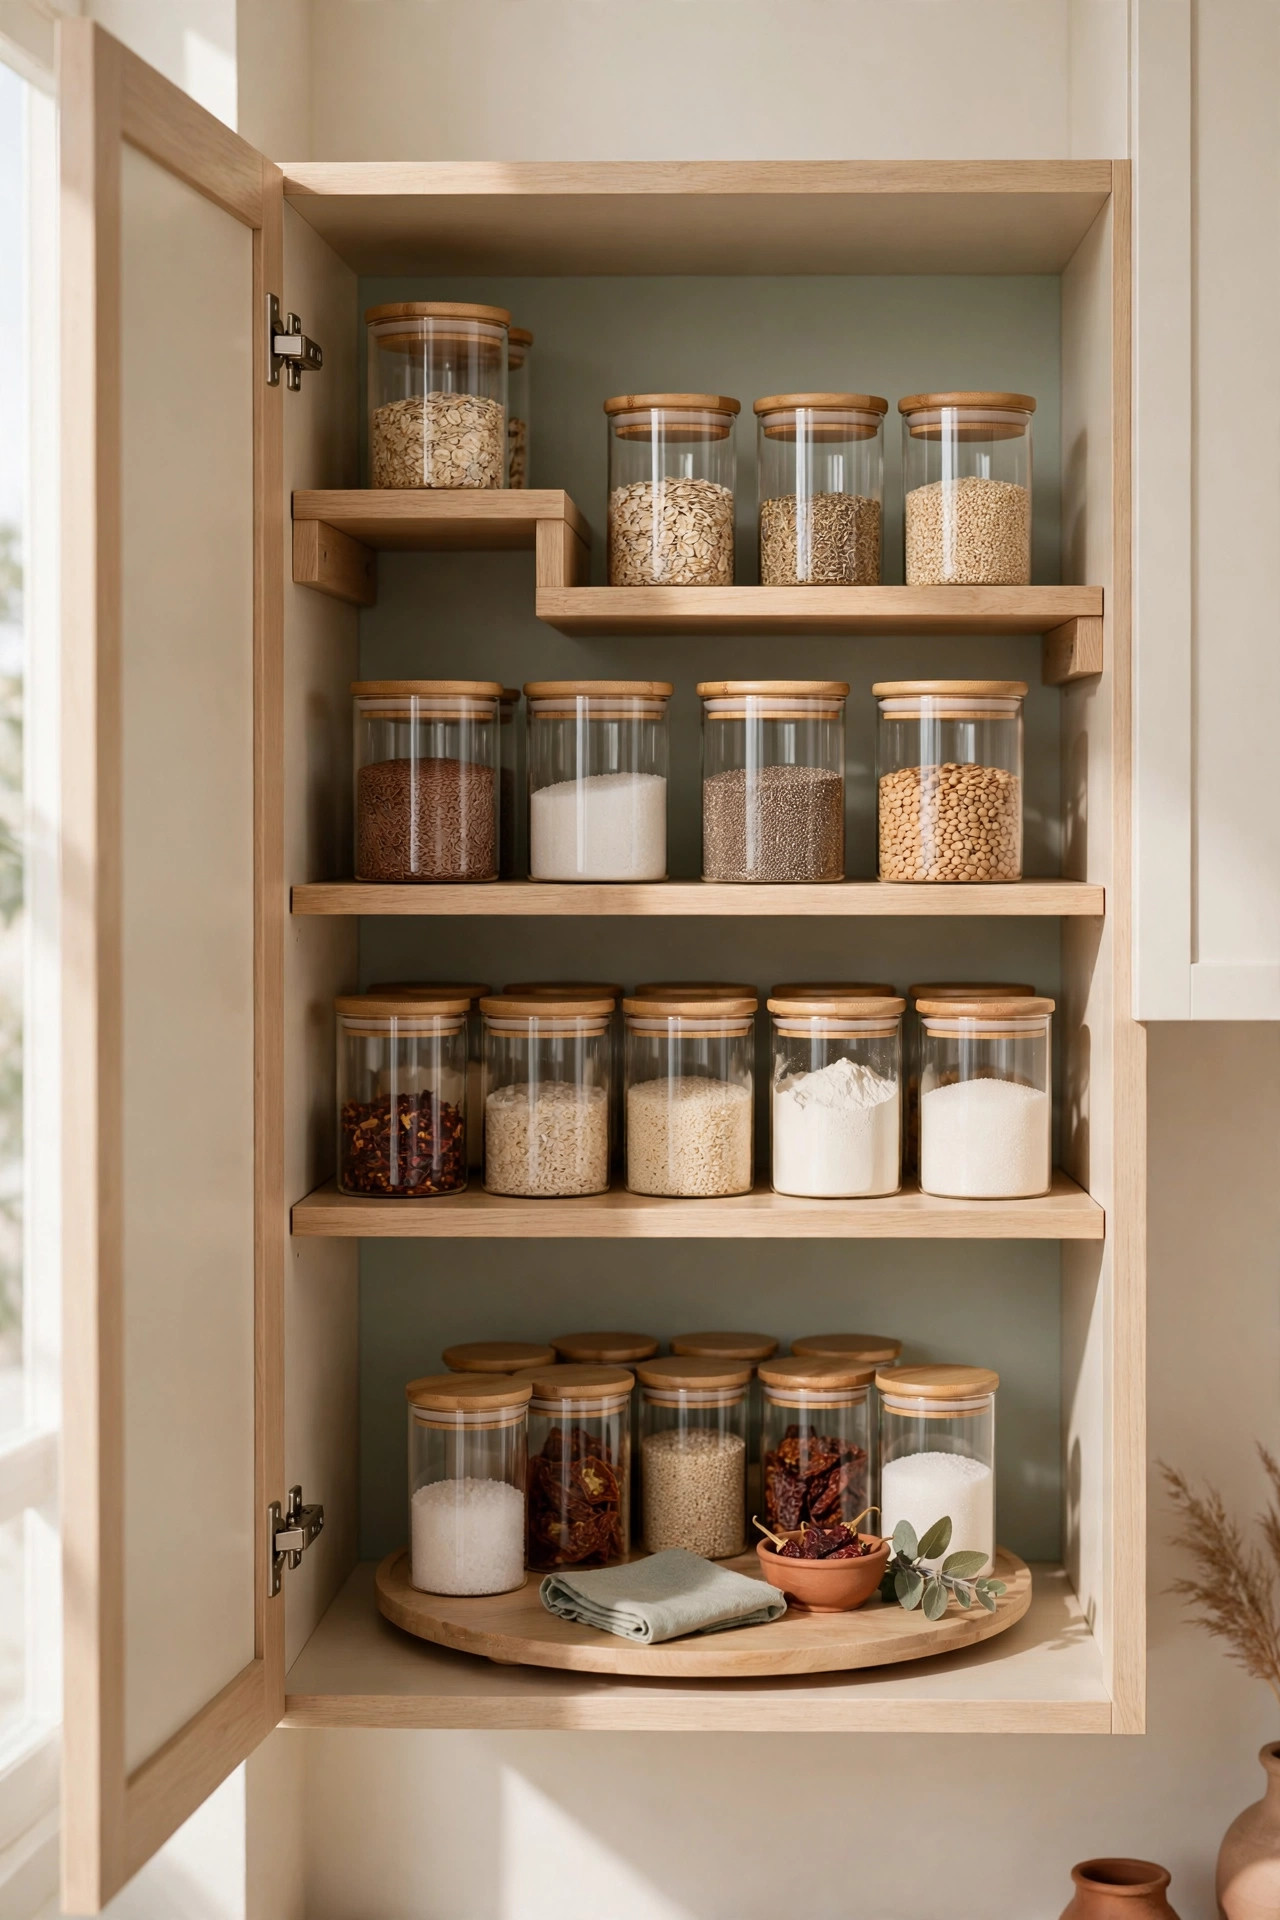
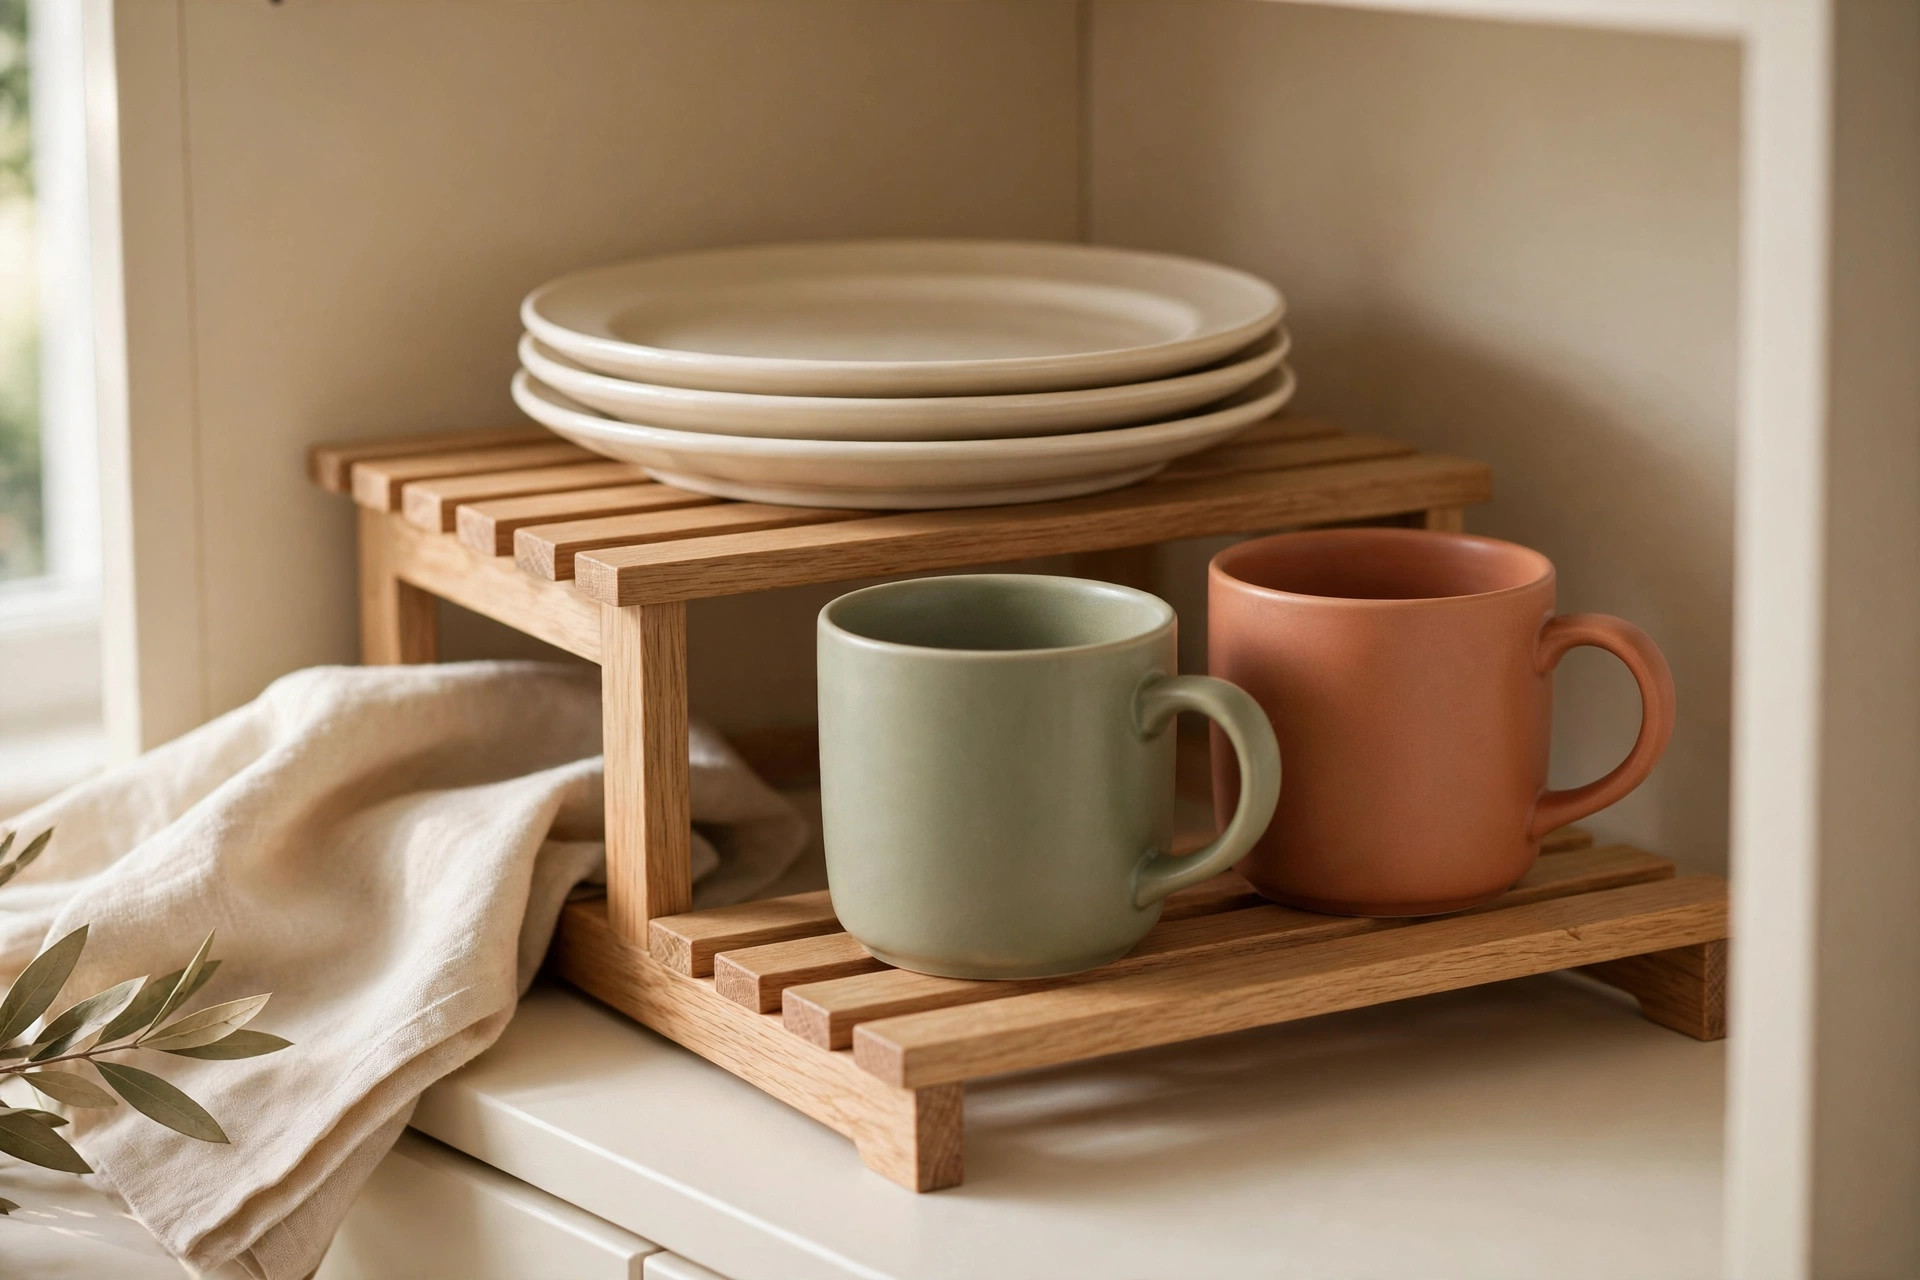
Standard cabinet shelves sit 12–14 inches apart, leaving dead air above most items. Shelf risers reclaim it — the cheapest upgrade per cubic inch.
3. Measure shelf height and depth before you buy a single riser
Record each cabinet’s interior height and depth. Most freestanding risers are 9–10 inches wide and 5–6 inches tall — fine for a 12-inch-tall shelf, but they’ll jam the door in an 11-inch cabinet. Measure first, always: our 19 Tiny Bathroom Organization Ideas to Maximize Every Inch starts from the same principle, because guessing is the number one reason organizers get returned.
4. Stack risers strategically — tall items below, risers up top
Put risers in the cabinets above your counters, where you reach most often: plates on the shelf floor, bowls or cups on a 6-inch riser above. In deep cabinets, leave the back half riser-free so tall items like cereal boxes can still stand. Skip risers in rarely opened cabinets — they just make the rare visits awkward.
Stackable, uniform containers for dry goods
Loose bags and mismatched boxes are cabinet space vampires — packaging is mostly air. Decanting into uniform, stackable containers reclaims that space.
5. Decant the five space hogs first
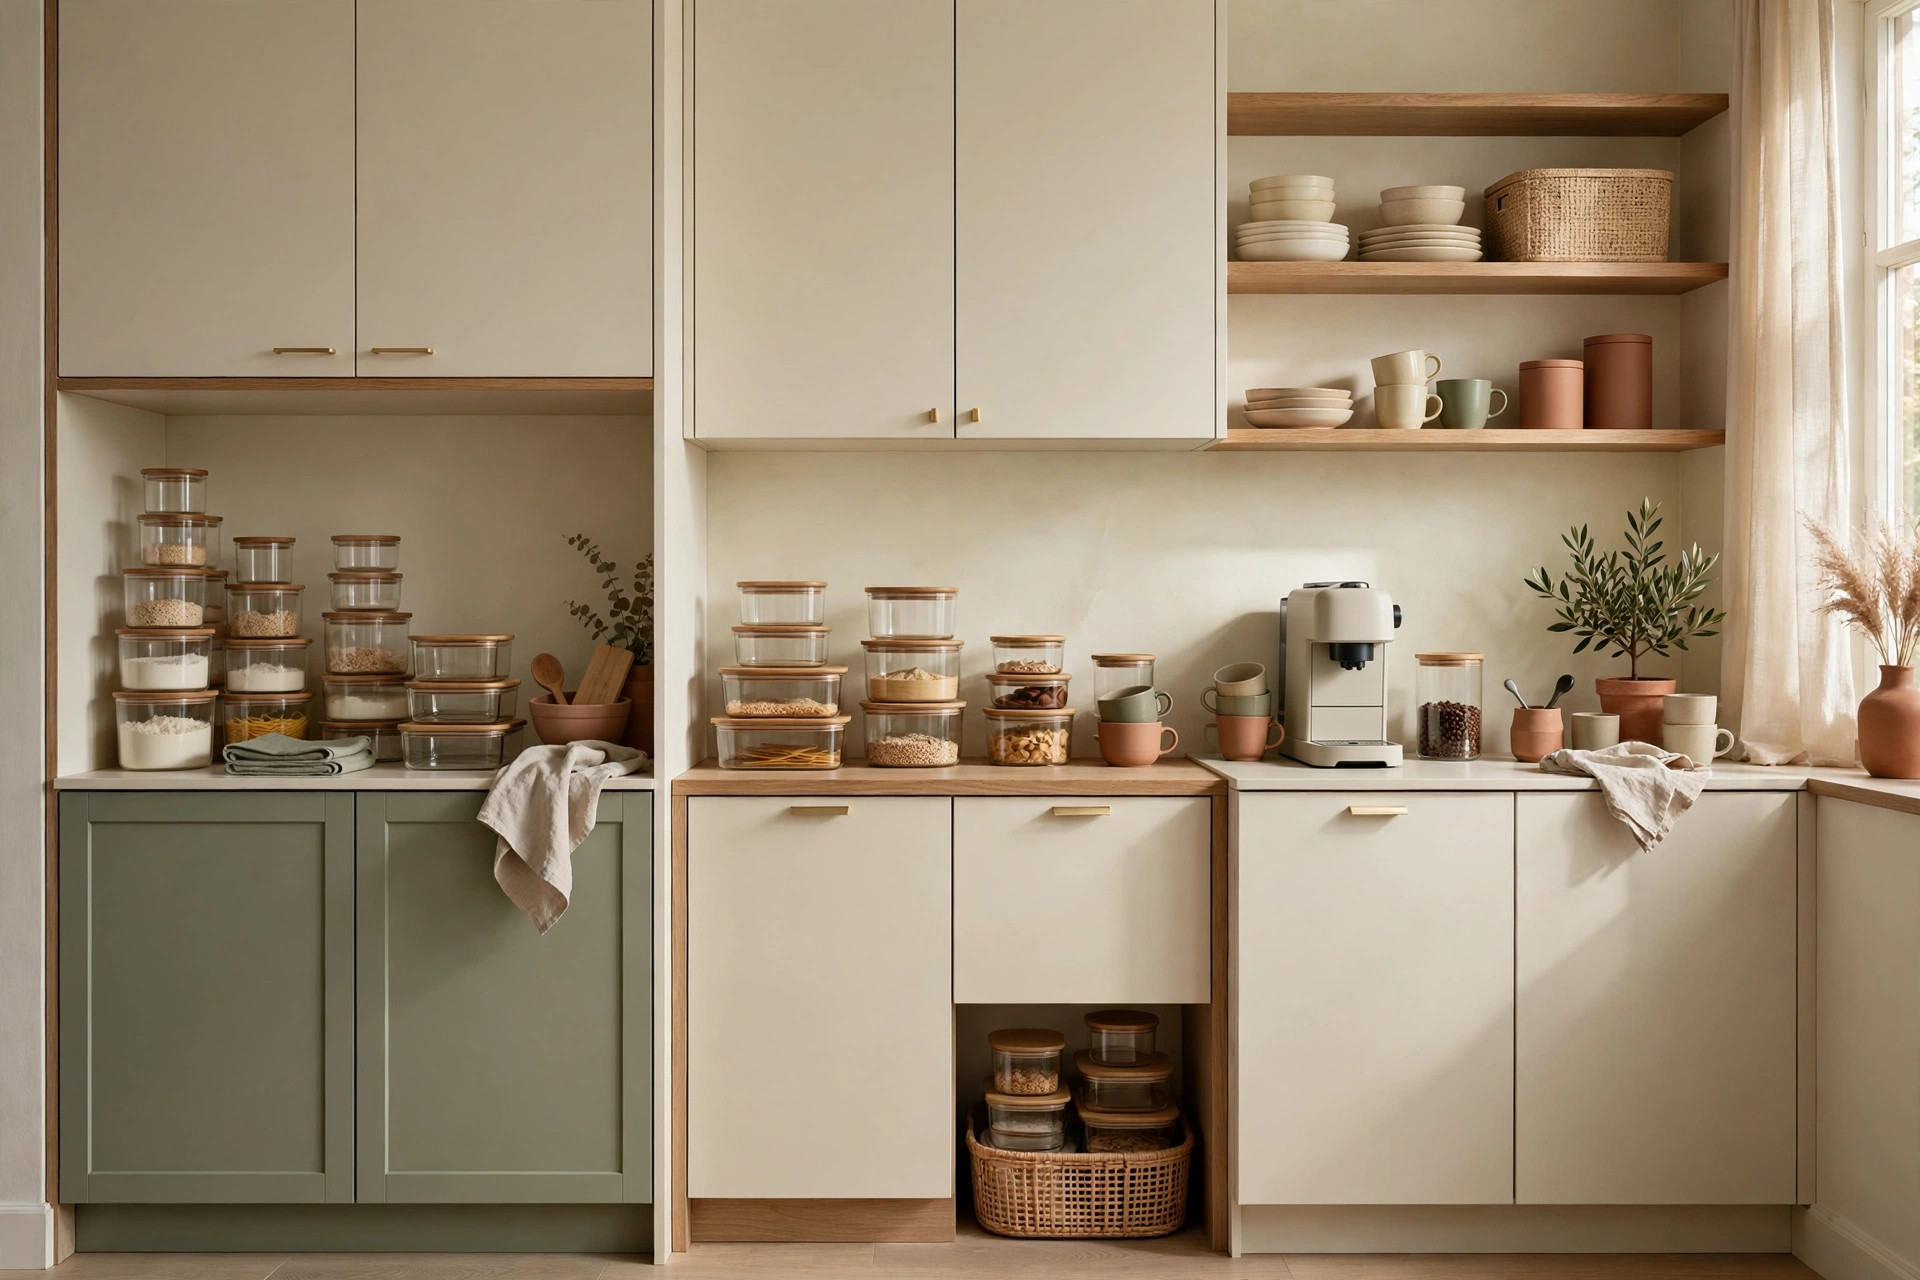
Start with flour, sugar, rice, pasta, and cereal — the worst packaging, the most cabinets. Move them into square or rectangular airtight containers (2–4 litre sizes cover most of these). Square containers tile edge-to-edge, using roughly 25% more shelf space than round canisters. Our 21 Small Apartment Pantry Organization Ideas That Actually Work shows the full decanting system if you want to go further.
6. Stack heavy-to-light, big-to-small
Heavy containers (flour, sugar) go on the bottom of any stack, lighter ones (cereal, crackers) on top. Cap each stack at three so the bottom item stays reachable. Before decanting anything perishable, check the USDA food storage charts — some foods don’t belong in airtight containers at room temperature.
7. Corral small loose items in open bins
Spice packets, tea boxes, snack bars, and single-serve packets multiply fast. Put them in open-front bins about 10 inches deep and 4–6 inches wide — wide enough to grab from, narrow enough to sit side by side. One bin per category, nothing loose. When a bin fills, that’s your signal to stop buying, not to buy a bigger bin.
Lazy Susans for corner and deep cabinets
Deep and corner cabinets are where items go to be forgotten. A $10–15 turntable fixes that.
8. Put a turntable in every cabinet deeper than 18 inches
Standard cabinets run 24 inches deep, but most people only reach the front 12–14. A 10- or 12-inch lazy Susan turns the dead back zone into a spinning carousel — condiments, oils, sauces, and baking supplies visible with one spin. In corner cabinets, one turntable per shelf level turns the worst cabinet in the kitchen into the easiest to use.
9. Use raised-edge turntables for bottles and cans
Flat turntables dump bottles the first time you spin them. Buy the kind with a 2–3 inch raised edge — made to hold bottles and cans upright while spinning. Put shorter items (cans) on the turntable and taller ones (oil bottles) on the shelf beside it so nothing blocks the view. One turntable per cabinet is plenty.
Pot and lid storage: the #1 cabinet space thief, solved
Pots and pans waste more cabinet space than anything else. The problem isn’t the pots — it’s the stacking, the lids, and the handles that refuse to nest. Fix all three and one cabinet holds what currently needs two.
10. Store pots upright on their sides with a vertical rack
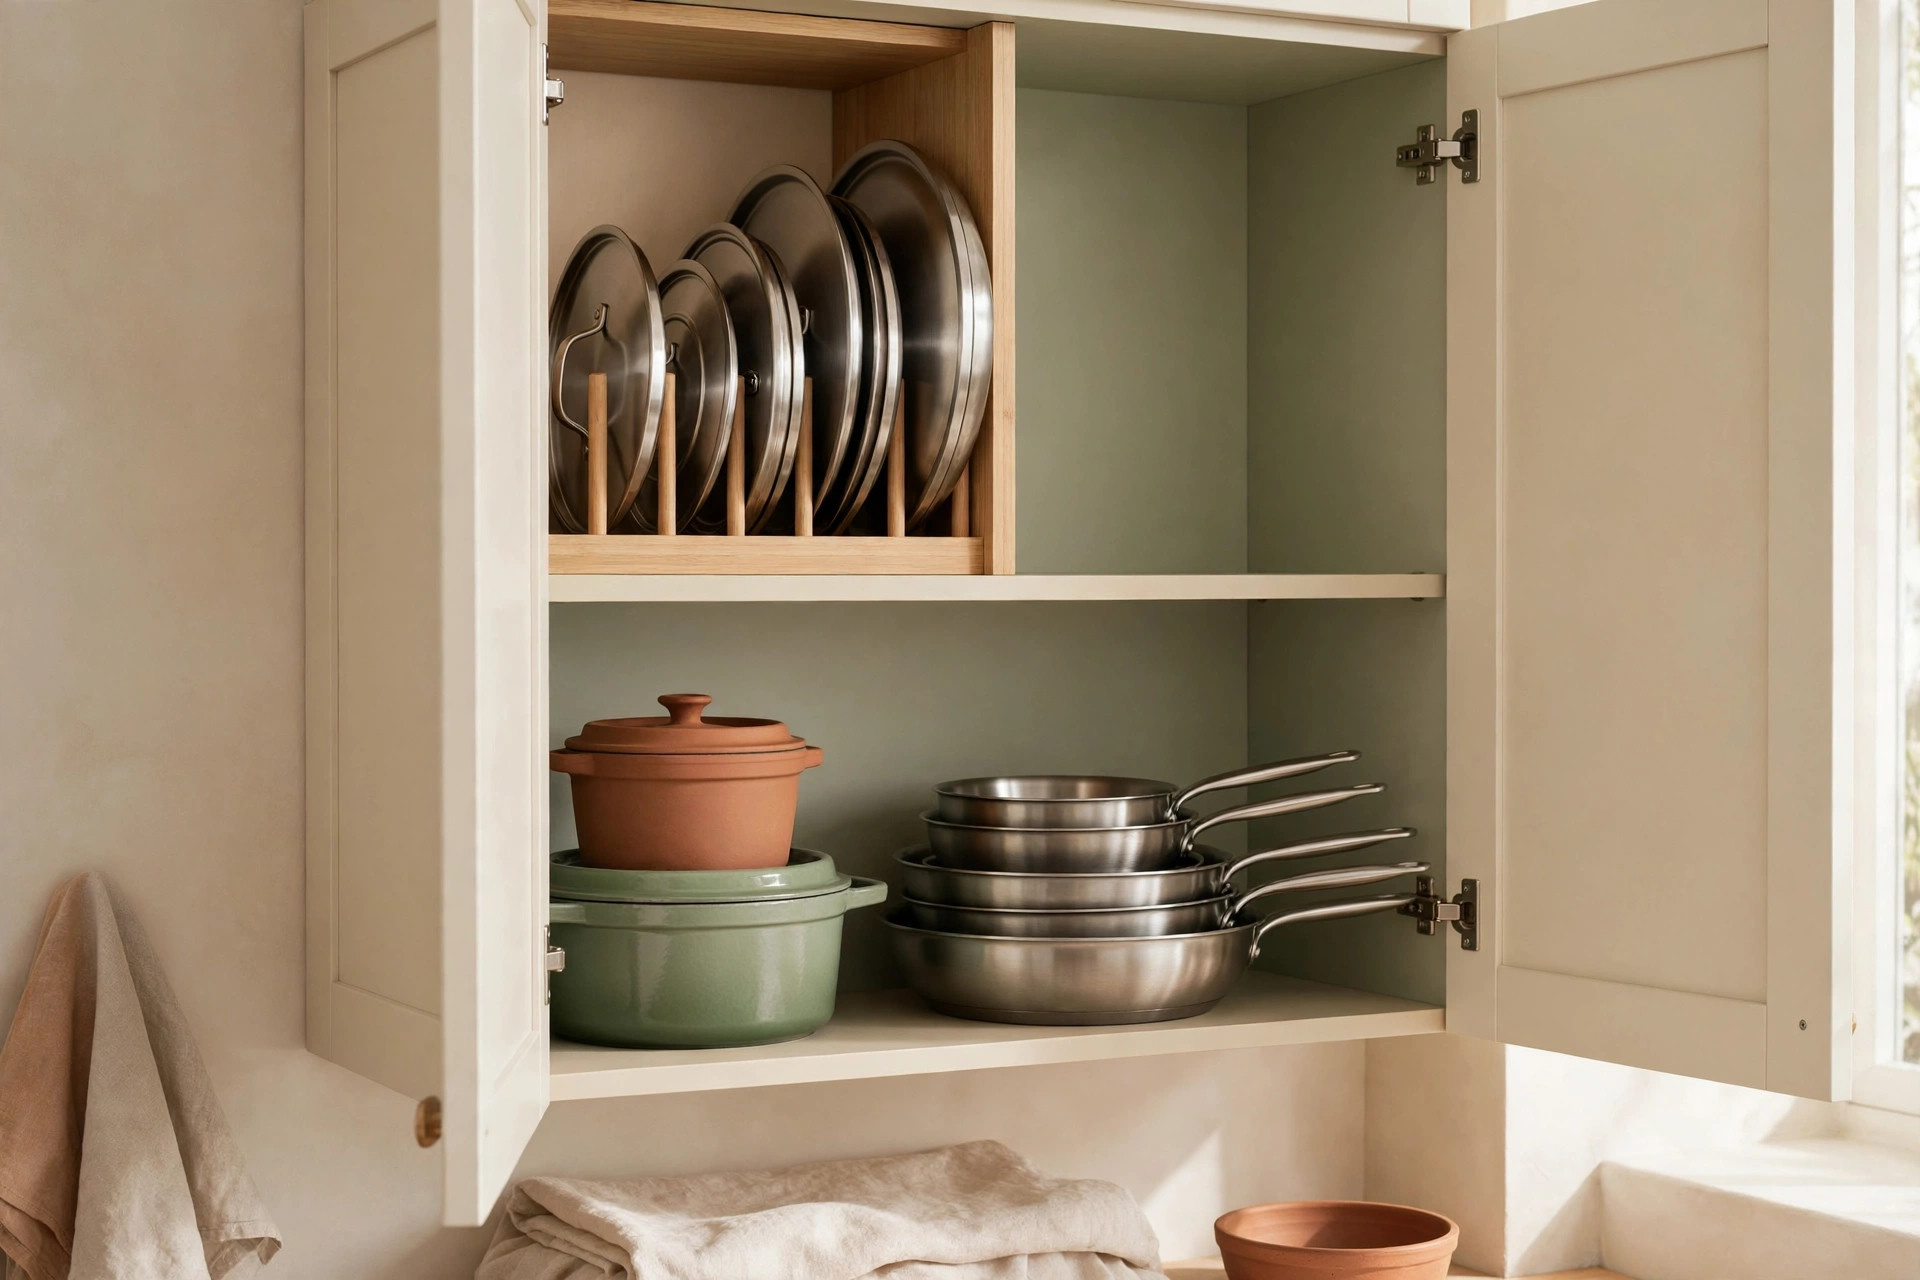
Stop nesting pots in a pile. A vertical pan rack (about $15) holds pots and pans upright like files in a filing cabinet. Five pots take up one 12-inch-wide slot instead of a tower you dismantle for the bottom one.
11. Move lids to a door-mounted lid rack
Lids are the true space thieves — they don’t stack, they slide, they block everything. Pull every lid out of the pot cabinet and mount them on the inside of a cabinet door with adhesive lid holders (renter-safe, about 3 pounds per lid). Glass lids up to 12 inches across fit most door racks. Lids flat on the door, pots on the rack: one cabinet holds everything with room to spare.
12. Corral the lidless exceptions in a “daily” stack
The everyday skillet and the one saucepan you use each morning don’t need racking. Keep the two or three daily pots stacked and file everything else upright. This split keeps daily pots instantly accessible while racked ones stay scratch-free.
Using cabinet doors: mounted racks and hooks
The inside of a cabinet door is free square footage you’re already paying for — and modern adhesive mounts mean renters can use it with zero screws.
13. Mount a wrap-and-foil rack on a door
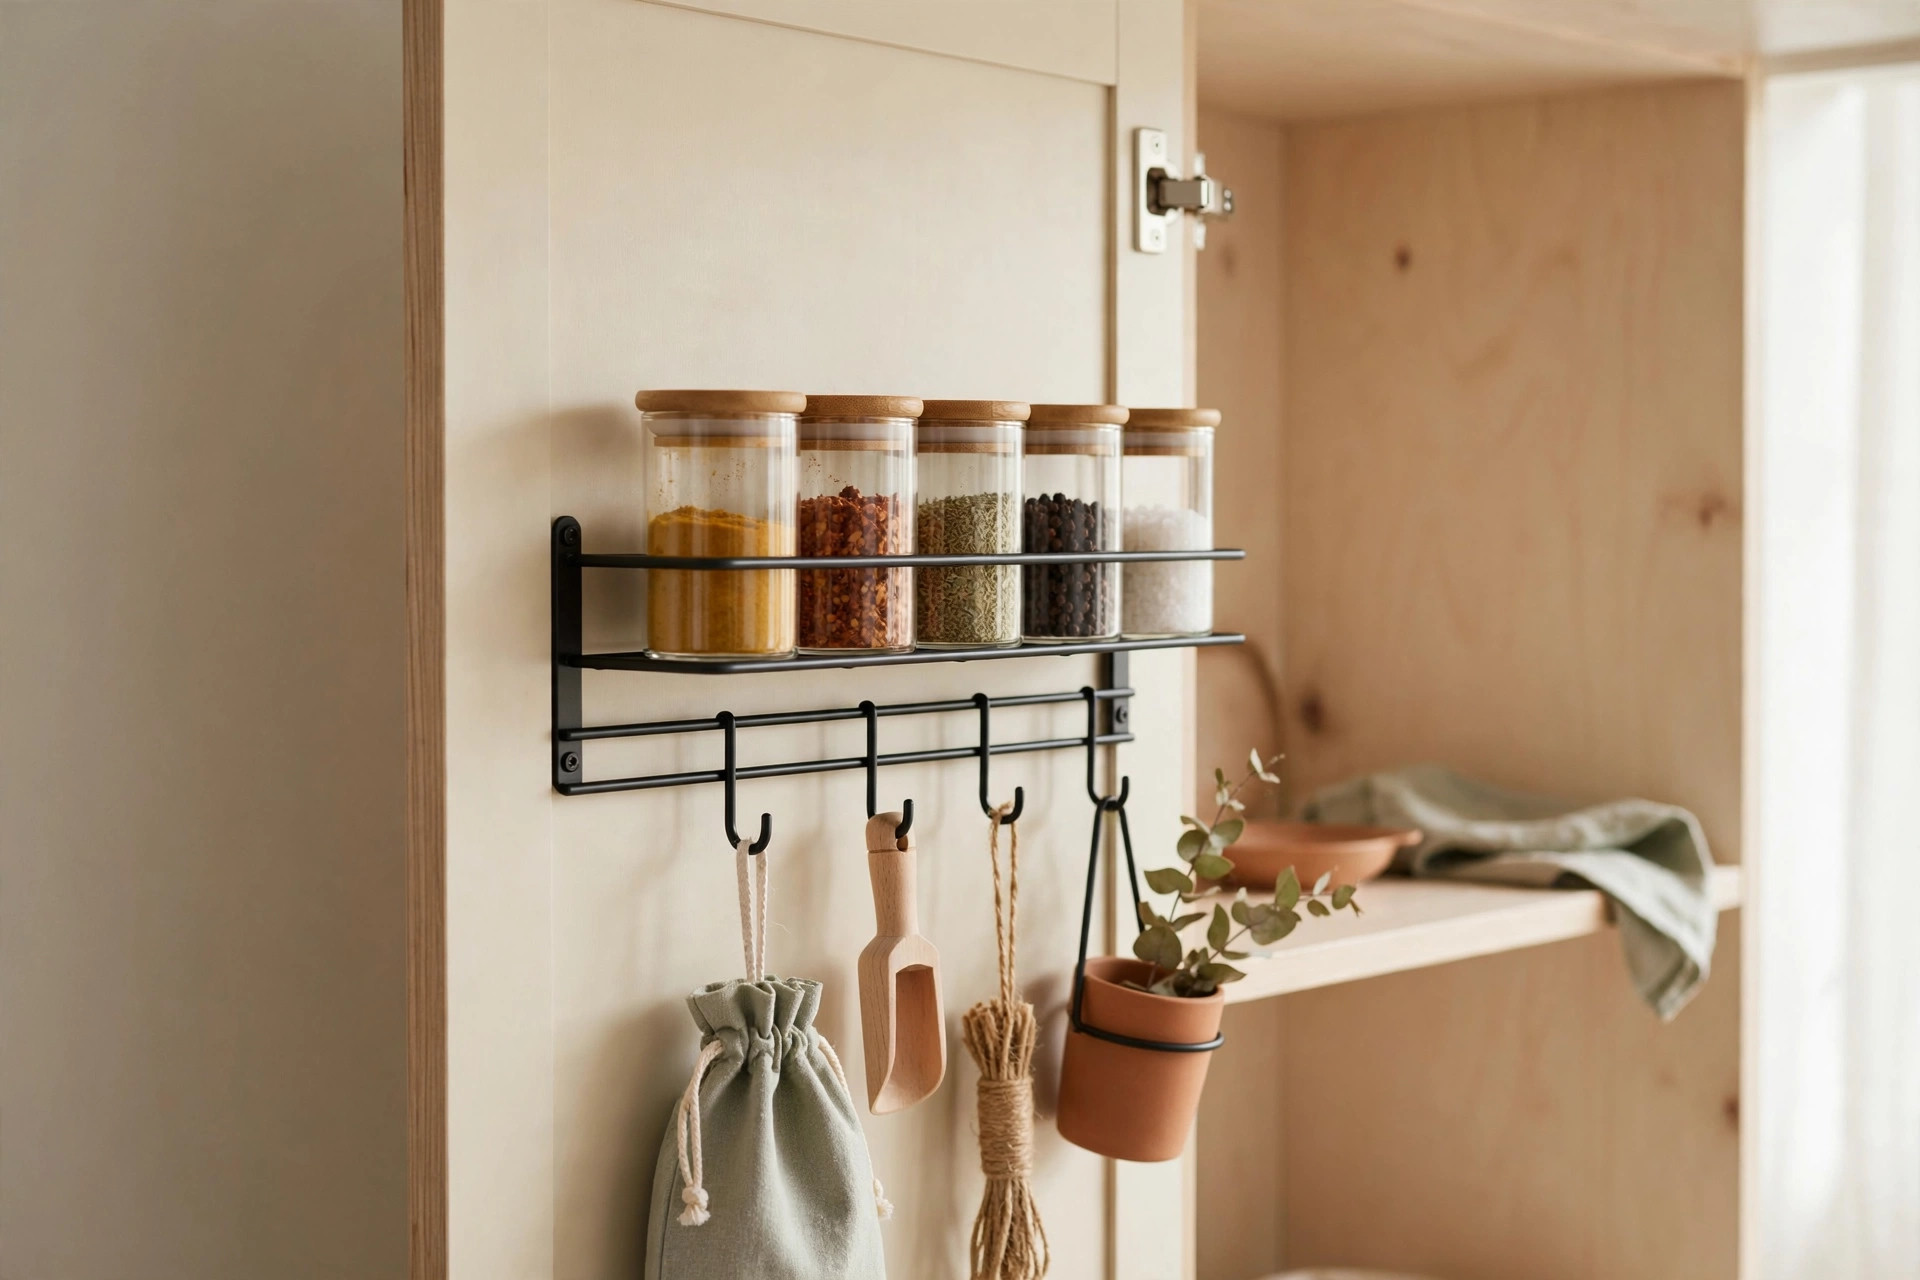
Plastic wrap, foil, and parchment boxes are long, thin, and impossible to stack — perfect door candidates. An adhesive wrap rack (roughly 14 inches wide) holds three boxes flat against a cabinet door, freeing a whole shelf row. Mount it nearest your prep area.
14. Add hooks for measuring cups, small tools, and oven mitts
Respect the weight rating — adhesive fails from gradual overload, not sudden shock. If a door already holds a lid rack, use the opposite door or the cabinet’s interior side wall. Skip hooks on the trash pull-out door — swinging peels adhesive over time.
Zone by task: cooking, baking, coffee — not by item type
Most people organize by item type: all cups together, all bowls together. Organize by task instead — everything for one job lives in one place.
15. Build three zones: cooking, baking, coffee/drinks
Cooking zone (nearest the stove): pots, pans, cooking oils, spices, stove utensils. Baking zone (near the oven): flour, sugar, baking powder, measuring cups, mixing bowls, sheet pans. Coffee/drinks zone (near the kettle): mugs, filters, coffee, tea, the French press. Everything for one task now lives together — no more crossing the kitchen to make coffee.
16. Anchor each zone with its heaviest item on the lowest shelf
Heavy items define the zone — the Dutch oven anchors cooking, the stand mixer anchors baking, the big coffee canister anchors drinks. Put the anchor on the lowest shelf (your back will thank you), then fill upward with lighter items for the same task. If an item serves two zones — salt for cooking and baking — keep the main supply in one and a small pinch bowl in the other. Duplicating the cheap item beats commuting across the kitchen.
Labels and the ‘everything has a home’ maintenance rule
Labels are the cheapest maintenance system — they make your rules visible to everyone who opens the cabinet.
17. Label shelves, not just containers
Container labels help, but shelf-edge labels keep the system alive. A small removable label on the shelf edge tells anyone where things go back. And labels keep zones honest: if a labeled shelf keeps collecting the wrong items, the label is wrong — not the people.
18. Run the two-minute nightly reset
“Everything has a home” only works if things actually go home. Every night, spend two minutes putting the day’s drifted items back in their labeled spots. Two minutes daily beats a full reorganization every three months. If the reset consistently takes longer, something in the system is broken — usually a zone boundary or an overfilled bin.
Mistakes to avoid: what NOT to buy
- The matching container set. Beautiful, and wrong for most cabinets — fixed sizes rarely match your shelves. Buy containers by measured dimensions, one cabinet at a time.
- Under-shelf baskets before measuring. They hang from shelves and steal 3–4 inches of vertical space; in a short cabinet they make things worse.
- The over-the-door organizer for the wrong door. It adds depth and can stop the door closing — check clearance before hanging anything thick.
- Single-purpose gadgets. An avocado slicer holder, an egg-cubby organizer, a banana hanger — each eats space for one job. Multi-use tools win in small kitchens.
- Buying storage before purging. Every organizer bought for items you should have donated is money spent making clutter look tidy.
The under-sink cabinet deserves its own mention: pipes, moisture, and awkward dimensions make it the trickiest cabinet of all. If you’re tackling it next, our 15 Under Sink Kitchen Organization Ideas for Tiny Cabinets covers pipe-aware bins and the tension-rod trick.
Frequently asked questions
How do I organize small kitchen cabinets with no pantry?
Consolidate food into the lowest cabinets with stackable, uniform containers, and reserve one full cabinet as a mini-pantry zone. The zone system (idea 15) works well here — dedicate one cabinet entirely to dry goods. Door-mounted racks (ideas 13–14) recover space a walk-in pantry would normally provide.
Can I organize kitchen cabinets without drilling or damaging them?
Yes — every idea here is drill-free. Adhesive hooks and lid racks, freestanding shelf risers, turntables, and vertical pan racks all work without screws. Clean the surface with rubbing alcohol first and let adhesive cure 24 hours before loading — the step most people skip.
How can I stop cabinet clutter from coming back?
Clutter returns when items lack a labeled home or the home is wrong. Run the two-minute nightly reset (idea 18) and fix whatever breaks it — a bin that’s always overflowing means you need a smaller buying habit, not a bigger bin. Re-purge every six months: kitchens accumulate “just in case” items faster than any other room.
What’s the cheapest way to double cabinet space?
Purging plus shelf risers, in that order. Purging is free and typically clears 20–30% of volume (idea 1); a set of freestanding risers costs about as much as lunch while roughly doubling each shelf’s usable area (idea 4). Together they beat any single expensive organizer.
Conclusion
Small kitchen cabinets aren’t a storage problem — they’re a layout problem. Purge first, double your shelves with risers, stack uniform containers, spin the deep corners, file your pots upright, hang storage on the doors, zone by task, and label everything so the system maintains itself. Browse our kitchen category for more projects — and save this pin for later so the full 18-idea checklist is ready when you reorganize.