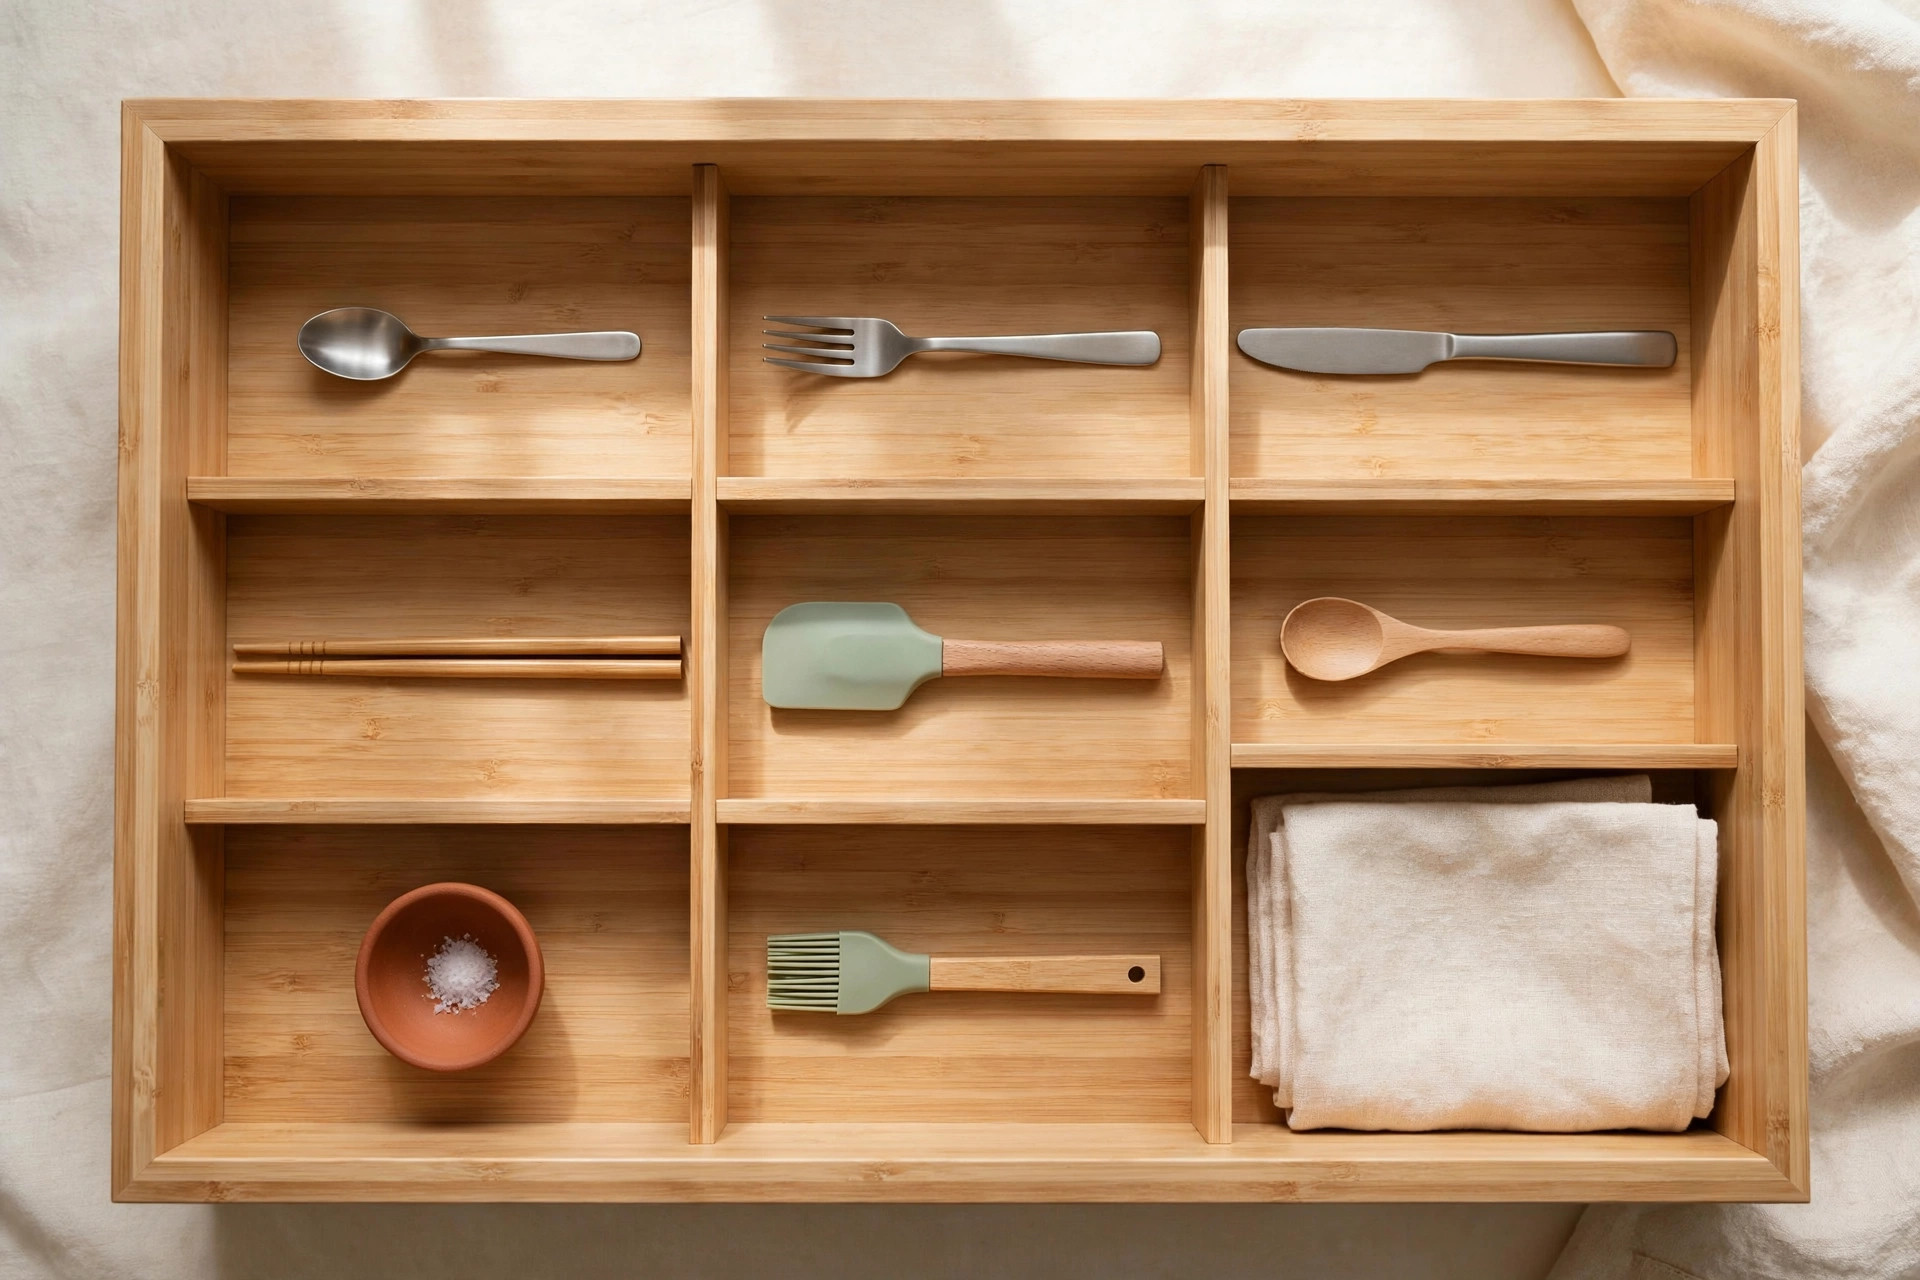
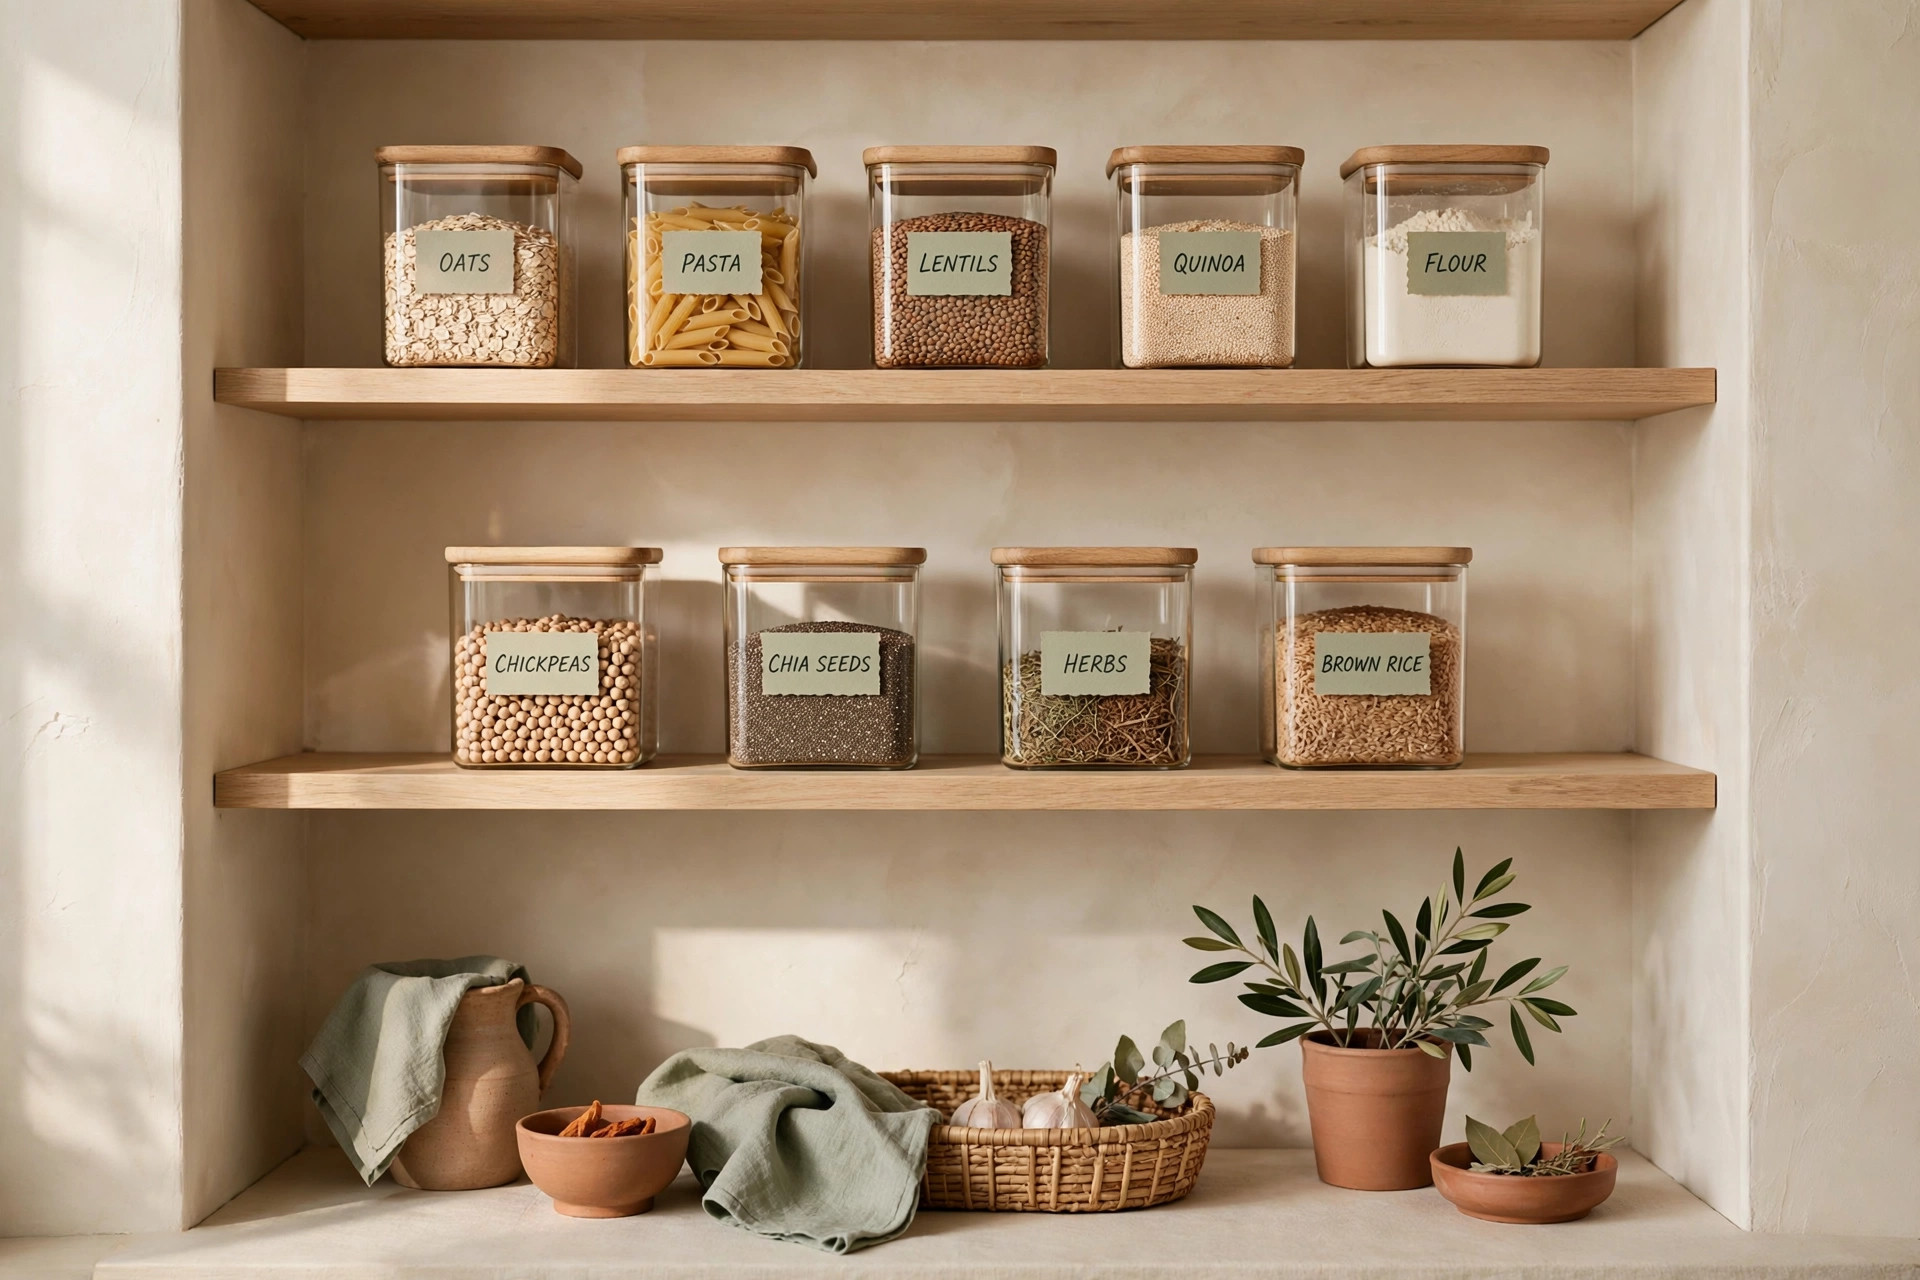
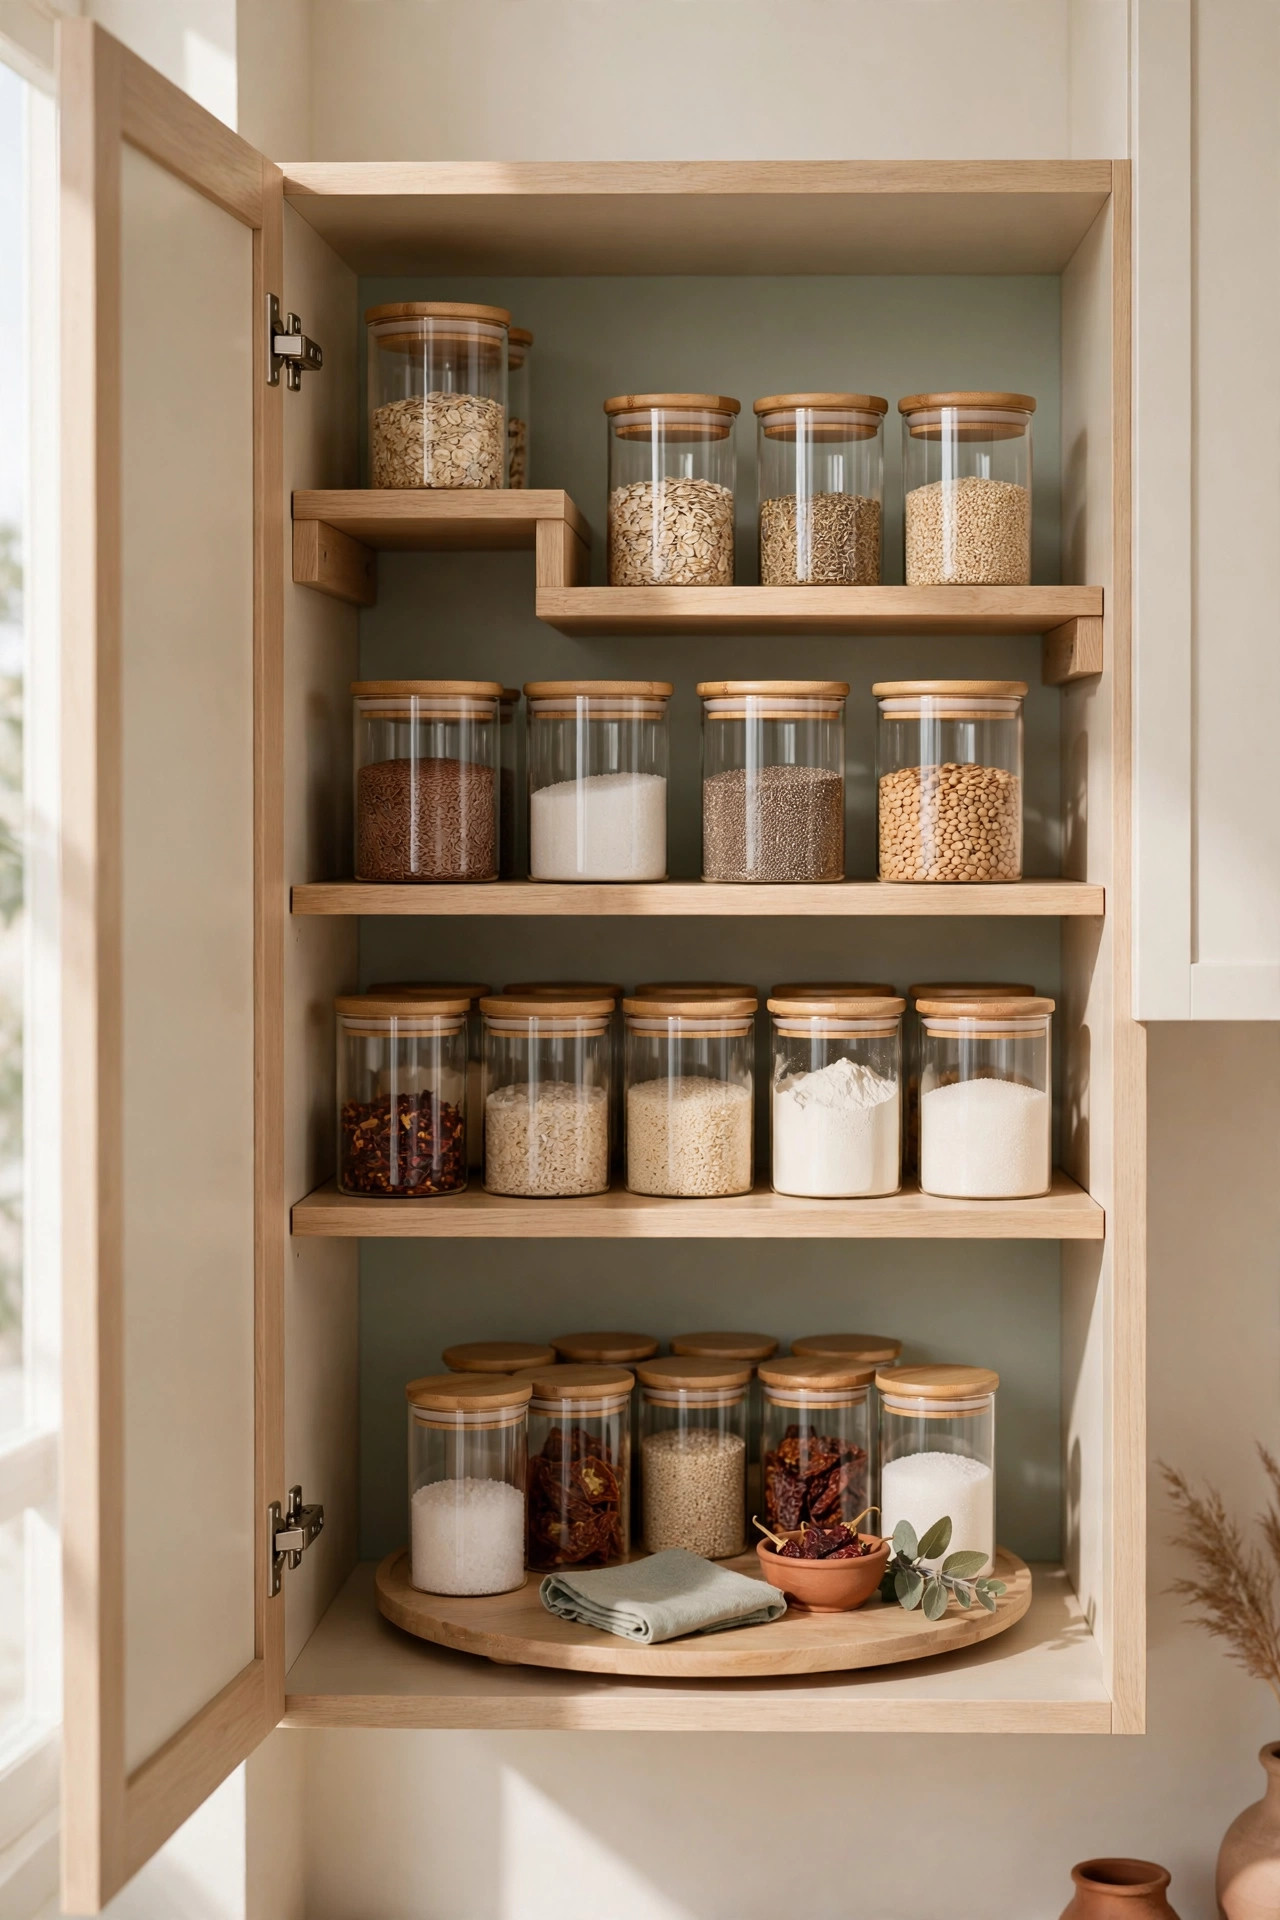
In a tiny kitchen, the counter is the most fought-over real estate in your home. It’s where you cook, unpack groceries, and stack dishes that refuse to wash themselves. When there’s barely four feet of it, every object sitting out steals space from the work you actually need to do. Good small kitchen counter organization isn’t about buying more storage — it’s about deciding, item by item, what has earned the right to stay out and what needs to go back into hiding. This guide walks you through that decision with a simple audit, a daily-use test, vertical storage tricks, and renter-safe upgrades that add usable space without a single hole in the wall.
The counter audit: everything off, only earners go back
The fastest way to see your counter clearly is to strip it bare. Pick a morning when you’re not cooking, pull everything off every counter, and line it up on the dining table or the bed. Wipe the counters down. Now you have what most tiny kitchens almost never get: a blank work surface.
Before anything goes back, sort the pile into three groups: used daily, used weekly, and the mystery pile (things you can’t remember the last time you used). The daily group is small. That’s the point — most people find well over half of what’s on their counters is used weekly or less.
Put back only the daily items, in the spots where they’re actually used. The rest stays on the table for now; you’ll find them homes in the sections below. Live with the bare counter for two days — that breathing room resets your sense of what the counter is for.
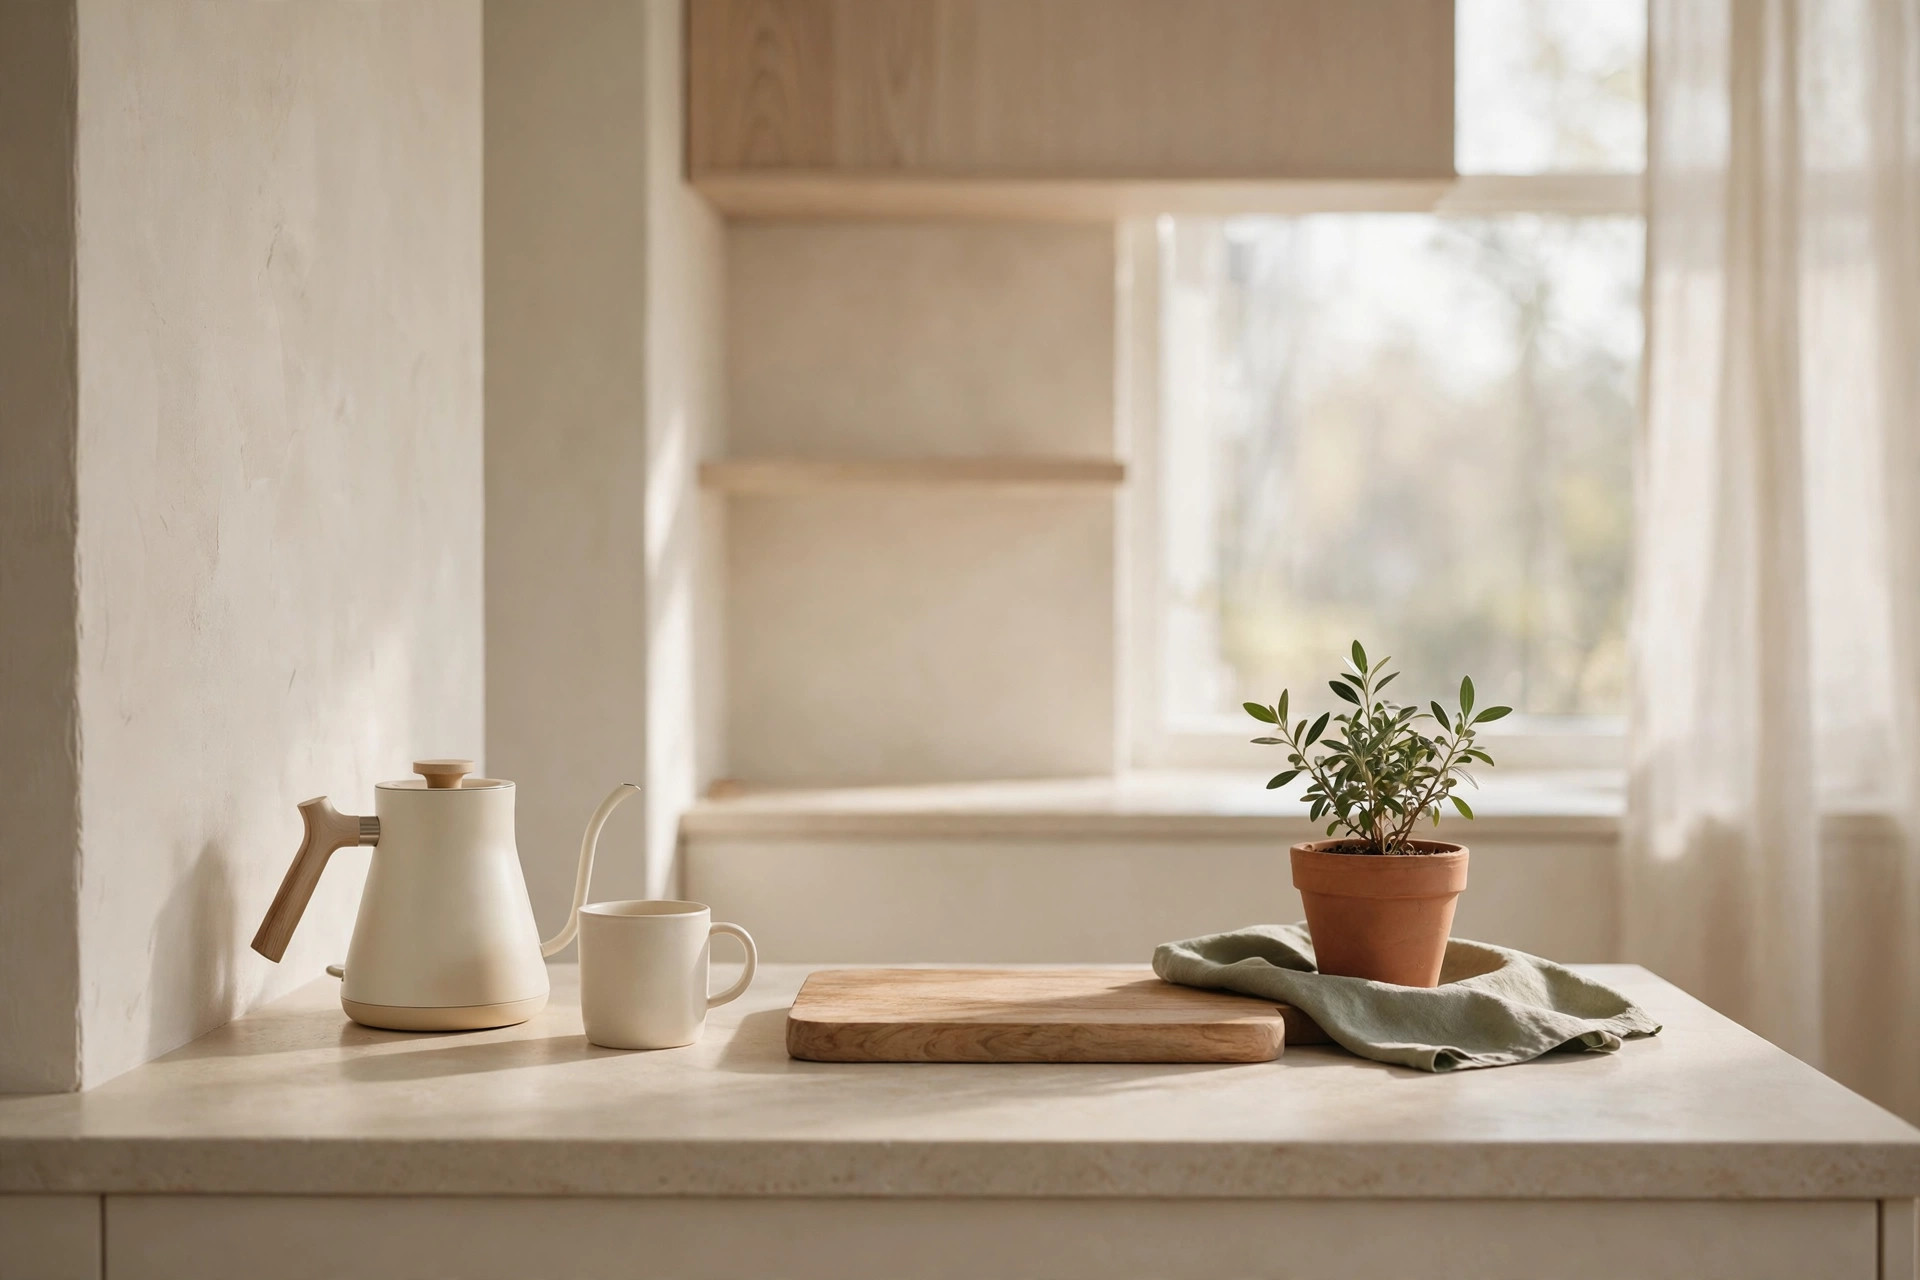
What earns counter space: daily-use test
An object earns counter space if you use it at least once a day, every day, without exception. Not “most days.” Run every candidate through this test:
The pass list
The items that usually pass are a short roster: the kettle or coffee maker (if it’s genuinely part of your morning), a knife block or magnetic strip alternative kept in a drawer caddy, dish soap and a sponge (corralled, not sprawled), and a cutting board you reach for constantly. That’s roughly four to five objects on a typical small counter.
The borderline cases
Paper towels feel essential but often fail the test — grabbed a few times a week, not daily, while a freestanding holder eats a full square foot. Move them under the sink or onto a wall-mounted holder. The fruit bowl is another classic borderline: if you eat fruit daily, it passes; if the bananas brown untouched, it’s decoration taking up prep space.
The one-in, one-out rule
Once the counter is set, protect it: nothing new stays out unless something else goes back. A new air fryer doesn’t get a permanent spot by default — it has to beat an incumbent in the daily-use test.
What to hide: rarely-used appliances and clutter magnets
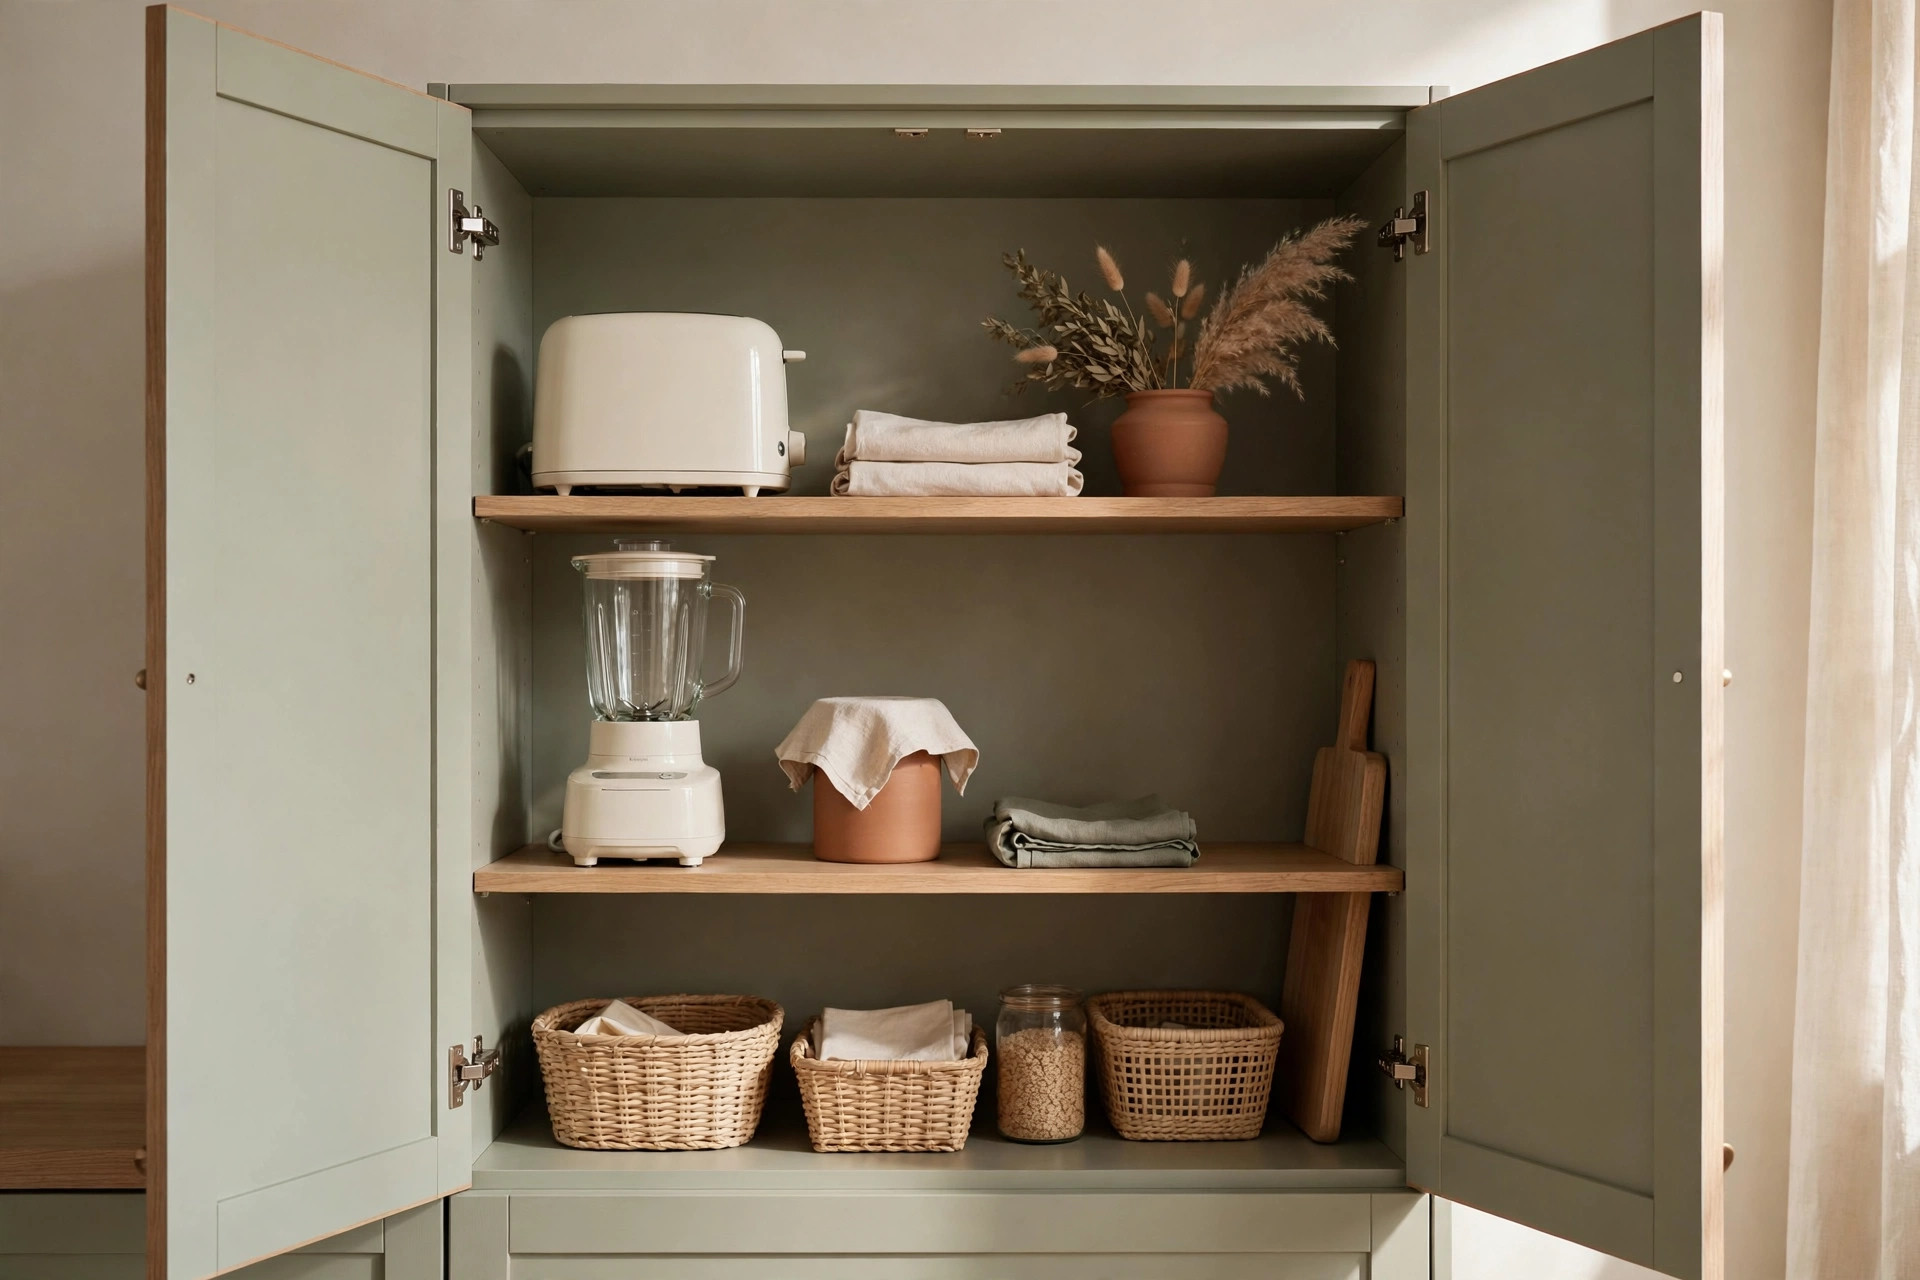
If the daily-use test is the bouncer, this is the list it turns away. Rarely-used appliances are the biggest offenders because each one is large, heavy, and used in bursts — the stand mixer that’s out year-round for monthly baking, the juicer with three cleanings per use.
Give these a real home inside a cabinet instead of counter purgatory — at the front of a lower cabinet near an outlet, so retrieval takes seconds. For heavy items like a stand mixer, the lowest shelf of a base cabinet keeps them reachable.
Then there’s the clutter magnets — the things that aren’t appliances but colonize counters anyway: the mail pile, loose batteries, the charging cable tangle. These don’t need organization; they need eviction. Mail goes into a wall-mounted file sorter, cables charge in a drawer with a multi-port strip, and the miscellaneous pile gets a single small tray with a weekly empty-out rule.
Vertical solutions: shelves, rails, and wall storage
When the counter can’t grow outward, it grows upward. The wall above a small counter — even a strip 18 inches tall between counter and upper cabinet — is storage space most renters ignore.
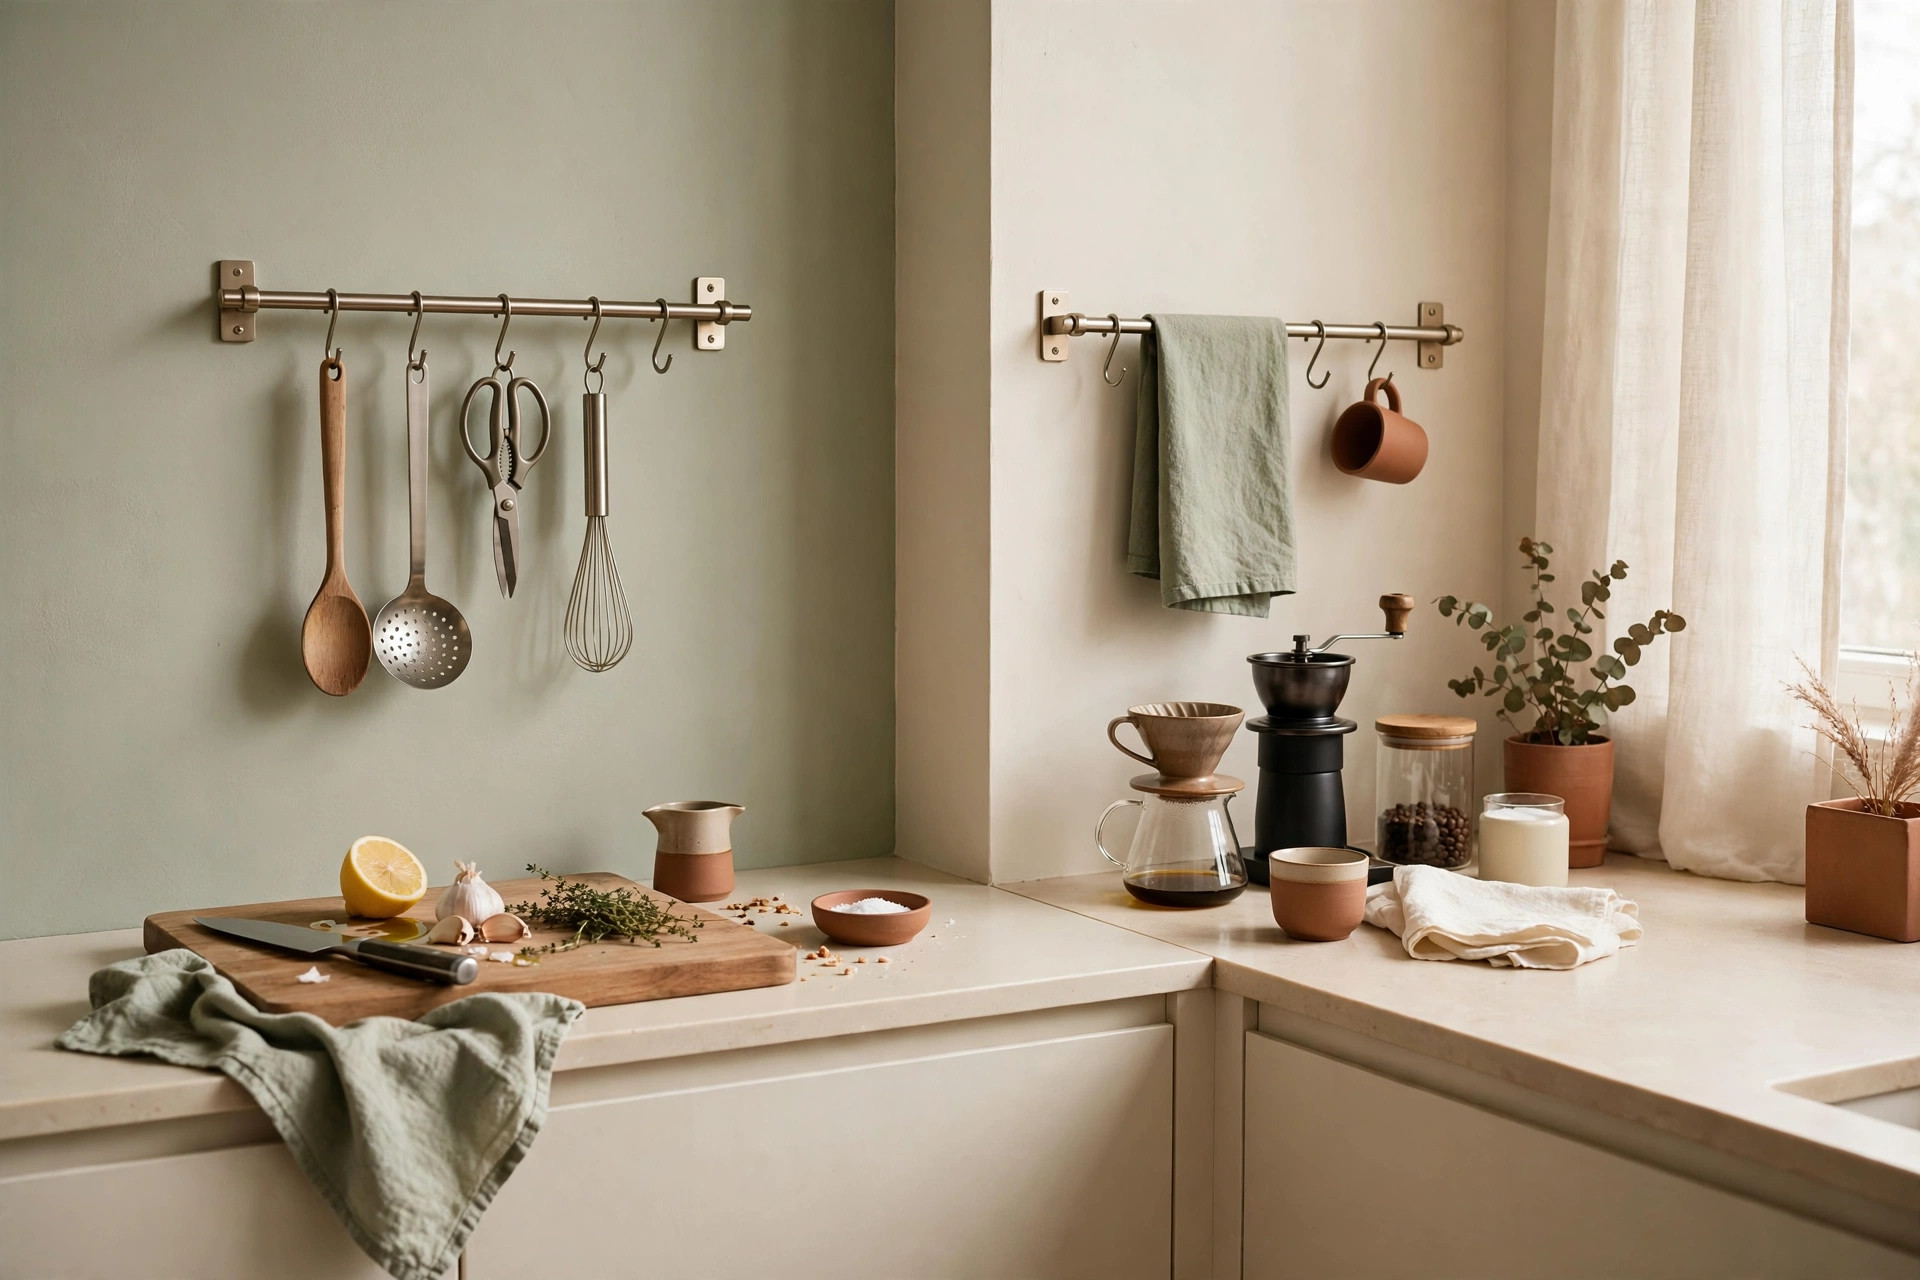
A rail with hooks
Hang a rail with S-hooks under the upper cabinets for the utensils that otherwise live in a countertop crock: spatulas, ladles, tongs. A 24-inch rail with eight hooks returns roughly a dinner plate’s worth of counter.
A narrow shelf for the daily roster
A single 4-inch-deep shelf above the coffee zone holds mugs, the sugar jar, and filters — the morning kit, off the counter but within arm’s reach. Keep it shallow on purpose: deep shelves become clutter shelves.
Magnetic and hanging extras
A magnetic knife strip on the wall frees the knife block’s counter footprint entirely. Hanging baskets from a rail hold onions, garlic, or the fruit that passed the daily-use test.
Zones: coffee, cooking, prep — in 4 feet of counter
Four feet of counter sounds like nothing until you give each foot a job. Zones stop the slow sprawl.
The coffee zone (left foot)
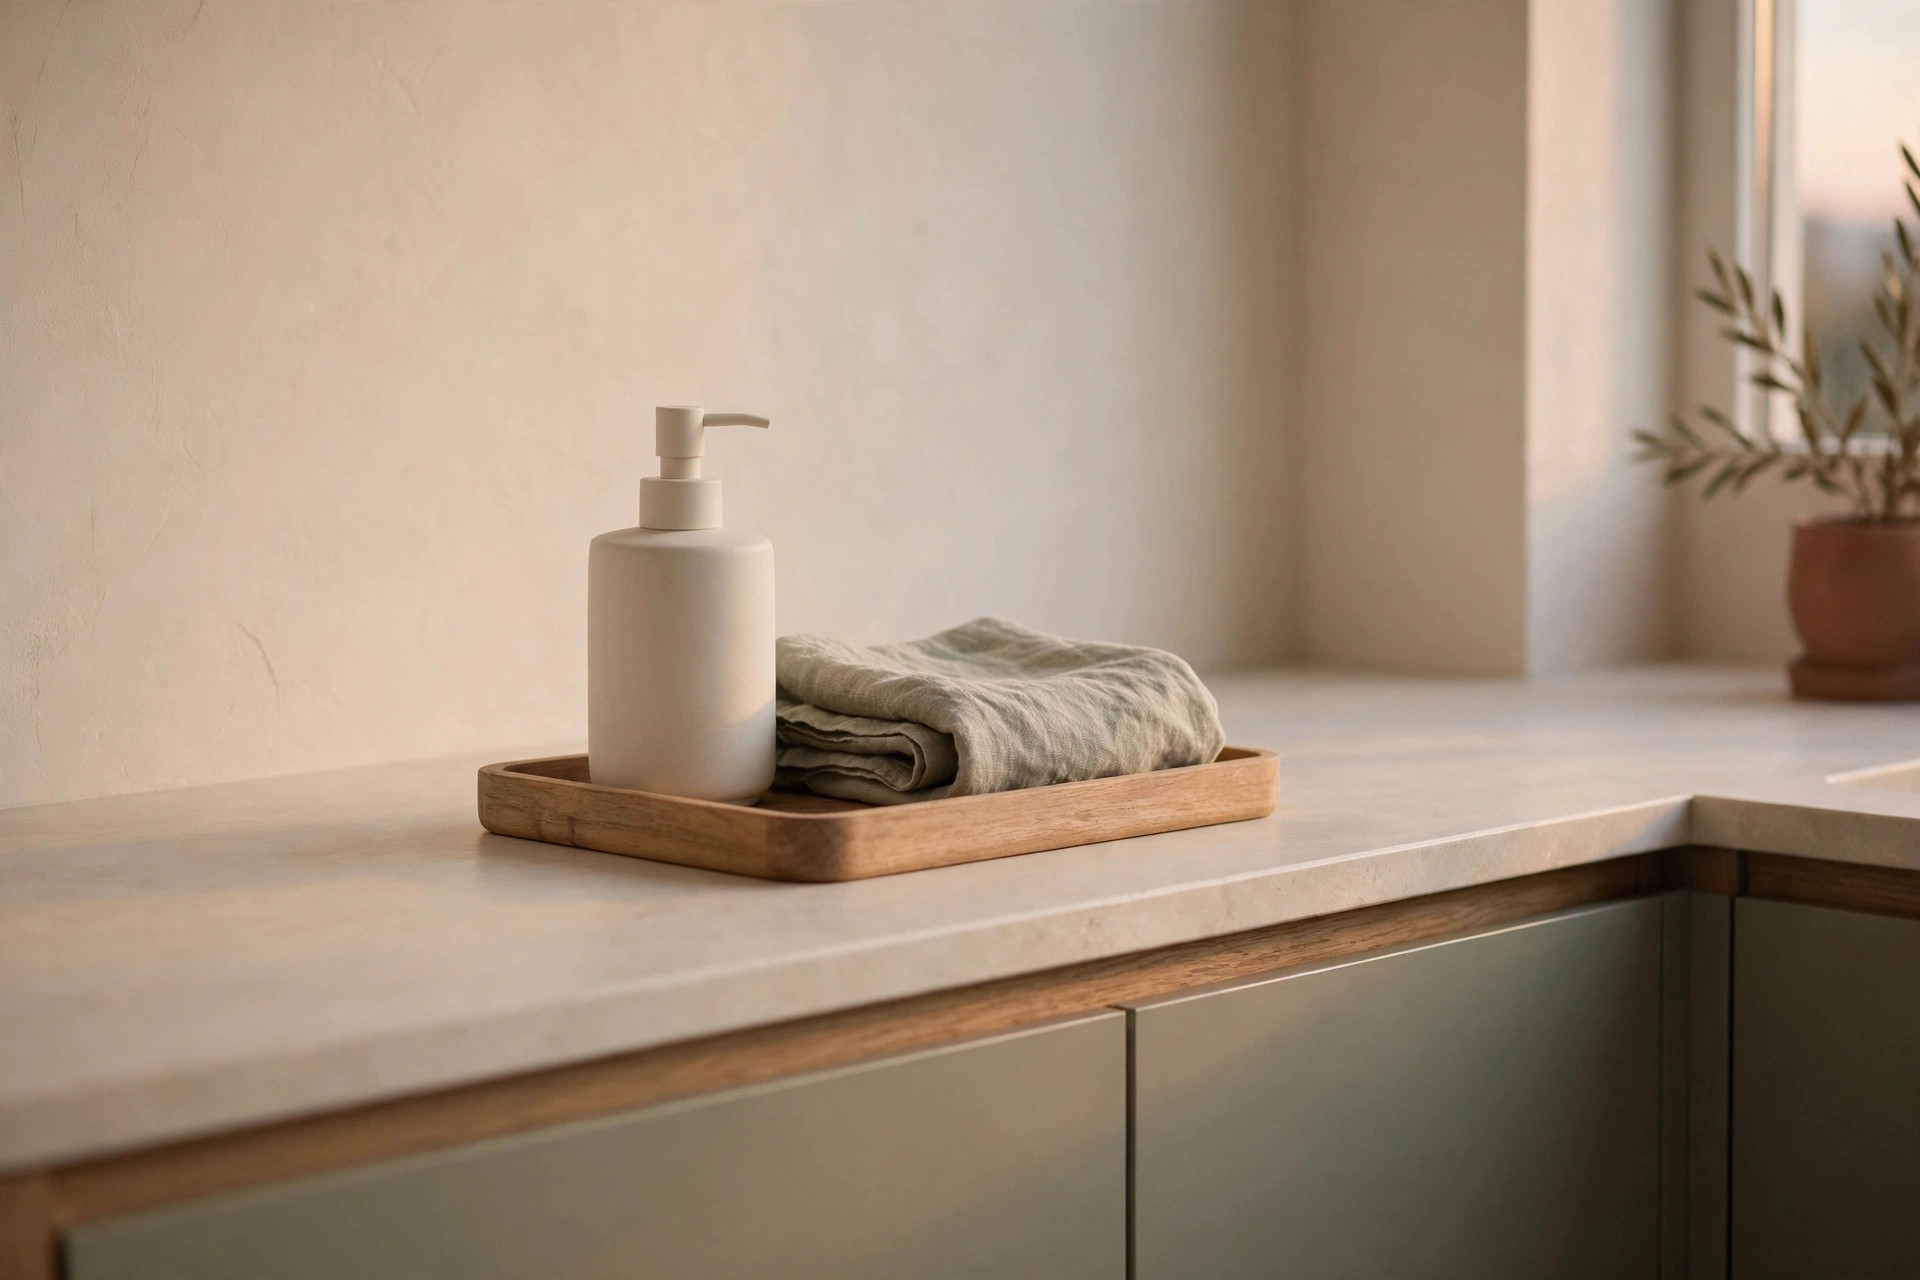
Everything morning-related lives in one cluster: the machine, mugs, filters, and sugar. A small tray — about 12 by 16 inches — corrals it all so the zone has visible edges. When the zone has edges, things stop migrating.
The cooking zone (by the stove)
This is landing space, not storage space. Keep the 18 inches beside the stove clear for hot pans and the plate you’re filling. The only permanent residents should be the cooking oil and salt — and even those earn it only if you cook daily.
The prep zone (the remaining foot or two)
Cutting board, knife, and a small bowl for scraps — that’s the whole kit. Everything else arrives when needed and leaves when done. A prep zone that stays empty between meals is a prep zone that works.
Renter-safe upgrades that add space without drilling
Renters can’t drill, but the best counter-adding upgrades don’t need holes anyway.
Over-sink dish rack. A roll-up or rack-style dryer that sits across the sink turns the basin into drying space, freeing the counter area a traditional rack would claim — often a full 20 by 16 inches.
Tension-rod under-cabinet shelf. A short tension rod wedged between two cabinet sides creates a hanging spot for spray bottles or a paper towel holder, moving them off the counter without mounts.
Adhesive hooks and rails. Modern adhesive strips hold surprising weight — a rail rated for 5 to 7 pounds handles utensils easily. Stick it to the backsplash or the side of a cabinet. When you move out, they peel off cleanly with heat from a hair dryer.
A rolling cart as overflow counter. A narrow rolling cart (roughly 12 inches wide) parked at the end of the counter run adds a square foot of work surface that rolls away when you need floor space.
Cabinet-door organizers. The inside of a cabinet door under the sink holds sponges, brushes, and wraps on adhesive or over-door racks — check our guide to 15 Under Sink Kitchen Organization Ideas for Tiny Cabinets for the full setup.
For renters doing a whole-home pass, the same no-drill logic applies beyond the kitchen — our 17 Renter-Friendly Closet Organization Ideas (No Drilling Required) covers closets with the same constraints.
The nightly 3-minute counter reset
All the systems above decay without a closing ritual. The nightly reset takes three minutes:
- Dishes to the rack or dishwasher (60 seconds). Nothing air-dries on the counter overnight.
- Wipe the zones (60 seconds). One damp cloth, left to right: coffee zone, cooking zone, prep zone.
- Return the drifters (60 seconds). The mug that migrated to the prep zone, the olive oil left by the sink — each goes home. If something has no home, that’s a signal it needs one.
Do it while the kettle boils for evening tea or right after dinner dishes. The point isn’t perfection; it’s preventing the slow accumulation that turns a clean counter into a storage shelf by Friday.
Mistakes to avoid
Buying organizers before auditing. A new tiered shelf feels productive, but without the counter audit first, you’re just organizing clutter you should have relocated. Audit, then buy — never the reverse.
Storing weekly appliances at the back of deep cabinets. If the blender takes a five-minute excavation to reach, you’ll stop putting it away. Store weekly-use items at the front of an accessible cabinet, near an outlet.
Letting “temporary” become permanent. The drying rack that’s “just for tonight,” the mail “I’ll sort this weekend” — temporary counter residents become permanent faster than anything else. If it’s been there three days, give it a home or admit it lives there now.
Ignoring the cabinet space you already have. Counters overflow fastest when cabinets are badly organized. If your cabinets are a jumble, the counter becomes the overflow valve — see our 18 Small Kitchen Cabinet Organization Ideas That Maximize Every Shelf to fix the root cause. Pantry overflow lands on counters too; our 21 Small Apartment Pantry Organization Ideas That Actually Work helps there.
Frequently Asked Questions
How do I organize a very small kitchen counter with no pantry?
Start with the counter audit: strip everything off, then return only daily-use items. Without a pantry, your cabinets become the pantry — organize them first (heaviest use at eye level, weekly items at the front). A rail, a narrow shelf, and adhesive hooks add capacity without floor or counter space.
Can I keep my coffee maker on the counter in a tiny kitchen?
Yes, if you use it every single morning without exception. Give it a defined zone — a small tray that marks its territory so it doesn’t sprawl. If you only brew on weekends, store it in a cabinet.
What should never stay on a kitchen counter?
Anything you use less than daily: specialty appliances (stand mixer, bread maker, juicer), the paper towel holder (move it under-cabinet or wall-mounted), mail and paperwork, charging cables, and decorative items that collect grease.
How do renters add counter space without drilling?
An over-sink dish rack frees the footprint a countertop rack would take. Adhesive-mounted rails and hooks add wall storage that peels off cleanly. A narrow rolling cart adds a square foot of work surface. Inside-cabinet-door organizers move sponges and wraps off the counter entirely.
How often should I redo the counter audit?
Do the full everything-off audit once, then a quick version every three to four months. Habits drift: a new appliance arrives, a routine changes, and the counter quietly refills.
Conclusion
Small kitchen counter organization comes down to one discipline: only daily earners stay out, everything else gets a real home inside a cabinet, on a wall, or in a zone with edges. Audit once, zone the counter, go vertical where you can, and close each night with the 3-minute reset. Browse more ideas in our kitchen category, and save this pin for later.