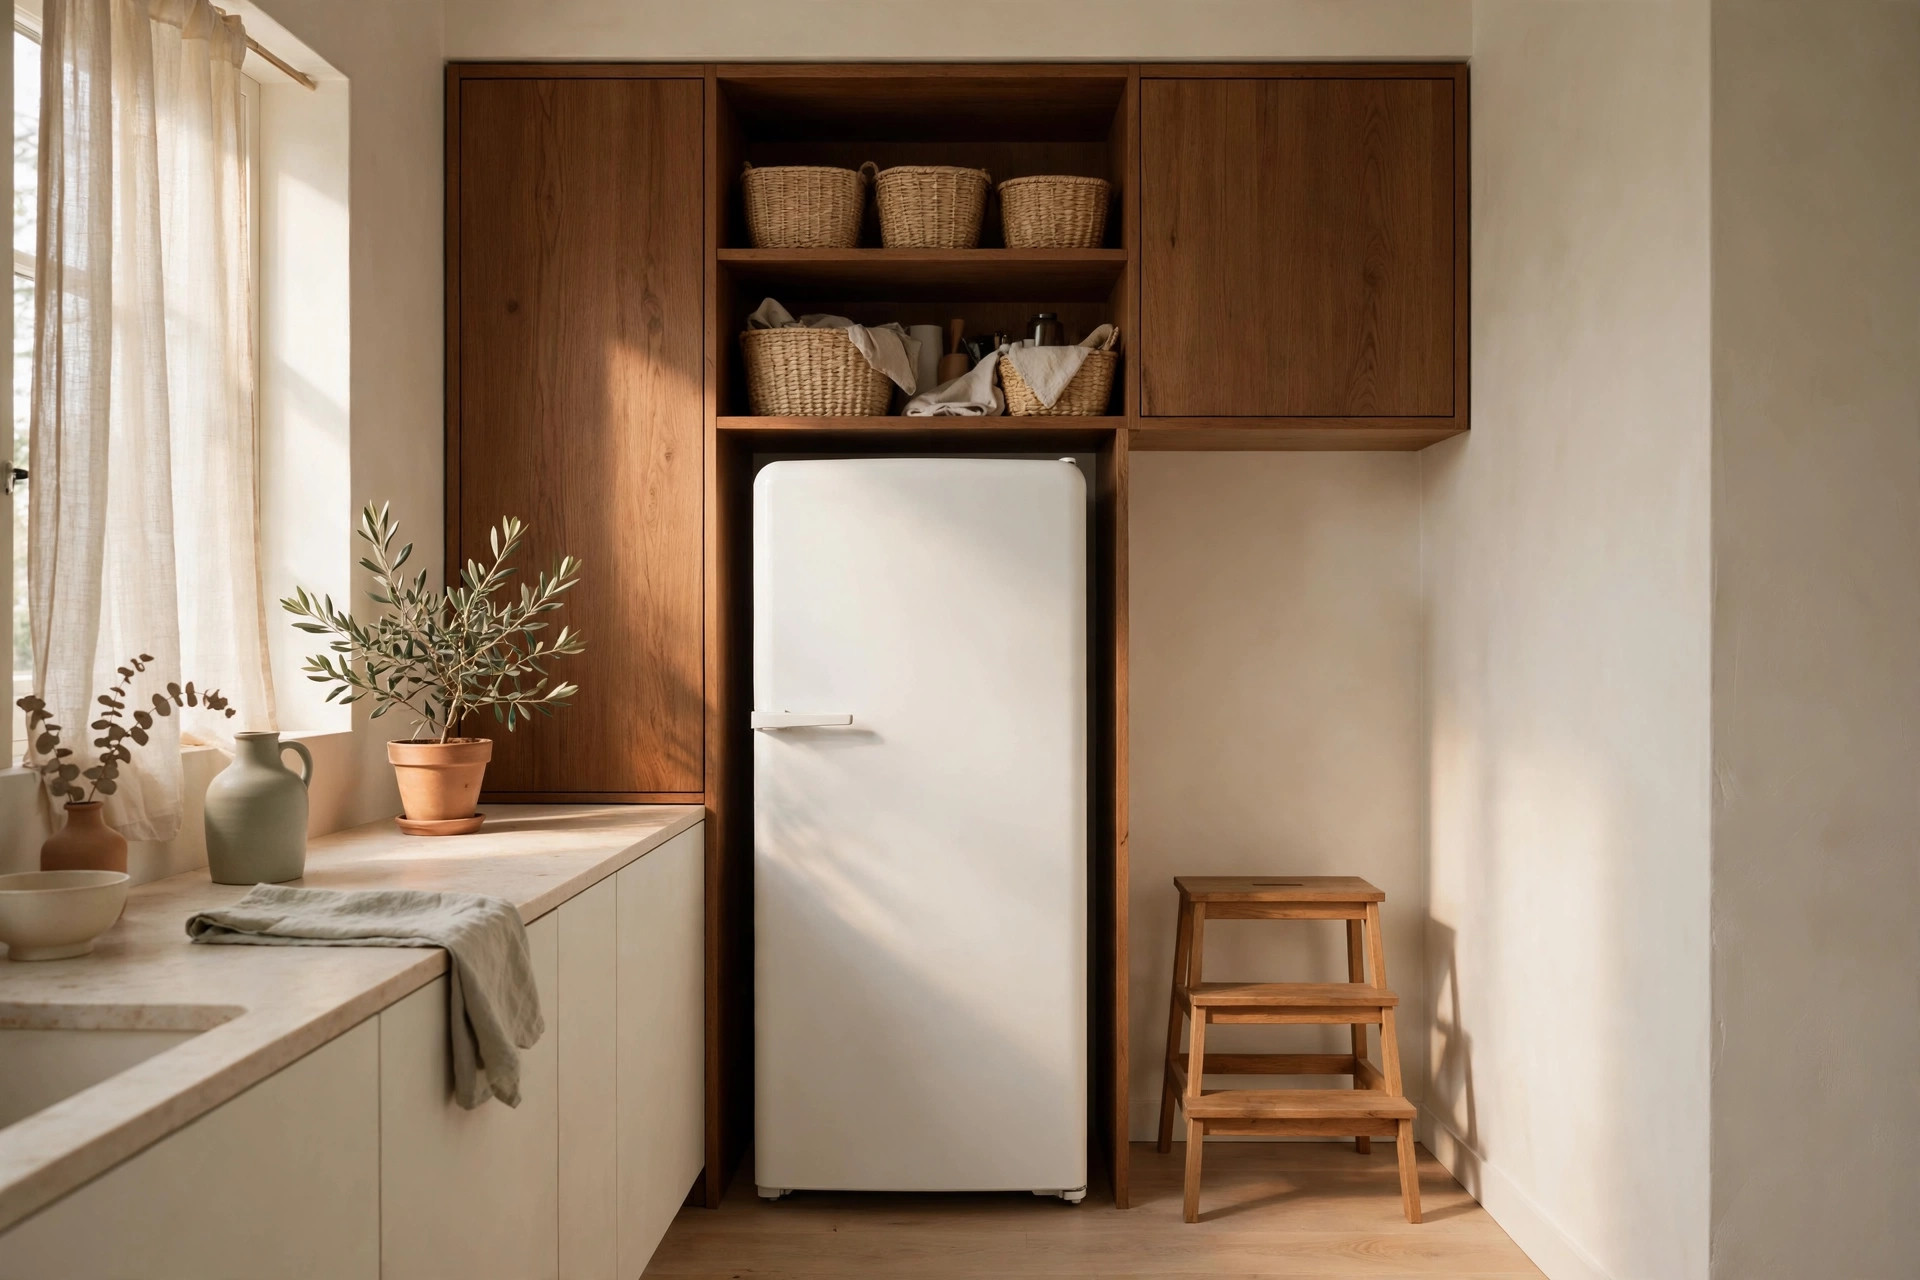
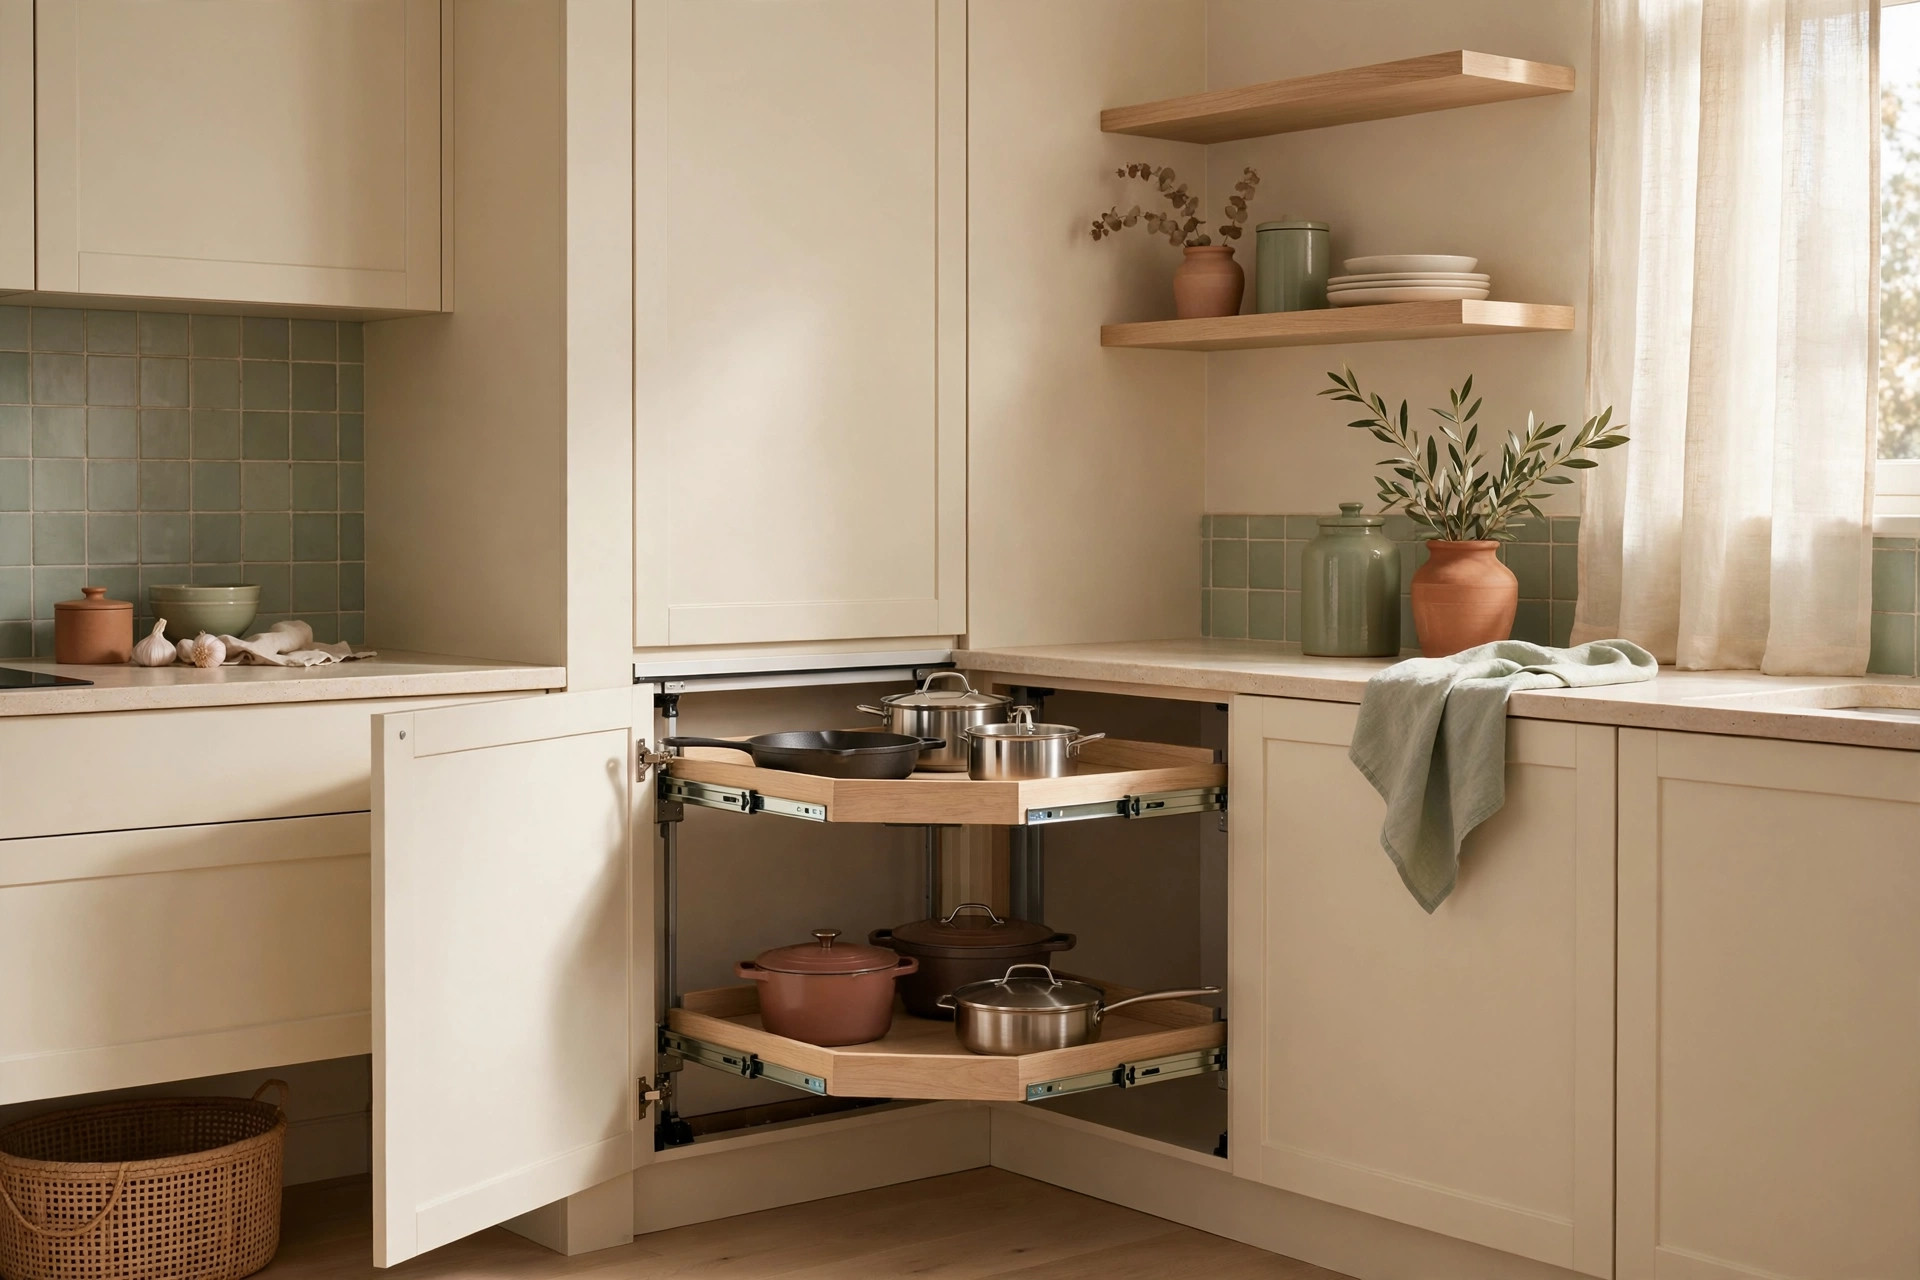
You know the sound: a frozen bag tumbling out onto your toes while you dig through your freezer looking for something you bought three weeks ago. Then comes the ritual. You hold up a frost-covered lump, squint at it, and try to decide whether it is chicken stock or ice cream. These small freezer organization ideas end that ritual for good — no gadget spree, no full weekend project. Just zones, bins, and one freezing method that turns any cramped freezer into a system where you can find anything in ten seconds flat. They work in top-freezers, drawer freezers, mini units, and small chest freezers alike, and most cost little or nothing to set up.
A small freezer punishes disorganization faster than any other storage space. In a 3-cubic-foot apartment freezer, one lost bag blocks airflow and buries half your inventory. Every idea below is sized for small spaces and tight budgets, because that is where an organized freezer pays off most.
The freezer audit: defrost, toss, and measure first
You cannot organize what you have not inventoried. Before buying a single bin, take everything out and face the reality of your freezer.
1. Run a full audit on a cool evening. Pull everything out onto a towel-lined counter or into a cooler with ice packs. No label after six months, unmarked foil blobs, anything off-smelling the second the bag opens — out it goes. Most people toss a third of what their freezer holds, and every mystery bag you keep is a duplicate you will keep buying.
2. Measure every shelf, then defrost if needed. Write down the interior width, depth, and height of each shelf or compartment. If frost is eating more than about half an inch of clearance, schedule a defrost first — a clean freezer gives bins a flat surface to sit on and buys real usable space. Bins bought without measurements end up in a donation pile.
The zone method: meals, raw ingredients, snacks, backstock
Freezers become black holes because unrelated items share the same pile. The zone method fixes that with four simple neighborhoods.
3. Assign four permanent zones. Ready meals (leftovers, cooked batches), raw ingredients (meat, vegetables, dough), snacks and treats (ice cream, bread rolls), and backstock (bulk buys, sale items). In a single-compartment top-freezer, zones can be columns left to right. Mark the boundaries with colored freezer tape for the first month until the habit sticks.
4. Keep a “use next” front edge in every zone. Front-load what you plan to eat this week; restock new arrivals behind it. This is the zone logic from 15 Small Fridge Organization Ideas That End the “What’s in There” Game moved into the cold — cook from the front, restock to the back.
Bins over piles: stackable bins sized to your shelves
Loose items slide, topple, and bury each other. Bins turn your freezer into pull-out drawers you can see into — the single highest-impact change on this list.
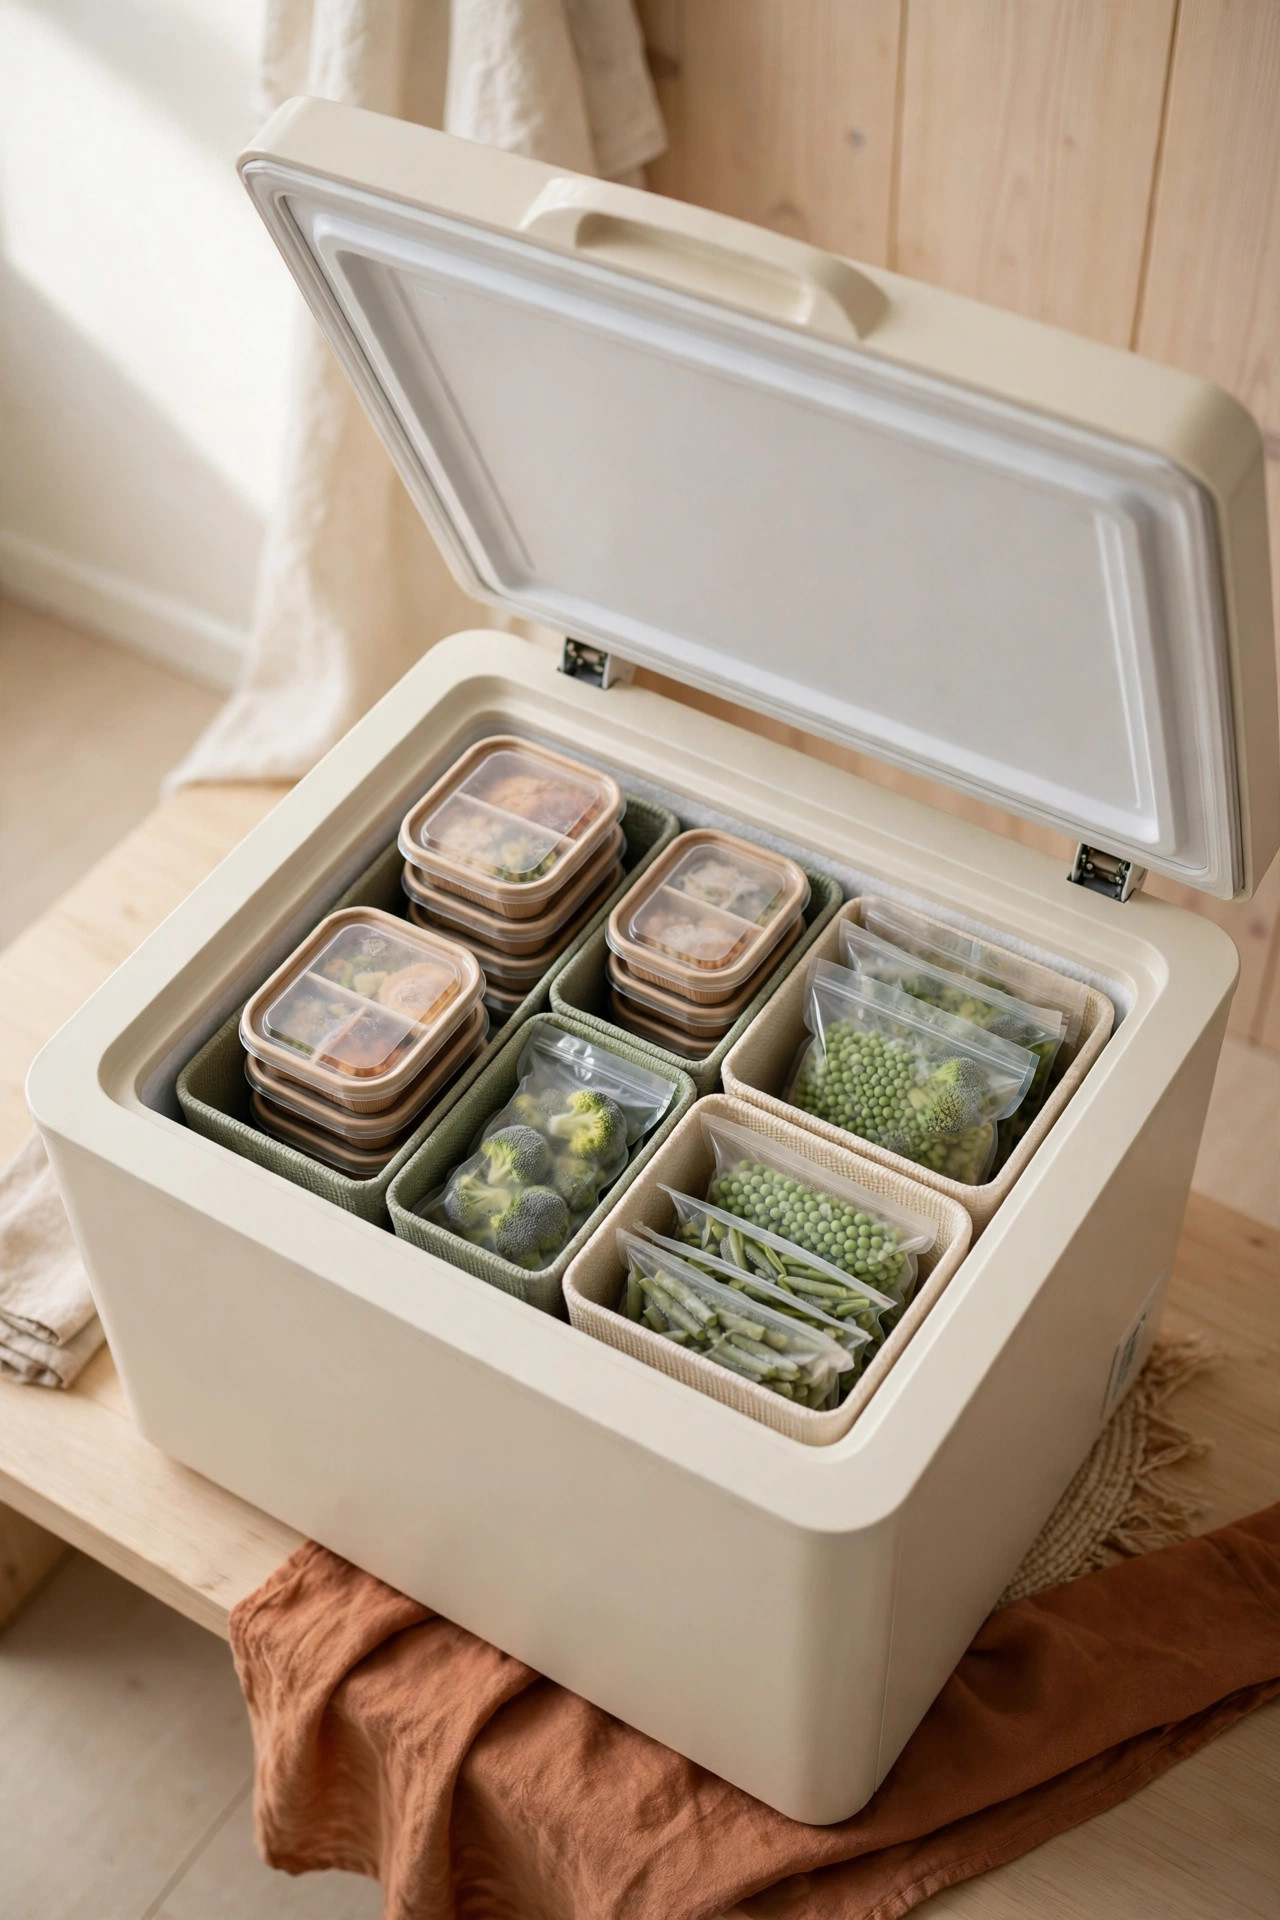
5. Buy bins to your measurements, not your hopes. The magic format for most apartment freezers is an open-top bin roughly 10 by 6 by 6 inches — tall enough for upright bags, narrow enough for two or three across a standard shelf. Clear or translucent beats opaque, because you can see contents without lifting the bin.
6. Go stackable where shelves allow, open where they don’t. Tall single compartment? Stackable lidded bins build vertical columns. Shallow shelves? Lidless bins slide out like drawers. Mixing both in one freezer is fine — they serve different zones.
7. Give every bin a one-word job. Chicken, vegetables, leftovers, bread — one job each. The moment a bin holds “miscellaneous,” it becomes the new mystery pile. Cheap bins work perfectly here — many of the Dollar Tree Organization Hacks That Actually Look Good adapt straight to freezer use, since dollar-store bins run exactly the small sizes freezers need.
Flat-freeze everything: soups, sauces, and meat in bags
Bags frozen flat take a fraction of the space of lumpy ones, stack like envelopes, and thaw faster. This one technique doubles usable space in a small unit.
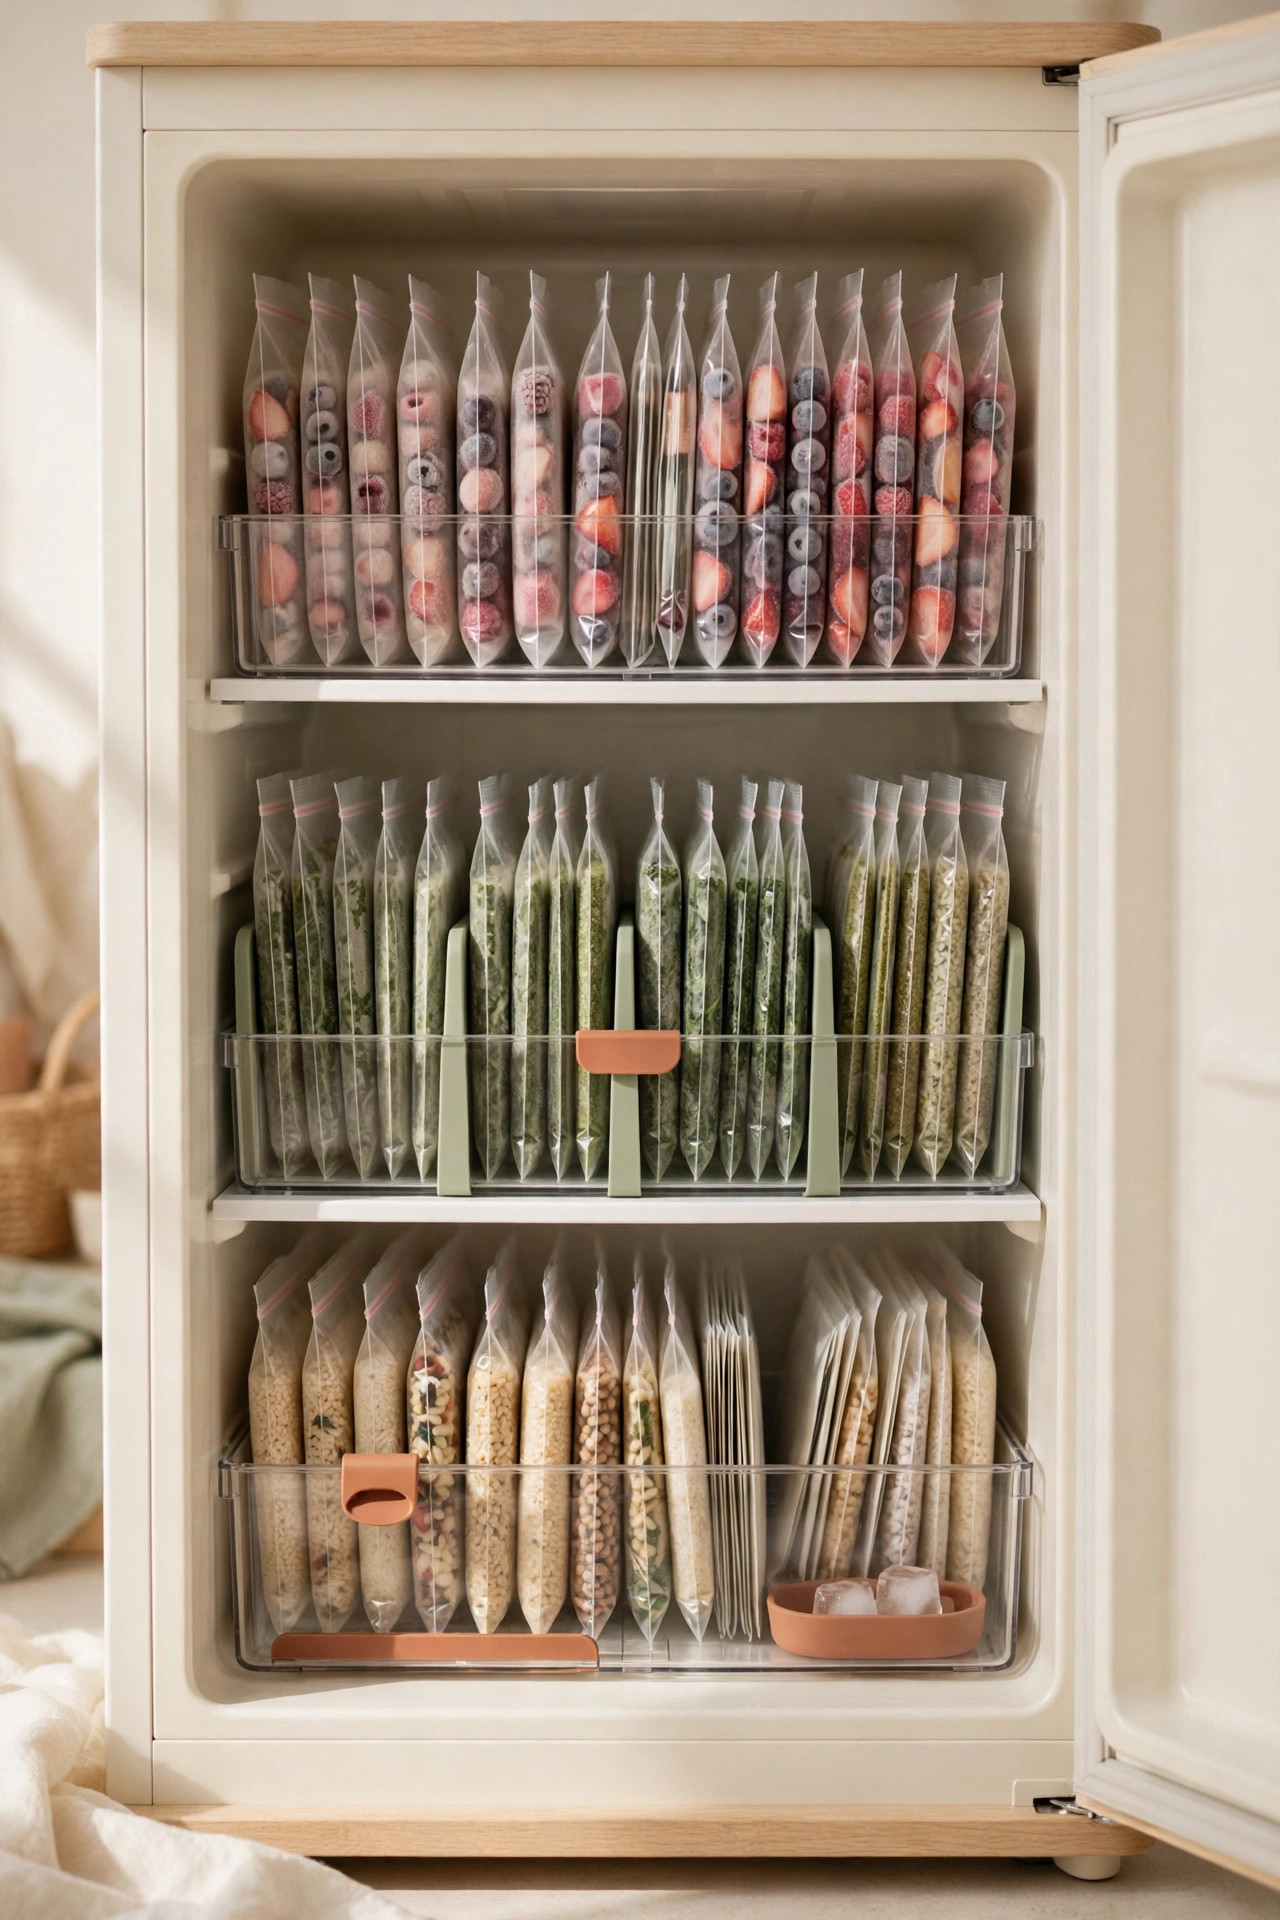
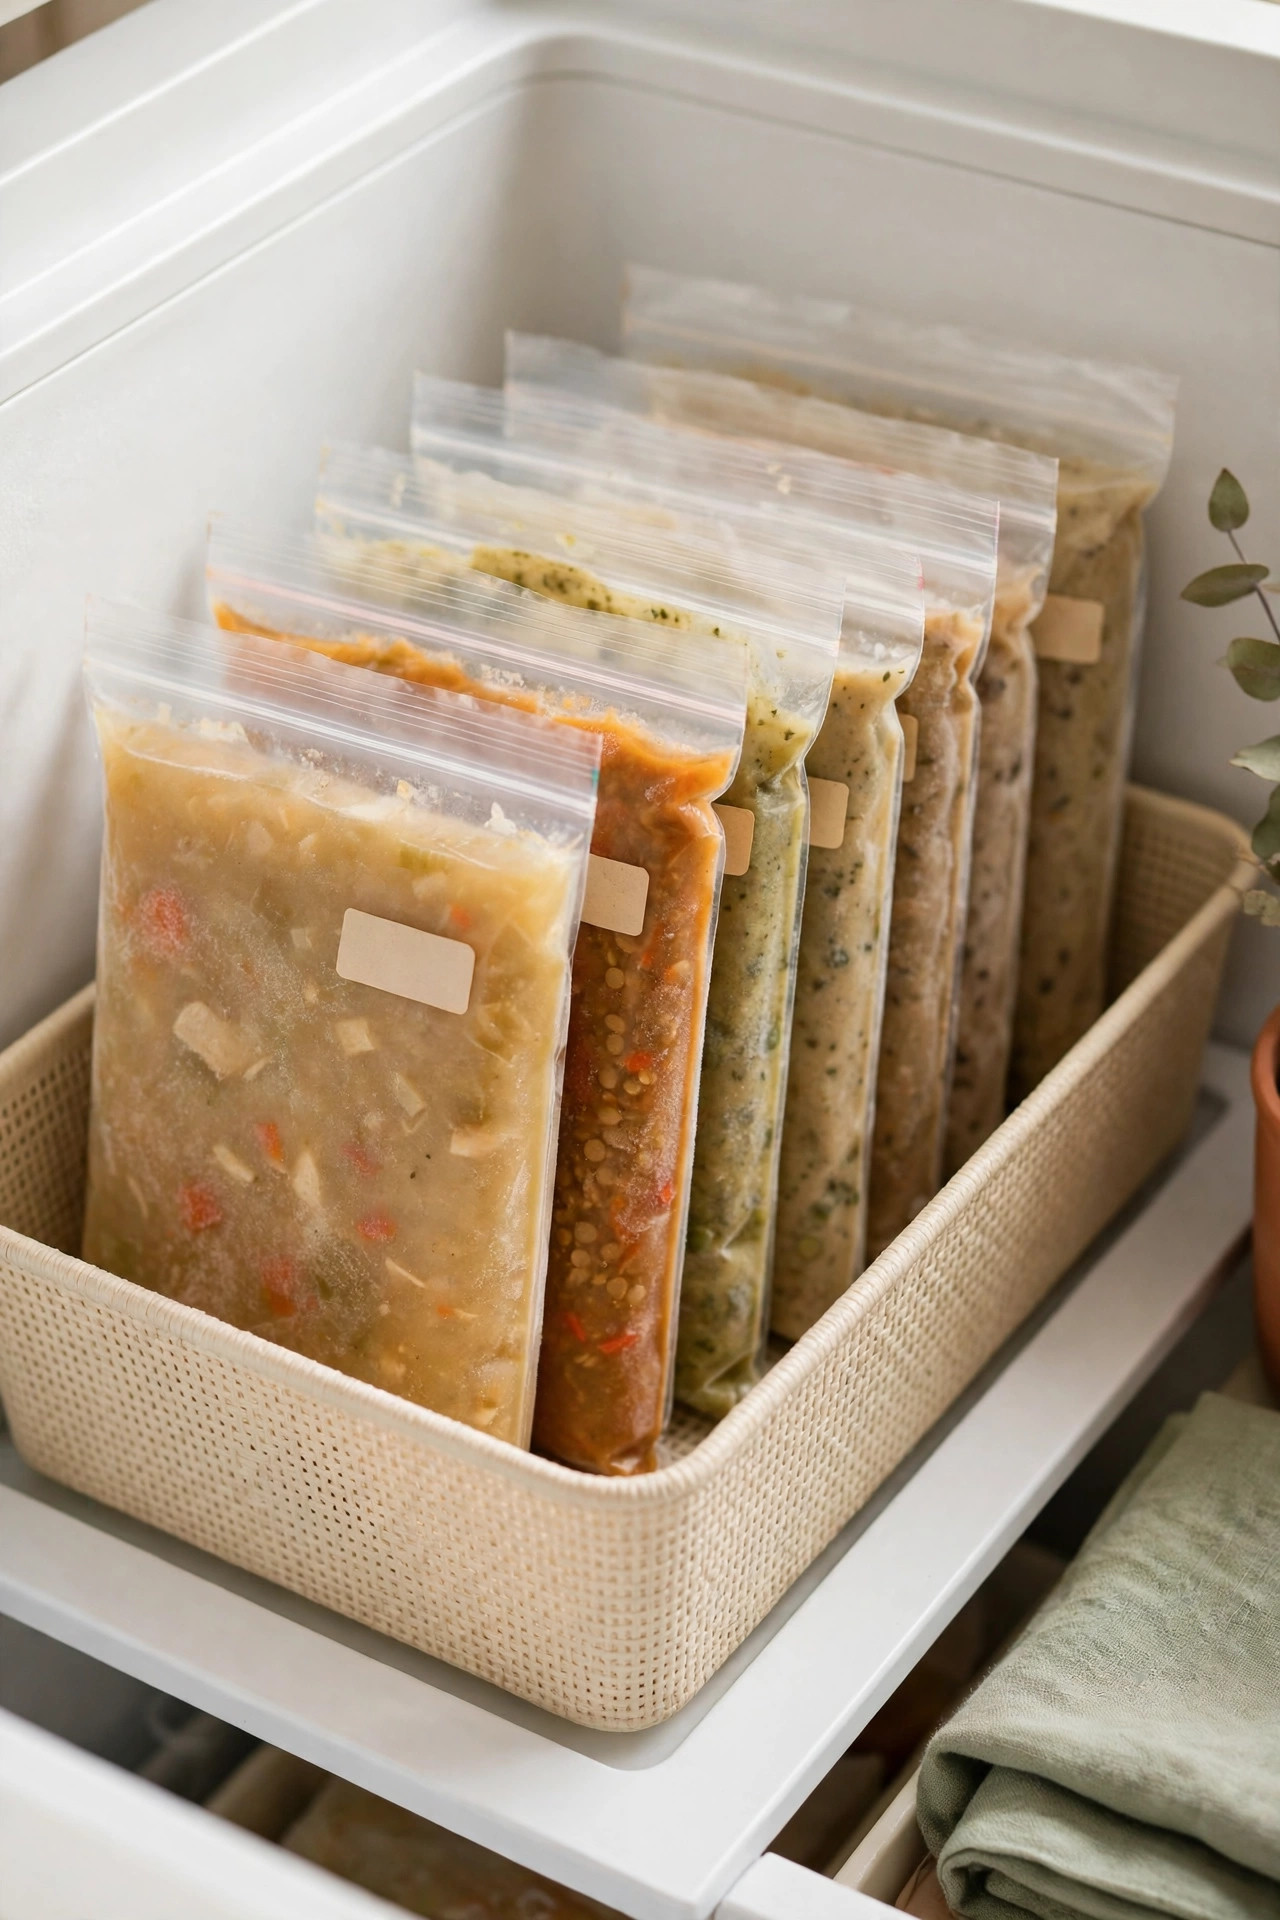
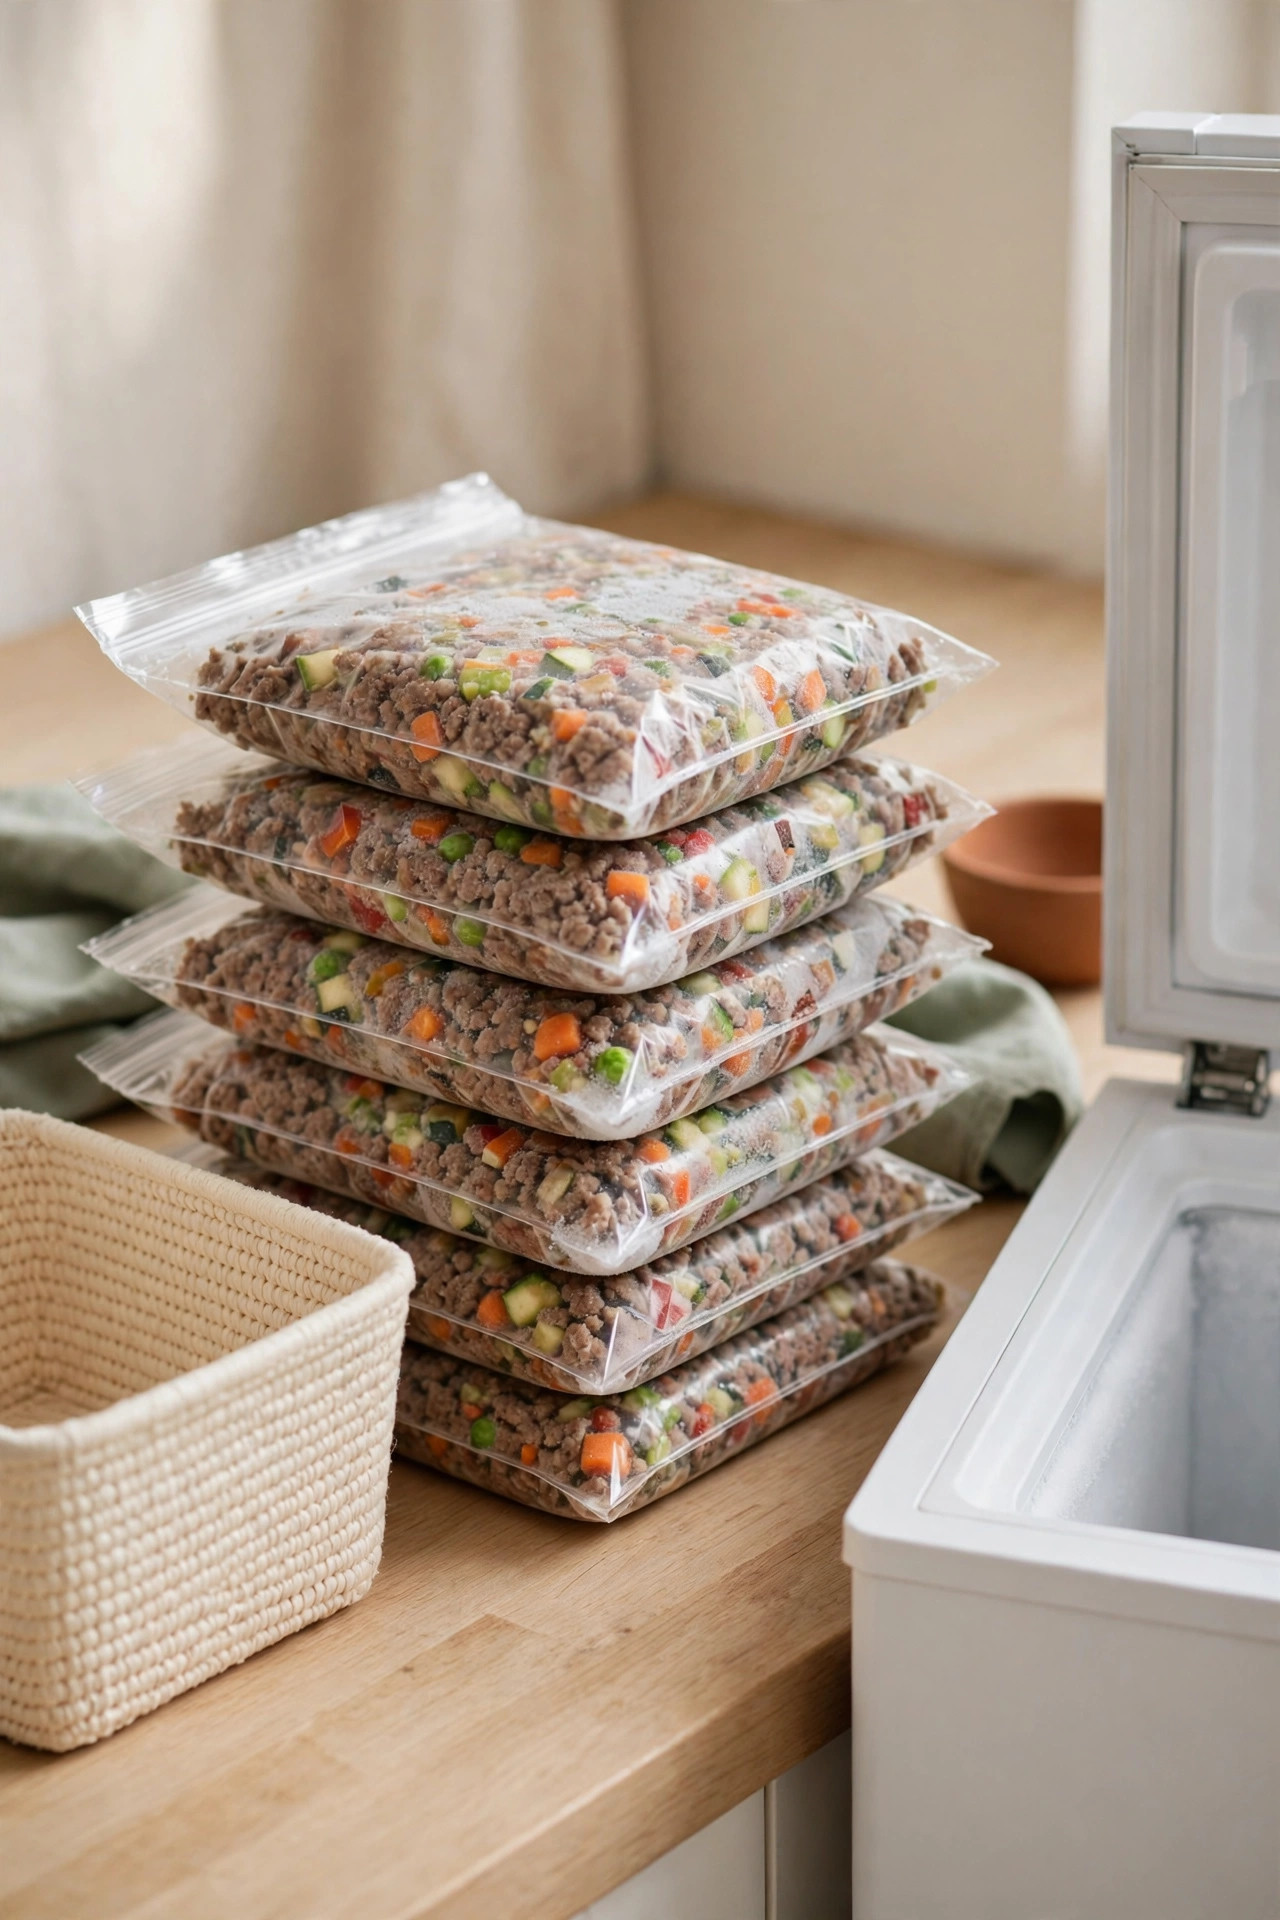
8. Freeze in flat quart bags on a tray, then file them. Pour soup, chili, sauce, or marinated meat into quart freezer bags, squeeze out the air, and lay them flat on a rimmed baking sheet in the freezer. Once solid (about 4 hours), stand the flat “bricks” upright. Ten flat bags take the space of about three lumpy ones.
9. Standardize on two bag sizes. Quart bags for sauces and one-or-two portions; gallon bags for family batches and bulk meat. Uniform bags mean uniform stacks with no wasted air gaps. Leave about half an inch of headspace so food can expand without bursting the seal.
10. Double-wrap anything frozen longer than a month. One bag prevents spills; two prevent freezer burn. Add a layer of plastic wrap before the outer bag for backstock. That second layer is the difference between chicken that tastes fresh in February and chicken that tastes like freezer.
Vertical filing: boxes and bags filed like records
Once bags are flat, stop stacking them like a deck of cards and file them like records. Vertical filing is the difference between a freezer you browse and a freezer you excavate.
11. File bags upright so every label faces you. Slide flat bags into an open bin standing on their long edge, labels out. You read every item at a glance without lifting a thing — like book spines on a shelf. Oldest in front, newest in back, and you get automatic first-in, first-out rotation.
12. Use a milk crate or wire basket for chest freezers. Chest freezers are deep, and anything below the top twelve inches vanishes from memory. A wire basket or upright milk crate creates a lift-out “top layer” for this week’s meals; the bottom layer holds only backstock you touch once a month.
Labels and the running inventory sheet
An organized freezer you cannot read is barely better than a messy one. Labels cost almost nothing and pay for themselves with one avoided grocery duplicate.
13. Label everything with three words: name, date, quantity. “Chicken stock — Oct 26 — 2 cups.” Freezer tape and a permanent marker directly on bags, or stick-on labels on bins. Date everything the day it goes in, because future-you will not remember. Painter’s tape survives freezer temperatures just as well as the specialty stuff.
14. Keep a running inventory on the freezer door. Tape a sheet of paper or a small dry-erase board to the door or lid. Two columns: item, quantity. Take something out, cross it off; add something, write it on. This is the inventory trick from 21 Small Apartment Pantry Organization Ideas That Actually Work, relocated to the cold. A ten-second check before shopping ends the three-bags-of-peas disaster.
Mini, drawer, and chest freezer setups
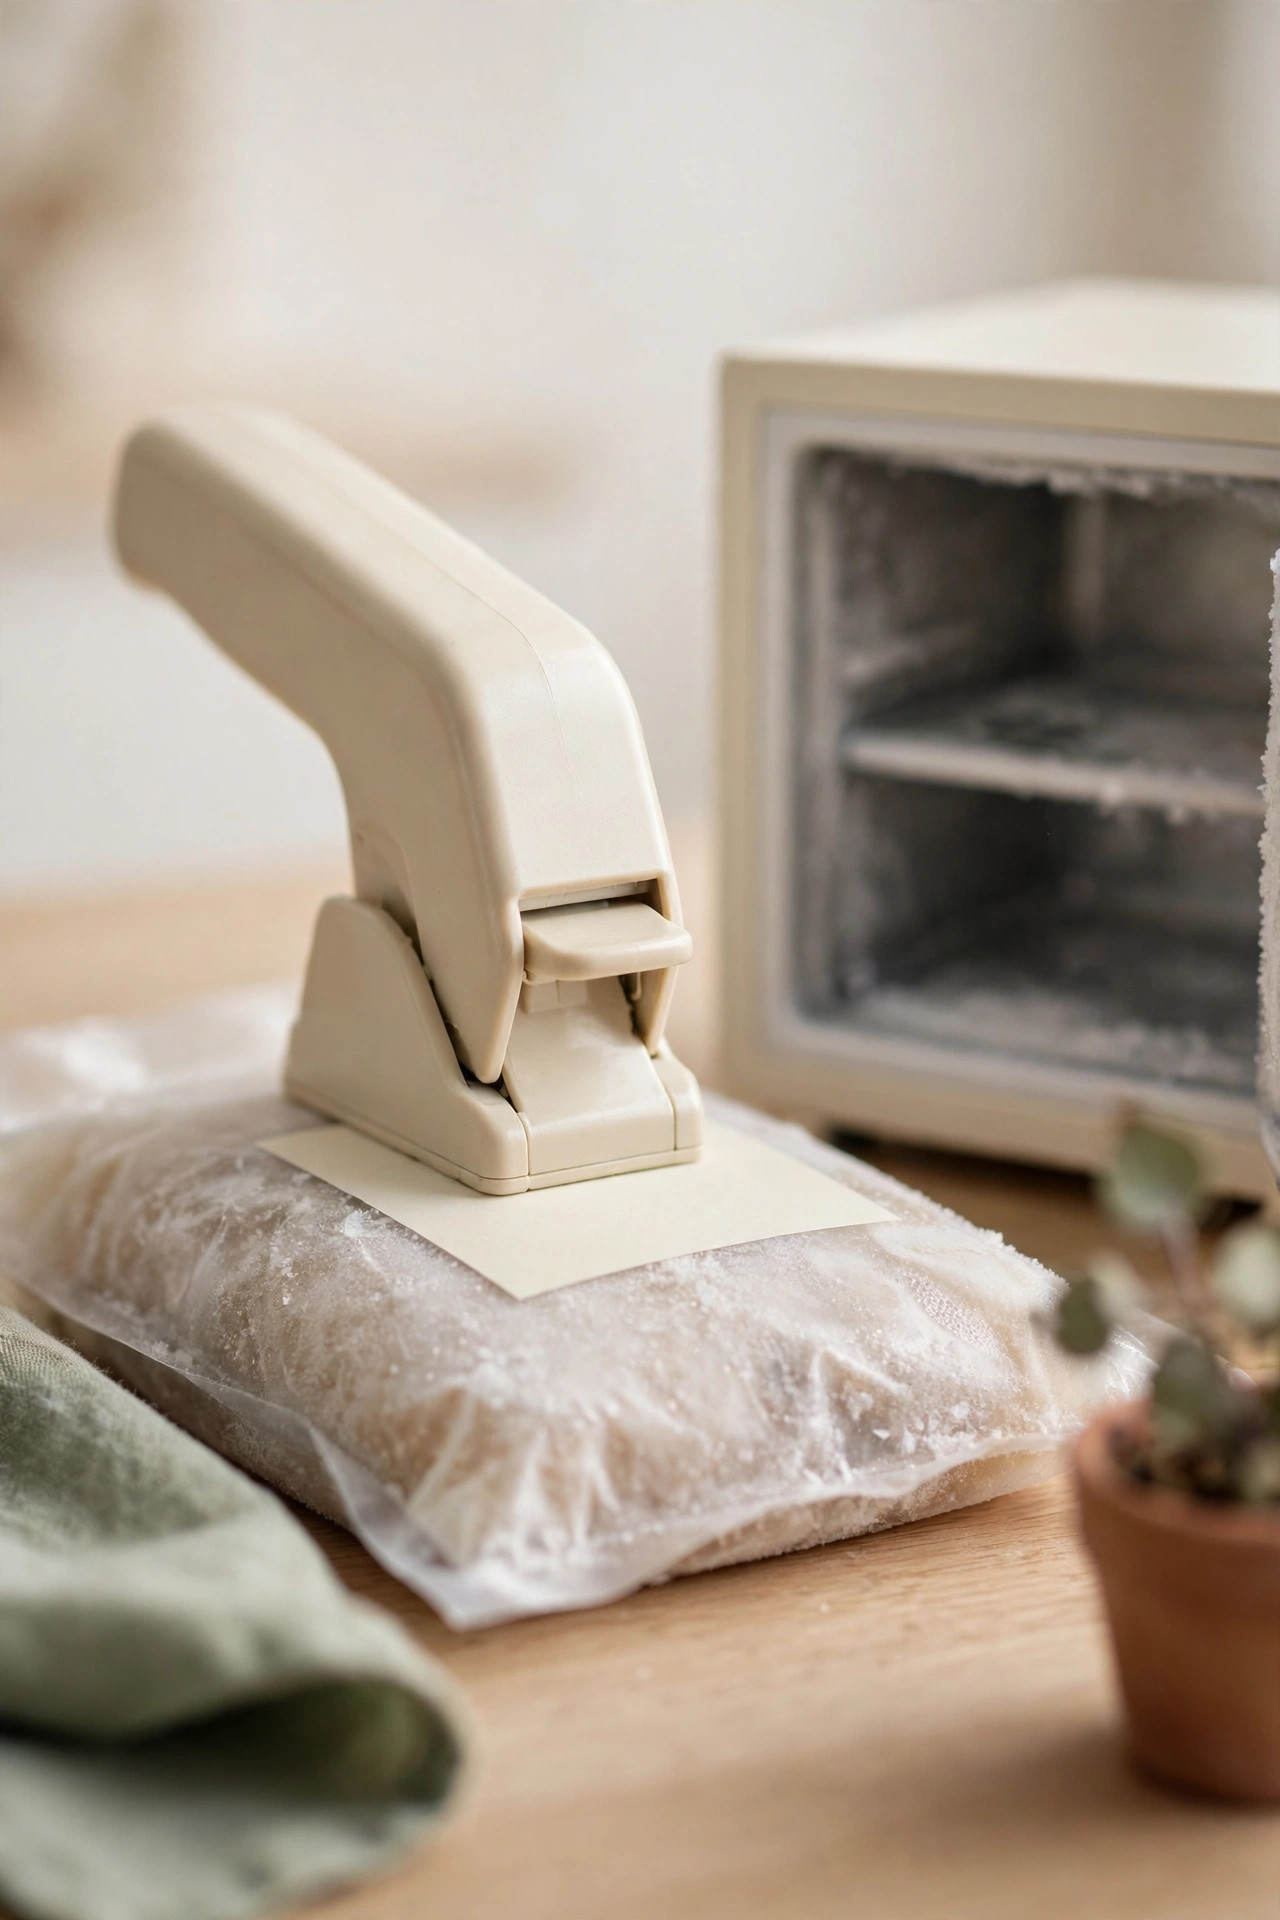
15. For mini and dorm freezers: go all-in on flat-freeze and skip bins. A mini freezer has no shelf space to spare on bin walls. Freeze everything flat, file the bags in one tight row, and use a cut-down cereal box as a divider. Zones still apply — just make them left-to-right thirds instead of separate bins.
16. For upright and drawer freezers: bins are the drawers. Use the bin-as-drawer approach from ideas 5 through 7, plus vertical filing for anything bagged. If your upright has a door rack, that is your snack zone. And for small chest freezers, re-read idea 12: the lift-out top layer IS the system, with backstock living below it.
The 10-minute monthly freezer reset
Systems decay. A monthly reset keeps yours honest for ten minutes of effort.
17. Schedule a standing monthly reset. Same day each month — the first Sunday works well. Pull out each bin, wipe it down, toss anything past its prime or still unlabeled, and re-file strays. You will also rediscover forgotten flat bags — add them to next week’s meal plan. Ten minutes monthly beats a two-hour rescue every spring.
18. Run the two-week FIFO sweep. Before each grocery trip, pull anything older than two months into the front of its zone — or straight onto this week’s menu. Tie the sweep to your regular kitchen reset routine so it happens on autopilot.
Mistakes to avoid
Buying bins before measuring. The number one freezer-organization mistake. Bins half an inch too tall for the shelf turn into clutter on the counter. Measure first, always.
Freezing in the original store packaging. Foam meat trays and thin produce bags are freezer-burn machines. Rebag everything before it goes in — two extra minutes triples quality.
Skipping labels because “I’ll remember.” You won’t. An unlabeled bag is food you paid for and will throw away.
Cramming the freezer 100 percent full. Air needs to circulate for even temperatures. Aim for about 80 percent full — enough to hold temperature during a power cut, open enough to freeze evenly.
Defrosting at room temperature all day. A cooler of ice, a few hours of patience, and towels on the floor beat a flooded kitchen. Never chip ice with a knife — one punctured coolant line turns a free Saturday chore into a new-appliance purchase.
Frequently asked questions
How do I organize a small freezer without buying anything?
Use the flat-freeze method and vertical filing with bags you already own. Stand the flat bags upright in a cereal box with one side cut down as a free filing box. Add freezer tape and marker labels — that alone transforms most small freezers for under two dollars.
Can I use regular plastic bins in the freezer?
Yes, if they are sturdy plastic that does not crack in the cold. Avoid thin, brittle bins — they shatter at freezer temperatures. Food-safe is a bonus but not required if food stays sealed in its own bag. Test one bin for a week before buying a full set.
How often should I defrost a manual-defrost freezer?
Roughly once a year, or when frost buildup passes about half an inch. Tie the reminder to a season change so you do not forget. Frost-free models handle it automatically but still benefit from the monthly ten-minute reset.
How long can food stay in the freezer before it goes bad?
At 0°F, frozen food stays safe indefinitely — but quality drops. Rule of thumb: cooked meals and soups within 2–3 months, raw meat within 3–6 months depending on the cut, vegetables within 8–12 months. Your date labels make this easy to track.
Conclusion
A small freezer stops being a mystery-bag graveyard the day you give it zones, bins, labels, and the flat-freeze habit — plus one ten-minute reset a month to keep it honest. Start with the audit this week, then add one layer at a time. Save this pin for later so the system is waiting when you need it, and browse the rest of the kitchen organization guides when your pantry is next.