If you cook in a small kitchen, you know the leaning stack: boards wedged upright in a cabinet, sliding sideways every time you pull one out, until the whole lot avalanches onto your feet. Small kitchen cutting board storage is not about buying a prettier rack. It is about giving every board its own slot, so nothing leans on anything else. Below are 15 cutting board organizer ideas that do exactly that, from measuring first to vertical racks, dividers, door and wall mounts, wasted gaps, and one shared zone for boards and baking sheets. Whether you rent or own, these systems work with the cabinets you already have, no remodel required.
Measure your boards: size and thickness decide the system
Most board storage fails before it is installed, because it was bought for an imaginary set of boards. A rack built for thin plastic boards will not hold a thick butcher block, and a slot sized for a standard board will not fit an oversized carving board with a handle.
1. Measure every board, then buy to the biggest one. Record the length, width, and thickness of each board. Most everyday boards are roughly 12 by 18 inches or 9 by 12 inches, and thickness ranges from about a quarter inch for flexible mats to 1.5 inches or more for a wooden butcher block. Your rack’s slot width must clear your thickest board, and its height must clear your longest board standing upright. If one board breaks the system, store that one separately rather than buying a bigger rack for the rest.
Vertical racks inside cabinets: the space-saving default
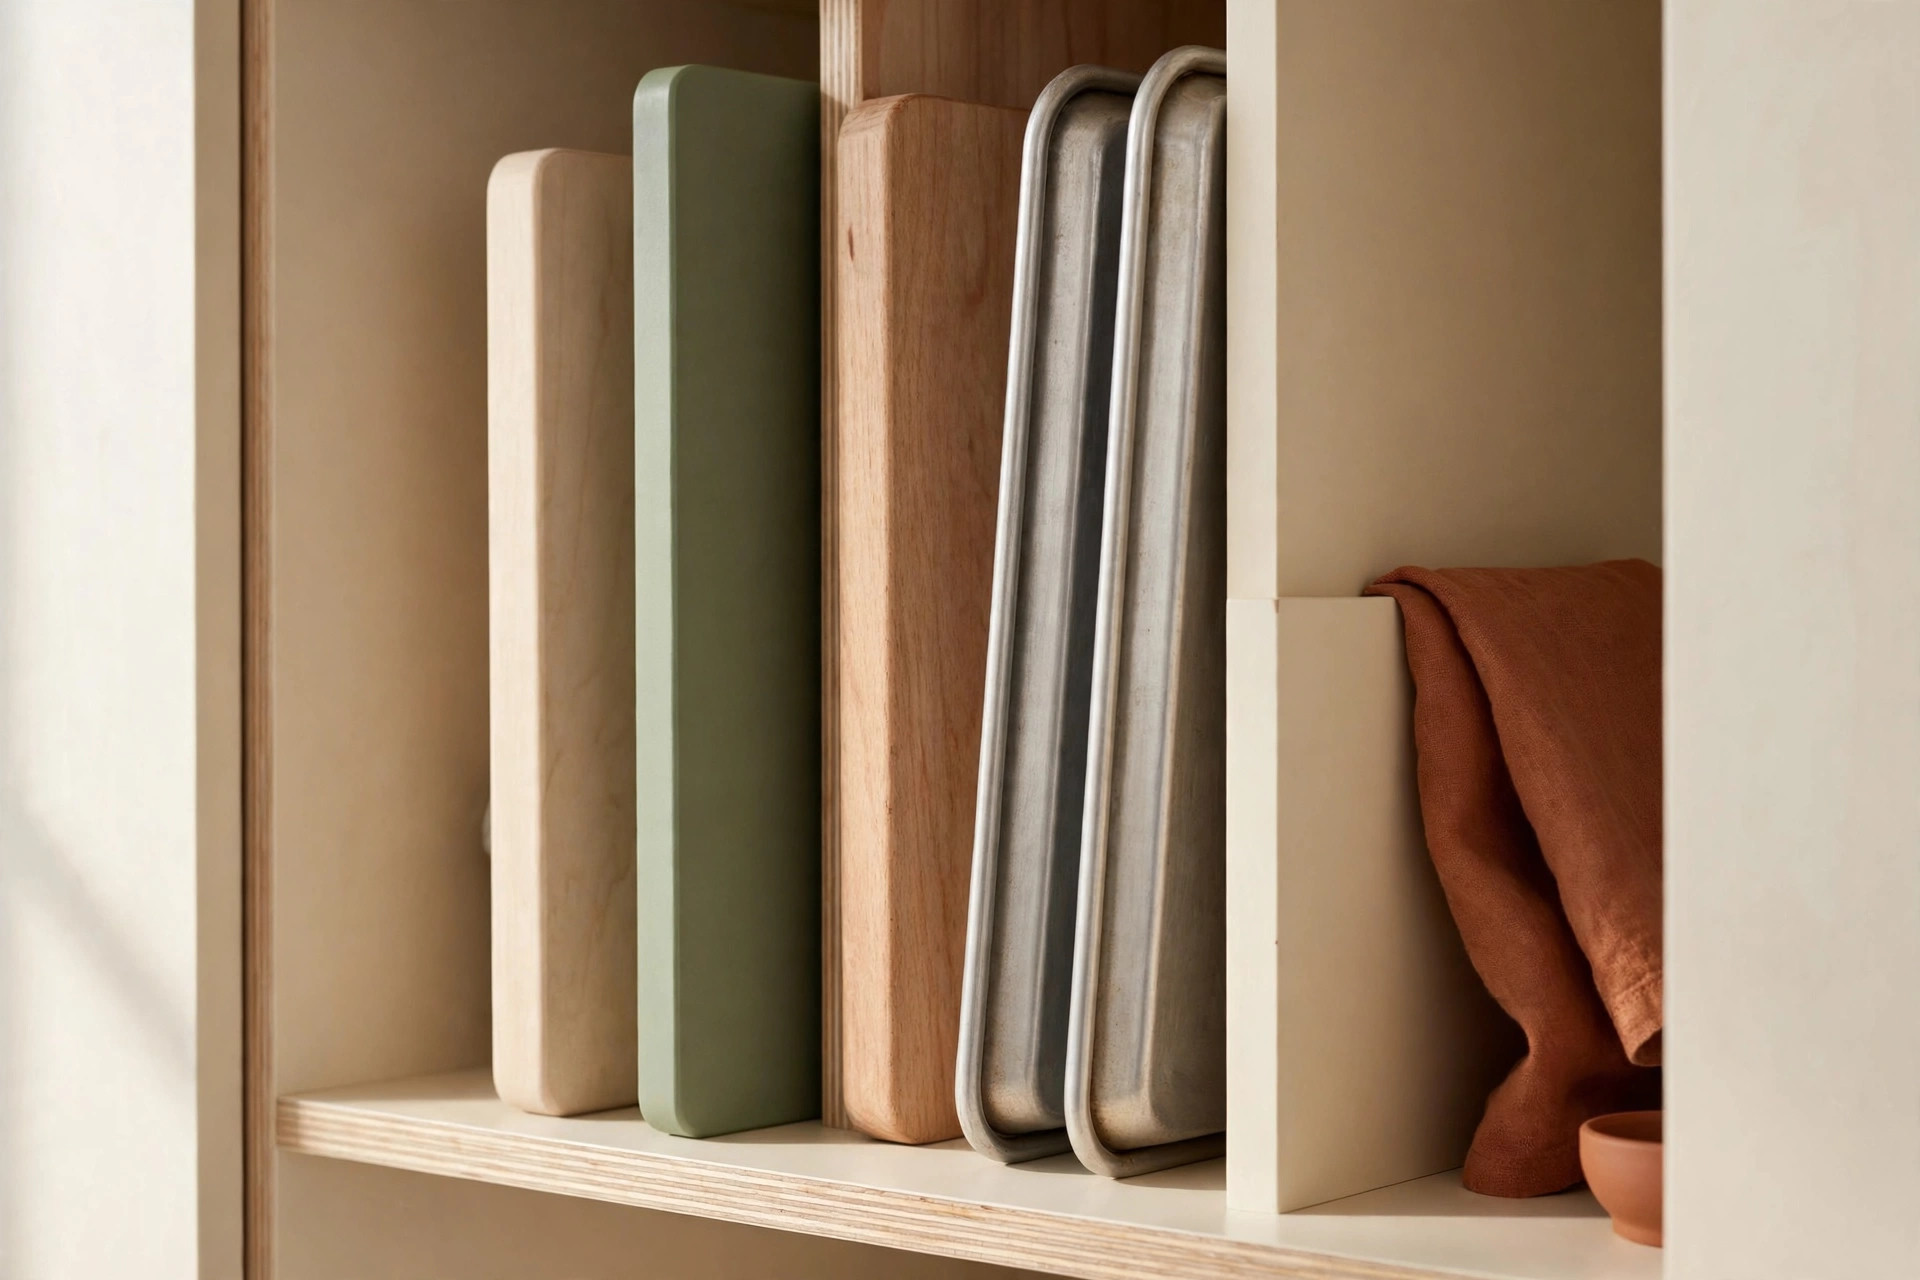
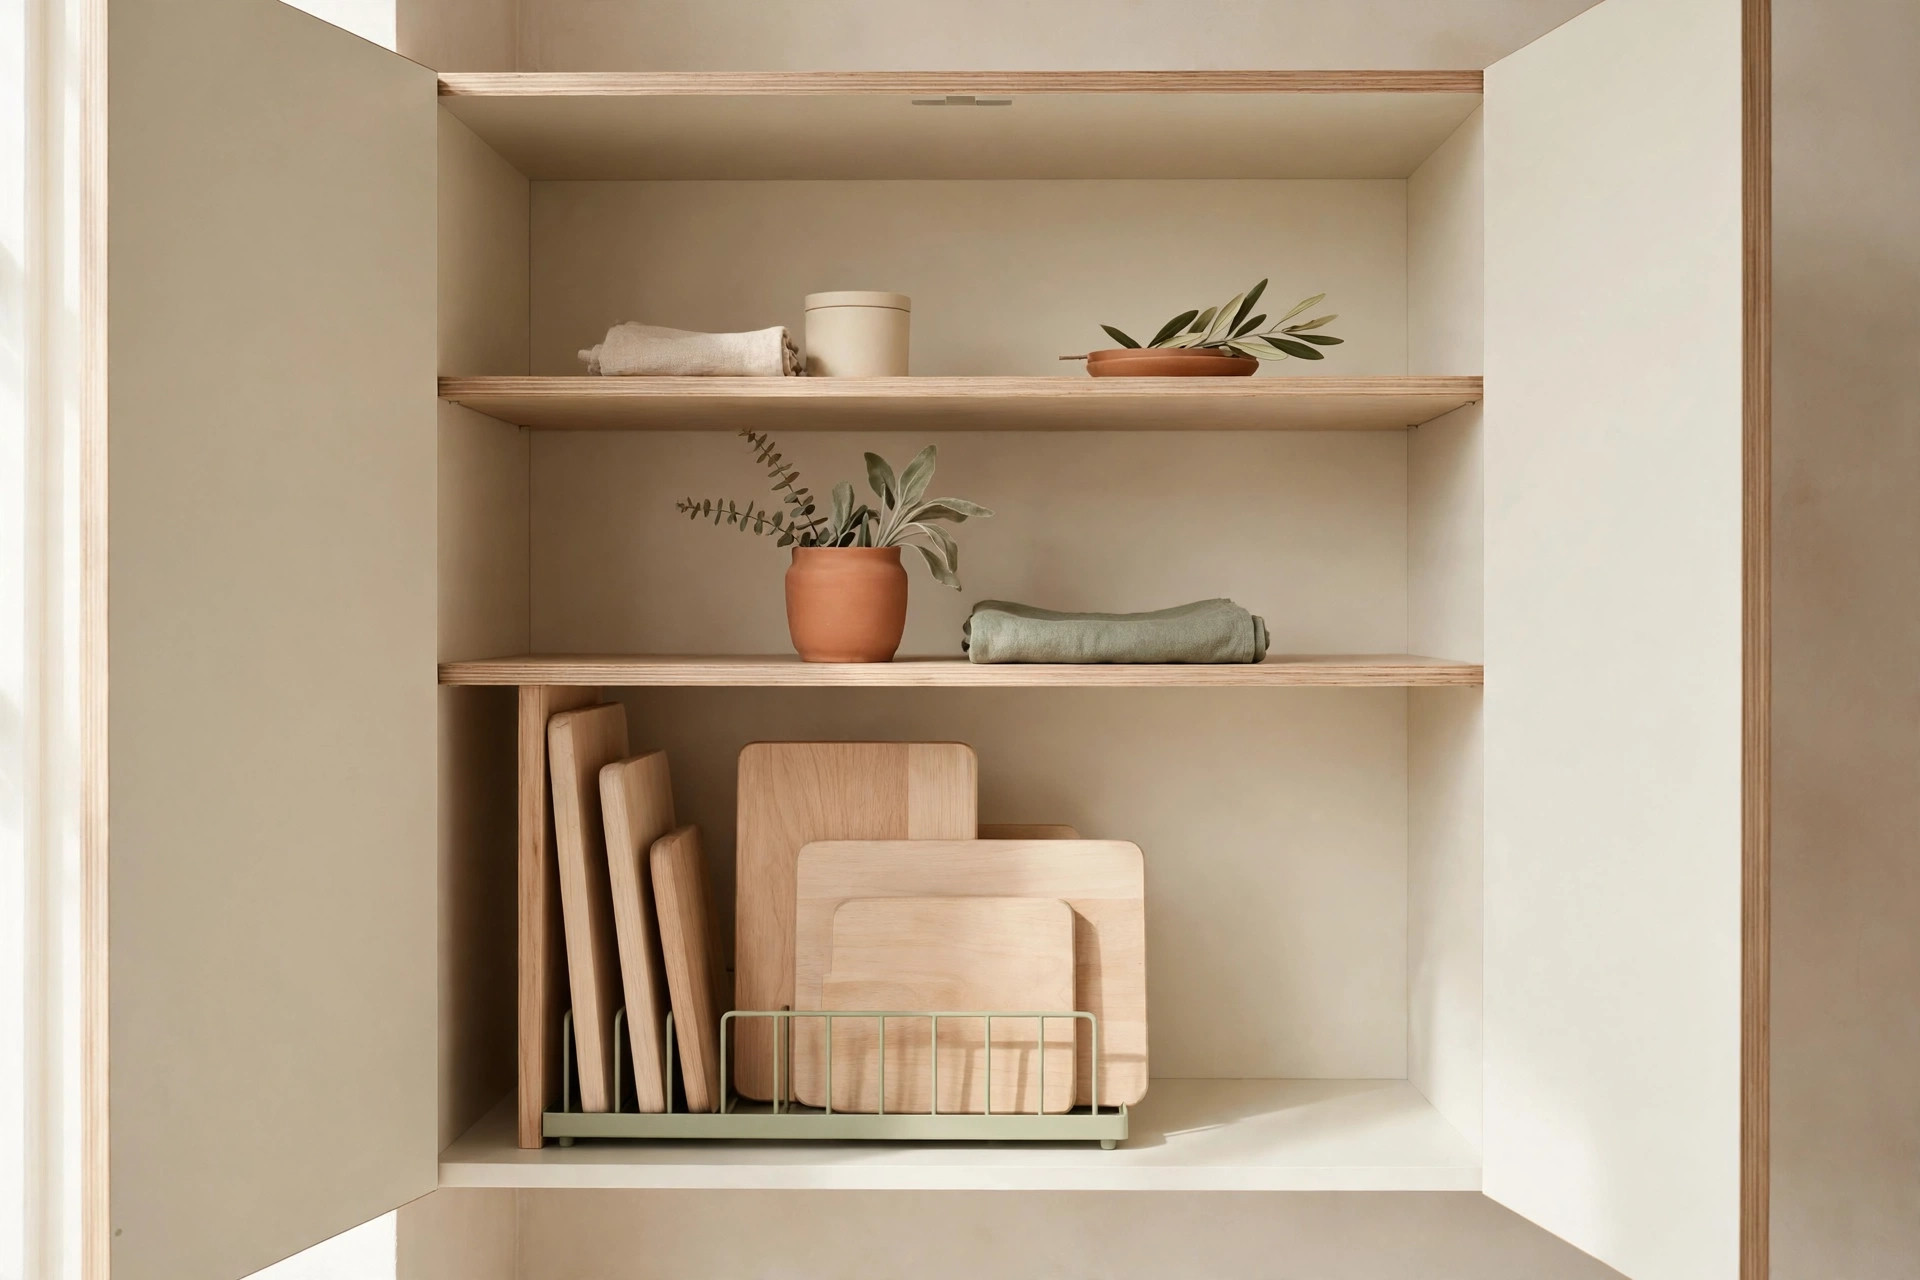
Standing boards on edge is the single biggest space win in a small kitchen. Five boards lying flat eat a whole shelf; the same five standing upright in a rack take about 4 to 6 inches of shelf width. Vertical storage is the default system for tiny kitchen cutting board storage, and everything else in this guide is a variation on it.
2. Install a vertical board rack in a base cabinet. A metal or bamboo rack roughly 10 inches wide and 8 inches deep holds four to six boards upright, with dividers spaced about 1 to 2 inches apart. Place it in a base cabinet near the prep counter, not an upper cabinet where heavy boards are awkward to lift down. Slide the most-used board into the front slot so you never move three boards to reach one.
3. Repurpose a plate rack or lid organizer as a board rack. Try this before buying anything new: slot spacing is similar, and many lid organizers adjust for thicker boards. If you use it happily for a month, upgrade to a dedicated rack. For the shelves around it, see 18 Small Kitchen Cabinet Organization Ideas That Maximize Every Shelf to keep the rest of the cabinet working just as hard.
Tension dividers and file-style holders
Not every cabinet suits a fixed rack. If you rent, or your cabinet is an odd width, movable dividers beat hardware you have to commit to.
4. Use tension-rod dividers to carve slots out of an existing shelf. Place two spring-loaded tension rods vertically, front to back, inside a cabinet to create a narrow channel for boards, one near the front and one near the back so boards cannot tip forward. This works best in cabinets at least 12 inches deep, and it costs only a few dollars, making it the lowest-risk first try for renters.
5. Stand boards in a tall file holder or magazine holder. A sturdy metal file holder, roughly 10 inches tall, holds two to four boards upright on a shelf or countertop corner. Choose one with a solid base so it does not slide when you pull a board out, and keep it on a lower shelf where the weight sits safely. This suits thin plastic boards and flexible mats, which are too light to stay upright on their own in a wide rack.
Door-mounted and wall-mounted board storage
When cabinet space is spoken for, the inside of a door and a stretch of bare wall are the most underused surfaces in a small kitchen, and neither takes a single inch of shelf space.
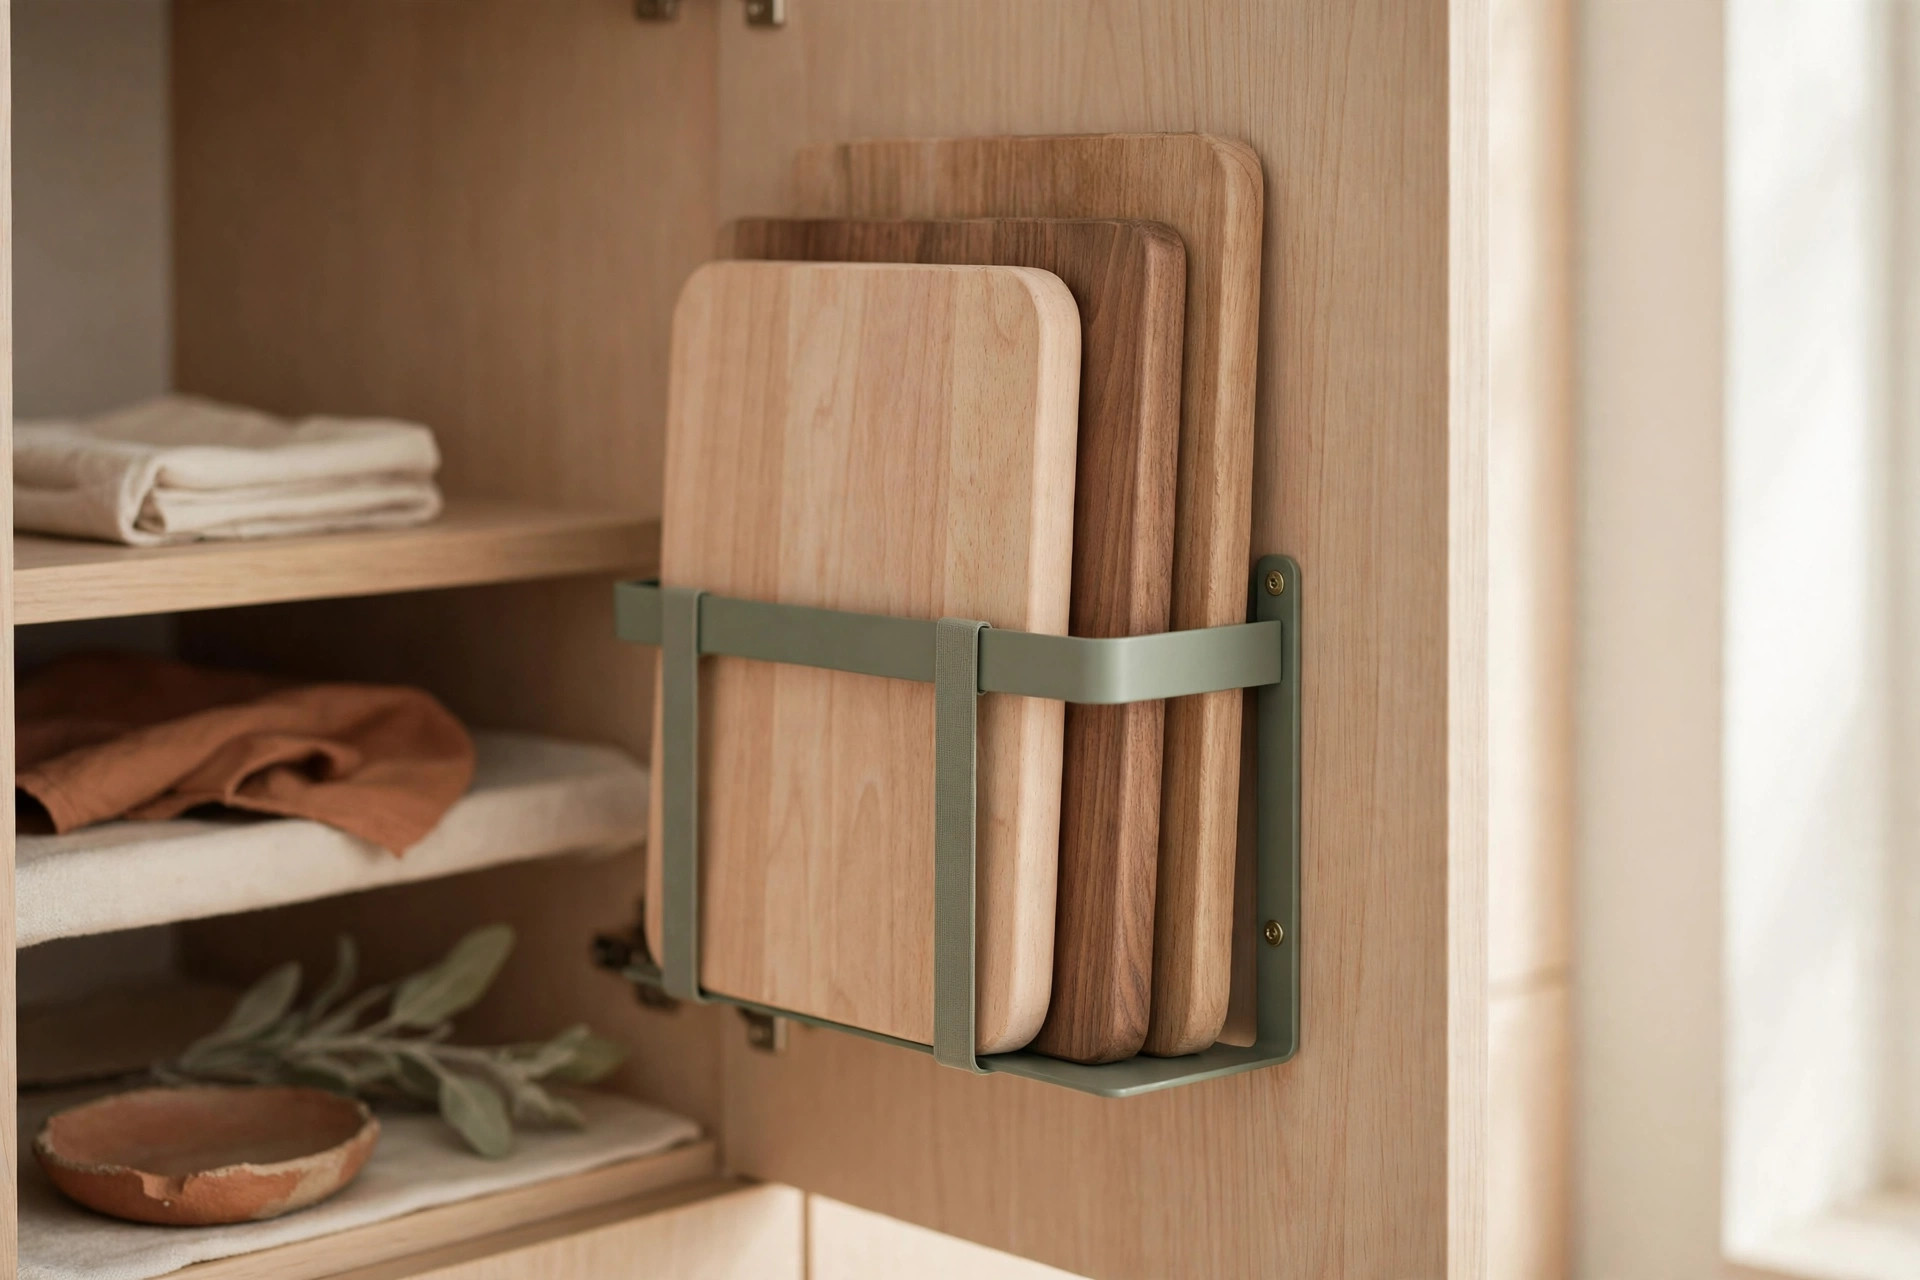
6. Hang a rack on the inside of a cabinet door. An over-the-door or screw-mounted rack on the inside of a cabinet door holds one or two thin to medium boards. Check two things before you buy: the door must still close with the board in place, so measure the clearance between the door and the shelf edge, and the hinges must be sturdy enough for the added weight. Heavy butcher blocks belong on a shelf, not on a door.
7. Mount a wall rail with hooks for your daily-use board. A short stainless rail, about 12 to 18 inches long, mounted near the prep zone holds your everyday board on S-hooks through its hanging hole. This works best for one board, the one you reach for daily. Pair it with the other wall-mounted solutions in 17 Kitchen Wall Storage Ideas for Small Kitchens (No Counter Space Wasted) so the rail earns its place instead of becoming clutter on the wall.
Between-appliance gaps: the slim slot most kitchens waste
Nearly every small kitchen has a gap it ignores: a few inches between the refrigerator and the wall, or beside the stove. Too narrow for almost everything, these gaps are perfect for cutting boards.
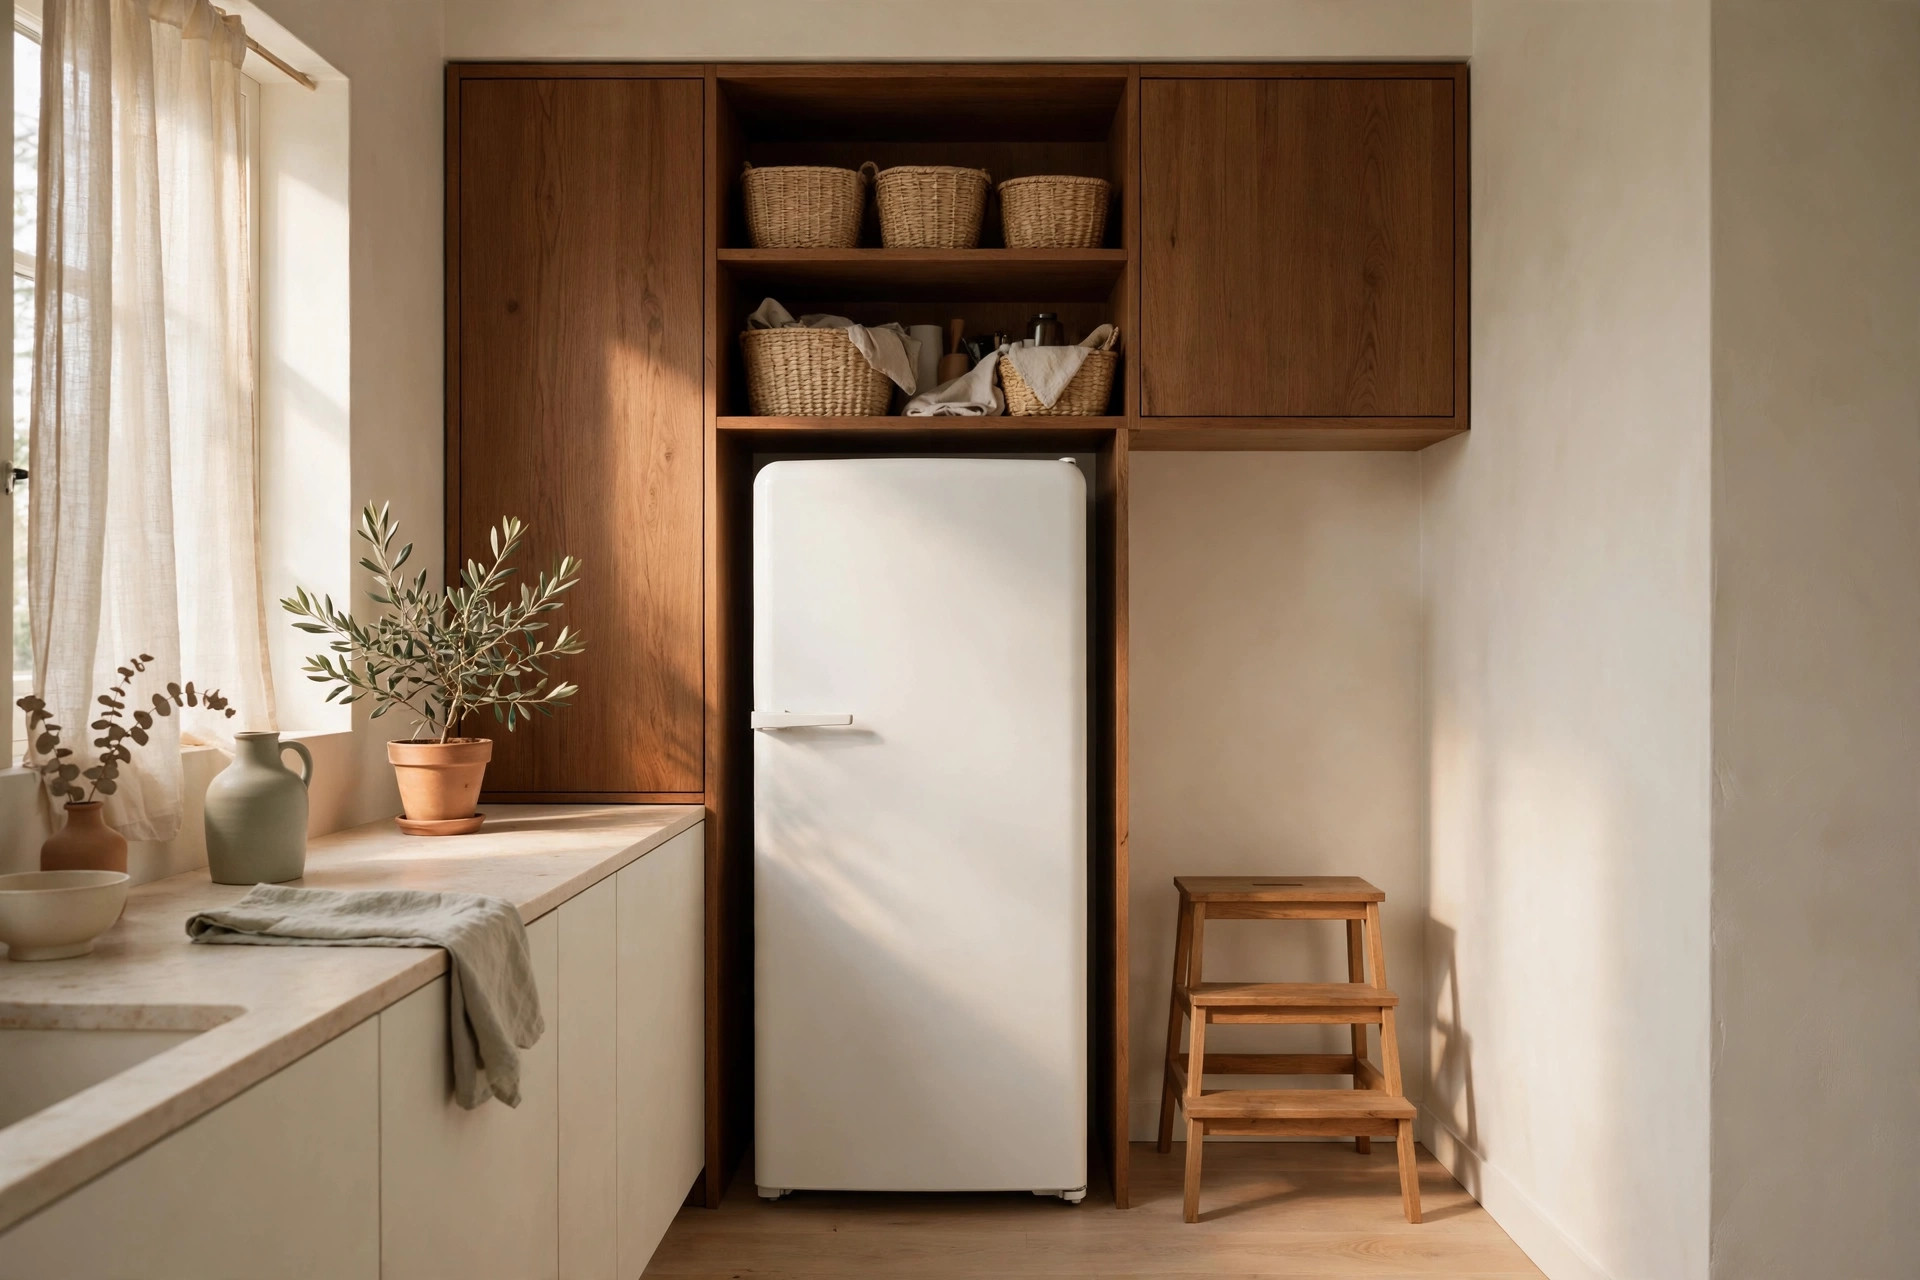
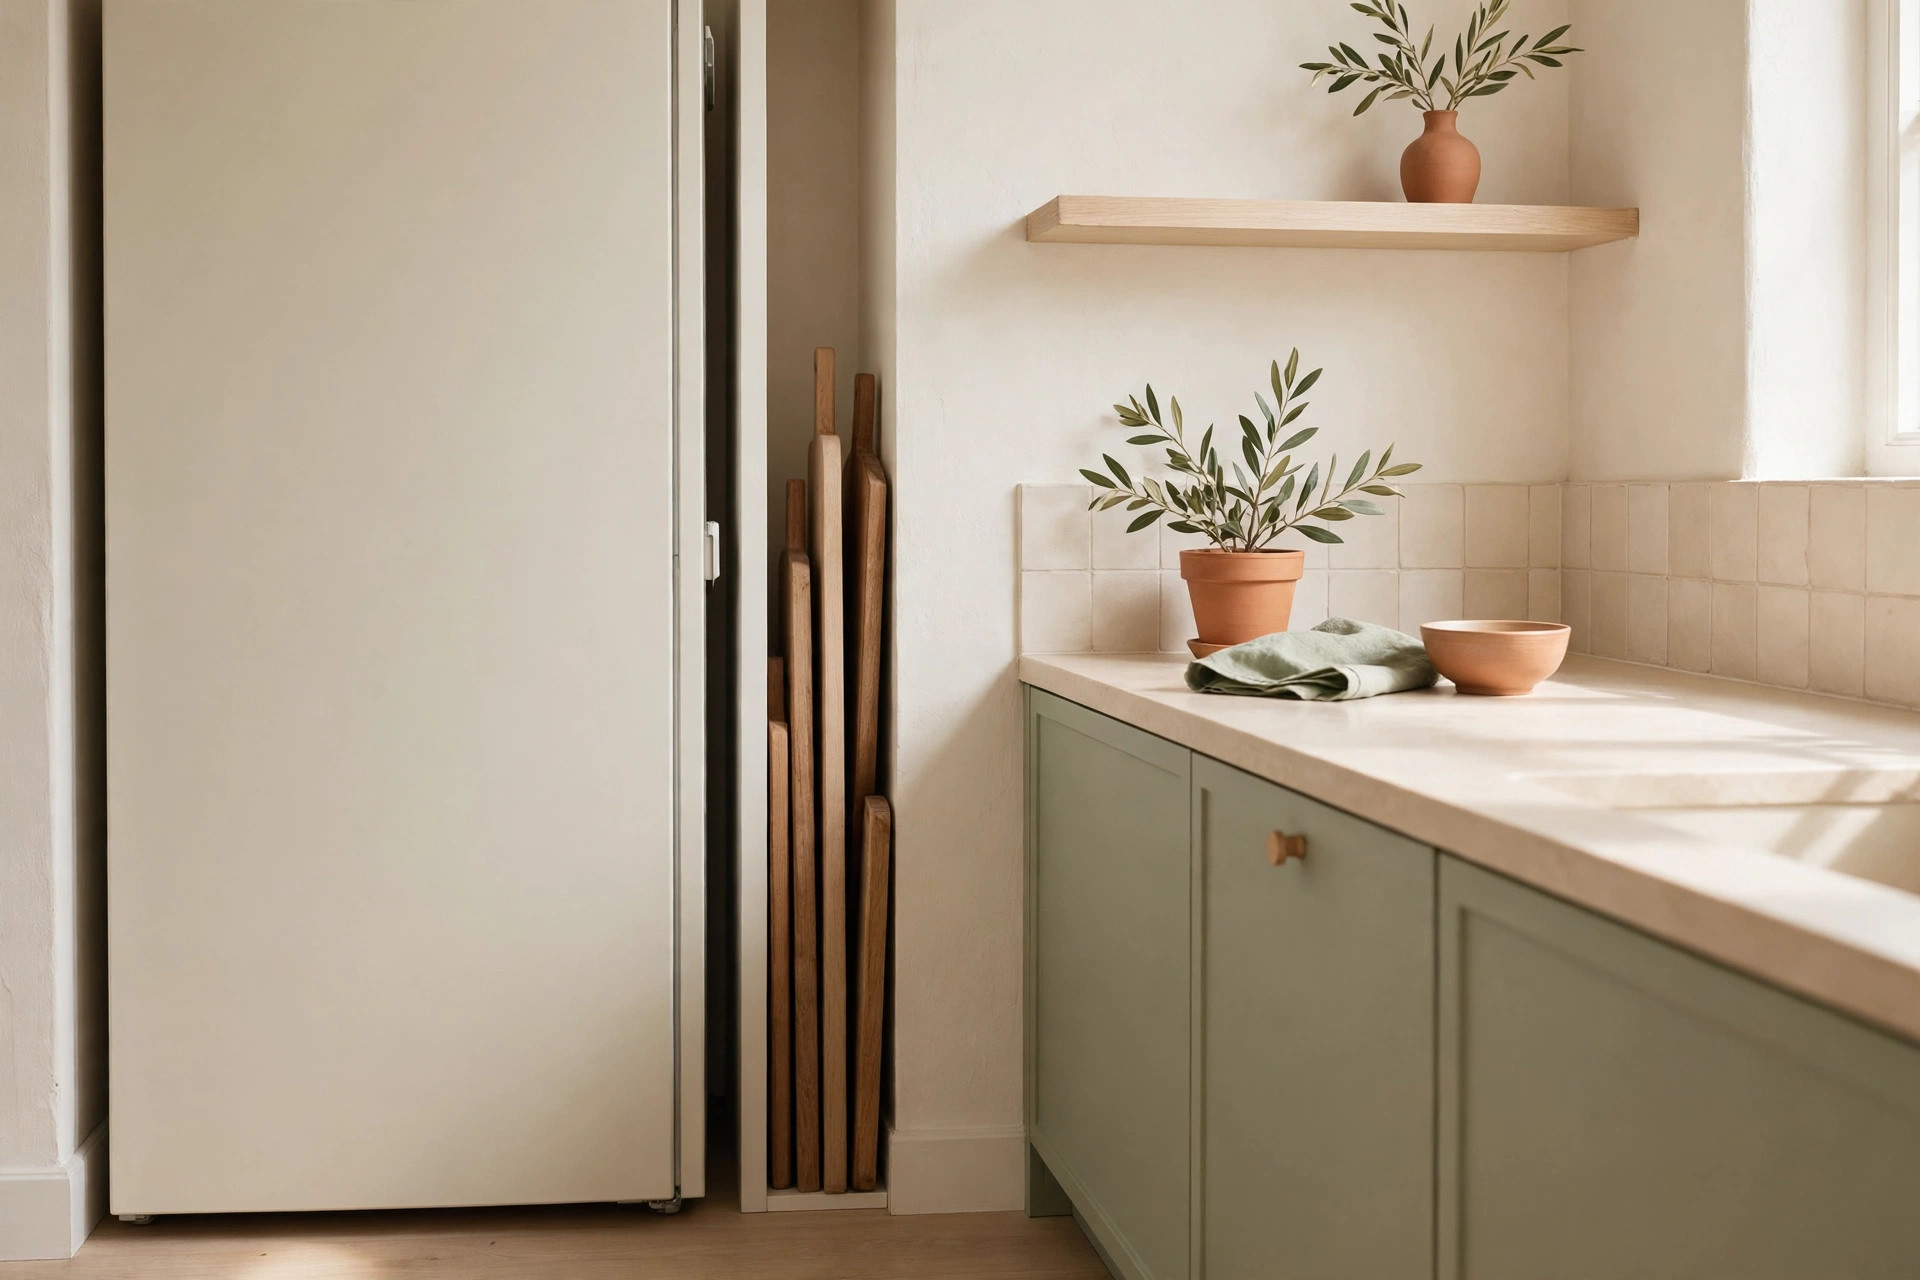
8. Slide a slim vertical holder into the fridge-to-wall gap. A narrow holder, roughly 4 to 6 inches wide, fits the gap between most refrigerators and the adjacent wall and holds two to three boards upright. Measure the gap at the floor and at counter height and use the smaller number, since walls are rarely perfectly straight. Add felt pads so boards do not scuff the fridge finish.
9. Use the gap beside the stove for a heat-safe board slot. A metal holder in a slim gap beside your range keeps a board within arm’s reach of the cooking zone. Choose metal, not bamboo or plastic, here, and keep boards a few inches from the cooktop. Never store a raw-meat board in the same slot as your bread board.
Baking sheets and boards together: one zone, no avalanche
Boards and baking sheets cause the same problem: flat, heavy items stacked horizontally until the bottom one is impossible to reach. They share the same solution, so one shared vertical zone beats two separate systems.
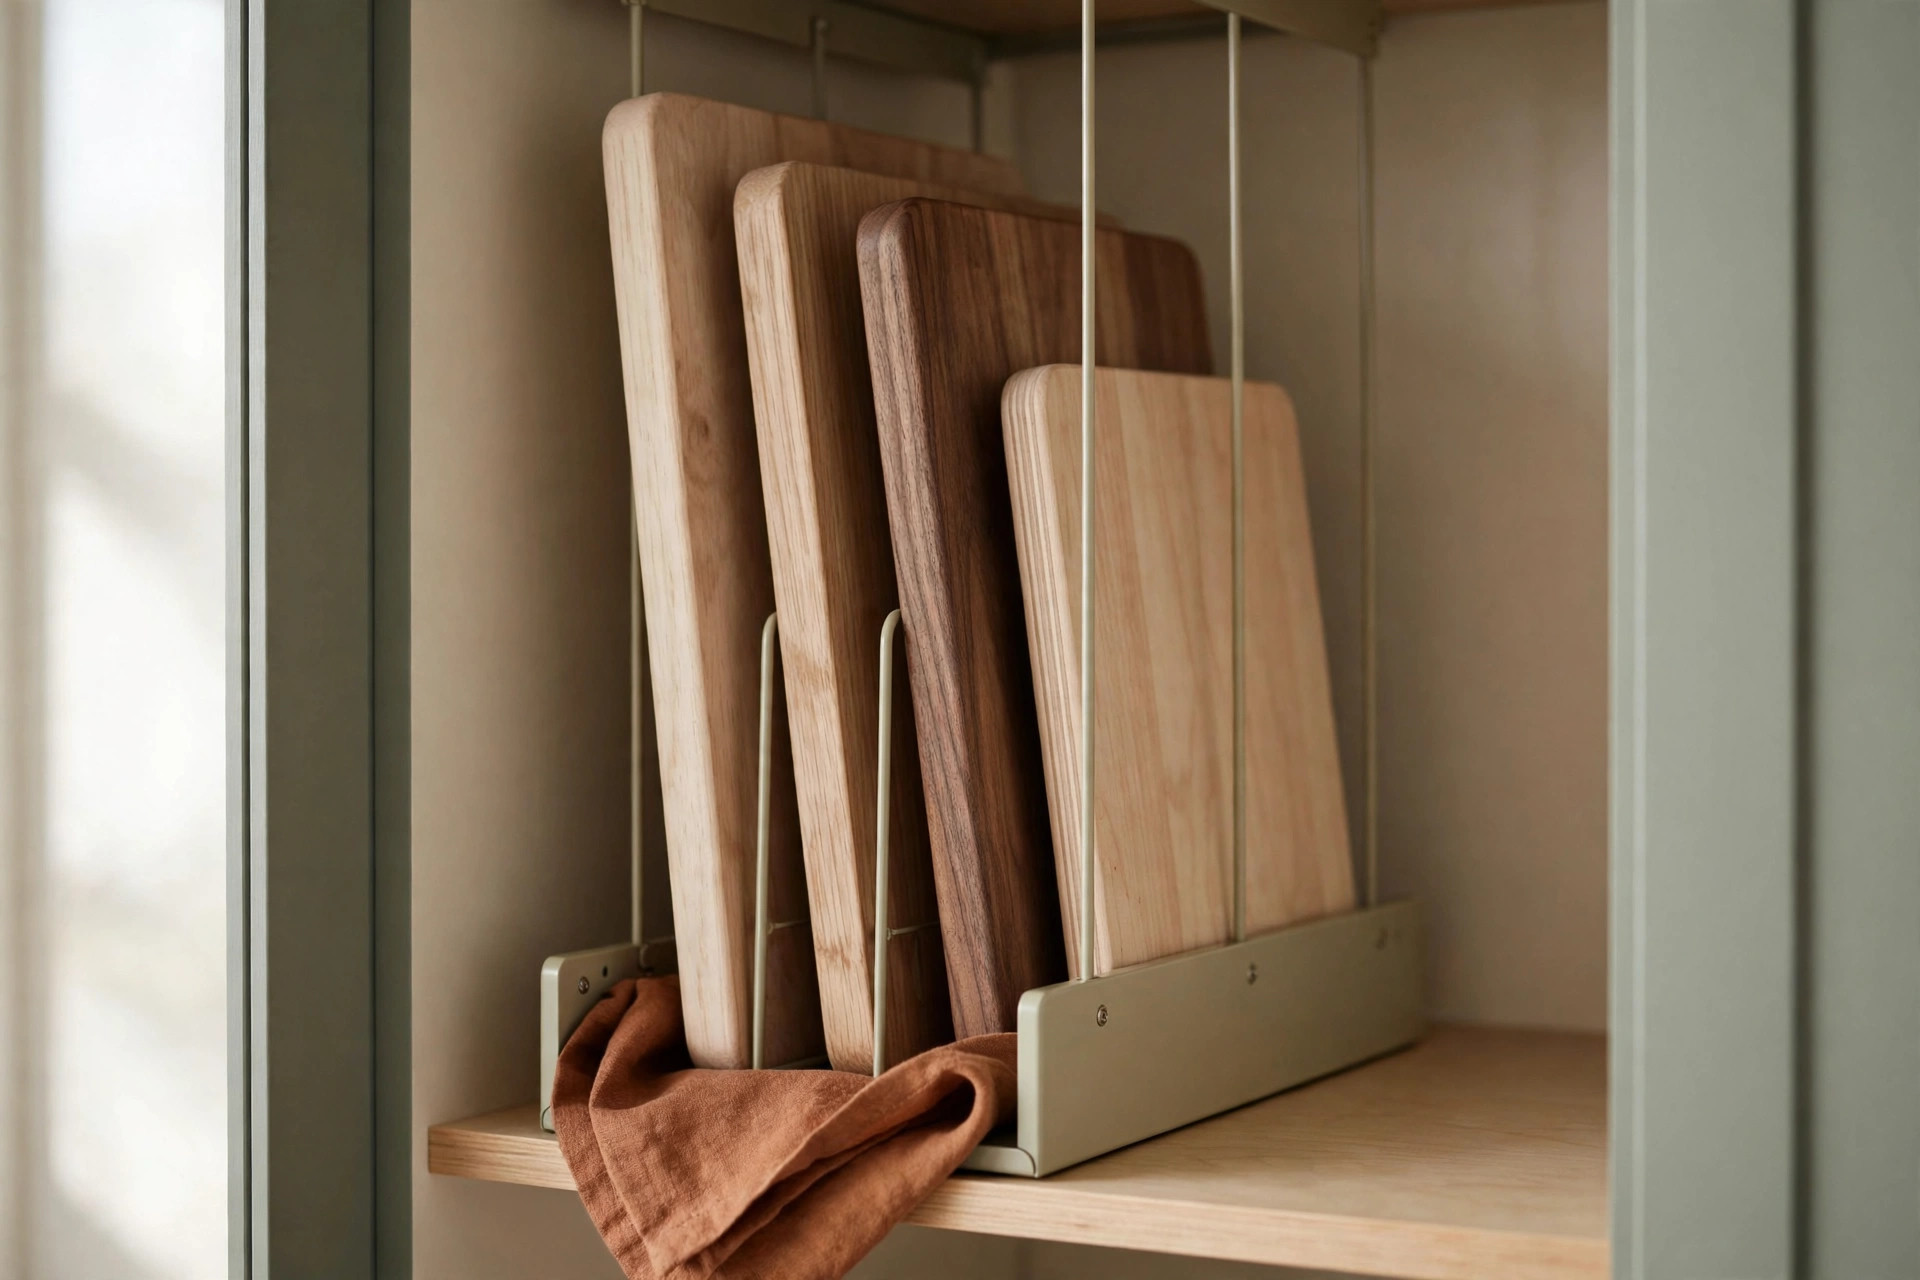
10. Give boards and baking sheets one shared vertical zone. In a tall narrow cabinet, or the cabinet beside the oven, install a vertical divider rack and file boards on one side and baking sheets on the other. Sort by frequency, not by type: the daily board and the everyday half-sheet pan go in the front slots, while the roasting pan and the carving board you use twice a year go at the back.
11. Reserve the bottom slot for the heaviest item. In any shared zone, the heaviest board or pan goes in the lowest, widest slot, closest to the cabinet floor, so the rack stays stable and you never lift a butcher block from above shoulder height. This shared zone also pairs well with 16 Small Kitchen Baking Station Organization Ideas for the rest of your baking gear.
Cleaning and drying before boards go back
A storage system only stays pleasant if boards go back dry. Boards put away damp warp, smell, and transfer moisture to their neighbors.
12. Dry boards upright in a dish rack before filing them away. After washing, stand boards upright in a dish rack or against the backsplash for 20 to 30 minutes until both faces are dry to the touch. Wooden boards especially need air on both sides; laying a wet wooden board flat on a counter traps moisture underneath and invites warping.
13. Wipe the rack slots once a month. Crumbs, moisture, and oil collect in rack slots, especially in closed cabinets. Once a month, pull the boards out, wipe the rack with a damp cloth, and let it dry before they go back.
The board audit: how many boards a small kitchen needs
Storage is easier when there is less to store, and this audit usually frees a slot or two without buying anything.
14. Keep three boards: one for produce, one for bread and cooked food, and one for raw meat. This trio covers nearly all home cooking without cross-contamination, and three boards fit comfortably in even a small rack. If you bake often, add a fourth board for pastry and dough work, but treat anything beyond that as a candidate for removal.
15. Remove one board for every board you add. When a new board comes in, an old one leaves: donate it, repurpose it as a serving board, or recycle it if deeply scored. Deeply grooved boards trap food and are hard to clean, so a heavily cut board is a hygiene problem, not a keepsake.
Mistakes to avoid
Five avoidable errors ruin a good board system. Do not store heavy boards up high: a butcher block falling from an upper cabinet is a genuine injury risk. Do not buy a rack before measuring, since slot spacing is the whole system and guessing it wastes money. Do not mix raw-meat boards with produce boards in the same unmarked slot; label or color-code them if they look alike. Do not put boards away wet, because damp storage warps wood. And do not let the collection grow without an audit, because every extra board makes every other board harder to reach.
Frequently asked questions
How do you store cutting boards in a very small kitchen?
Stand them upright in a vertical rack inside a base cabinet. If cabinet space is full, use the inside of a cabinet door for one or two thin boards, or a slim holder in the fridge-to-wall gap.
Can you store cutting boards vertically without a rack?
Yes. Tension rods inside a cabinet, a sturdy metal file holder, or a repurposed plate rack all hold boards upright without a dedicated rack. The key is that each board has its own slot or channel so boards do not lean on each other and topple when you pull one out.
How many cutting boards does a small kitchen need?
Three boards cover most home cooking: one for produce, one for bread and cooked food, and one for raw meat. Add a fourth only if you bake or work with dough often, and follow a one-in, one-out rule so the collection does not creep back up.
Where should you not store cutting boards?
Do not store boards above the stove, where heat and steam damage them, or heavy boards in high upper cabinets where lifting them is unsafe. Avoid damp, enclosed spots with no airflow, and never store a raw-meat board touching a produce board.
Conclusion
Small kitchen cutting board storage comes down to one idea: every board gets its own upright slot, measured to fit, dried before it goes back, and audited once in a while. Pick one system from this guide, start with the boards you actually use, and the leaning stack is gone for good. For more ideas in the same room, browse the full kitchen collection, and save this pin for later so you can find your board system again when you are ready to set it up.