In a small kitchen, every inch counts — and yet the single biggest chunk of storage sits completely empty. The space above the refrigerator is high, deep, and hard to reach, so most people ignore it or stack things that fall on them six weeks later. But workable above fridge storage ideas don’t require a remodel: with the right bins, a simple zone system, and clear rules, that dead space can hold a surprising amount without becoming a hazard. These 16 ideas cover measuring the space, setting it up for real reachability, and keeping it organized with a twice-a-year reset.
Measure first: the real dimensions of above-fridge dead space
Before you buy a single bin, grab a tape measure. Most over-the-fridge cabinets are 24–36 inches wide and 12–24 inches deep, but usable height — often only 12–18 inches between shelf and fridge top — is the real constraint. Measure all three and write them down; everything you buy has to fit inside those numbers.
Idea 1: Map the cavity and photograph it. Measure the inside width, depth, and height of the space above your fridge, then photograph it with the tape measure visible. Compare product dimensions against your numbers instead of eyeballing it — “looks about right” costs a return trip.
Idea 2: Do the reach-and-clearance test. Note the highest point you can comfortably grab on tiptoes — anything above it needs a step stool. Open the fridge door fully; if it arcs over the top, mark the swing so stored items never get clipped.
Reachability zones: what goes on top vs what doesn’t
This is the least reachable storage in your kitchen, so it has one job: holding things you need rarely, not daily. A simple tiered rule keeps you honest about what belongs there.
Idea 3: Apply the three-tier reachability rule. Tier 1 (daily items) stays at counter and cabinet level — never above the fridge. Tier 2 (weekly/monthly items) can live in the front 6 inches, within easy arm’s reach. Tier 3 (rarely used) gets the deep back and highest shelf. If a Tier 1 item keeps migrating up top, declutter the lower cabinets instead of promoting it.
Idea 4: Keep a “never on top” blacklist. Keep heavy items like cast-iron pans, daily-use things like coffee mugs, and fragile glassware off the top — a falling object from 6 feet is a real hazard. Write the list on a sticky note inside the cabinet door.
Bin and basket systems for the deep cabinet
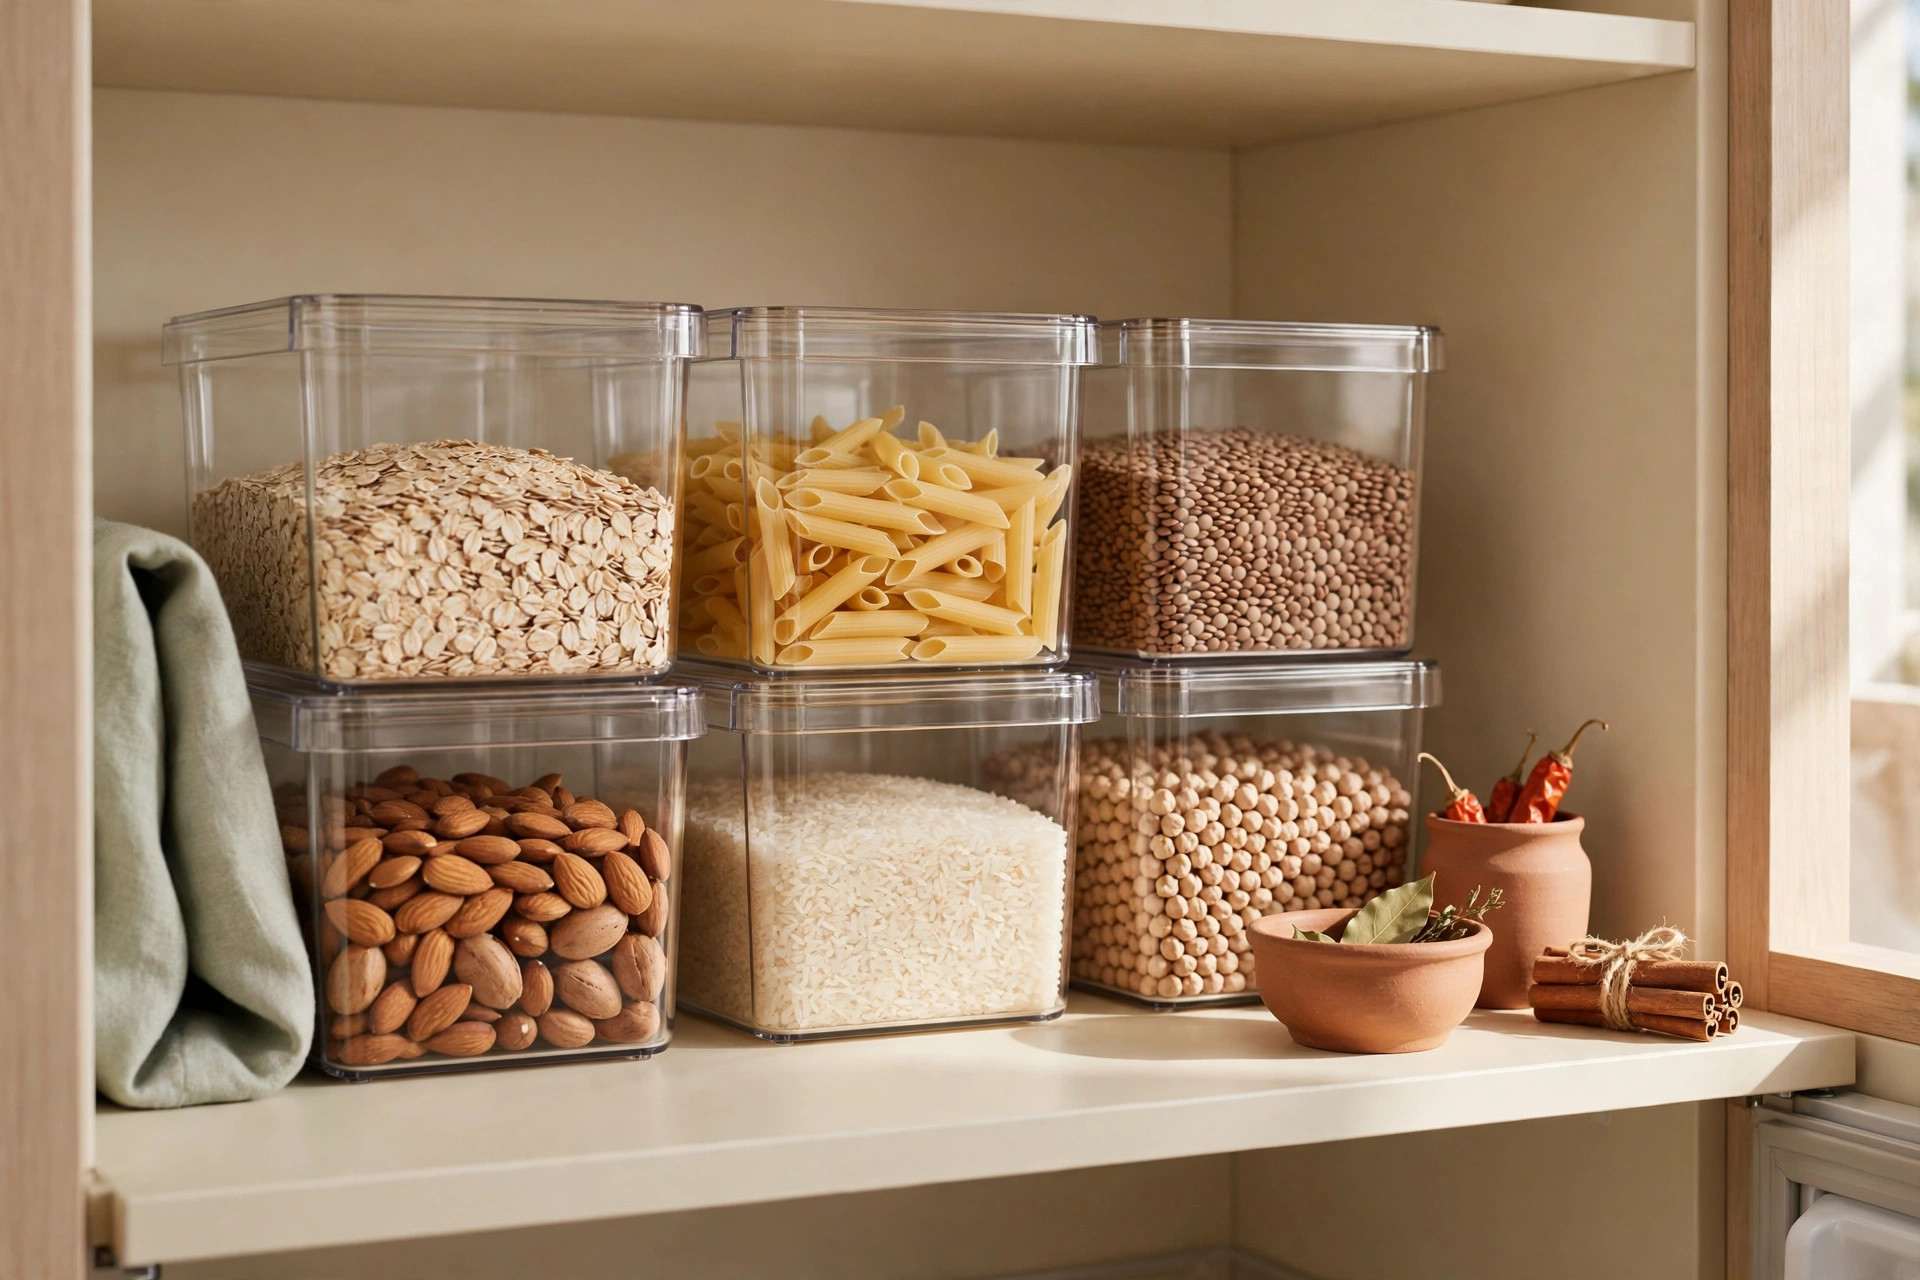
Above-fridge cabinets are deep — often 24 inches — which means the back half becomes a black hole where things go to be forgotten. Bins fix this by turning the deep, dark space into pullable drawers.
Idea 5: Size bins to the cavity, not the catalog. Choose bins whose combined width fills the opening with about an inch of breathing room per side. For a 30-inch opening, three 9-inch bins beat one giant tote you cannot lift down safely. Keep bin height 1–2 inches below your clearance so they slide without scraping.
Idea 6: Use handled pull bins for the deep back. Choose bins with sturdy front handles — fabric storage cubes, open-top plastic bins, or wicker baskets with cutout handles all work. The handle turns the back half into a drawer: pull it out and everything inside is visible and reachable. Skip lidded boxes unless the contents need dust protection — lids get left off anyway.
Idea 7: Split front and back into different zones. Tier 2 weekly-use items go in the front bin, Tier 3 seasonal items in the back bin — so you rarely remove the front bin to reach the back one. For a 24-inch-deep cabinet, an 8-inch front zone plus a 16-inch pull zone behind it works well.
Open-shelf styling: when above the fridge is visible
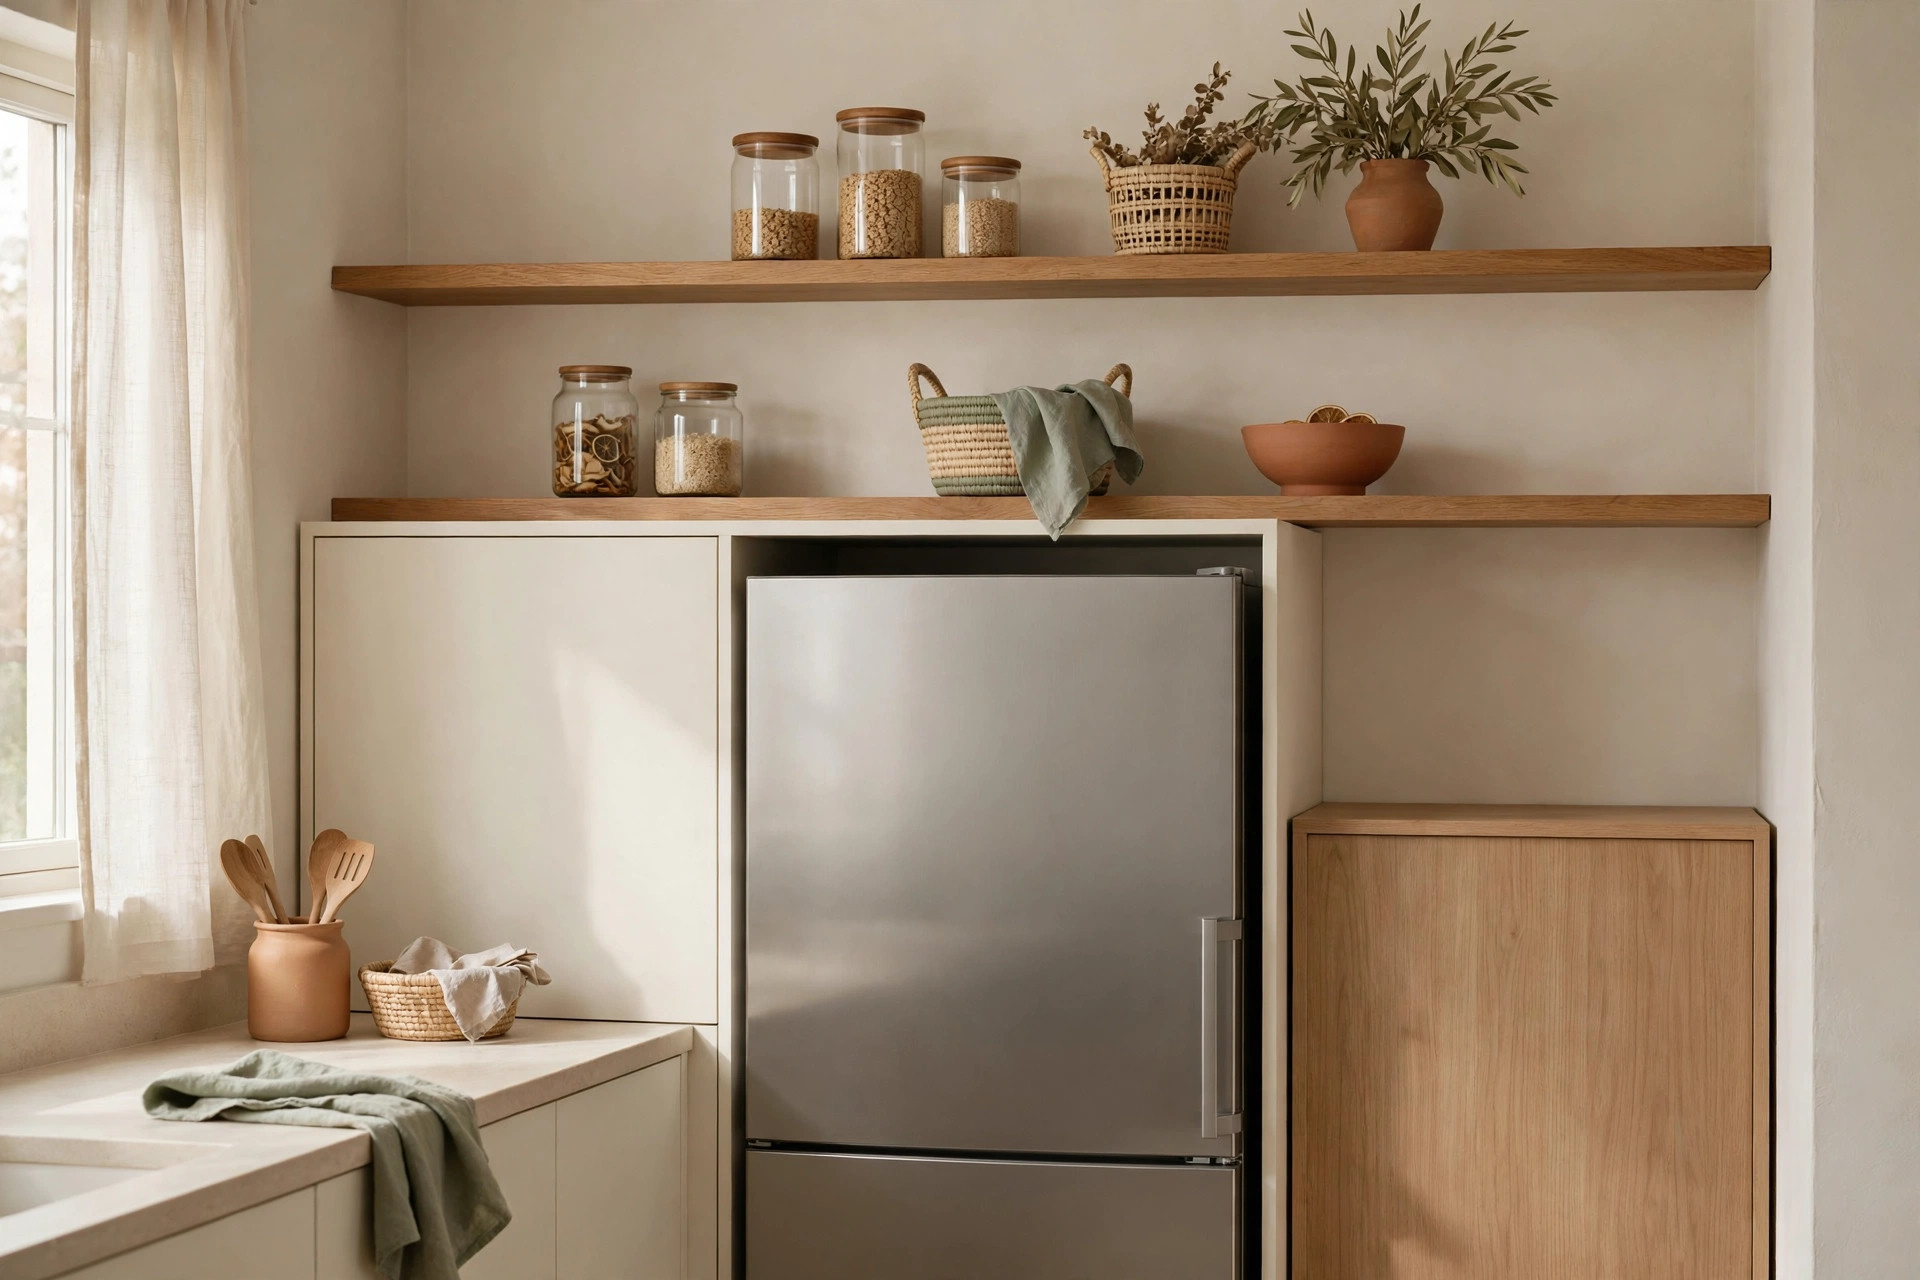
Not every kitchen has a cabinet over the fridge — some have an open shelf or a fully visible fridge top, and then the space has to look decent as well as work hard.
Idea 8: Run a 50/50 display-and-storage split. Dedicate the front 6–8 inches (the visible band) to things that look intentional — matching canisters, a small plant, a stack of bowls — and push practical storage to the back in matching bins. From floor level you mostly see the front band, so the clutter behind it stays visually quiet.
Idea 9: Match containers to hide the “junk” layer. Use one material and color family for everything visible — kraft bins, woven baskets, or matching canisters in cream and wood tones. Visual uniformity makes mismatched stored items look like a designed shelf — the same reason kitchen wall storage works best with coordinated containers.
The no-cabinet case: shelving units and bridges that fit
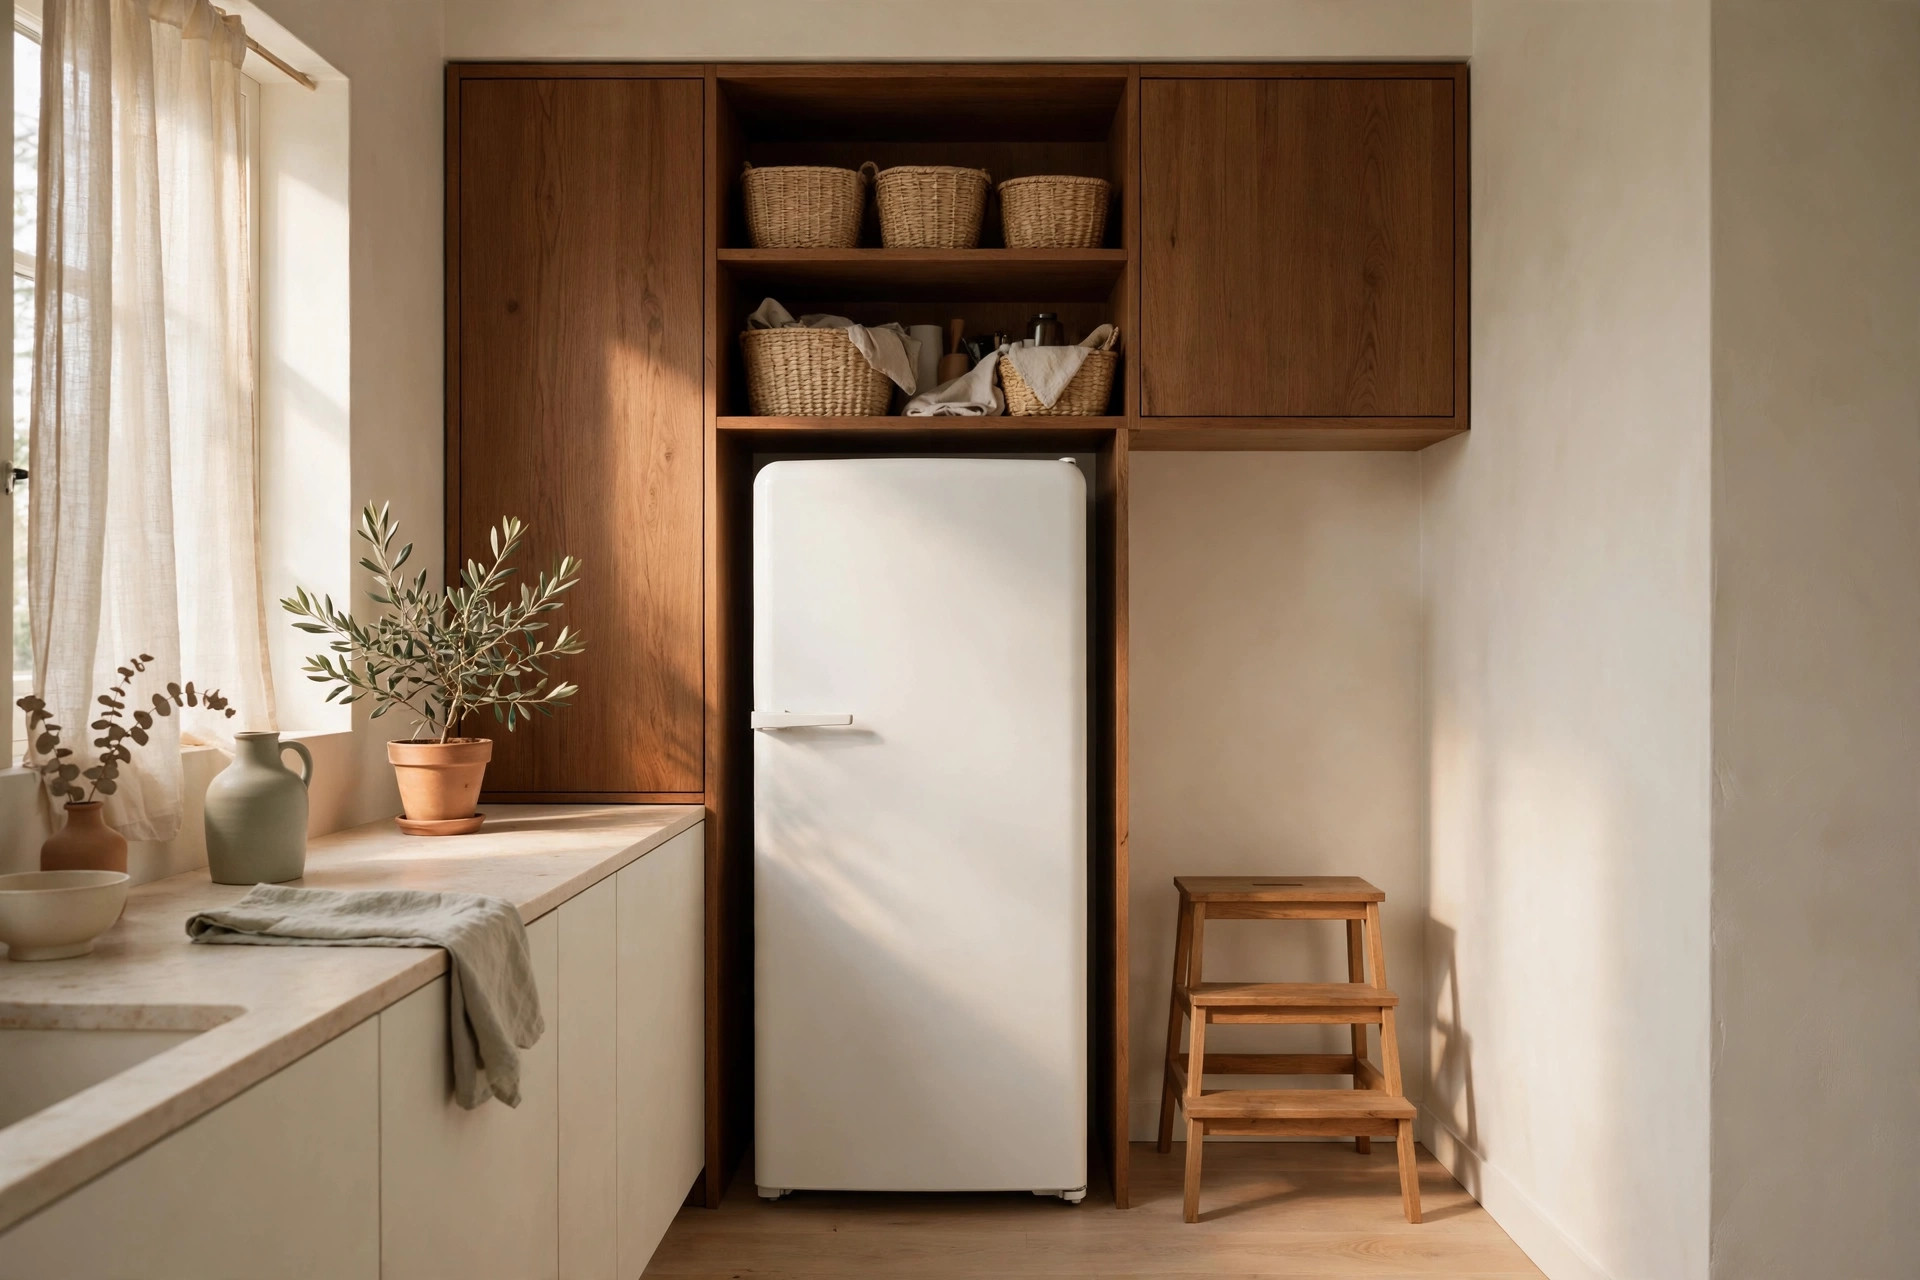
Many rental kitchens have no cabinet above the fridge at all — just a 12- to 24-inch gap between the fridge top and the ceiling. You are not out of luck; you just need a freestanding solution that sits on the fridge without damaging it.
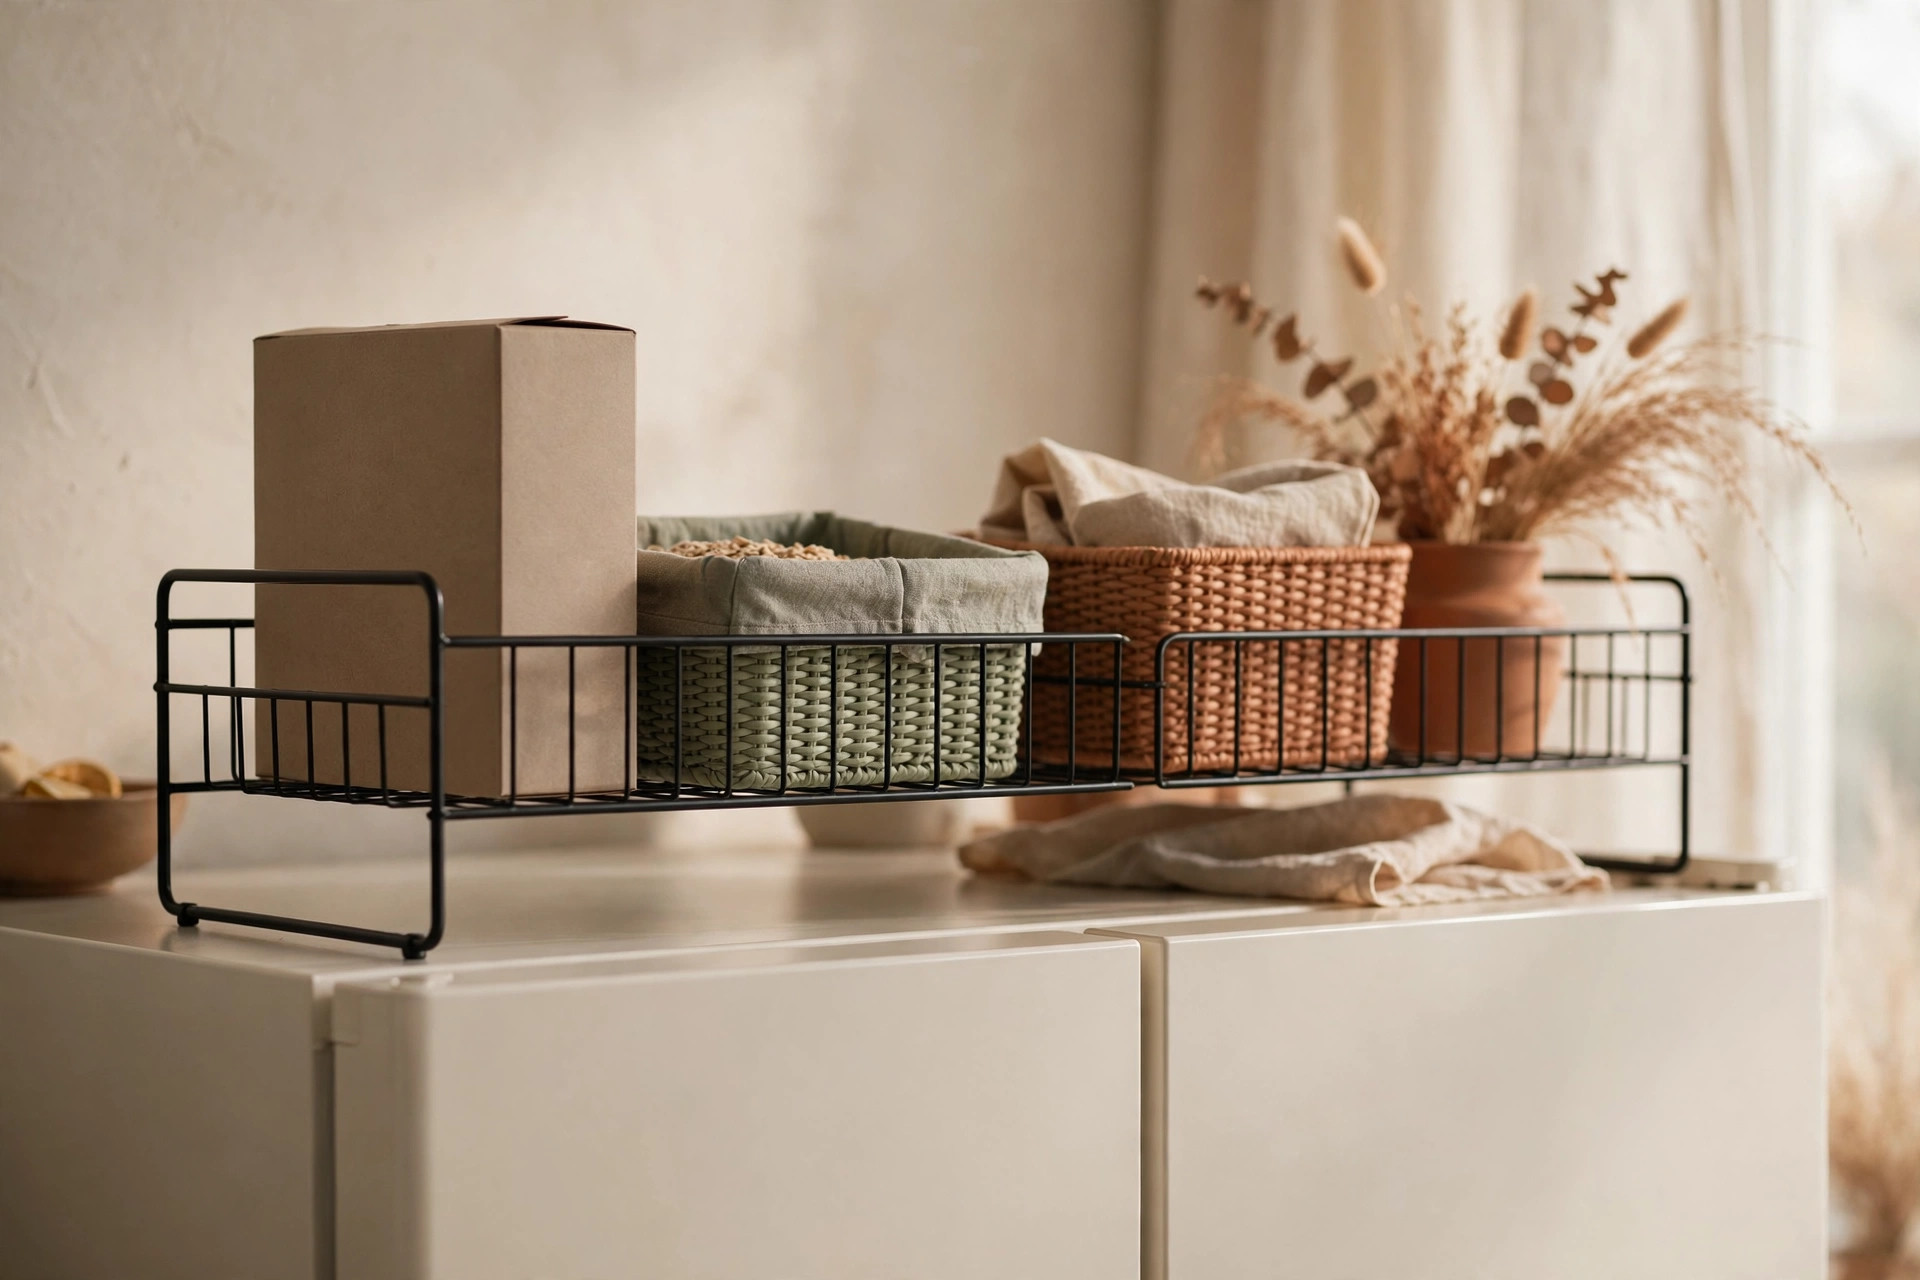
Idea 10: Add a freestanding over-fridge shelf unit. These wire or bamboo racks straddle a standard fridge top — usually 28–30 inches wide with one or two shelves — adding a full shelf level where there was none. Choose adjustable feet so it sits level, and keep the load under about 25–30 pounds.
Idea 11: Bridge the gap with a tension or pressure shelf. If the fridge sits between two cabinets or a cabinet and a wall, a tension-fit shelf can span the gap with no screws — measure precisely, since each works in a specific width range, and place it 8–10 inches above the fridge top. For freestanding fridges, a board across two adhesive brackets rated for the load creates the same renter-safe bridge.
Heat and vent rules: what the fridge manual actually says
Refrigerators give off heat, so everything stored up top must tolerate it. Most manuals recommend 1–2 inches of top clearance, and the coils and vents on the back and sides need breathing room too.
Idea 12: Store only heat-tolerant, vent-clear items. Never block the vent grille, and keep everything at least 1 inch below the shelf or ceiling so warm air escapes. Good residents: paper goods, dish towels, flour in airtight containers. Bad residents: chocolate, wine, candles, and aerosol cans — heat ruins food and melts wax; cans plus heat is risky. To dial in the inside too, see 15 Small Fridge Organization Ideas.
Labels and the retrieval problem: nothing forgotten up there
The number one complaint about above-fridge storage is the “black box” problem: things go up and never come down, because you can’t see them and you forget they exist. Labels solve the retrieval half; an inventory list solves the forgetting half.
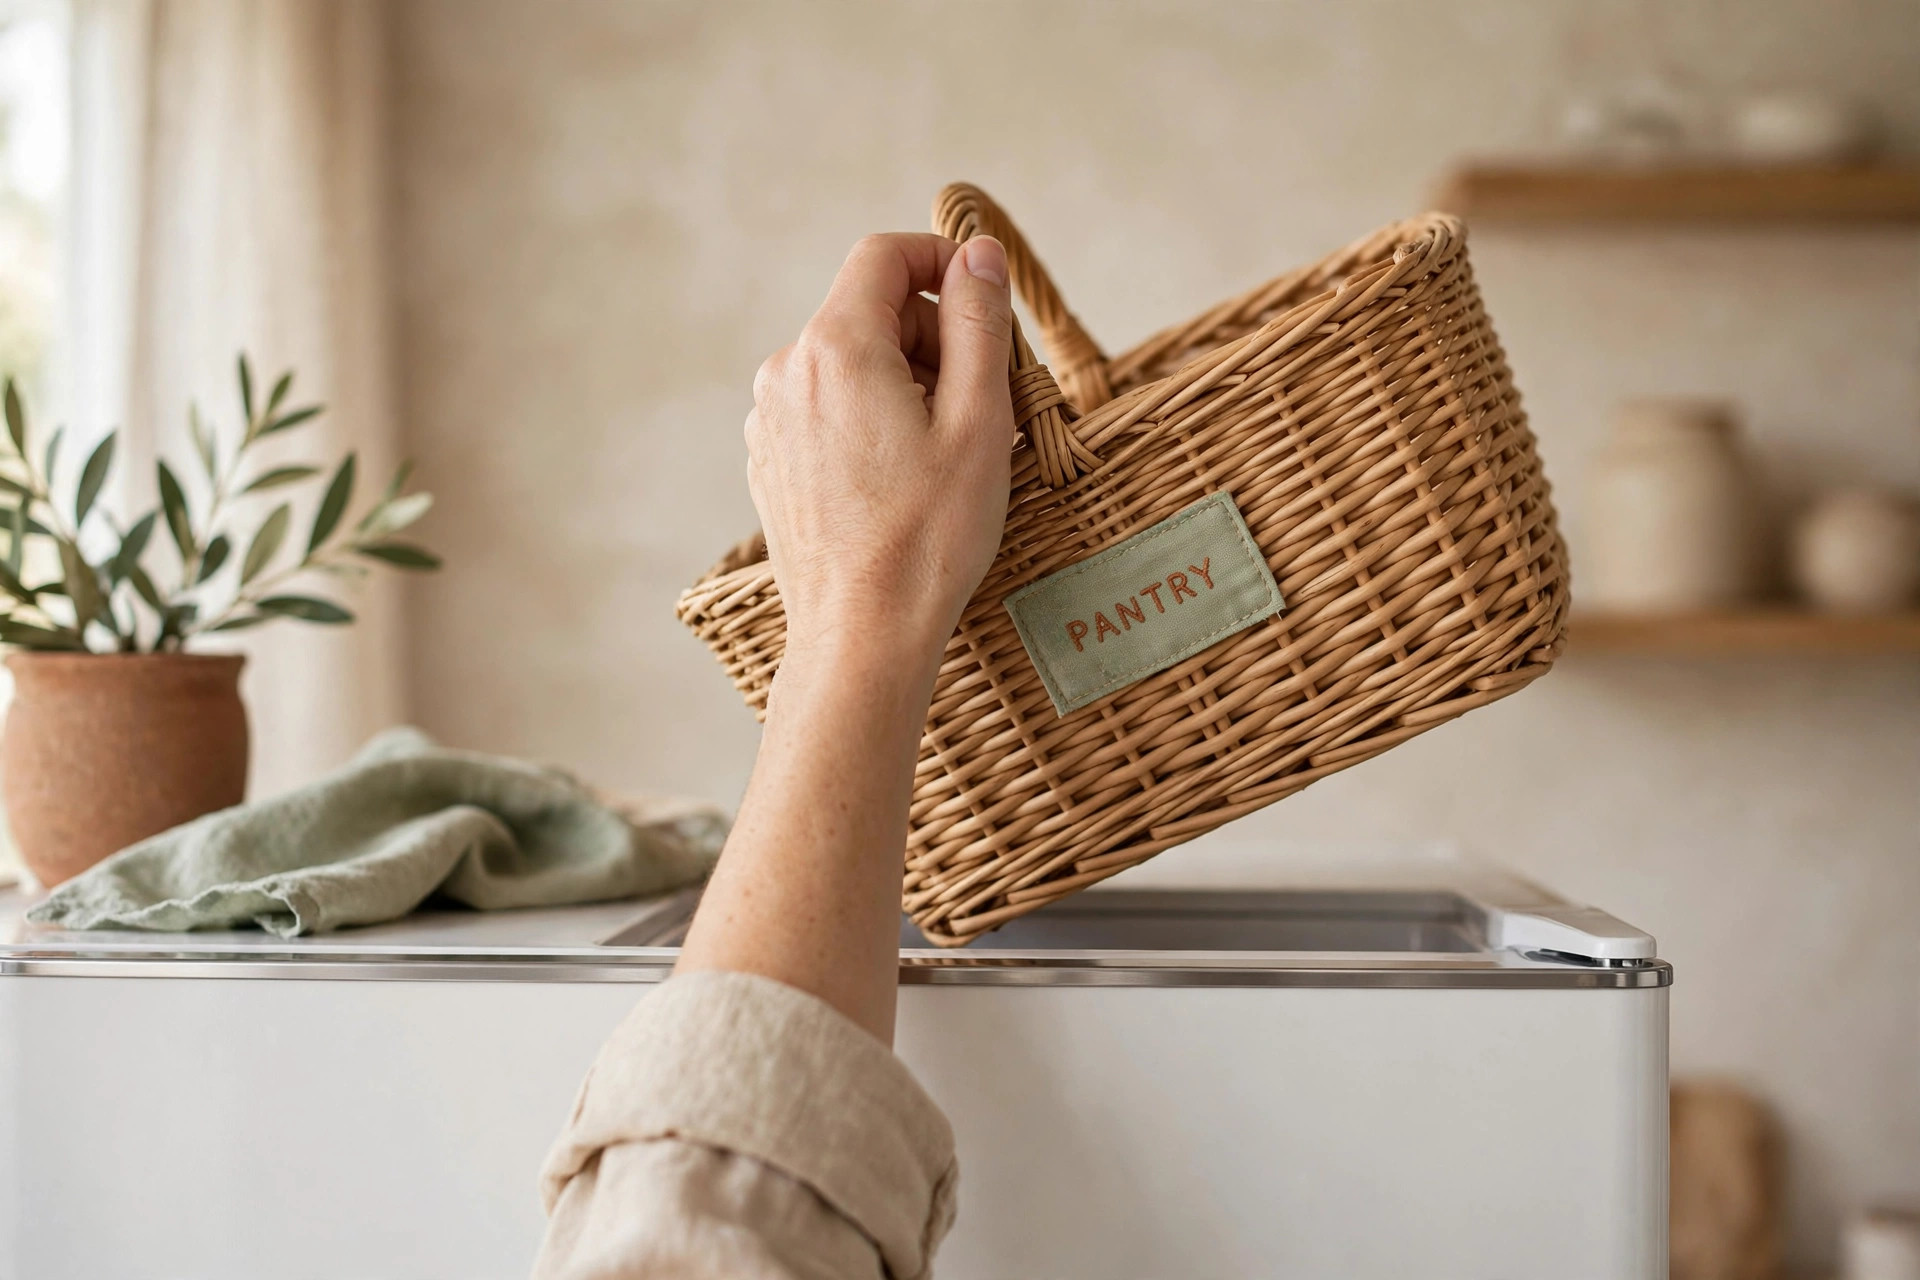
Idea 13: Label the front face of every bin. Put the label on the front face you see from floor level, not the top. Write broad categories (“Baking extras”, “Party supplies”) so labels stay accurate when contents shift.
Idea 14: Keep a one-page master inventory. Tape a single sheet inside a lower cabinet door listing what’s above the fridge, bin by bin. When you wonder “do we own a fondue set?” you check the sheet instead of hauling bins down. Update it during your twice-a-year reset — the same inventory habit that makes deep cabinet zones work.
The twice-a-year reset: seasonal items up top
Above-fridge storage works best with seasonal rotation. The space is ideal for things you need for a few months a year and not at all otherwise — so it should change twice a year, when your home shifts seasons.
Idea 15: Run a spring and fall swap. In spring, move winter items (holiday platters, the stew slow cooker, hot drink supplies) down and rotate in summer items (picnic gear, the ice cream maker, extra water bottles). Reverse it in fall. Each swap takes about 20 minutes and keeps the space matched to the season.
Idea 16: Use the 10-minute reset checklist. Twice a year, pull every bin down and ask: (1) Did I use this in the last six months? (2) Is anything expired or broken? (3) Does anything here belong in a lower cabinet? (4) Does anything down there belong up here? Toss, recycle, or relocate as you go, wipe the shelf and relabel what changed. Ten focused minutes prevents the slow creep back into a junk pile.
Mistakes to avoid
Stacking without containment. Loose items up top are a falling-object hazard and a dust trap. Not in a bin or basket? It does not belong up there.
Storing anything heavy or fragile. Cast iron, full jars, and ceramic dishes are exactly wrong for high storage — a dropped glass dish from 6 feet is dangerous. Heavy stays low, always.
Blocking ventilation. Cramming items against the fridge top, back, or sides makes the compressor work harder and shortens its life. Keep the manufacturer’s clearance — usually 1–2 inches on top.
Letting it become a “maybe later” shelf. The moment undecided items land above the fridge, the system is dead. Every item up there needs a named bin and a Tier 2 or Tier 3 reason. “I’ll deal with it” is not a category.
Buying bins before measuring. Over-fridge cavities are not standard — measure first, photograph the space, then shop.
Frequently asked questions
Can you put things on top of the refrigerator?
Yes, with two conditions: leave the ventilation clearance it specifies (usually 1–2 inches on top and sides), and store only lightweight, heat-tolerant, rarely used items in bins. Never block the vents or store daily-use items up there.
How much weight can you store above a fridge?
Keep items sitting directly on the fridge top under 15–20 pounds total. Inside an installed cabinet, follow its shelf rating — typically 30–40 pounds per shelf. Lighter is always better up high.
What should never be stored above the refrigerator?
Heavy items (cast iron, full water jugs), fragile glassware, daily-use items, chocolate, wine, candles, and aerosol cans. Heat degrades food and melts wax, pressure plus heat is risky for aerosols, and heavy items up high are an accident waiting to happen.
Should the space above the fridge have a cabinet or stay open?
A cabinet wins for function — it keeps dust off and hides the storage. An open shelf wins for looks if you style the front band and keep practical storage in matching bins behind it. The worst option is the visible dusty pile.
The dead space above your refrigerator is some of the best storage in a small kitchen — as long as you treat it like a system instead of a dumping ground. Measure the cavity, keep it to rarely used items in labeled bins, and reset it twice a year. Save this pin for later, and browse our kitchen organization ideas for the rest of your small kitchen.