Small fridge organization ideas matter because a tiny fridge has no margin for mess. In a full-size refrigerator, a forgotten jar of salsa just wastes shelf space. In a 10-cubic-foot apartment fridge, it triggers a chain reaction: you shove, things slide, containers topple, and within a week the whole thing is a dark hole where food goes to die. You open it, stare, give up, and order takeout while the chicken you meant to cook expires behind the milk.
These fifteen ideas build a system in layers: shelf zones, clear bins, door rules, the eat-first box, turntables, and a five-minute weekly audit. No renovation, nothing permanent, almost everything under $15.
The zone method: every shelf gets a job
A zone is a permanent address for a food category: milk always lives in one spot, leftovers in theirs. Zoning ends random stacking and makes putting groceries away brainless. Three moves set it up.
1. Give every shelf a category based on temperature, not habit
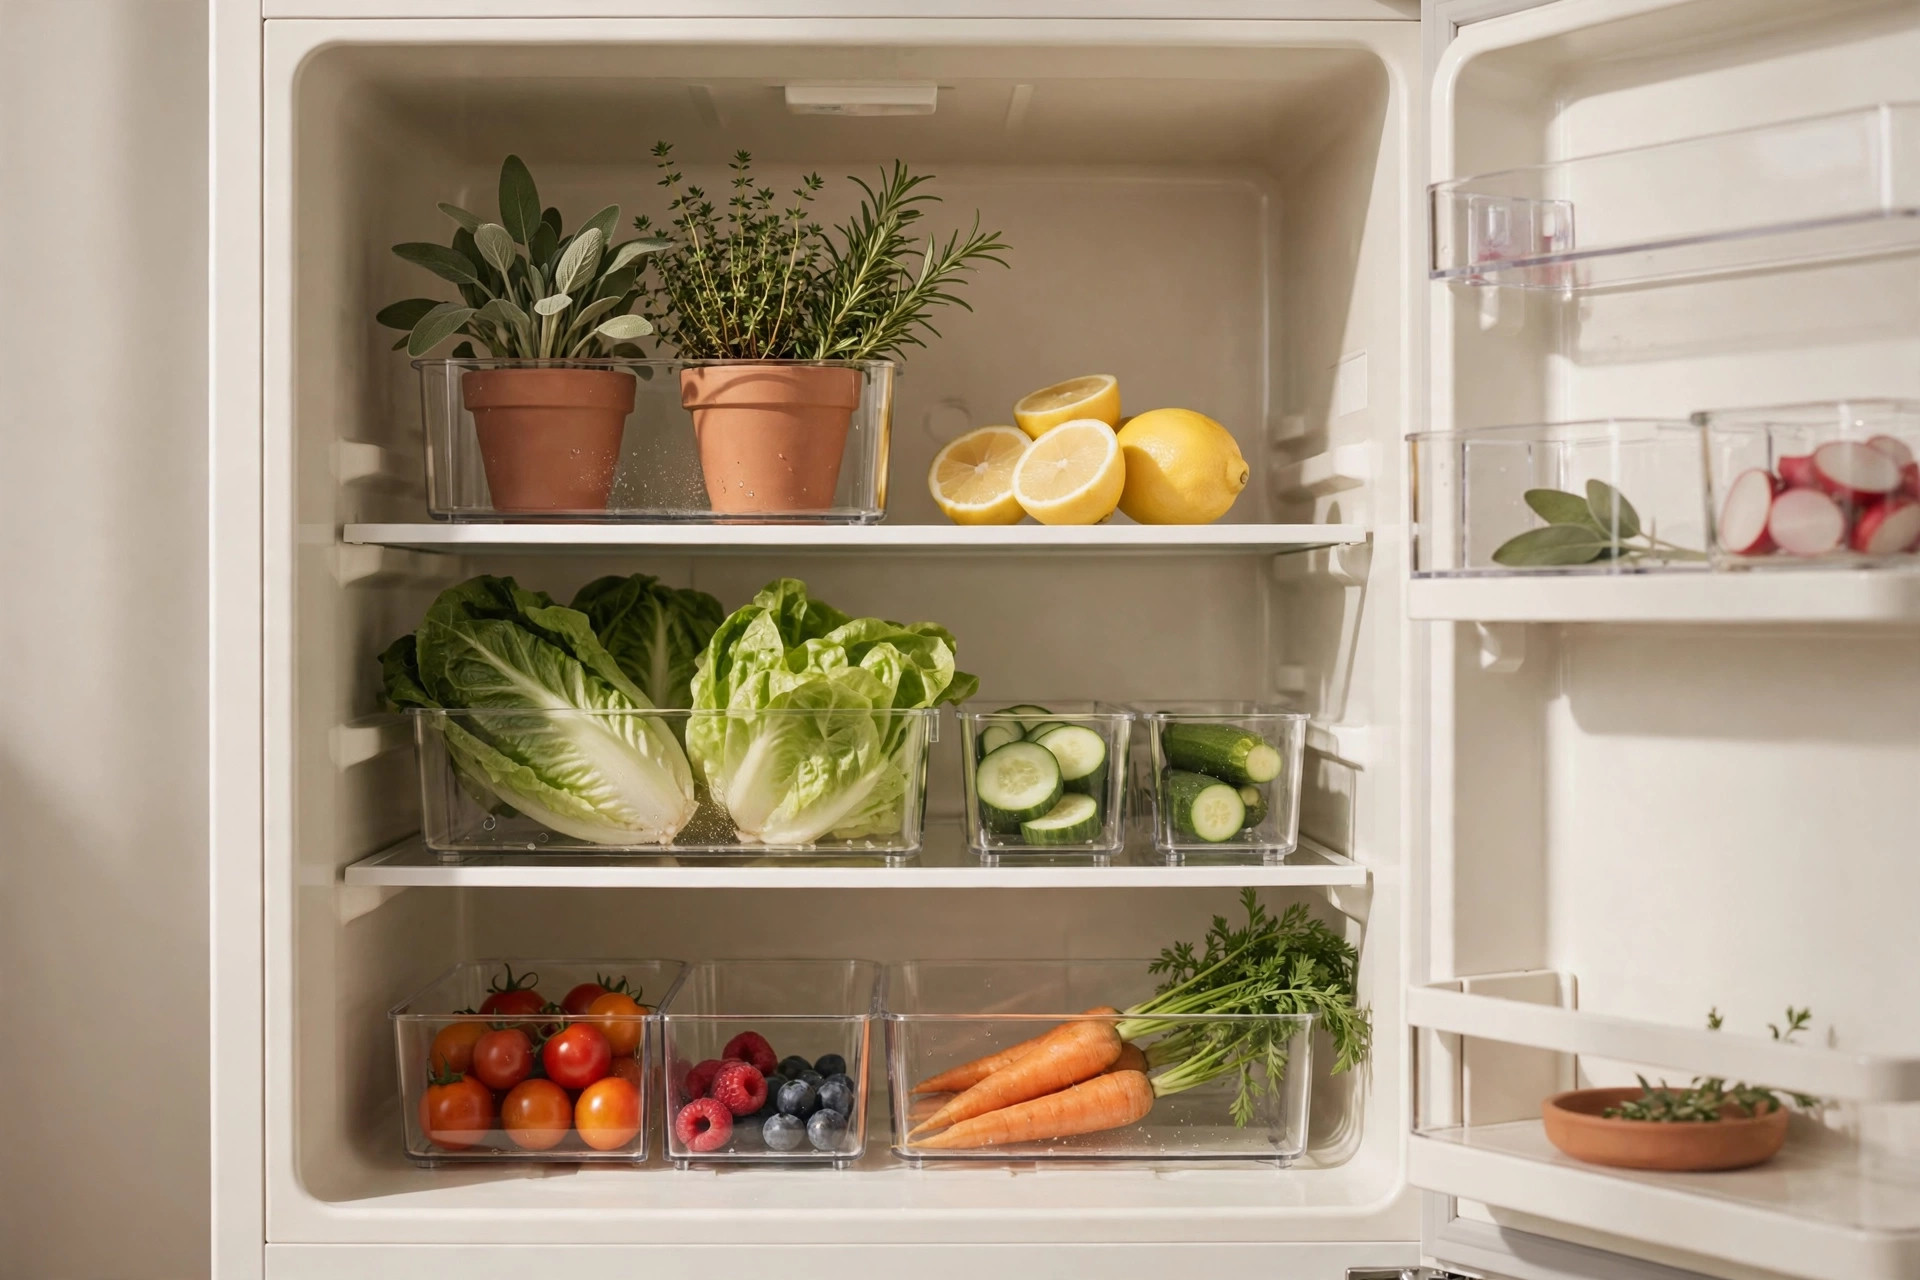
Cold air sinks, so the bottom of the fridge is coldest, the top mildest, and the door warmest. Assign categories to match: leftovers and drinks on top, dairy and deli in the middle, raw meat and fish on the bottom shelf on a tray. A $5 fridge thermometer confirms the 40°F-or-below zone, and the cold food storage charts on foodsafety.gov list safe storage times by food.
2. Keep a consistent left-right order within each shelf
Once shelves have categories, give each a fixed left-right slot: snacks left, eggs right, condiment overflow at the back. Your hand lands in the right place without scanning, and shortages become visible — if the left side of the middle shelf is empty, you’re out of eggs before you even look.
3. Add shelf risers to stack zones vertically
A 12-inch gap above a row of yogurts is wasted space. A fridge shelf riser — a wire or plastic half-shelf about 4 inches tall — turns it into a second tier: short items underneath, taller items on top. Two risers on one shelf fit 6–8 more containers. Removable, renter-safe, roughly $8–12 a pair — they multiply shelf space instead of dividing it.
Clear bins: the single biggest fridge upgrade
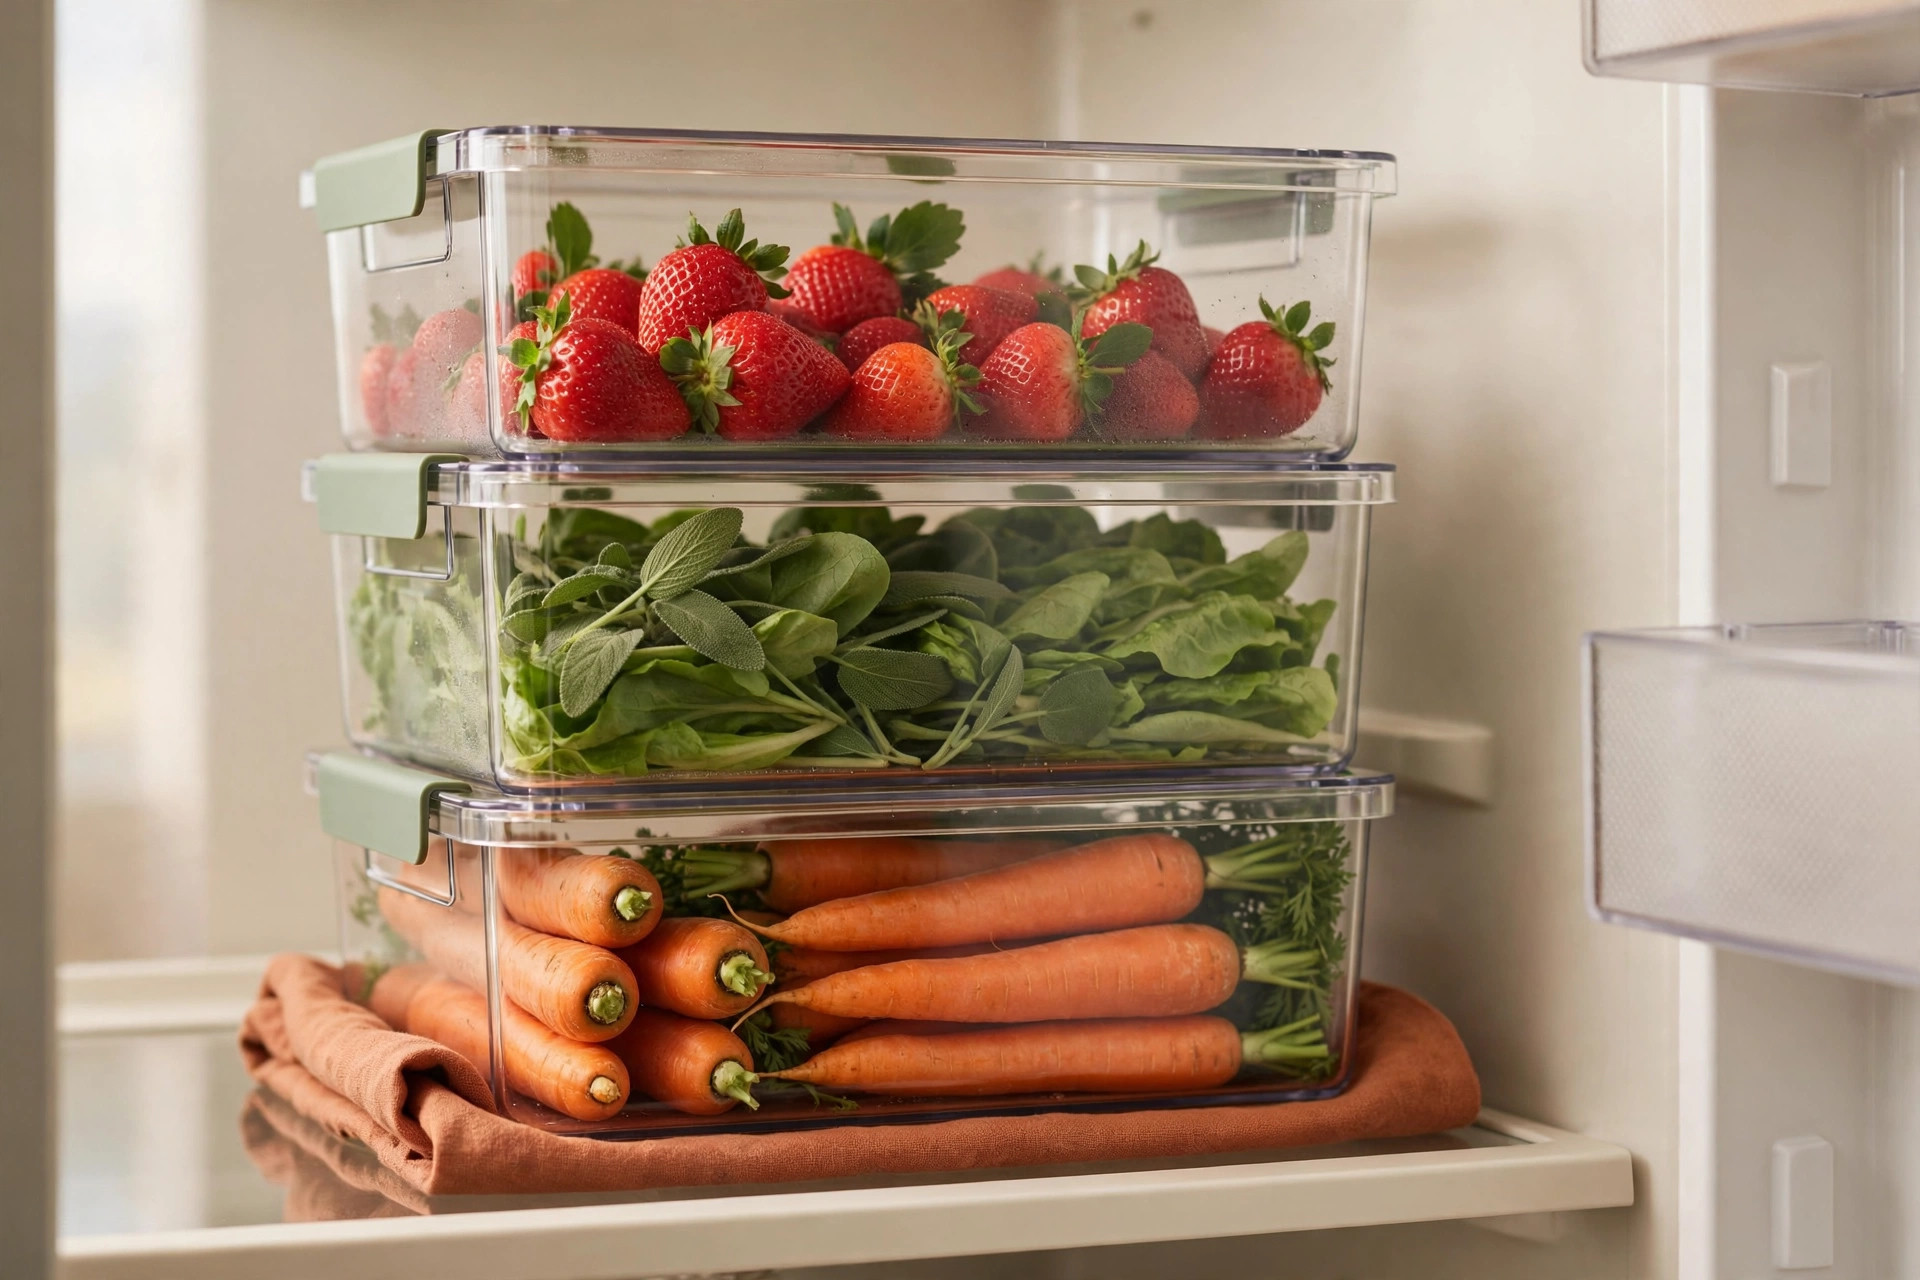
Bins are what make zones physical. Without them, a zone is an idea you forget by Thursday. With them, a zone is a box you pull out, grab from, and slide back.
4. Corral every category in one clear bin
Buy stackable bins roughly 10 inches long, 6 inches wide, 6 inches tall — small enough that two sit side by side on a typical 18-inch apartment fridge shelf. One bin per category: dairy, snacks, condiment overflow. Clear so you see contents without pulling them out; uniform so they stack cleanly with no wasted gaps. The same logic transforms dry goods — see how uniform bins rescue a tiny pantry — the principle is identical, just colder.
5. Use narrow pull-out bins for deep shelves
Small fridges are often deeper than wide, creating a blind corridor where items vanish. Fix it with narrow bins — 4 to 5 inches wide, full shelf depth — that slide forward like drawers. Two narrow bins turn one deep shelf into two accessible lanes. The test: if you can’t see every item without moving something else, the bin is too wide.
Door storage: what belongs there and what rots there
The door is the warmest part of the fridge — every opening blasts it with room-temperature air, and it recovers slowest. Treating it like regular shelf space is the most common fridge mistake. The rule is simple: the door is for foods that don’t care about temperature, nothing else.
6. Keep only shelf-stable items in the door
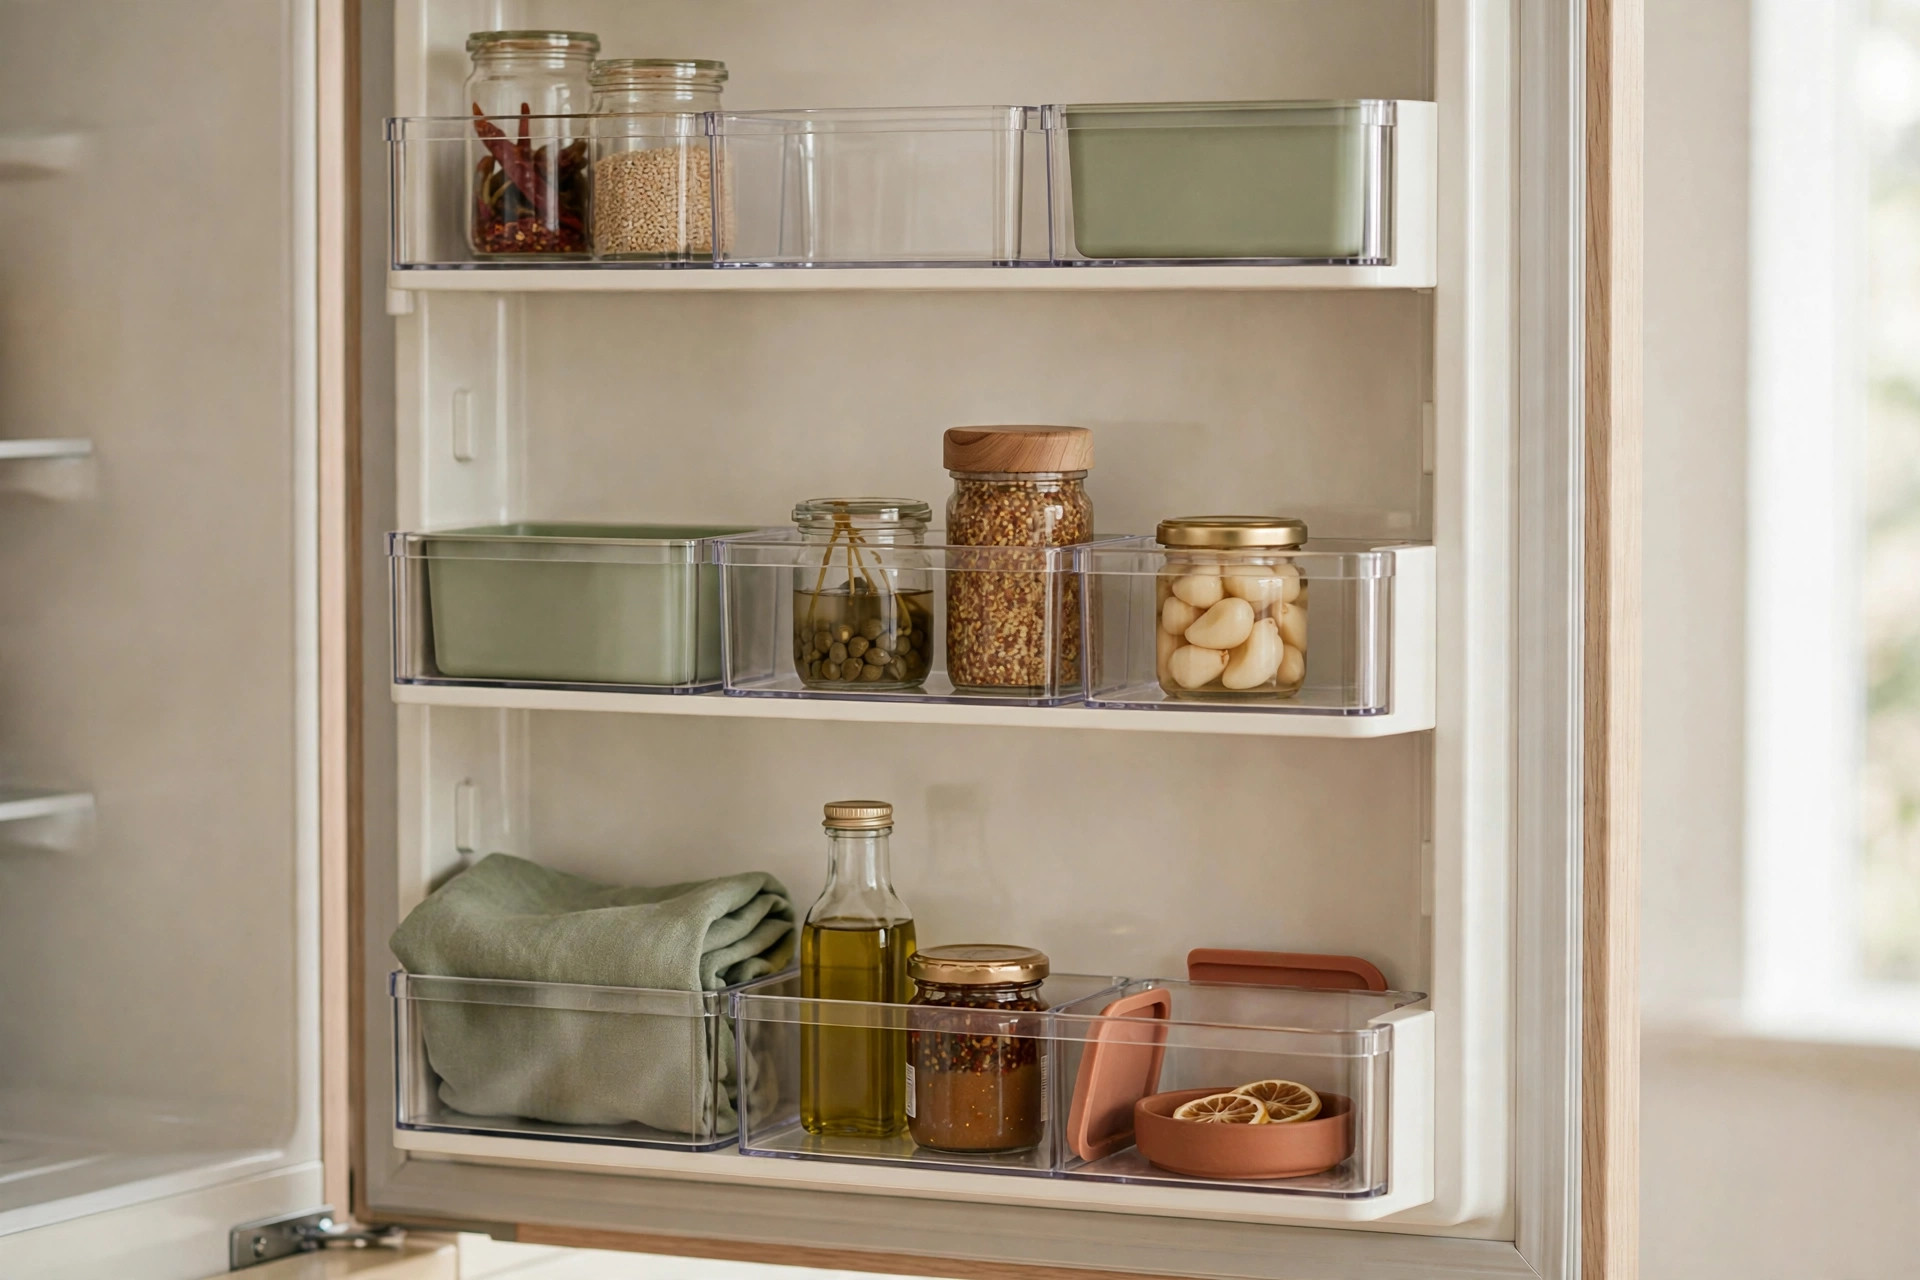
Condiments, jams, pickles, mustard, hot sauce, sealed juices, water bottles — these are door items. Salt, sugar, acid, or sealing let them shrug off temperature swings. Dairy, eggs, leftovers, and opened juices do not belong in the door, even with molded egg cups — those are decoration. Move eggs and milk to the middle shelf and they genuinely last longer.
7. Decant door condiments into one door caddy
Put the 5 or 6 condiments you actually reach for in one small door caddy or narrow bin. It travels: pull it out, use it at the table, slide it back. Nothing falls behind, nothing multiplies. The spare mustards go to the pantry or get tossed. A tidy door also closes faster, keeping everything else colder.
The ‘eat me first’ box that kills food waste
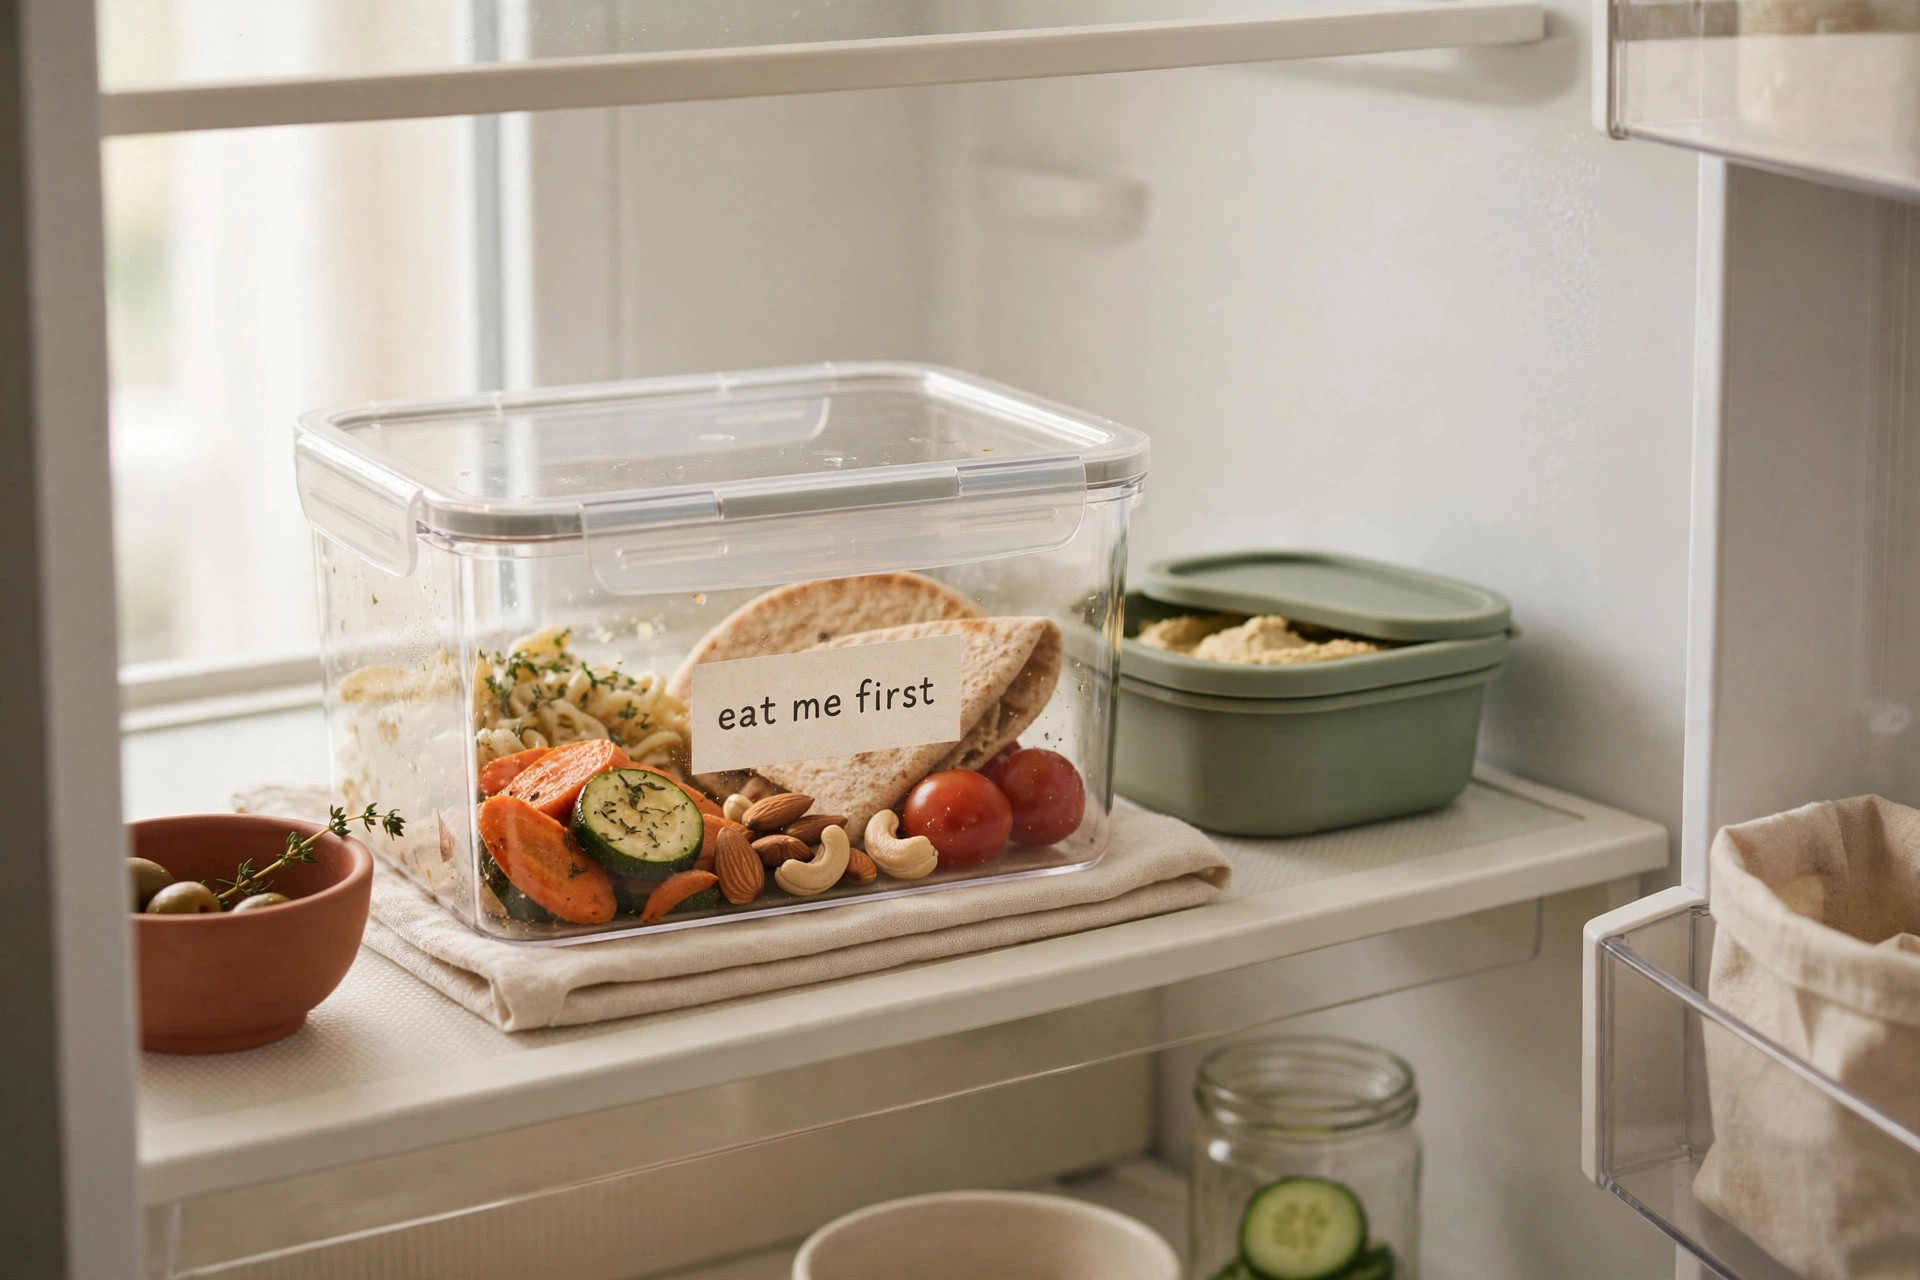
Food waste in a small fridge is a visibility problem, not a morals problem. Leftovers die because they’re buried. The eat-me-first box fixes visibility in one move.
8. Put one brightly colored bin at eye level and label it
Take one small bin — brightly colored, or clear with a bold label — and place it at the front of the top or middle shelf, where you cannot miss it. Inside goes everything on a clock: yesterday’s leftovers, the half-eaten hummus, ripe produce. One rule: when you open the fridge hungry, eat from this box first. It replaces willpower with a visual trigger.
9. Write the opened date on leftovers with painter’s tape
The box only works if you know what’s actually expiring. Stick painter’s tape (peels off cleanly, even cold) on every leftover container and write the date you opened or cooked it: “10/16 soup.” The box only works if you know what’s expiring. Stick painter’s tape (peels off cleanly, even cold) on every leftover and write the date you opened or cooked it: “10/16 soup.” Three seconds per container gives the box a pecking order — oldest first, no guessing. A tidy fridge works best with tidy surroundings — a small kitchen counter system keeps your cooking routine easier.
Turntables for deep fridges and blind corners
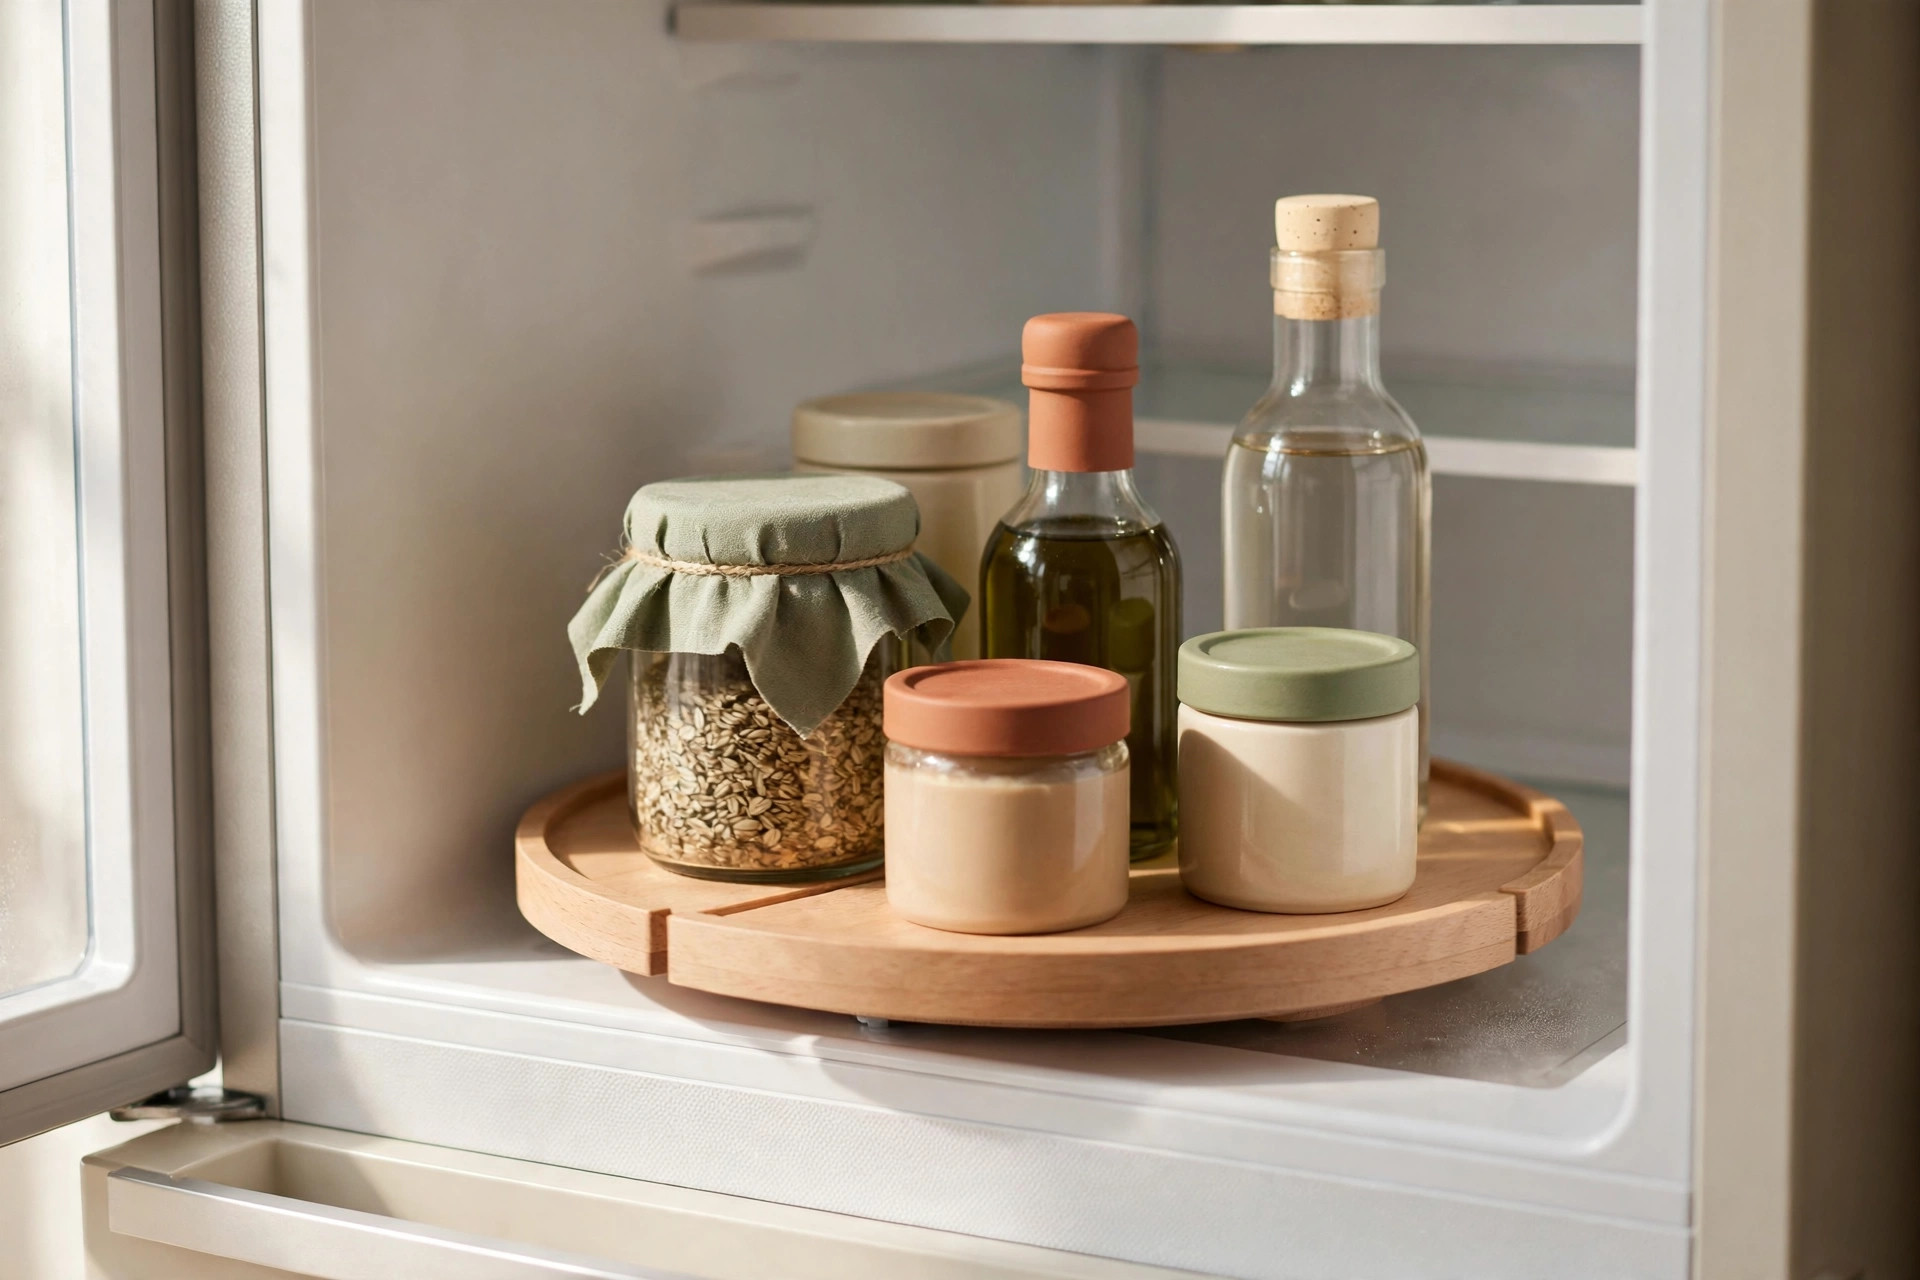
The back corners of a small fridge are where jars fossilize. A turntable (lazy Susan) turns dead corners into rotating shelves. One is enough for most small fridges.
10. Put a 10-inch turntable in the deepest corner
Measure the deepest corner and buy a turntable leaving about an inch of clearance — for most small fridges, that’s 10 inches. Load it with the tall jars that get shoved behind the milk: sauces, dressings, pickles, jam. One spin and you see and reach every one. Glass tops are sturdier than plastic for heavy jars; a non-slip surface stops items sliding when the door shuts. This one item typically resurfaces 3–5 condiments you forgot you owned.
11. Add a small riser on the turntable to reclaim headroom
A turntable with a second tier — or a simple 10-inch riser on top — stacks two layers of jars in the same footprint: short items on the riser, tall bottles on the base. Watch door-shelf clearance — anything taller will hit when the door closes, so measure first. If it doesn’t clear, keep the turntable single-tier.
Labels and the 5-minute weekly fridge audit
Systems decay: zones drift, bins migrate, housemates put things wherever. Two habits prevent it — labels and a weekly audit that takes less time than making coffee.
12. Label the bins and shelves with erasable labels
Clear bins look identical when empty. Label each — “DAIRY,” “SNACKS,” “EAT FIRST” — with chalkboard-style adhesive labels or dry-erase tape, and add tape strips marking zone boundaries on shared shelves. A system that lives only in your head dies the week someone else unloads the groceries. The same habit keeps cabinets from drifting — see the small kitchen cabinet guide.
13. Run a 5-minute audit every grocery day
Pick grocery day, when the fridge is emptiest: toss anything expired (trust the tape dates), eat or cook what’s in the eat-first box, wipe one shelf or bin, refill the box with anything new that needs eating soon. Five minutes, once a week. The first twelve ideas are setup; the audit is maintenance. Without it, you’ll reorganize monthly. With it, the fridge mostly runs itself.
Mini-fridge and dorm setups: scaling the system down
A dorm or office mini fridge — single shelf, tiny freezer cube, small door — gets a compressed version of the same principles.
14. Set mini zones with 4 to 6 slim bins, never loose bags
A mini fridge fits four to six slim bins, roughly 4 inches wide — cap inventory at what the bins hold. Top zone for drinks, middle for food, door for condiments, freezer cube for frozen items only. Then one hard rule: nothing loose, ever. Loose items slide into the cooling vent, freeze solid, and get forgotten. The cap is the whole secret — the fridge stays organized because it’s never overfilled.
15. Give each person a color-coded bin in a shared dorm fridge
Shared mini fridges fail for one reason: nobody knows whose stuff is whose, so nobody cleans. Fix it with one slim bin per person in a different color: everything you own goes in your bin, everything else stays out. Add a tiny shared eat-first box for communal items about to expire. This ends the classic dorm disputes: “who ate my yogurt” and “who left that rotting takeout.”
What NOT to Buy for a Small Fridge
Not everything sold as “fridge organization” helps a small fridge. Skip these:
- Opaque bins or baskets. If you can’t see through it, you’ll forget what’s in it. Clear bins only.
- Mismatched containers. Different shapes waste every gap between them. Use square or rectangular containers that stack flush.
- Full-size fridge organizers. Built for wide shelves, they leave dead space in a narrow fridge. Buy slim 4–6 inch bins instead.
- Bulk perishables. Bulk portions die in a small fridge no matter how organized you are. Buy smaller quantities — the audit tells you what you need.
Frequently Asked Questions
How cold should a small fridge actually be?
Keep the fridge compartment at 40°F (4°C) or below, same as any fridge. A $5 fridge thermometer on the middle shelf tells you the truth if you’re unsure.
Can I use a lazy Susan turntable in a really small fridge?
Yes, if you measure first: a 10-inch turntable fits most apartment fridges as long as it clears the door shelves when spinning. In a tiny mini fridge, skip it — slim pull-out bins give more usable space.
How do I keep a mini fridge organized in a dorm with roommates?
Use the color-coded bin system from idea 15: one slim bin per person, everything personal inside its bin, nothing loose. Add a shared eat-first box and agree on one weekly audit day.
How often should I clean out a small fridge?
Deep-clean twice a year, and run the 5-minute audit every grocery day. The weekly audit keeps deep cleans rare.
A fridge that finally works
A small fridge stops being a black hole when everything has an address: zones on every shelf, clear bins per category, the door reserved for condiments, one eat-first box against waste, a turntable for the back corners, and a five-minute weekly audit. Start with zones and bins this weekend — those alone change the game. Save this pin for later, and explore more small-space ideas in the kitchen category when the fridge is done.