Open the door of a blind corner cabinet and you face the Bermuda Triangle of the kitchen: a deep, dark L-shaped void where baking pans go in and never come back out. These blind corner cabinet storage ideas run on one principle — the back of the cabinet should come to you, not the other way around. Below are 16 specific fixes, from pull-out shelves to stick-on lights, that reclaim every wasted inch of the hardest corner in your kitchen.
They pay off biggest in small kitchens, where one dead cabinet can hold 10 to 15 percent of your total storage. Work the ideas in order: measure first, pick the mechanism that fits your cabinet and your lease, then zone what goes inside.
Map the dead zone: what a blind corner actually hides (and wastes)
A blind corner is the stretch of cabinet that runs sideways under your countertop past the door opening — typically 18 to 24 inches of depth you can barely see and can only reach by kneeling and groping. That dead zone often swallows the equivalent of a full lower cabinet, which is why kitchen blind corner storage deserves its own plan.
1. Measure your true opening before buying anything
Take three measurements: the door opening width, the interior depth from the door frame to the back wall, and the height between the cabinet floor and the shelf above. Write all three on masking tape stuck inside the door. Most retrofit kits come in 12-, 15-, and 18-inch widths — if your opening is narrower than 12 inches, skip the hardware aisle and go straight to the turntable and bin ideas below.
2. Identify your corner type: true blind vs. diagonal
Open the door and reach your arm straight in. If your elbow passes a wall into a side void, you have a true blind corner (one square door, cabinet extending sideways). If the door itself is angled across the corner, you have a diagonal corner — standard corner lazy Susans already fit it. The ideas below target true blind corners, where off-the-shelf organizers fail most often.
Pull-out shelves and half-moon trays: the highest-impact fix
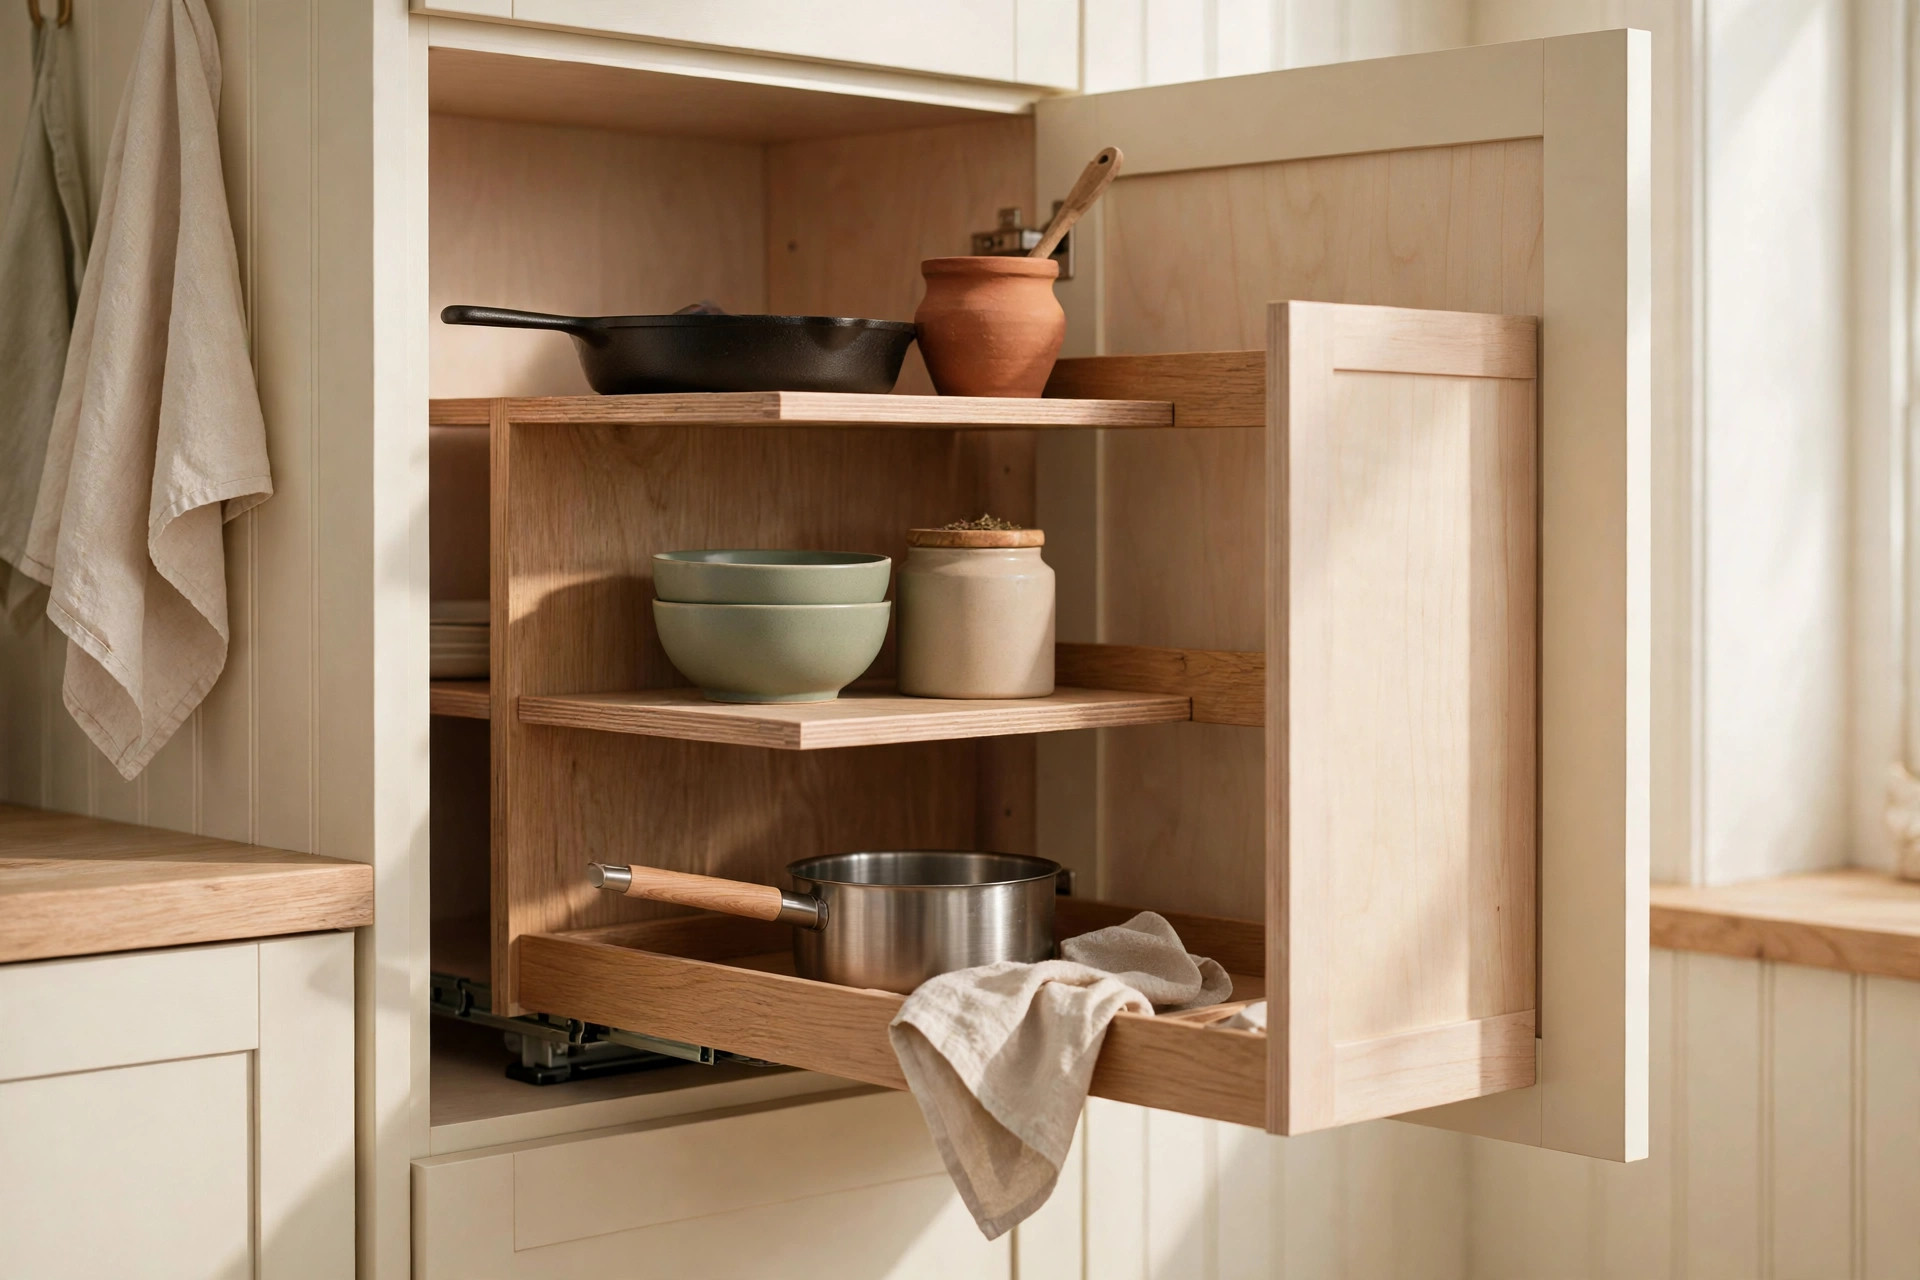
If you do one thing to a blind corner, make it this: shelves that slide toward you. Pull-out hardware converts dead depth into accessible depth, and it is the highest-impact upgrade in all of corner kitchen cabinet organization.
3. Install a two-tier sliding shelf kit
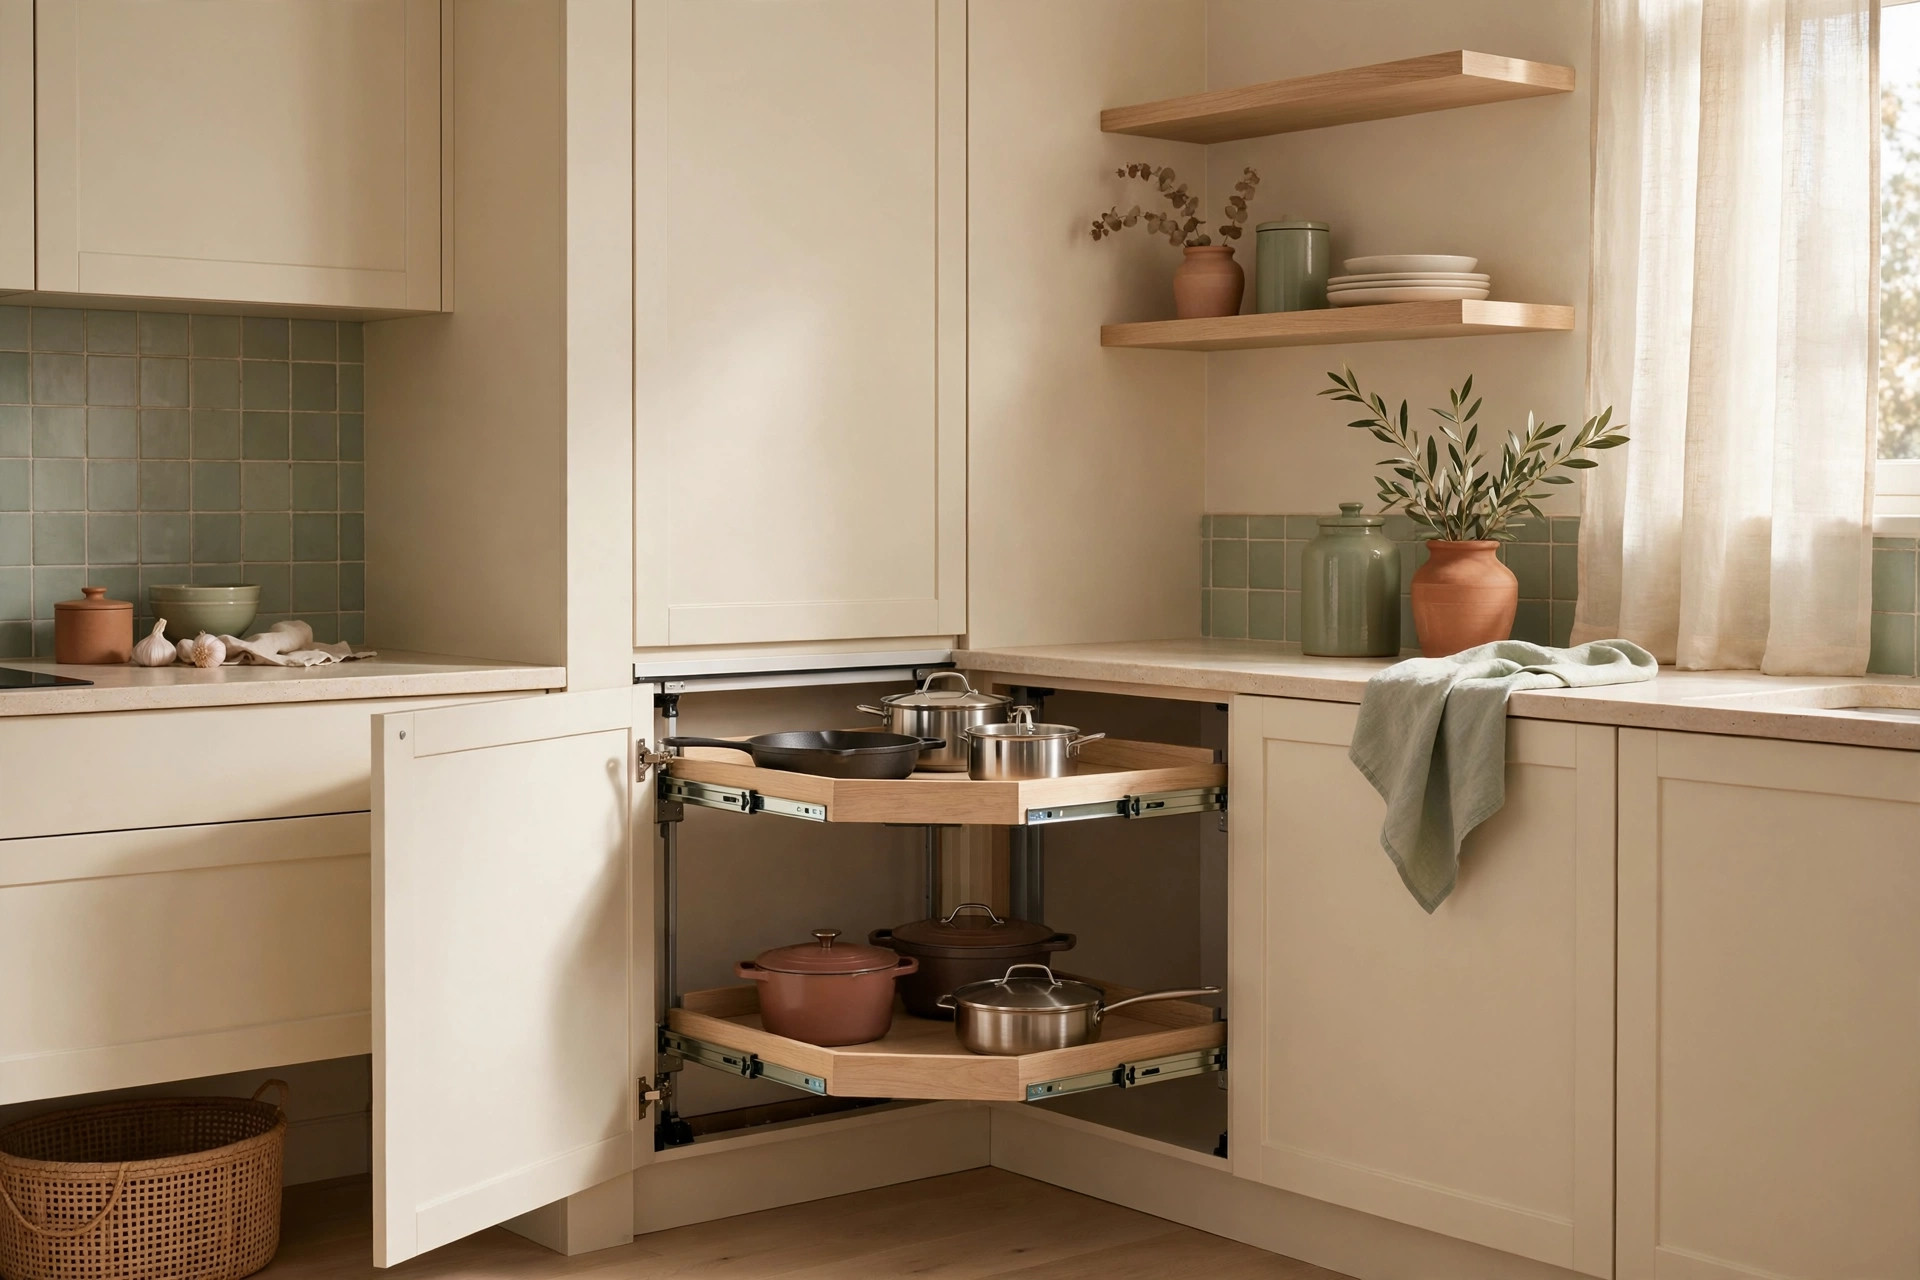
A two-tier kit — two wire or wood shelves on full-extension ball-bearing slides — screws into the cabinet floor and side wall and pulls the entire contents out to you. Budget approximately $60 to $120, plus an hour with a drill. Full-extension slides matter: three-quarter slides leave the back 6 inches stranded, which defeats the purpose.
4. Use half-moon trays for the pie-cut zone
D-shaped (half-moon) trays are made for the curved void where the two cabinet runs meet. They spin within the corner so the back half rotates toward the door, and the flat back sits flush against the rear wall. Size the tray to your depth measurement from idea 1 — a 26-inch tray in a 24-inch-deep cabinet will jam against the door frame.
5. Add a narrow vertical rack at the cabinet door
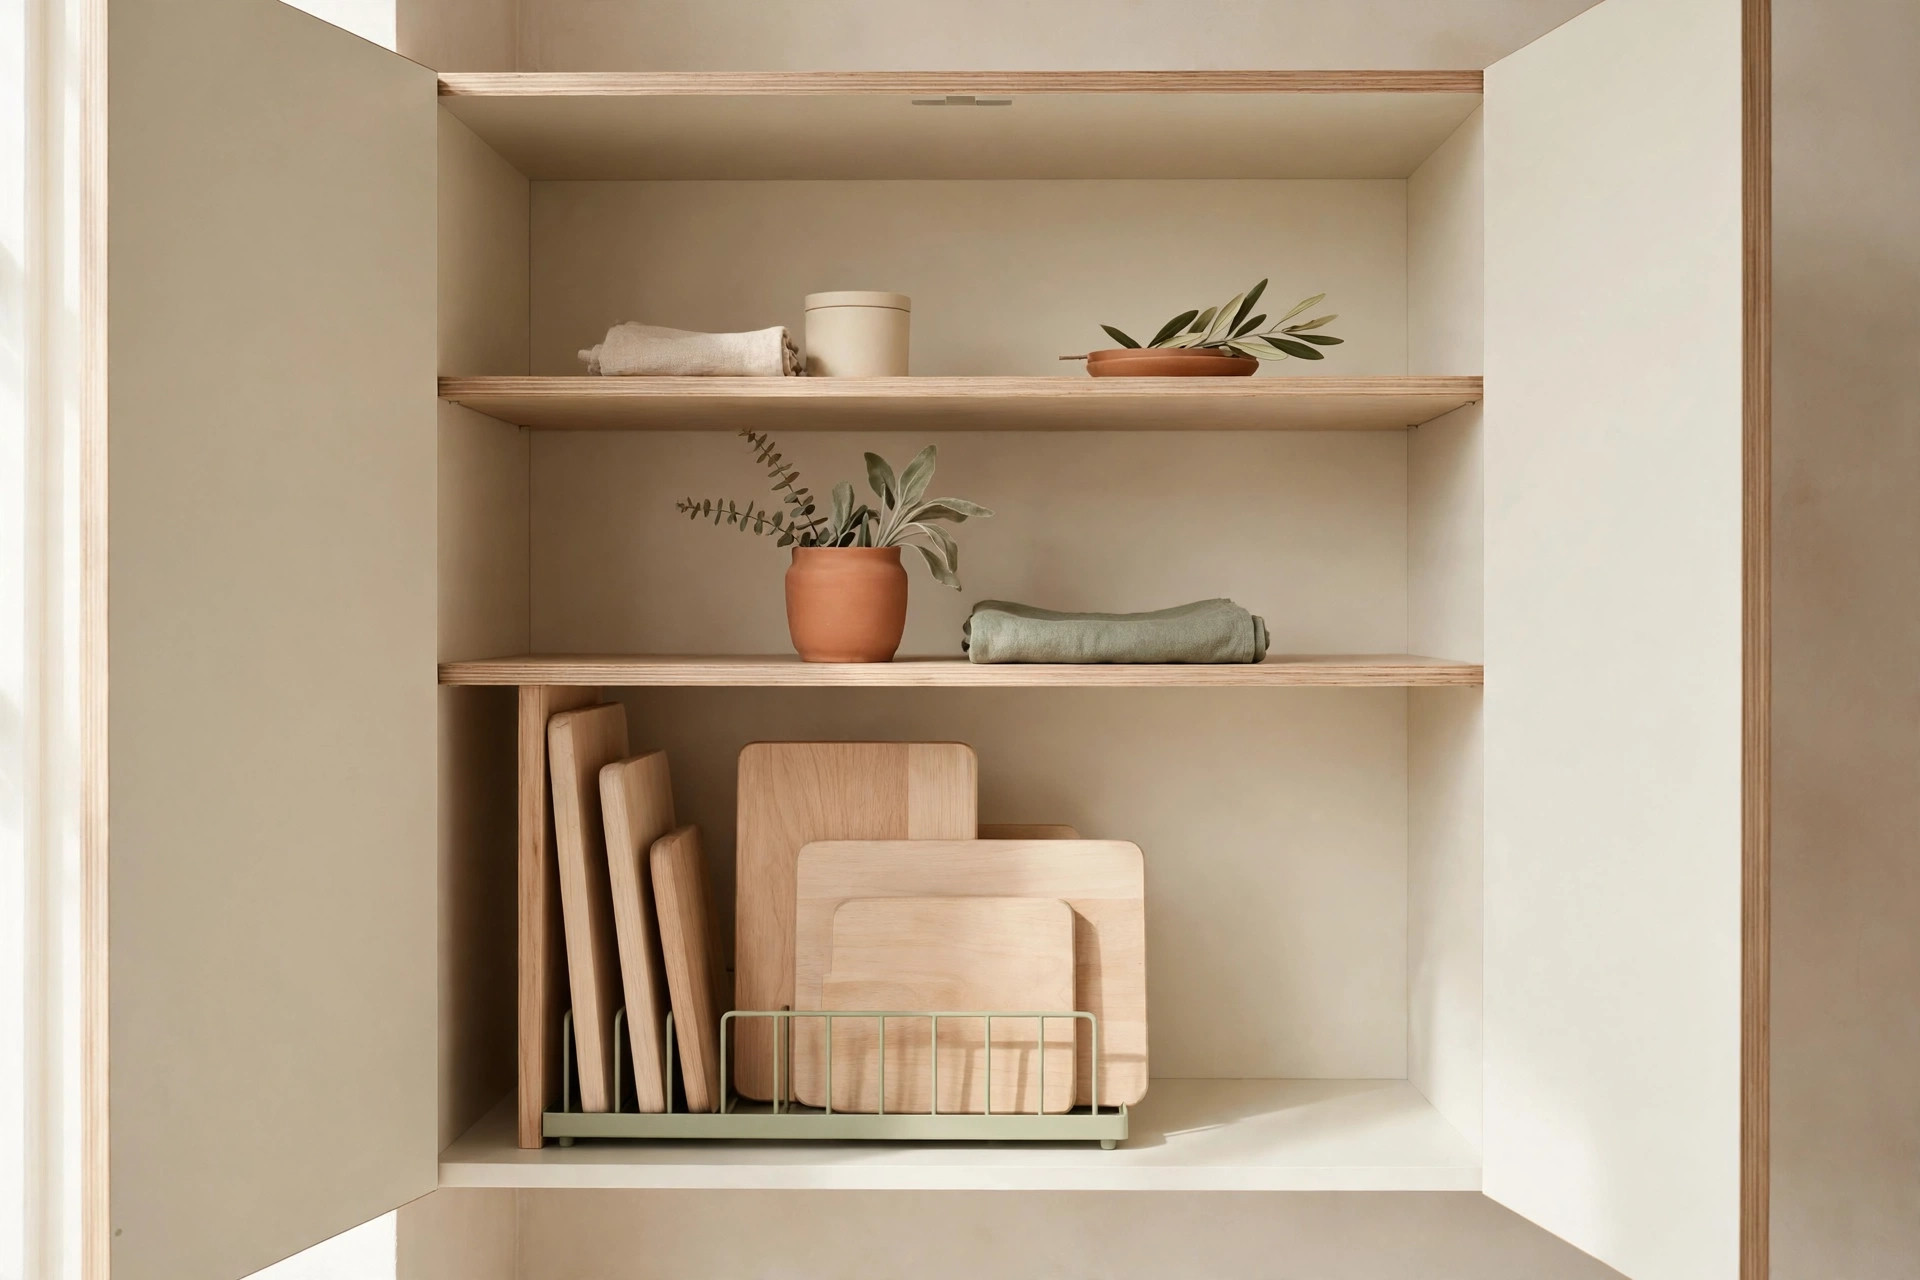
The 3- to 4-inch strip beside the door opening is too narrow for shelves but perfect for vertical storage. A screw-in or tension divider here holds baking sheets and cutting boards upright, so they stop avalanching across the pull-out shelves behind them. For the rest of your cabinets, the shelf-riser tricks in 18 Small Kitchen Cabinet Organization Ideas That Maximize Every Shelf double usable space on every shelf outside the corner too.
Swing-out organizers: doors that bring the back corner to you
Swing-out hardware is the mechanical answer to the blind corner: shelves on pivots that arc out through the door in one motion, carrying the back corner’s contents fully into the light.
6. Install a double swing-out shelf unit
The classic corner system mounts two kidney- or D-shaped shelves on a vertical center pole. Pull the front shelf and the rear one swings out behind it, so nothing stays hidden. These kits run approximately $150 to $300 and need solid top and bottom mounting points — confirm your cabinet has a fixed shelf or top panel to anchor the pole before ordering.
7. Hinge half-moon shelves to the door itself
Door-mounted shelves swing out automatically when you open the cabinet — no separate pull required, which makes them the easiest system for everyone in the household to use. Keep loads under roughly 15 pounds per shelf; heavy cast iron on a door hinge will sag the door over time.
8. Try a single-pole kidney basket as the middle ground
One rotating kidney-shaped basket on a center pole costs less than a full double-shelf system and installs in about 30 minutes. The trade-off is one accessible layer instead of two, so reserve this for corners that hold a single category, like all your baking equipment.
Turntables and lazy Susans sized for blind corners
No drill, no landlord permission, no measuring beyond the door width — turntables are the fastest win for a blind corner, and the right shape makes all the difference.
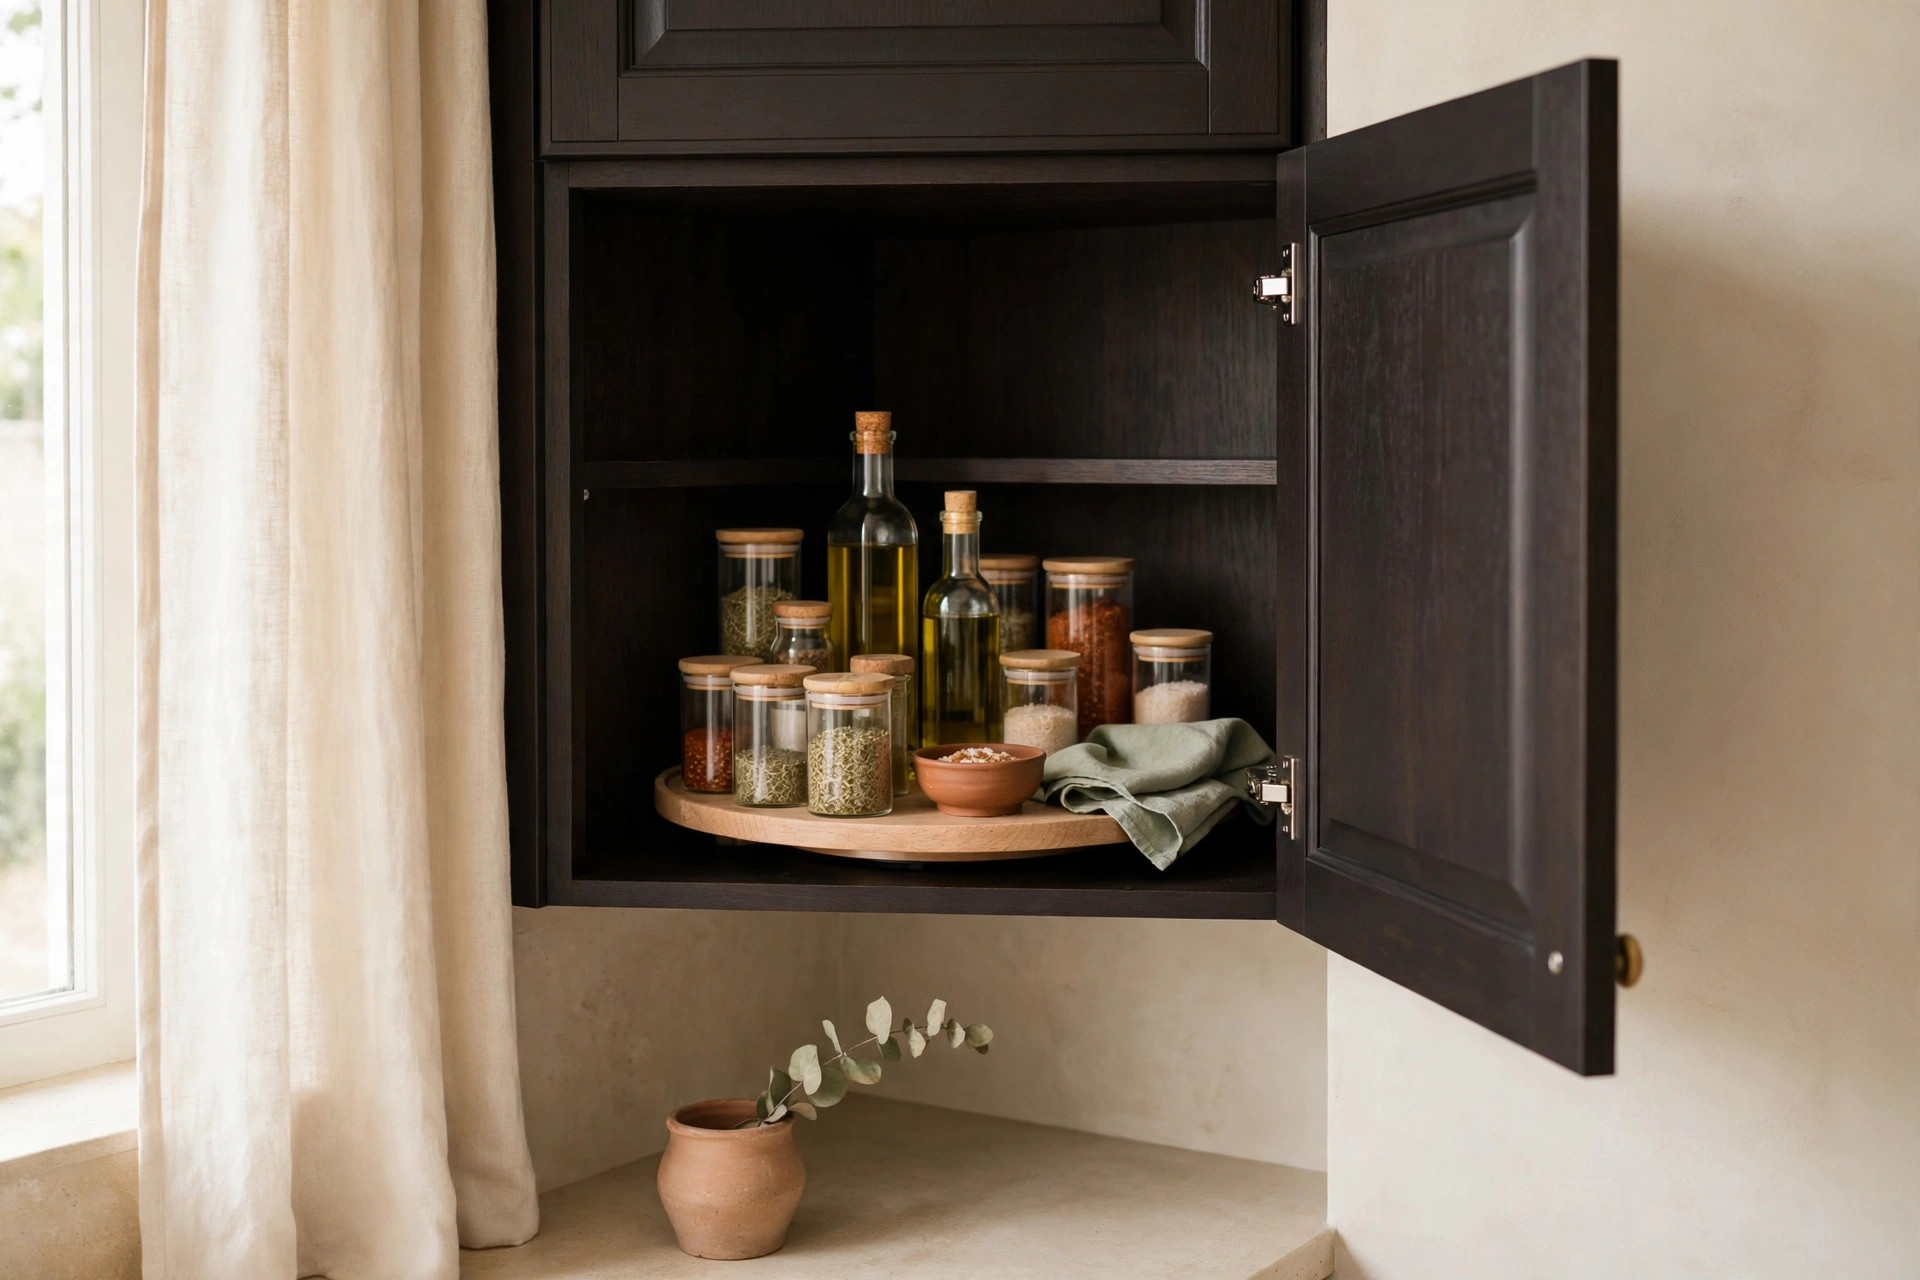
9. Place a D-shaped turntable against the back wall
A D-shaped turntable’s flat back sits flush against the cabinet’s rear wall, wasting none of the depth, while the curved front spins items around to the opening. Group like items on it — all baking extracts, or all canned tomatoes — so one spin brings the whole category to you.
10. Stack a two-tier lazy Susan in the deepest section
Two-tier turntables double the surface in the same footprint. Keep the tiers to 10 to 12 inches in diameter for small corners, and keep tall items off the top tier — anything over about 8 inches tall will scrape the shelf above when it spins.
What to store in a blind corner (and what never goes there)
Hardware only solves half the problem. A blind corner works when it holds things you need weekly, not daily — the extra two seconds of access is fine for a roasting pan and maddening for the coffee filters.
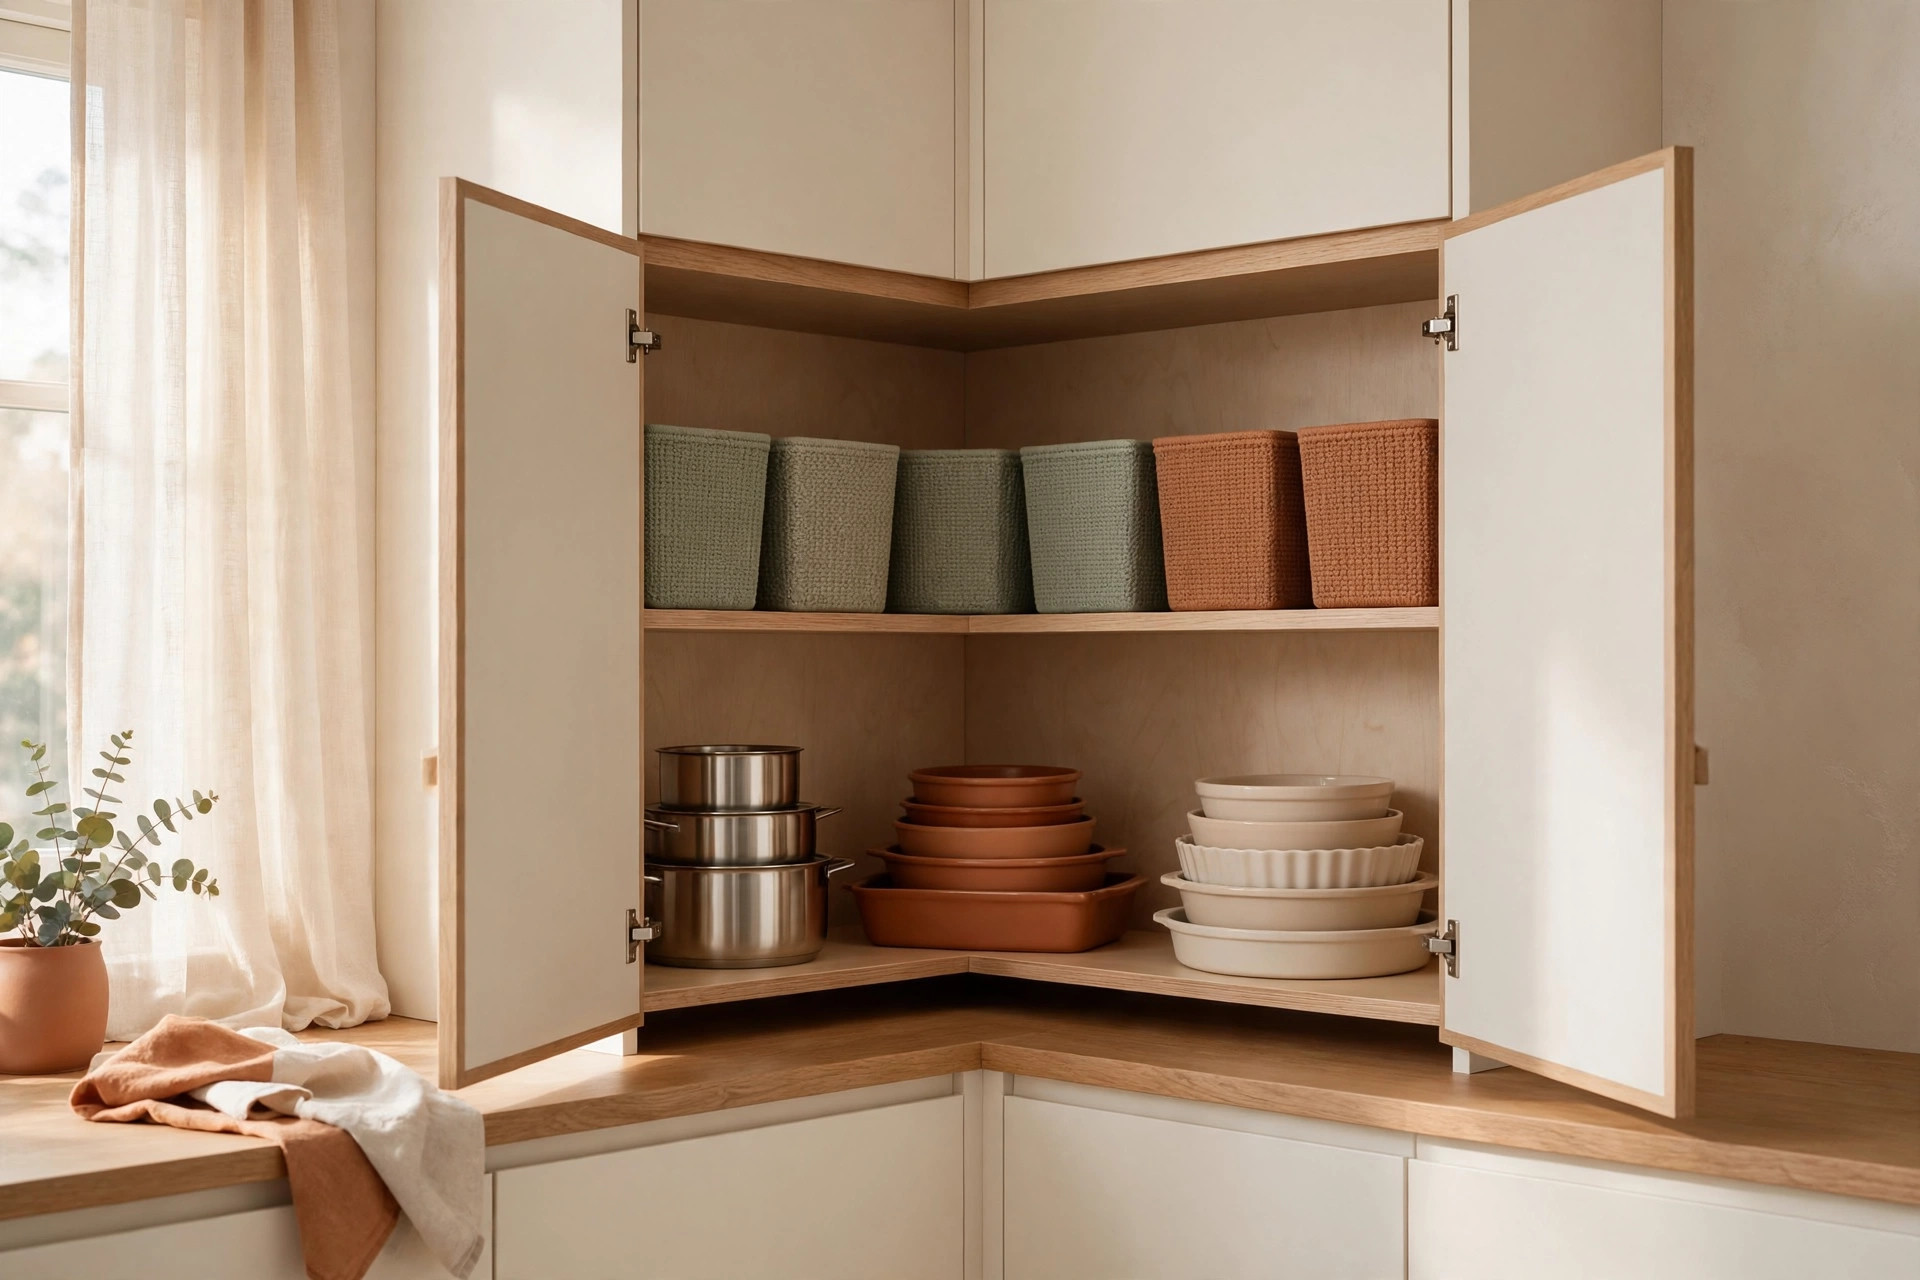
11. Zone the corner for “weekly” items only
Good blind-corner residents: the slow cooker, the roasting pan, bulk cooking oil, seasonal baking gear, and backup paper towels. The rule is simple — if you reach for it every day, it does not live here. Daily-use tools belong where your hands already go; Kitchen Drawer Organization Ideas for Tiny Drawers shows the one-drawer-per-task system that keeps them there.
12. Banish these four categories from the blind corner
First, heavy small appliances you lift daily — hoisting a stand mixer out of a dark corner is how backs get hurt. Second, anything in glass you cannot see — one blind shove and it is shards. Third, pantry overflow you will forget — out of sight becomes expired. Fourth, loose lids and small parts — they migrate into slide mechanisms and jam them.
Lighting the dark corner: stick-on lights that end the groping
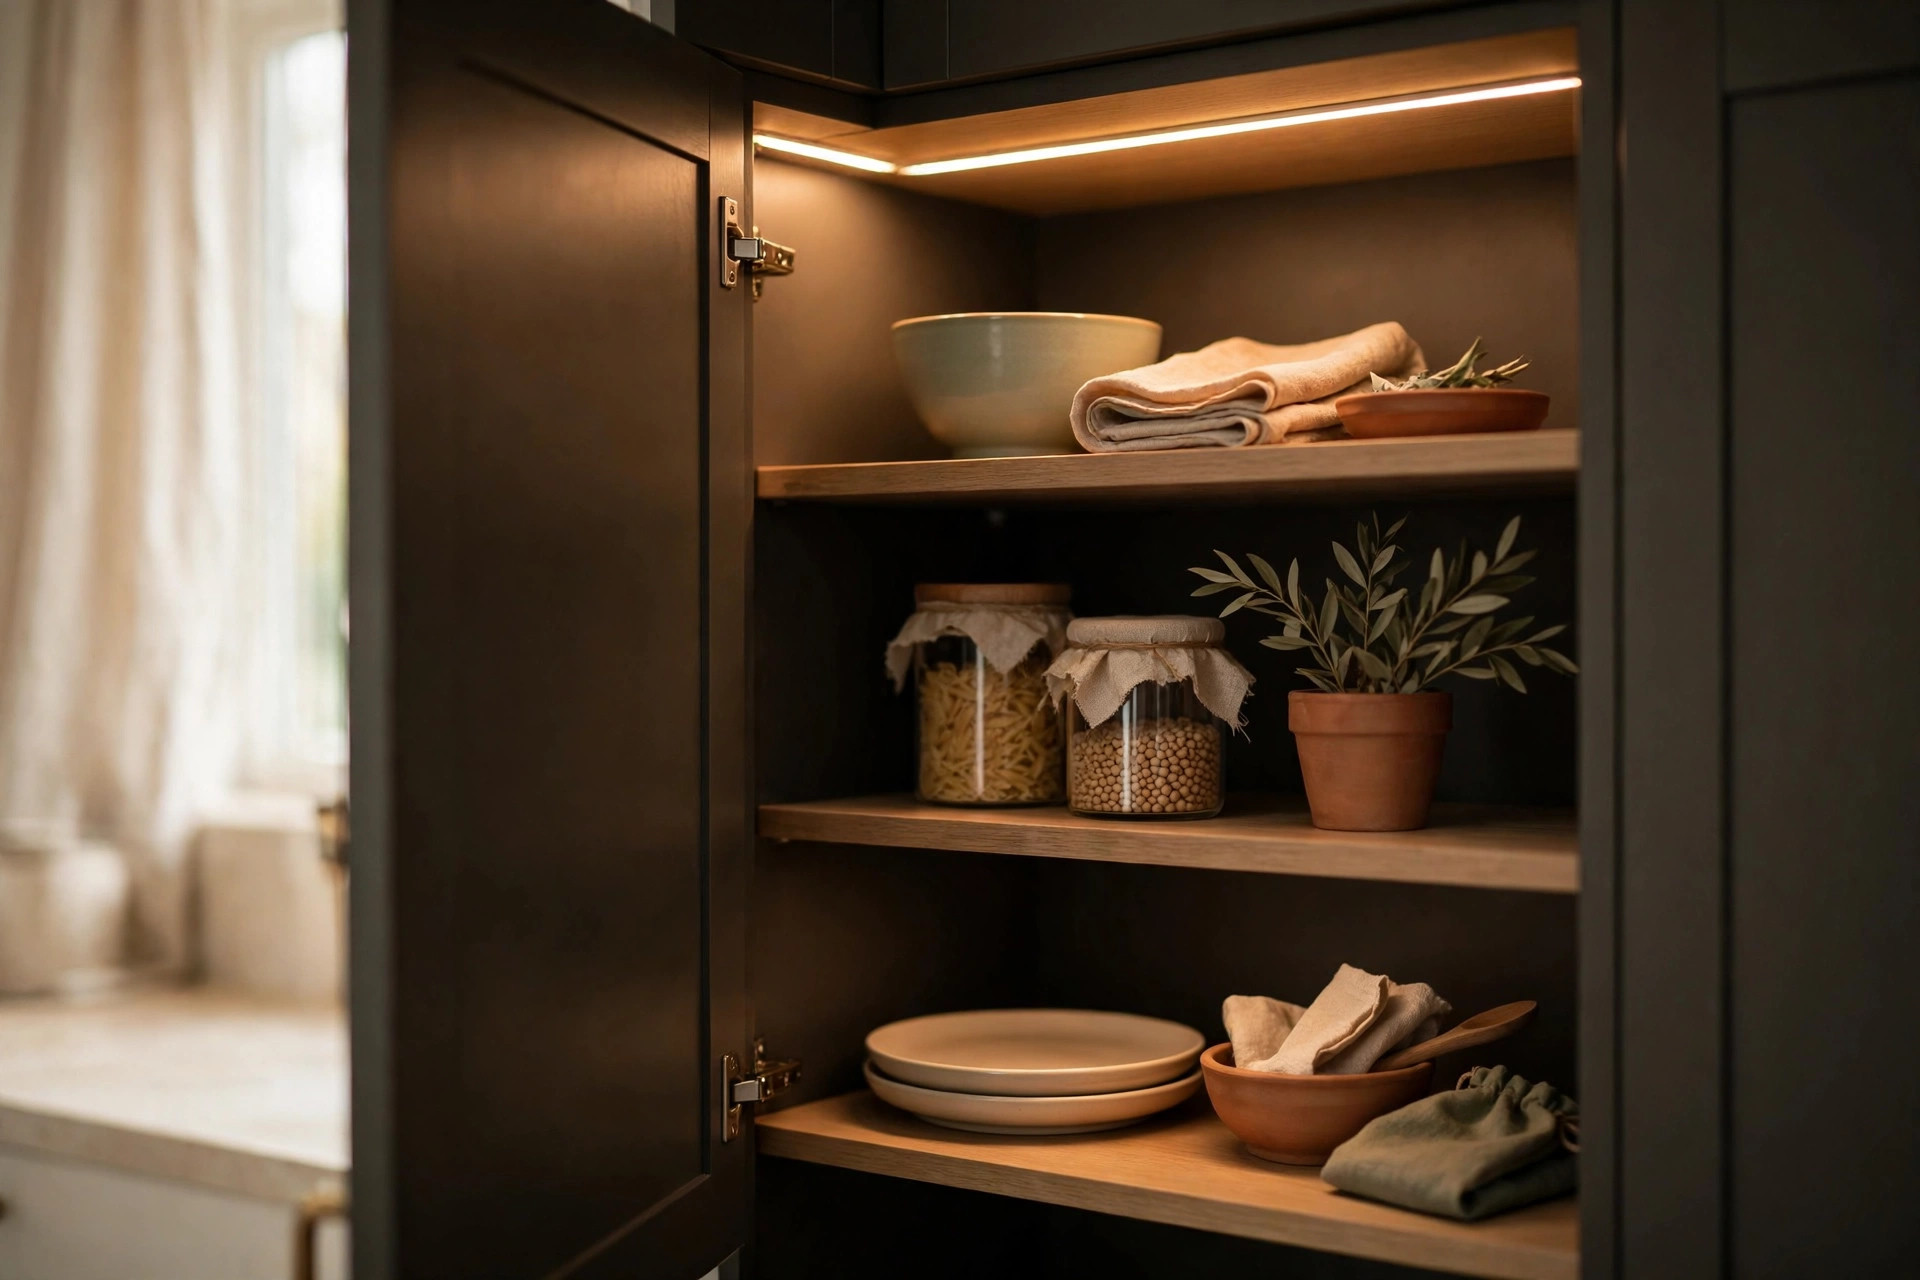
Even perfect organizers underperform in the dark. Blind corners sit far from under-cabinet lighting, so a cheap lighting fix often improves usability more than a fifty-dollar tray.
13. Stick motion-sensor puck lights to the cabinet ceiling
Two or three adhesive puck lights on the top panel, aimed down, switch the corner from cave to readable. Battery pucks with motion sensors run approximately $10 to $15 for a three-pack, need no wiring, and turn themselves off — which matters, because you will forget a manual switch inside a closed cabinet.
14. Run a magnetic LED strip along the blind side wall
A rechargeable LED bar with a motion sensor, mounted on the side wall of the dead zone, lights exactly the stretch your arm cannot see. Magnetic bars stick to metal shelf brackets; otherwise use the adhesive mounting plate. If your under-sink cabinet is equally dark, 15 Under Sink Kitchen Organization Ideas for Tiny Cabinets covers lighting and bins that work around the pipes.
Retrofit vs replace: cost, effort, and renter workarounds
Not every blind corner needs a hardware project. Match the fix to your budget, your tools, and your lease before you spend anything.
15. Choose your lane: three budget tiers
Tier one is the renter lane, roughly $20 to $40 and zero tools: D-shaped turntables, stackable bins, and puck lights — everything lifts out on moving day. Tier two is the handyperson lane, roughly $60 to $150 plus a drill: slide-out shelf kits and door-mounted trays, worth it if you own or have a flexible landlord. Tier three is replacement — a new corner cabinet with a factory pull-out system — which only makes sense during a full remodel, when the cabinet is coming out anyway.
The 10-minute blind-corner reset
Even the best system drifts. A fast recurring reset keeps the corner honest — set a phone timer and do not reorganize anything else until it rings.
16. Run the Sunday reset routine
Pull everything onto the counter, wipe the shelf, toss anything expired or broken, and return items to their zones — weekly items deepest, vertical rack by the door, turntable categories together. Finish by sliding each pull-out through its full travel; grit in the slides is what makes hardware feel broken when it just needs a wipe. Ten minutes, once a week, and the corner never reverts to a void.
Mistakes to avoid: what not to buy for a blind corner
- A lazy Susan wider than your door opening — it fits the interior and never passes through the door. Measure the opening first, always.
- Slide-out kits without full-extension slides. Three-quarter extension strands the back 6 inches, which is the entire point of the corner.
- Door-mounted trays loaded past their weight limit. Roughly 15 pounds per shelf is the ceiling; cast iron belongs on floor-mounted pull-outs.
- Deep bins with no handles in the back zone. If you cannot hook two fingers in to drag it forward, it becomes a new dead zone inside the old one.
- Buying the organizer before measuring the cabinet. Every blind corner is a slightly different L — the tape measure is the cheapest organizer you own.
Frequently asked questions
How can I organize a blind corner cabinet without drilling?
Use freestanding solutions: a D-shaped turntable against the back wall, stackable bins with handles for the side void, a vertical tension rack by the door for trays, and adhesive motion-sensor puck lights on the ceiling. Nothing mounts permanently, everything lifts out on moving day, and the total cost stays under roughly $40.
Can I put a lazy Susan in a blind corner cabinet?
Yes, and the D-shaped kind works best — its flat back sits flush against the rear wall so no depth is wasted, while the curved front spins items toward the door. Keep the diameter at least an inch narrower than your door opening, and keep tall items off the top tier of two-tier models.
How much does a blind corner pull-out system cost?
A two-tier slide-out shelf kit runs approximately $60 to $120, a single-pole kidney basket about $80 to $150, and a full double swing-out shelf system approximately $150 to $300. Add an hour or two of installation, and confirm your cabinet has solid mounting points before ordering a pole-based system.
What should I store in a blind corner cabinet?
Store weekly-use items: the slow cooker, roasting pan, bulk oil, seasonal baking gear, and backup supplies. Keep out daily-use tools, heavy appliances you lift often, glass you cannot see, and anything you will forget — the corner rewards “weekly” storage and punishes “maybe someday” storage.
The takeaway: waste nothing in your blind corner
A blind corner stops being a dead zone the moment its contents come to you — measure the opening, pick one mechanism that fits your lease and budget, light the dark stretch, and zone it for weekly items only. Save this pin for later so the measurements and the Sunday reset are there when you’re standing in the hardware aisle, and browse the kitchen collection for more small-space systems that make every cabinet earn its keep.