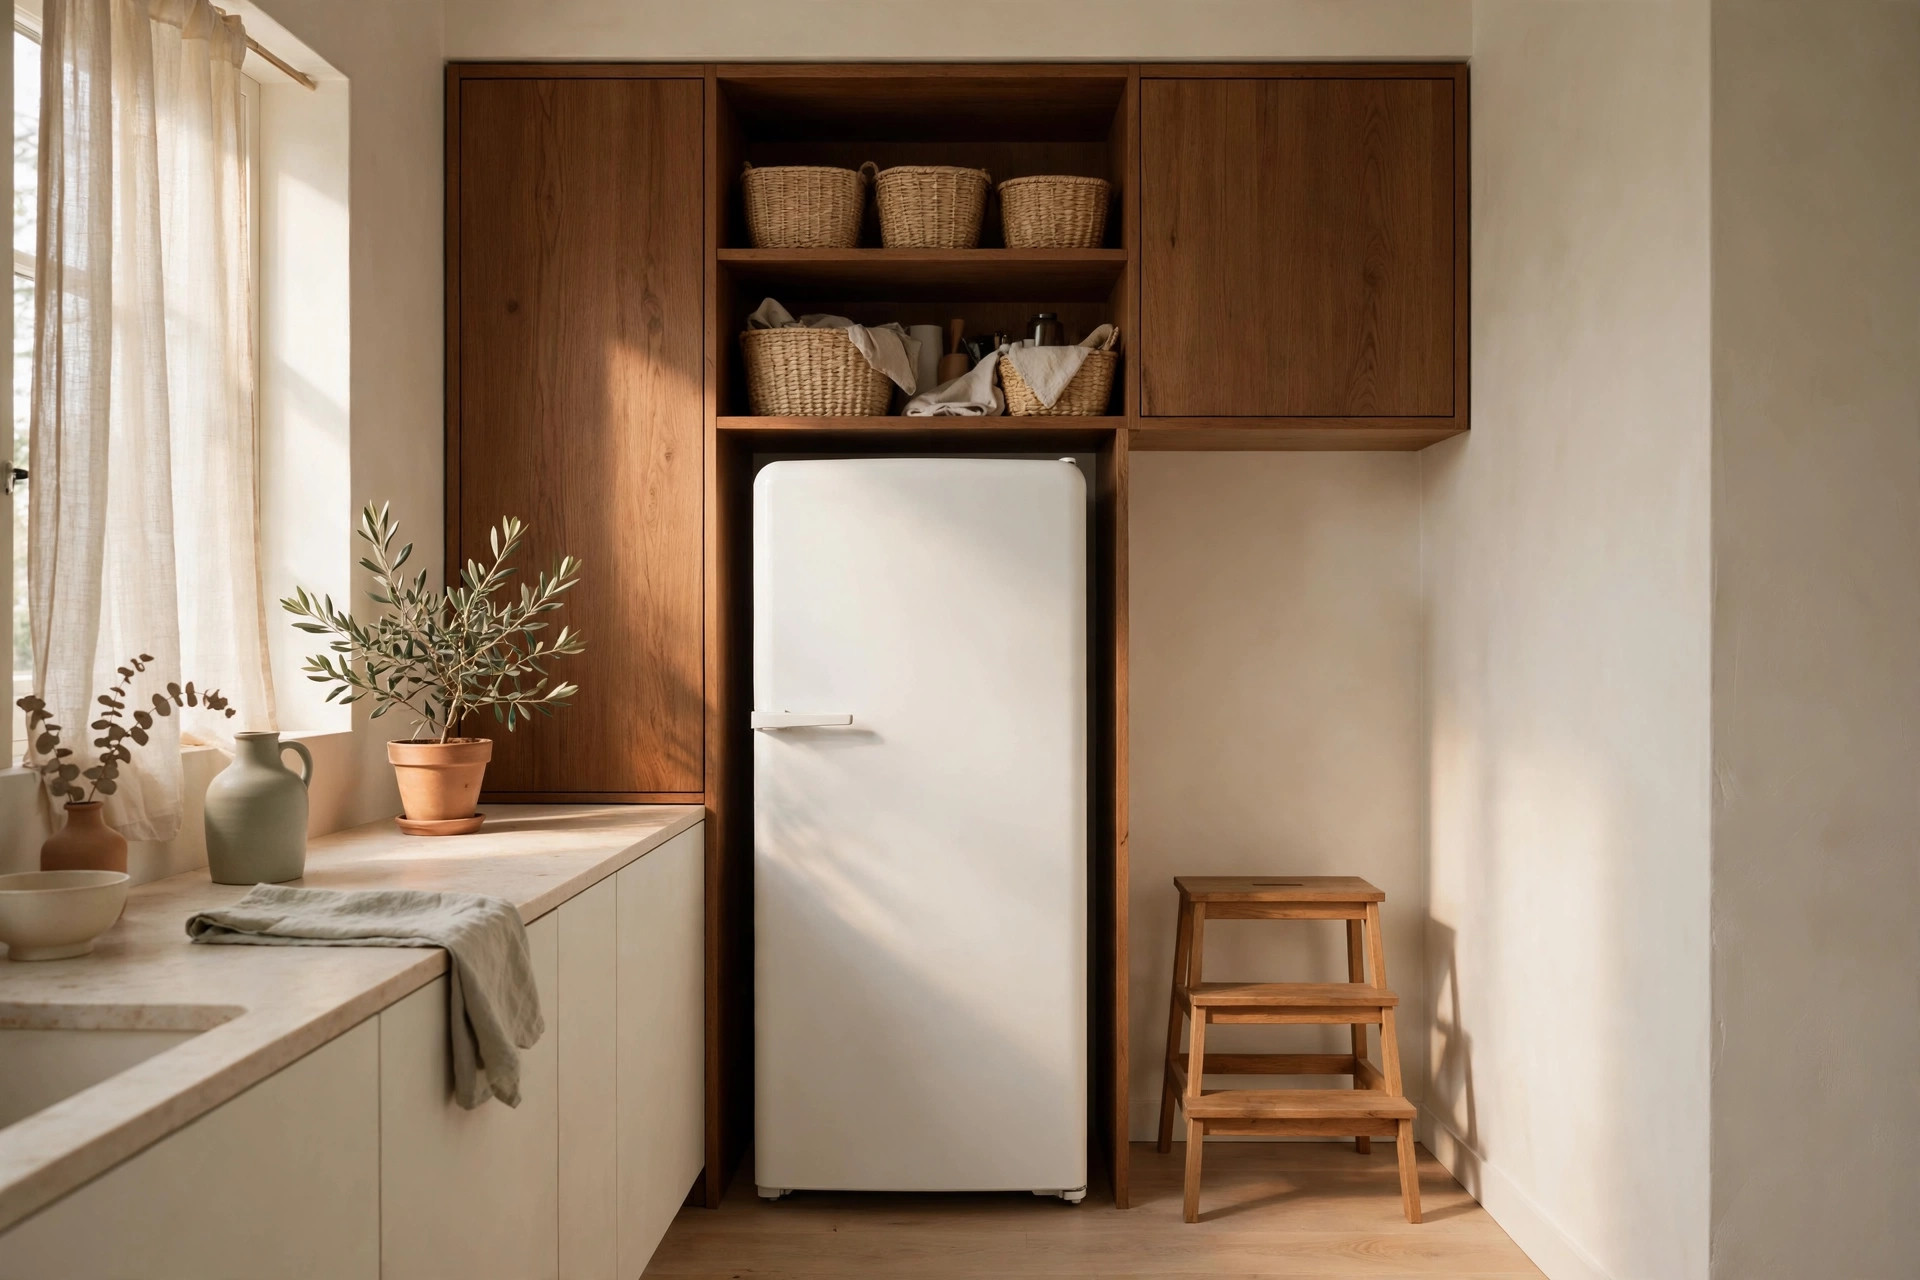
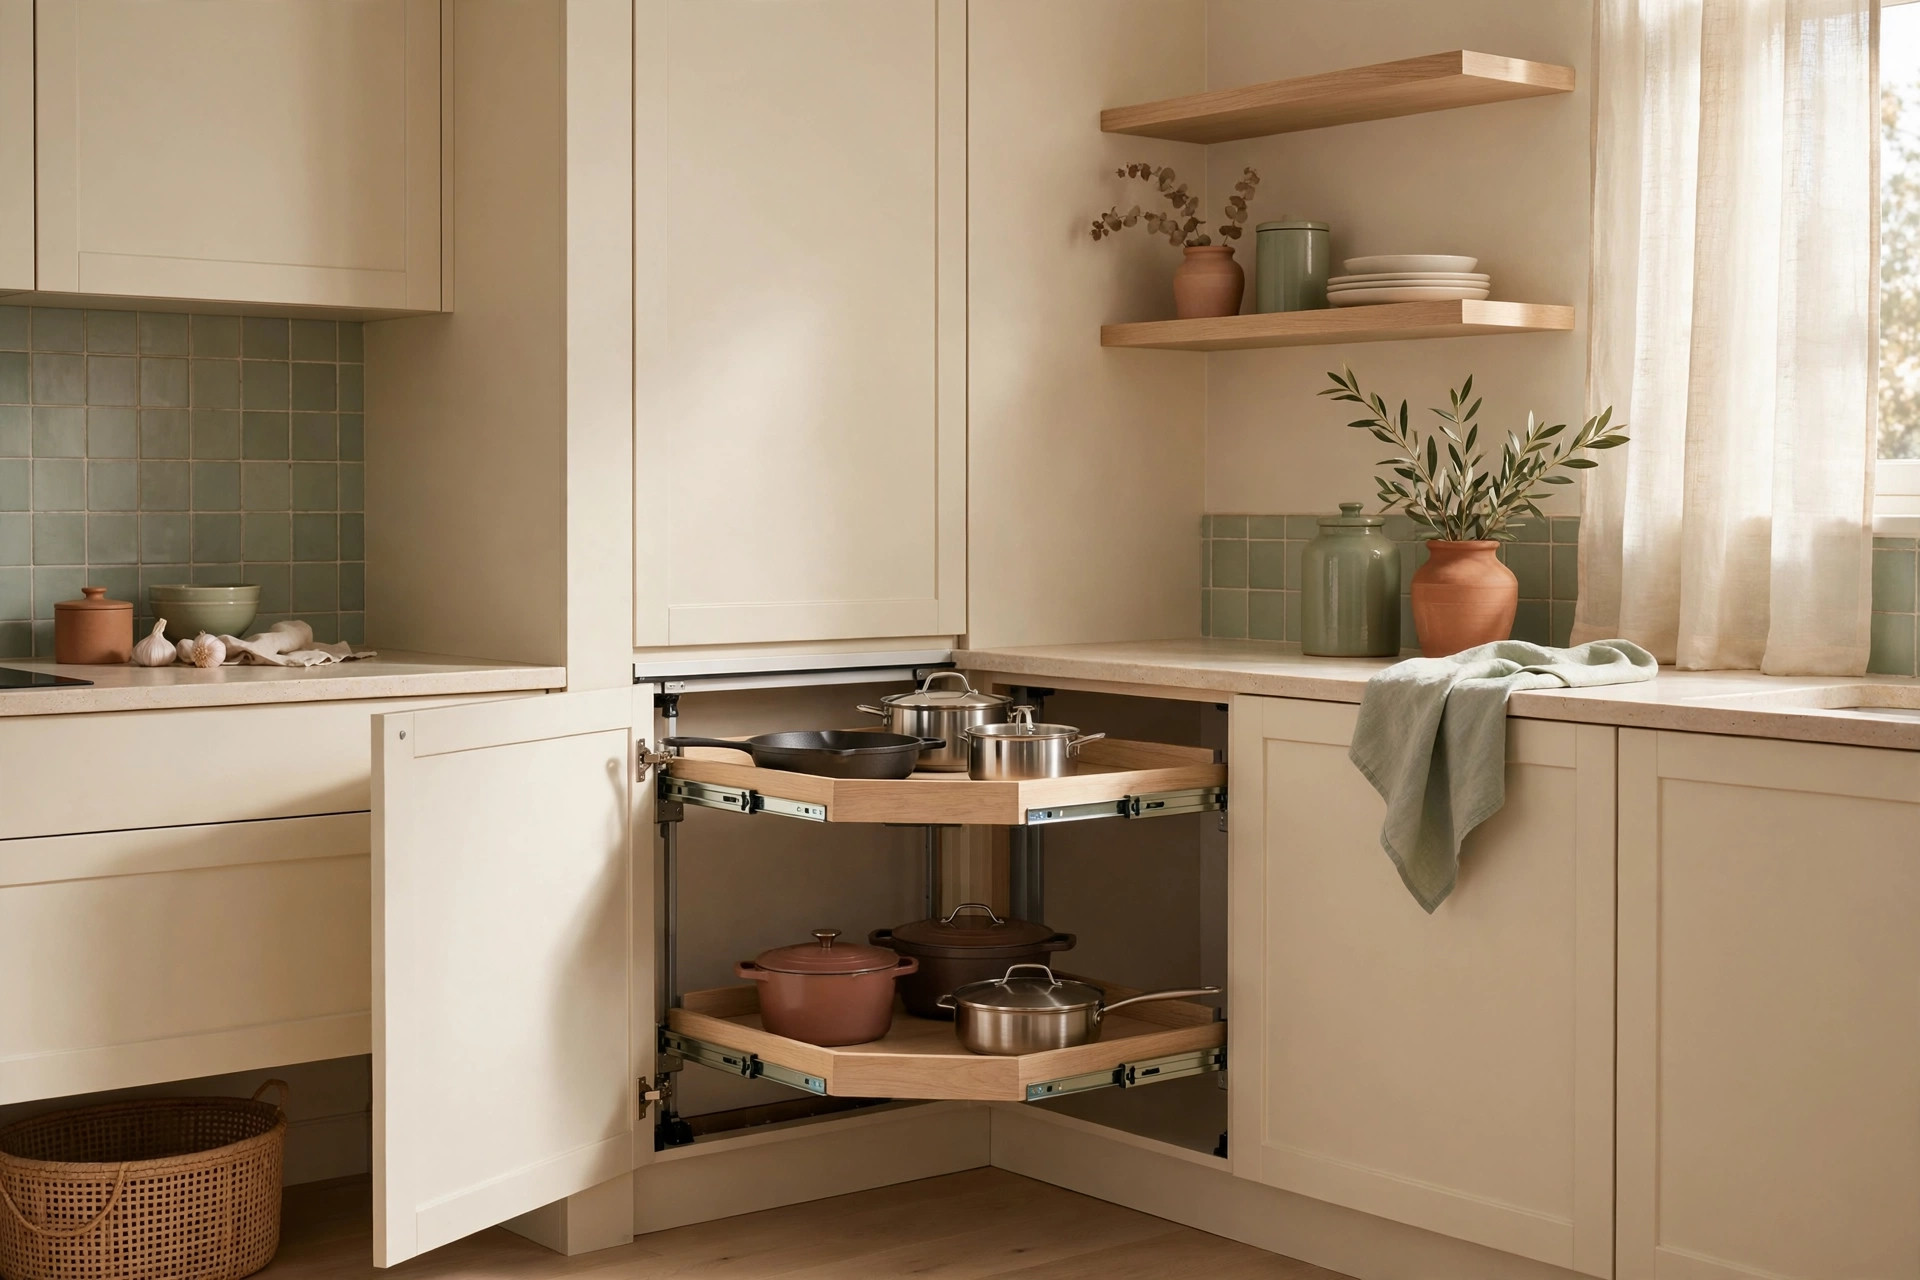
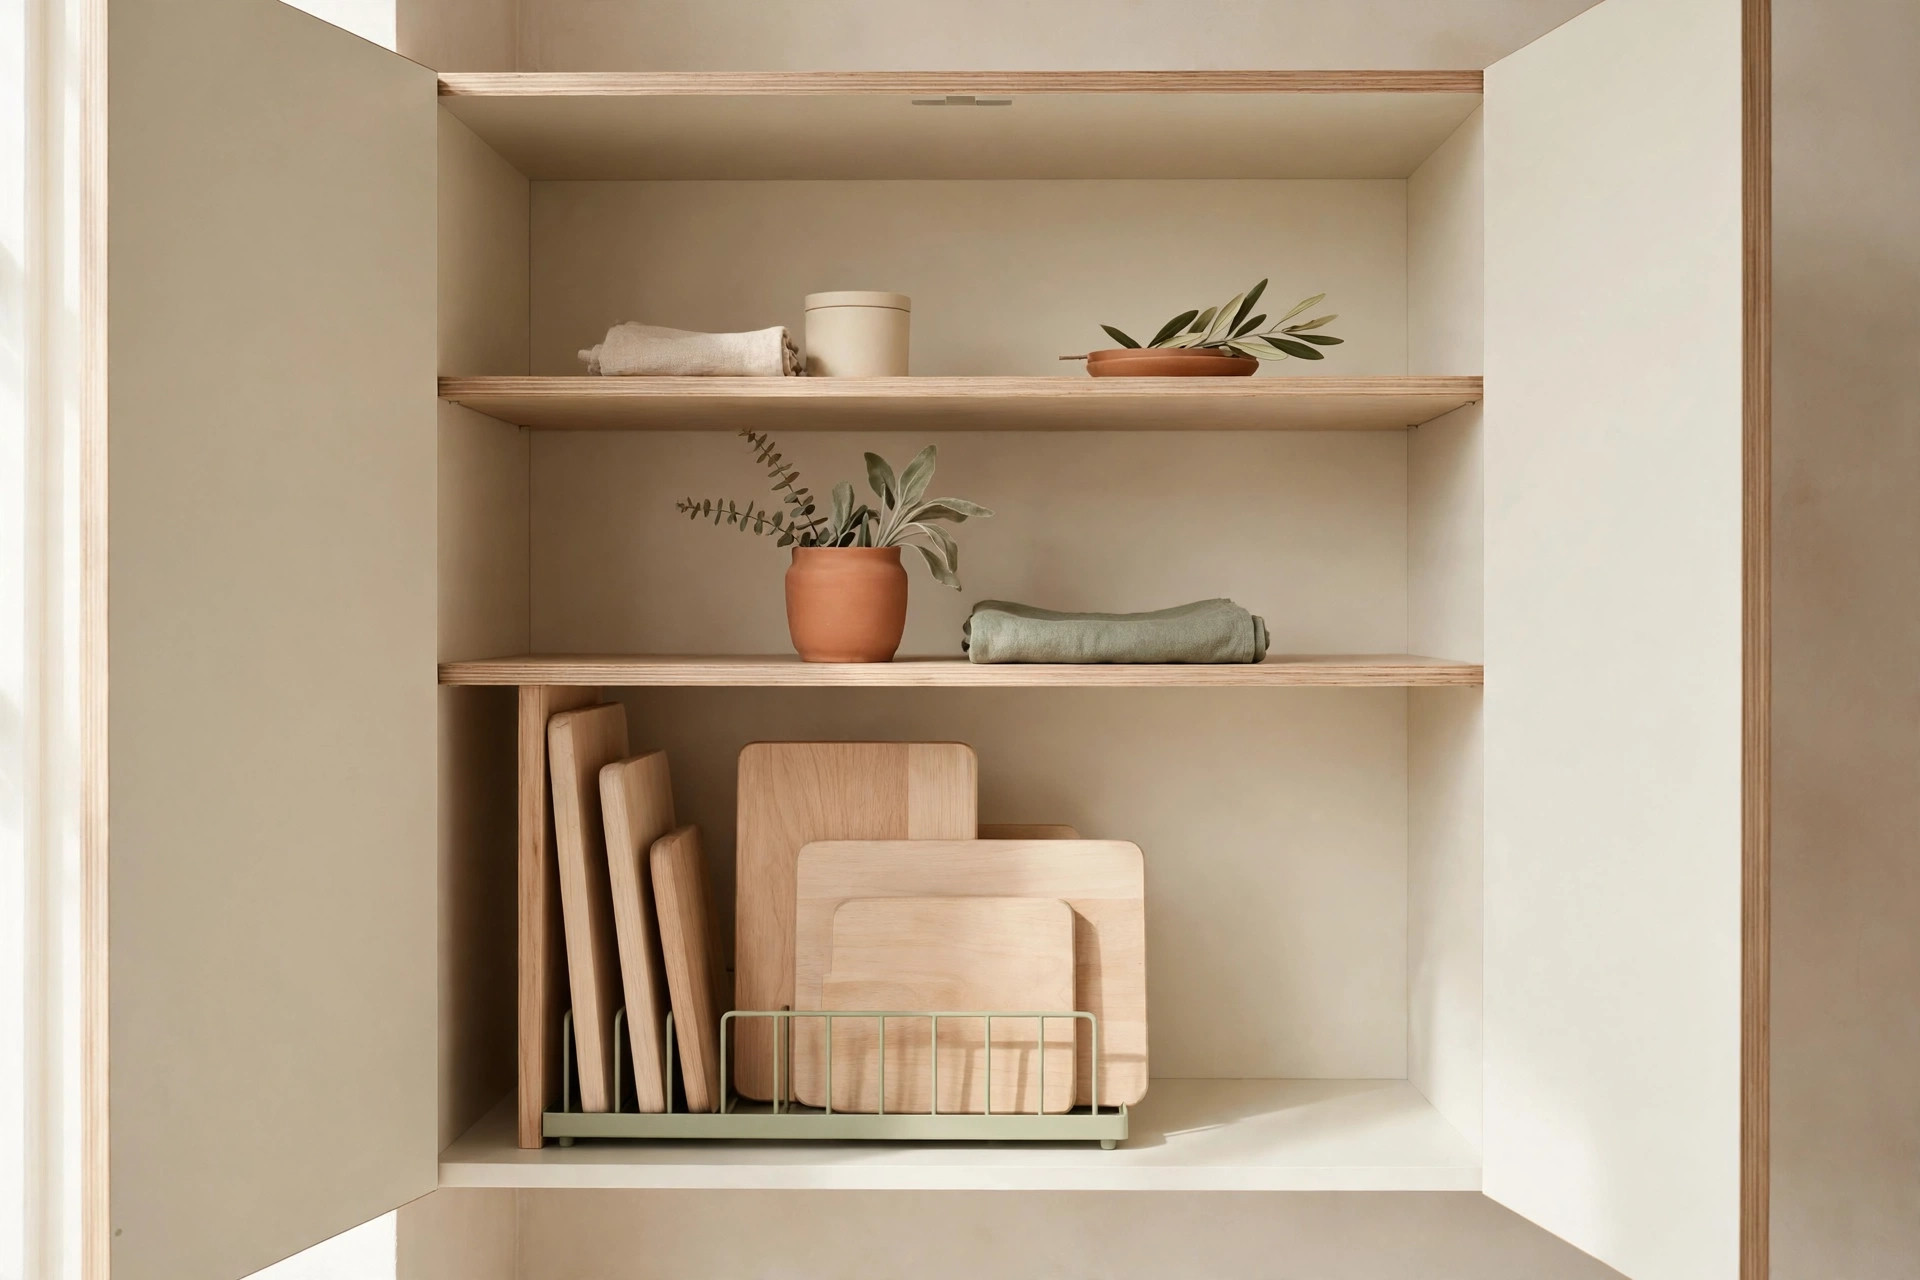
In a small kitchen the counter disappears first, the cabinets fill second, and then the stacking starts on top of the fridge. Kitchen wall storage ideas change that math: your walls are the one storage surface you probably have not touched yet. Most small kitchens hold 20 to 40 square feet of usable wall above counters, beside stoves, and around windows, sitting completely empty. Magnetic strips, stainless rails, open shelves, and pegboards lift daily tools up and off surfaces, so counters stay clear for actual cooking and cabinets stop overflowing. These 17 ideas turn every inch of vertical space into working storage.
The wall-first rule: why small kitchens should store up, not out
Before buying a single hook, audit your walls the way you would audit a cabinet. Measure the gap between backsplash and upper cabinets (usually 16 to 20 inches), the wall beside the stove, and the wall above the sink. The wall-first rule: before anything earns a counter spot or cabinet shelf, ask whether it could live on a wall instead. Daily-touch items — your chef’s knife, the wooden spoon, your two most-used spices — are the best wall candidates because wall storage puts them at eye level, in arm’s reach, with zero digging.
1. Map your wall zones before you mount anything
Sketch your kitchen and mark three zones: the prep zone (by the stove), the clean zone (above the sink), and the pantry zone (near food storage). Plan to store only what is used at that station — cooking tools near the stove, dish soap and drying gear near the sink. This five-minute map prevents the classic failure of mounting hooks everywhere and ending up with a decorative wall of clutter.
Magnetic strips and rails for knives and daily utensils
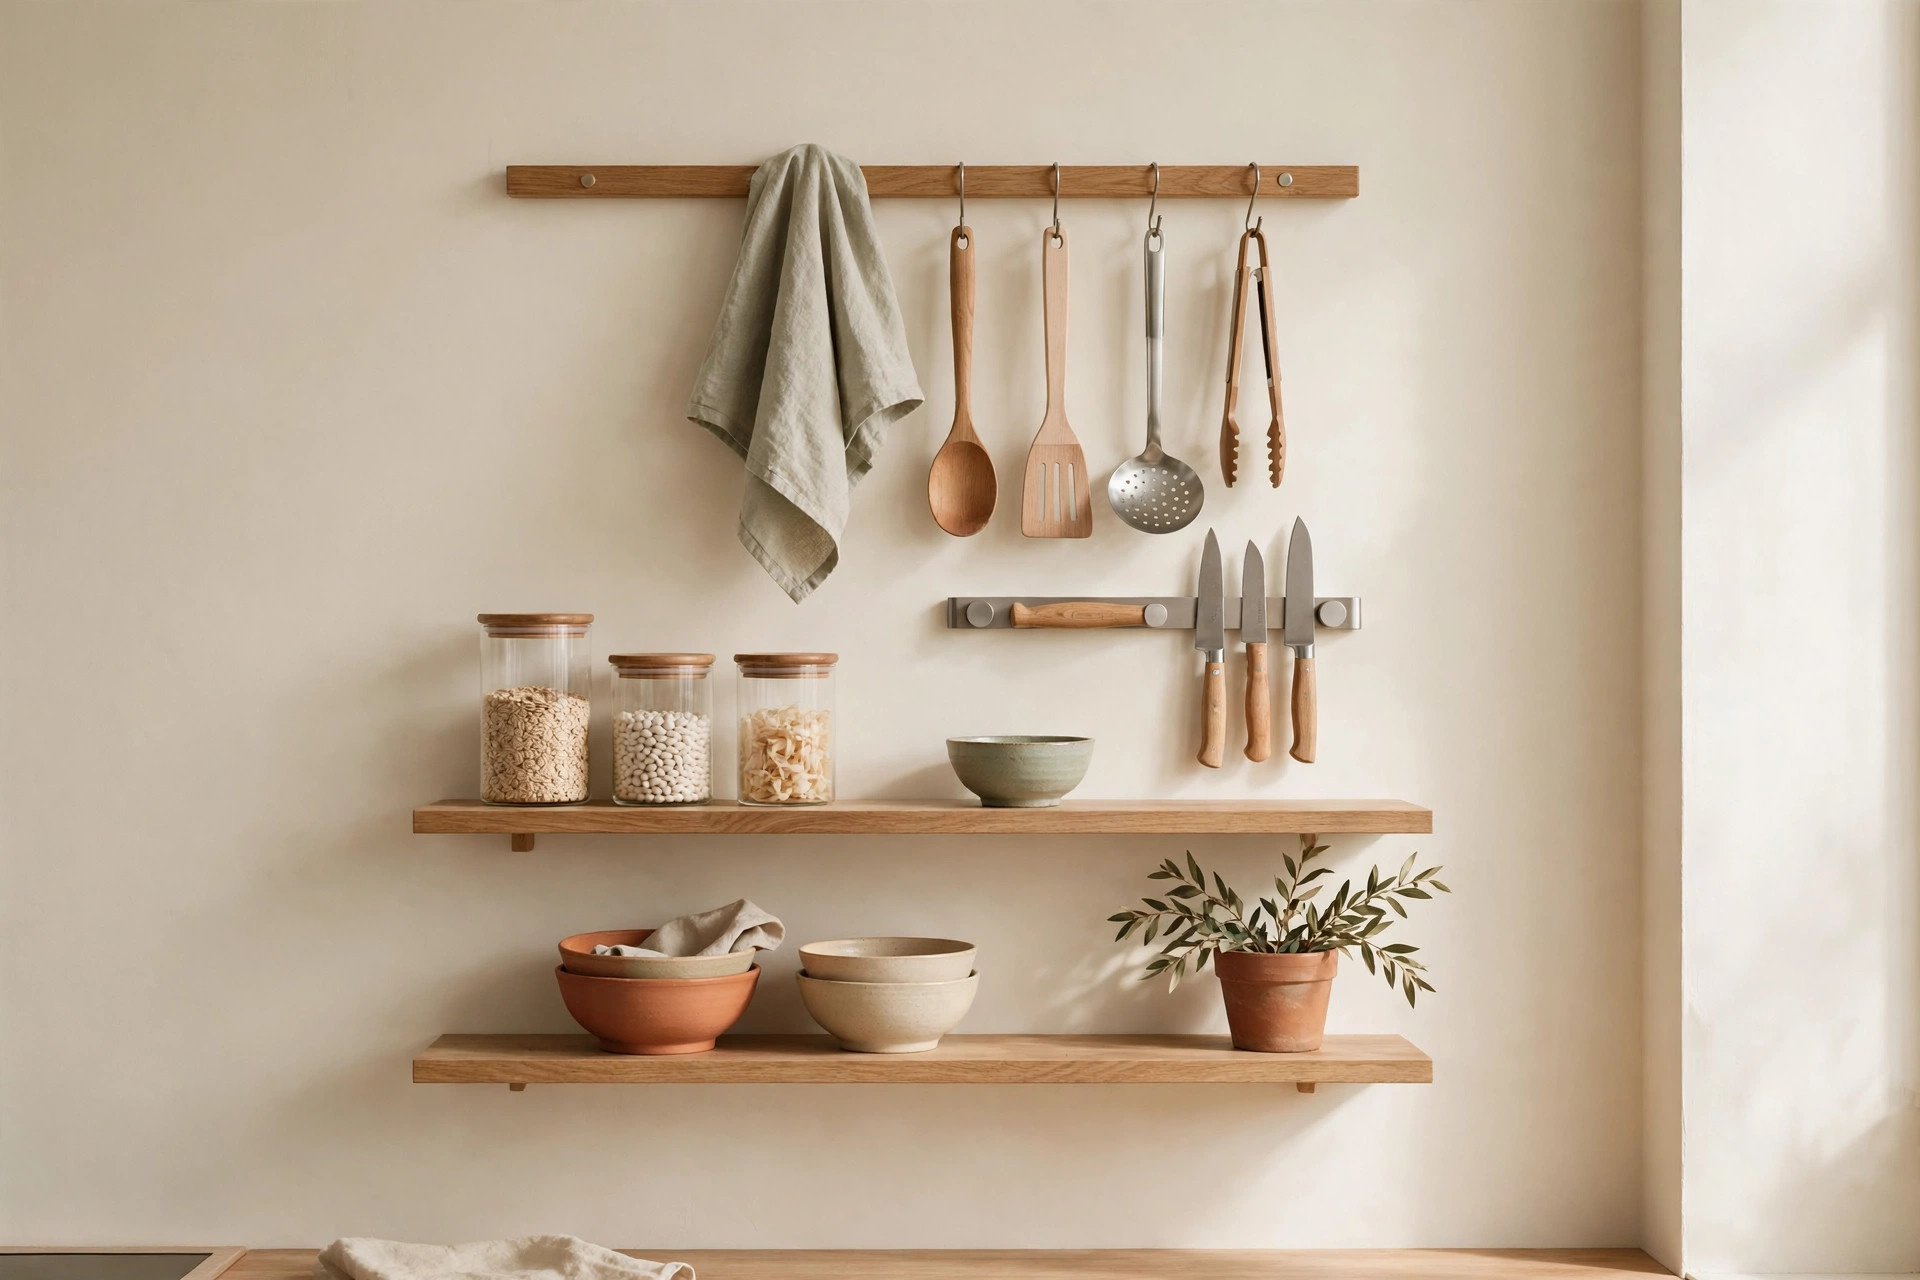
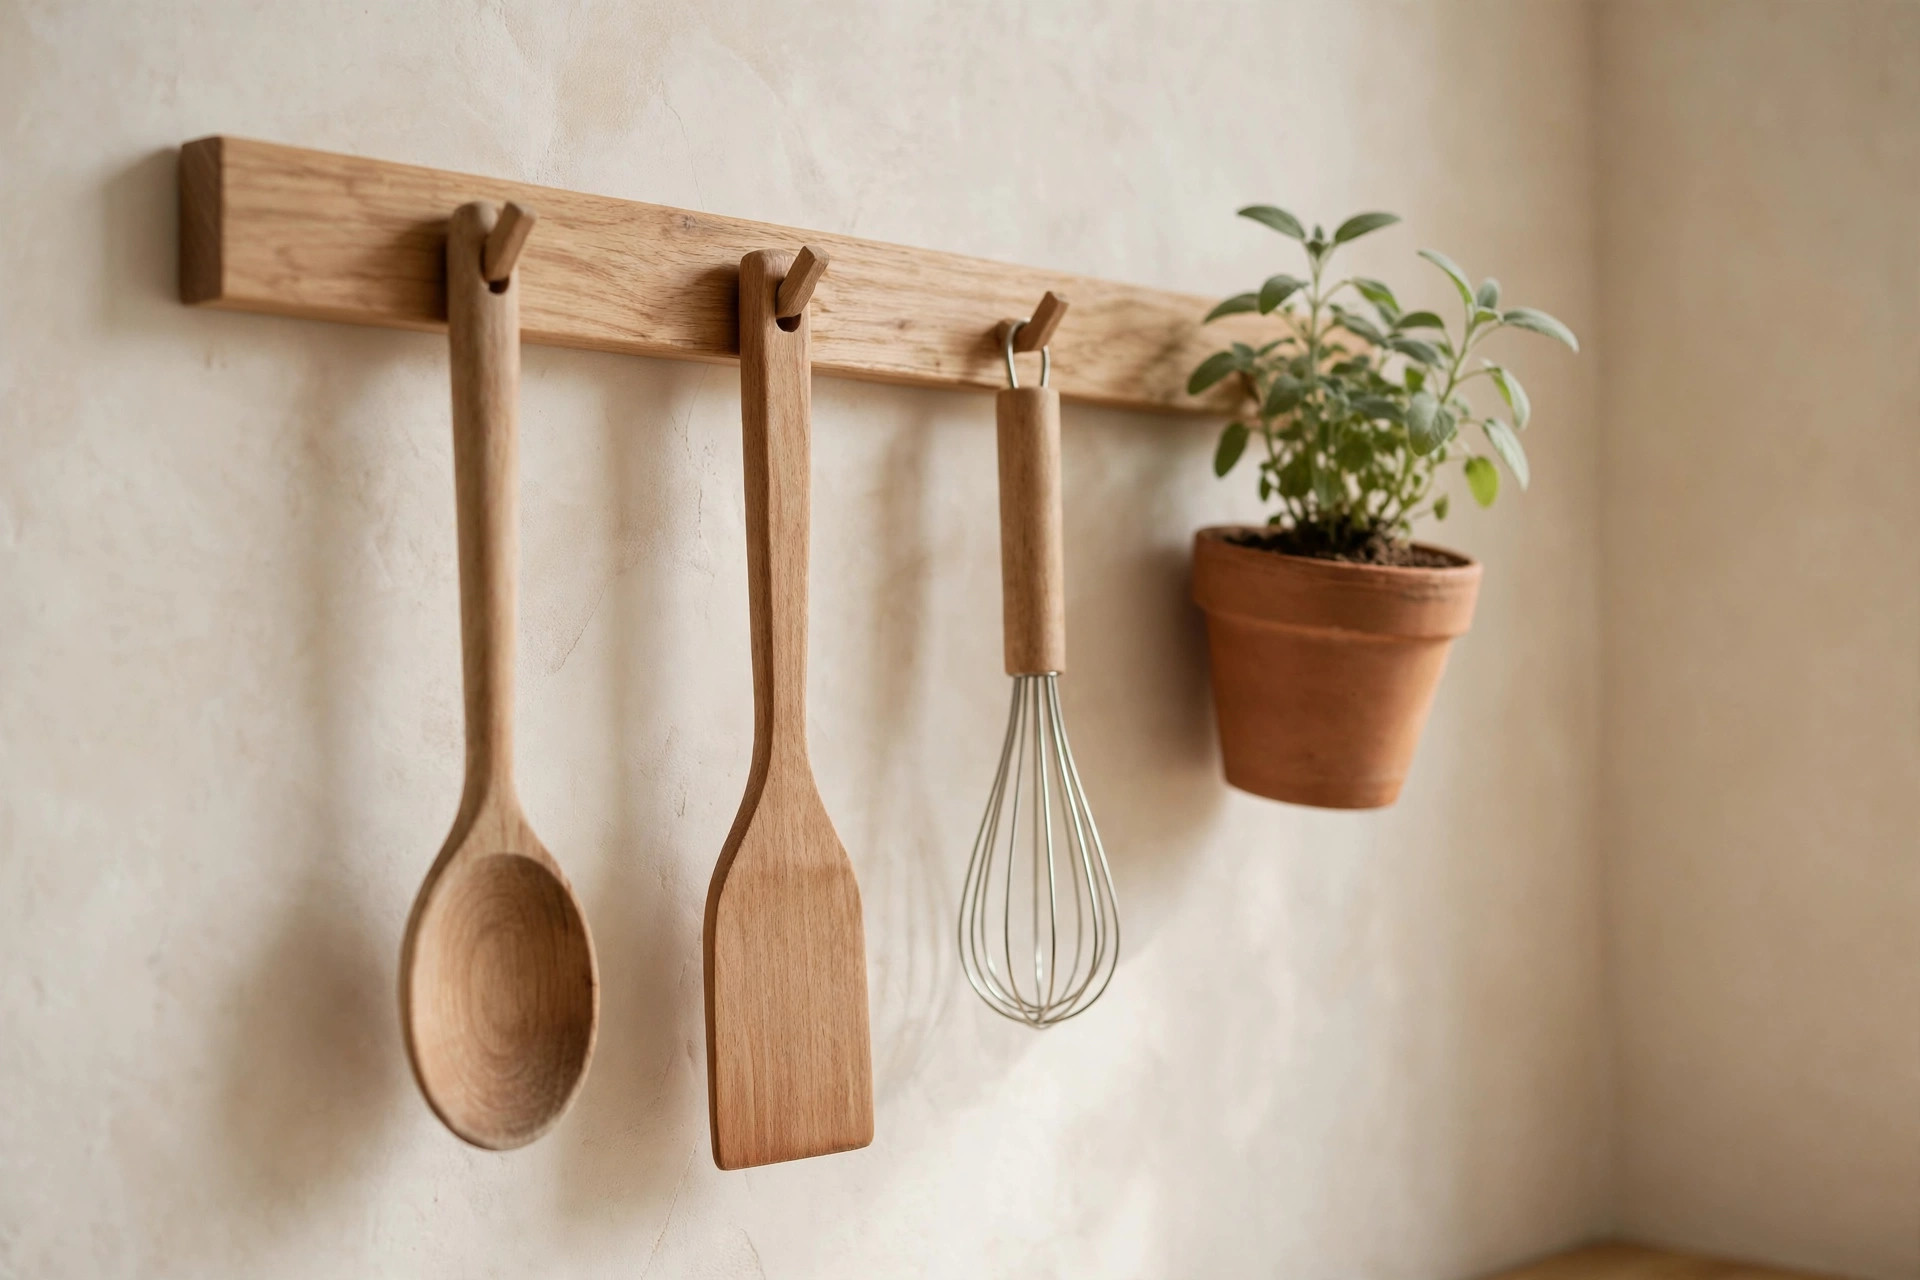
A 16-to-24-inch stainless or bamboo rail with S-hooks costs little, mounts in minutes, and holds five to eight utensils in the square foot a countertop crock used to eat. Magnetic strips do the same for knives, replacing a counter-hogging block. Together they are the fastest wall win in a small kitchen.
2. Mount a magnetic knife strip beside your prep area
A 16-inch magnetic strip holds four to six knives and frees the 6-by-6-inch footprint a knife block occupies. Mount it 14 to 16 inches above the counter, anchored with wall anchors rated for at least 15 pounds — knives are heavier than they look. Wood or bamboo strips grip better in humid kitchens and protect blade edges. Mount blades spine-down so gravity seats each knife onto the magnet.
3. Hang a stainless rail with S-hooks for cooking utensils
An 18-inch bar rail with six to eight S-hooks turns one strip of backsplash into storage for your ladle, tongs, peeler, and two sets of measuring cups. Mount the rail 6 to 8 inches above the backsplash so handles hang clear.
Open shelving: what earns a spot and what doesn’t
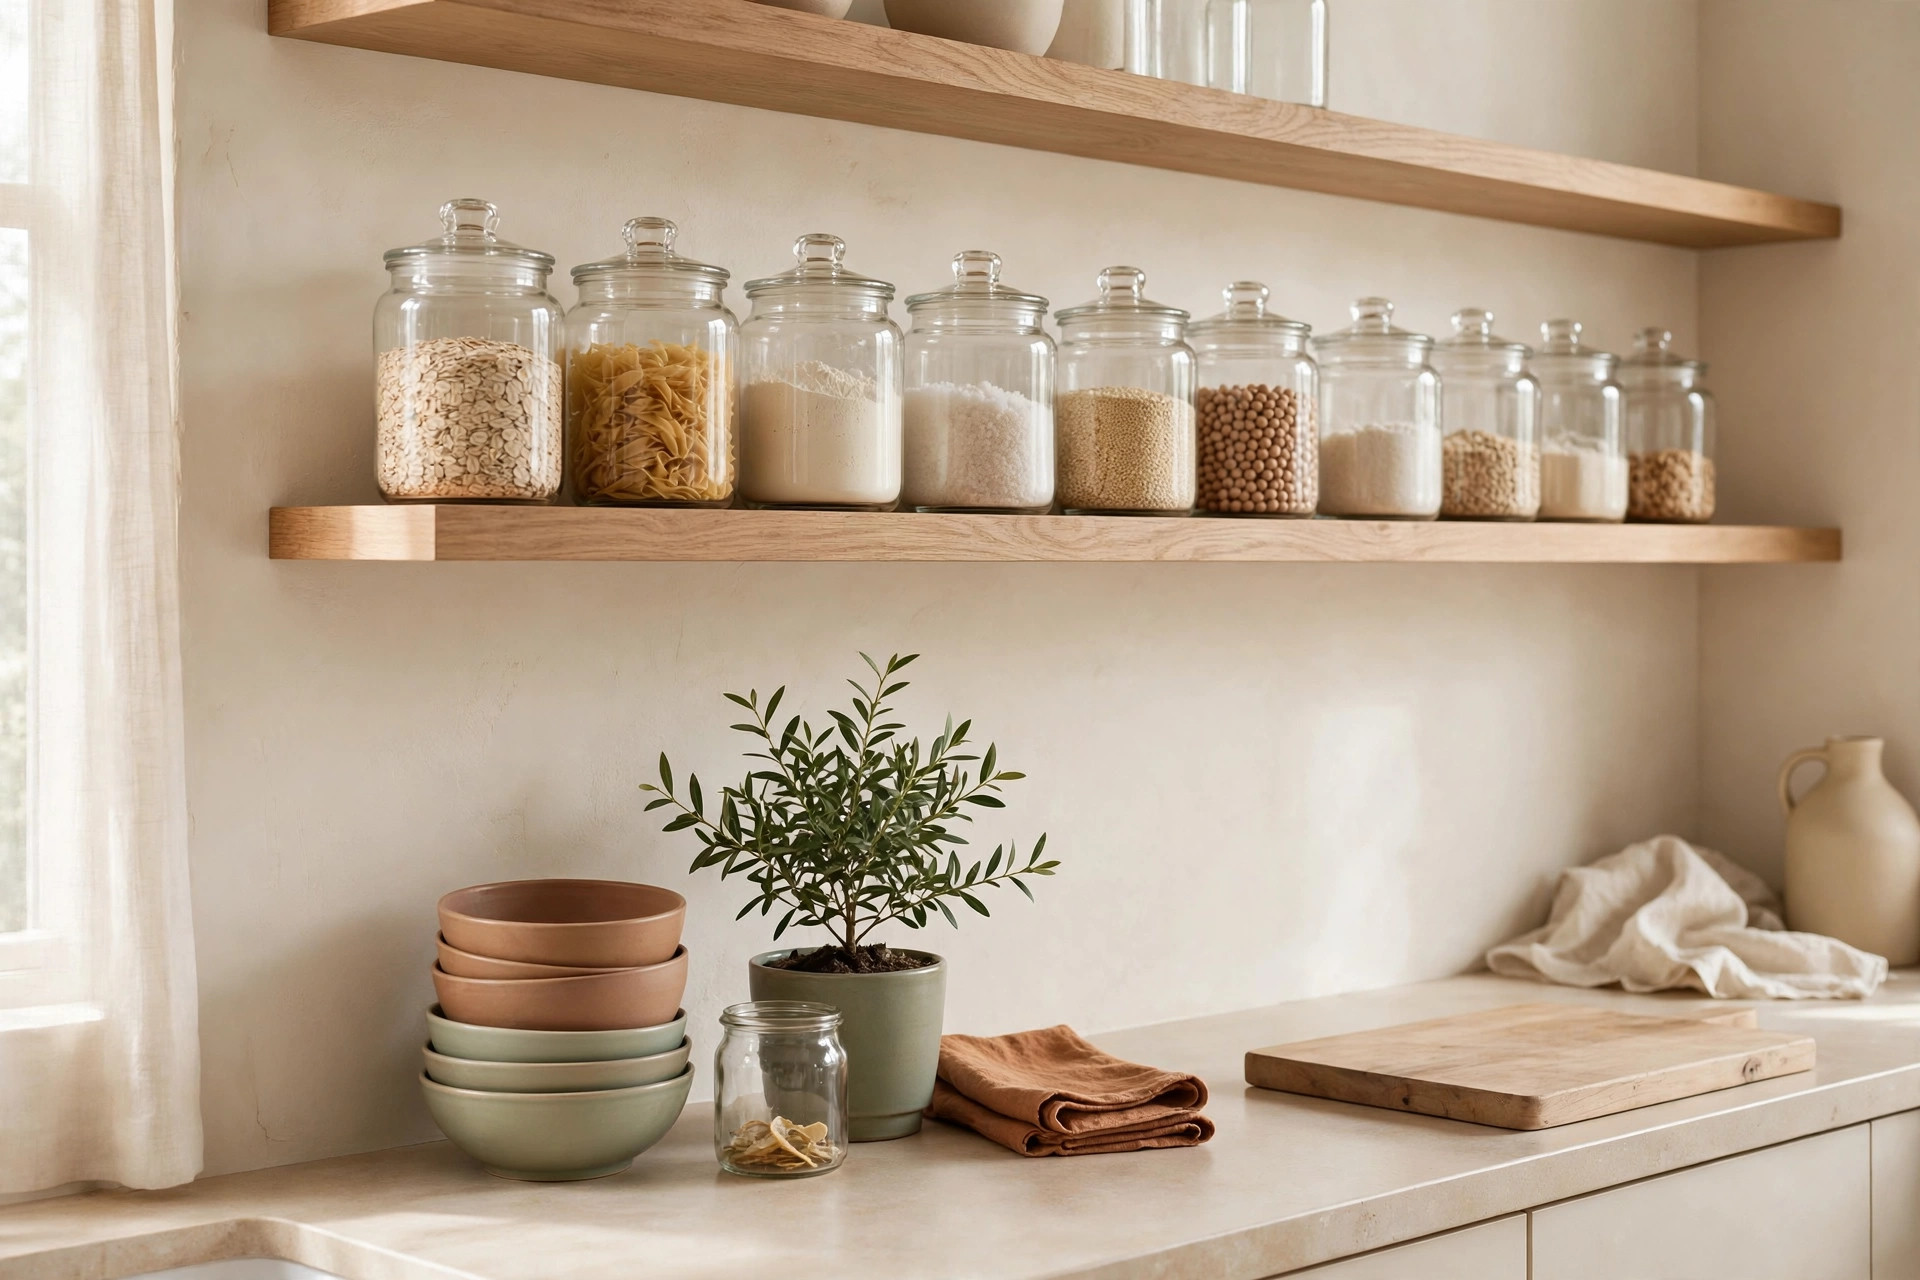
Open shelves add cabinet-equivalent storage without the visual weight — a 24-inch shelf holds roughly what one cabinet shelf holds, about eight to ten plates. The catch: everything is visible, so only daily-use, display-worthy items belong here. This is one of the kitchen wall storage ideas where discipline matters more than hardware.
4. Install one 24-inch shelf for daily dishes
Pick the wall nearest the dishwasher and mount a single 24-by-8-inch shelf 16 to 18 inches above the counter for your four to six everyday plates, four bowls, and six glasses. One shelf looks intentional; three shelves over one counter looks like a hardware store. Use brackets rated for at least 25 pounds per pair, screwed into studs wherever the layout allows — stacked dishes get heavy fast.
5. Add a narrow 6-inch ledge for oils and spice bottles
A 6-inch-deep ledge with a small front lip holds olive oil, vinegar, and your six most-used spice bottles in a single visible line — nothing hides behind anything else, which is exactly why shallow beats deep for daily ingredients. Pair it with a deliberate counter plan; Small Kitchen Counter Organization: What to Keep Out (and What to Hide) shows how wall storage and clear counters work together.
Pegboards beyond the garage: the fully customizable wall
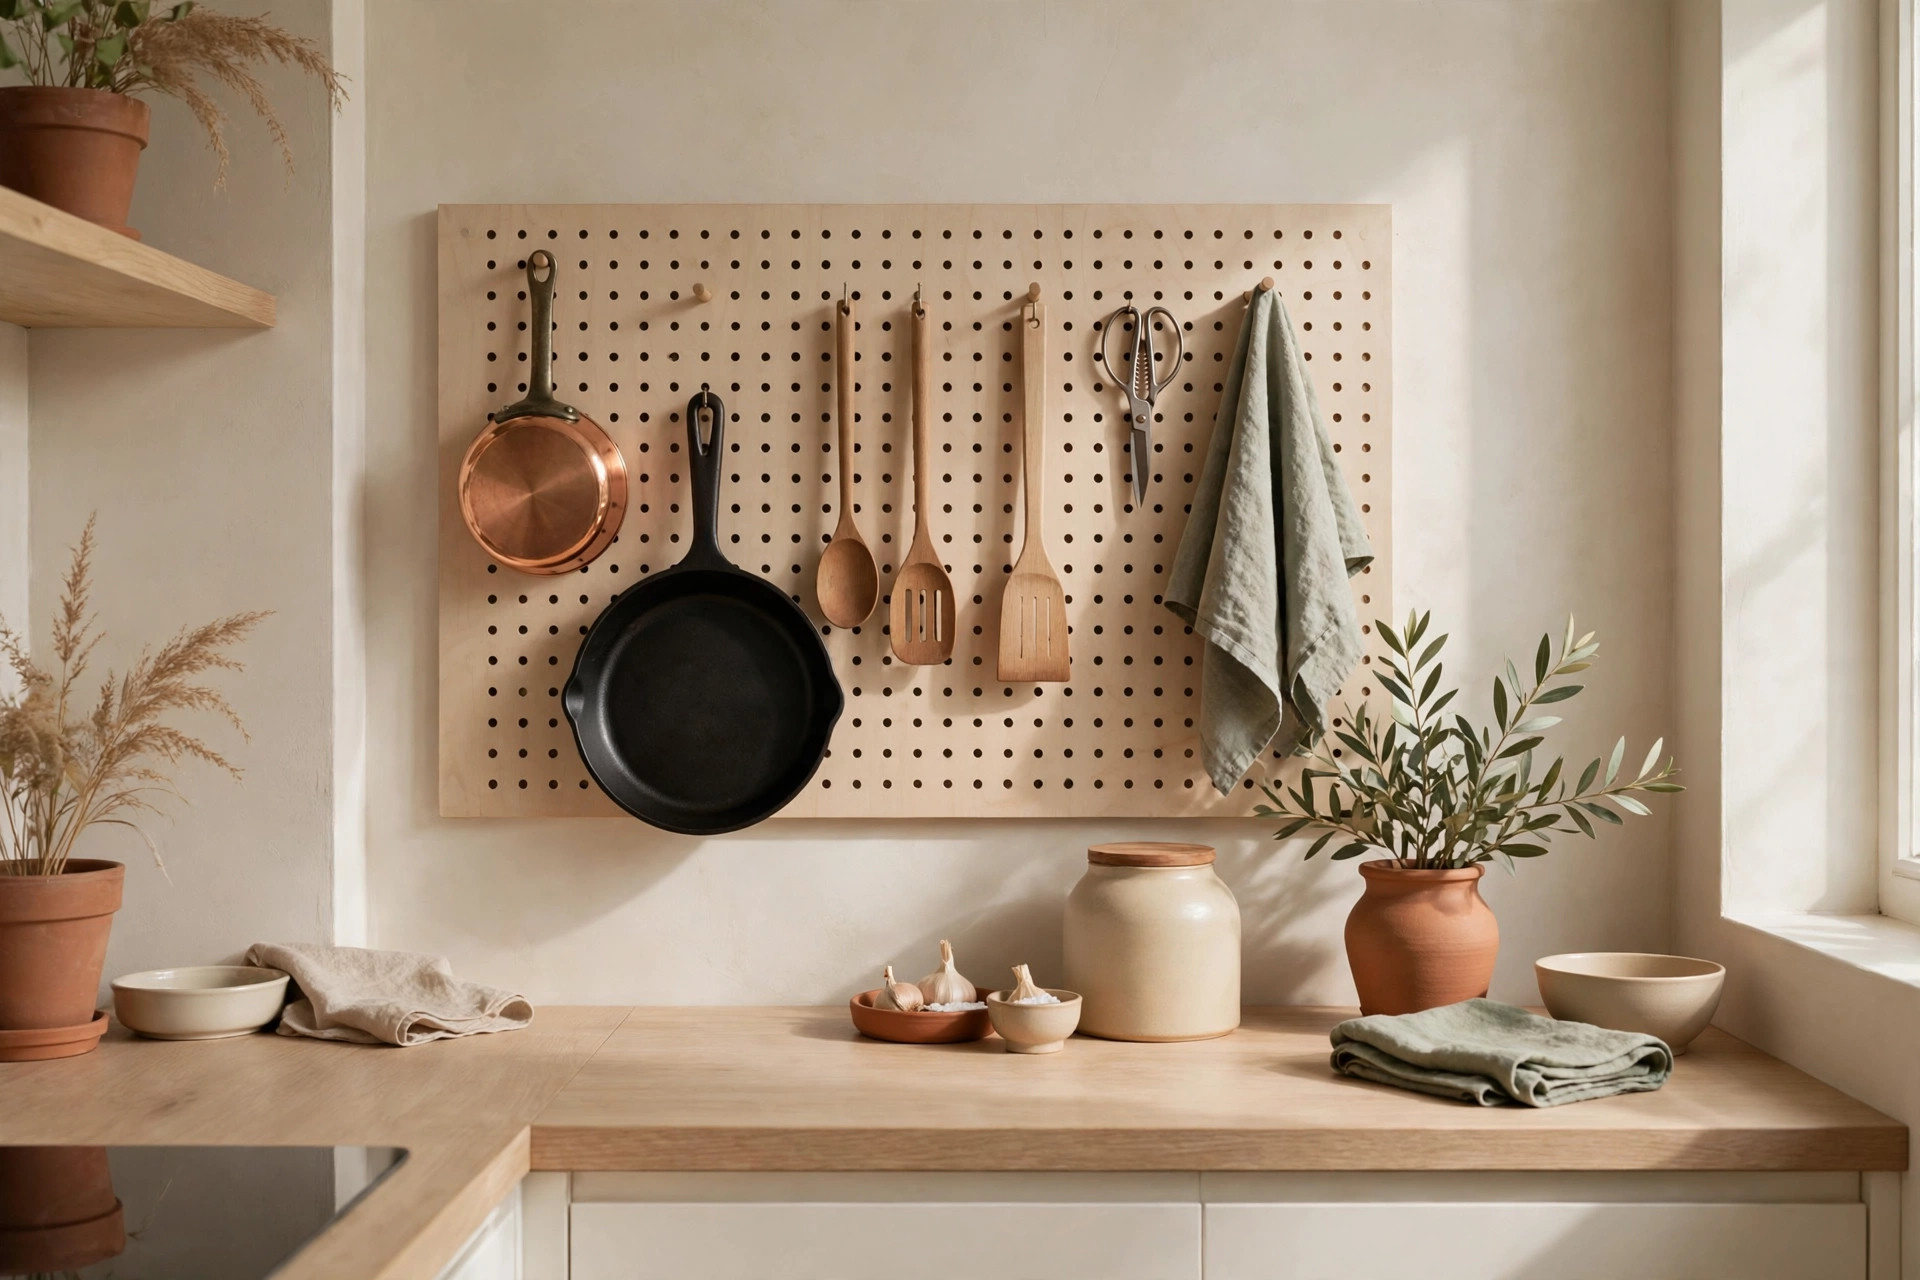
Pegboards let you rearrange storage without remounting anything — hooks, baskets, and shelves pop in and out of the same board. A 24-by-36-inch panel beside the stove can hold an entire utensil collection. Paint it to match your cabinets and it looks built-in.
6. Mount a 2-by-3-foot pegboard as your main utensil wall
Frame a perforated panel with 1-by-2-inch furring strips behind it for the half-inch gap hooks need, and mount it on the wall nearest your cooking station. Load it with standard hooks, two wire baskets (one for garlic and onions, one for packets), and a 6-inch shelf insert for salt and pepper. It mounts in about 30 minutes and rearranges in minutes as your cooking habits change.
7. Store lids and cutting boards upright on the pegboard
Slide two long hooks 4 inches apart to cradle cutting boards vertically, and use short shelf brackets at the board’s bottom edge to stand pot lids upright like files. Upright boards and lids use 3 inches of wall depth instead of the 12 inches they eat stacked flat in a cabinet — a genuine space win for small kitchen wall organization.
8. Paint the pegboard to double as decor
A pegboard painted in soft sage or warm ivory with matching hooks disappears into the kitchen’s palette and reads as intentional design. Leave roughly a third of the board empty so the wall keeps breathing room — stuffed edge to edge it reads as a garage wall; with spacing it reads as a styled shelf.
Pot, pan, and lid walls: hanging the heavy stuff safely
Pots and pans are the heaviest things in your kitchen, so the pot wall needs the sturdiest hardware — never adhesive hooks here. A rail anchored into studs can safely carry a 6-quart Dutch oven (roughly 12 pounds), and hanging cookware frees the deep cabinet space where pots used to nest into a jumble you unstacked every time.
9. Hang pots from a rail anchored into studs
Install a 24-to-36-inch heavy-duty stainless rail on the wall beside your stove, screwed into at least two studs with lag bolts — a full cookware set can weigh 30 pounds or more. Hang your three to four most-used pots by their handles on S-hooks rated for 10 pounds each, heaviest pieces toward the center where stud support is strongest. Keep your two daily pans at the rail’s ends so you never reach past a hot pot.
10. Store lids upright in a wall-mounted file rack
Mount a vertical metal file holder above the pot rail and slide lids in edgewise between the dividers. Upright lids take 4 inches of wall depth and stay findable, versus the cabinet-door avalanche of stacked lids. Measure your largest lid first — a 12-inch skillet lid needs a rack at least 13 inches wide.
Spice and pantry walls: jars, racks, and tight wall space
Spices are perfect wall-storage citizens: small, light, used daily, and buried in a dark cabinet where half expire unseen. On the wall you can see them — and cook with them.
11. Stick magnetic spice jars to a metal plate on the wall
Fill 3-ounce hexagonal magnetic jars (about 2 inches across) with your 10 to 12 most-used spices and stick them to a 24-inch metal mounting plate. Hexagonal jars tessellate tightly with no wasted gaps, and labels sit at eye level. Refill from bulk bags to cut costs — but label every jar on day one, because ground cumin and ground coriander look identical.
12. Mount a slim three-tier spice rack on a narrow wall or pantry door
A 12-by-14-inch three-tier rack holds 18 to 24 standard spice jars in the footprint of one cabinet door. Mounted inside a pantry door, it needs a front rail at least 2 inches tall so jars survive the door swing. Pair it with 21 Small Apartment Pantry Organization Ideas That Actually Work for the full pantry system.
13. Build a canned-goods ledge wall near the pantry
Mount two or three 4-inch-deep ledges with a raised 1-inch front lip on the wall nearest your pantry. Arrange cans by category (tomatoes, beans, broth), pull from the front, and restock from the back — a visible first-in-first-out system that cuts expired cans to near zero. Two 24-inch ledges hold roughly 18 standard cans: a full pantry shelf off your shelves.
Renter-safe mounting: what holds without drilling
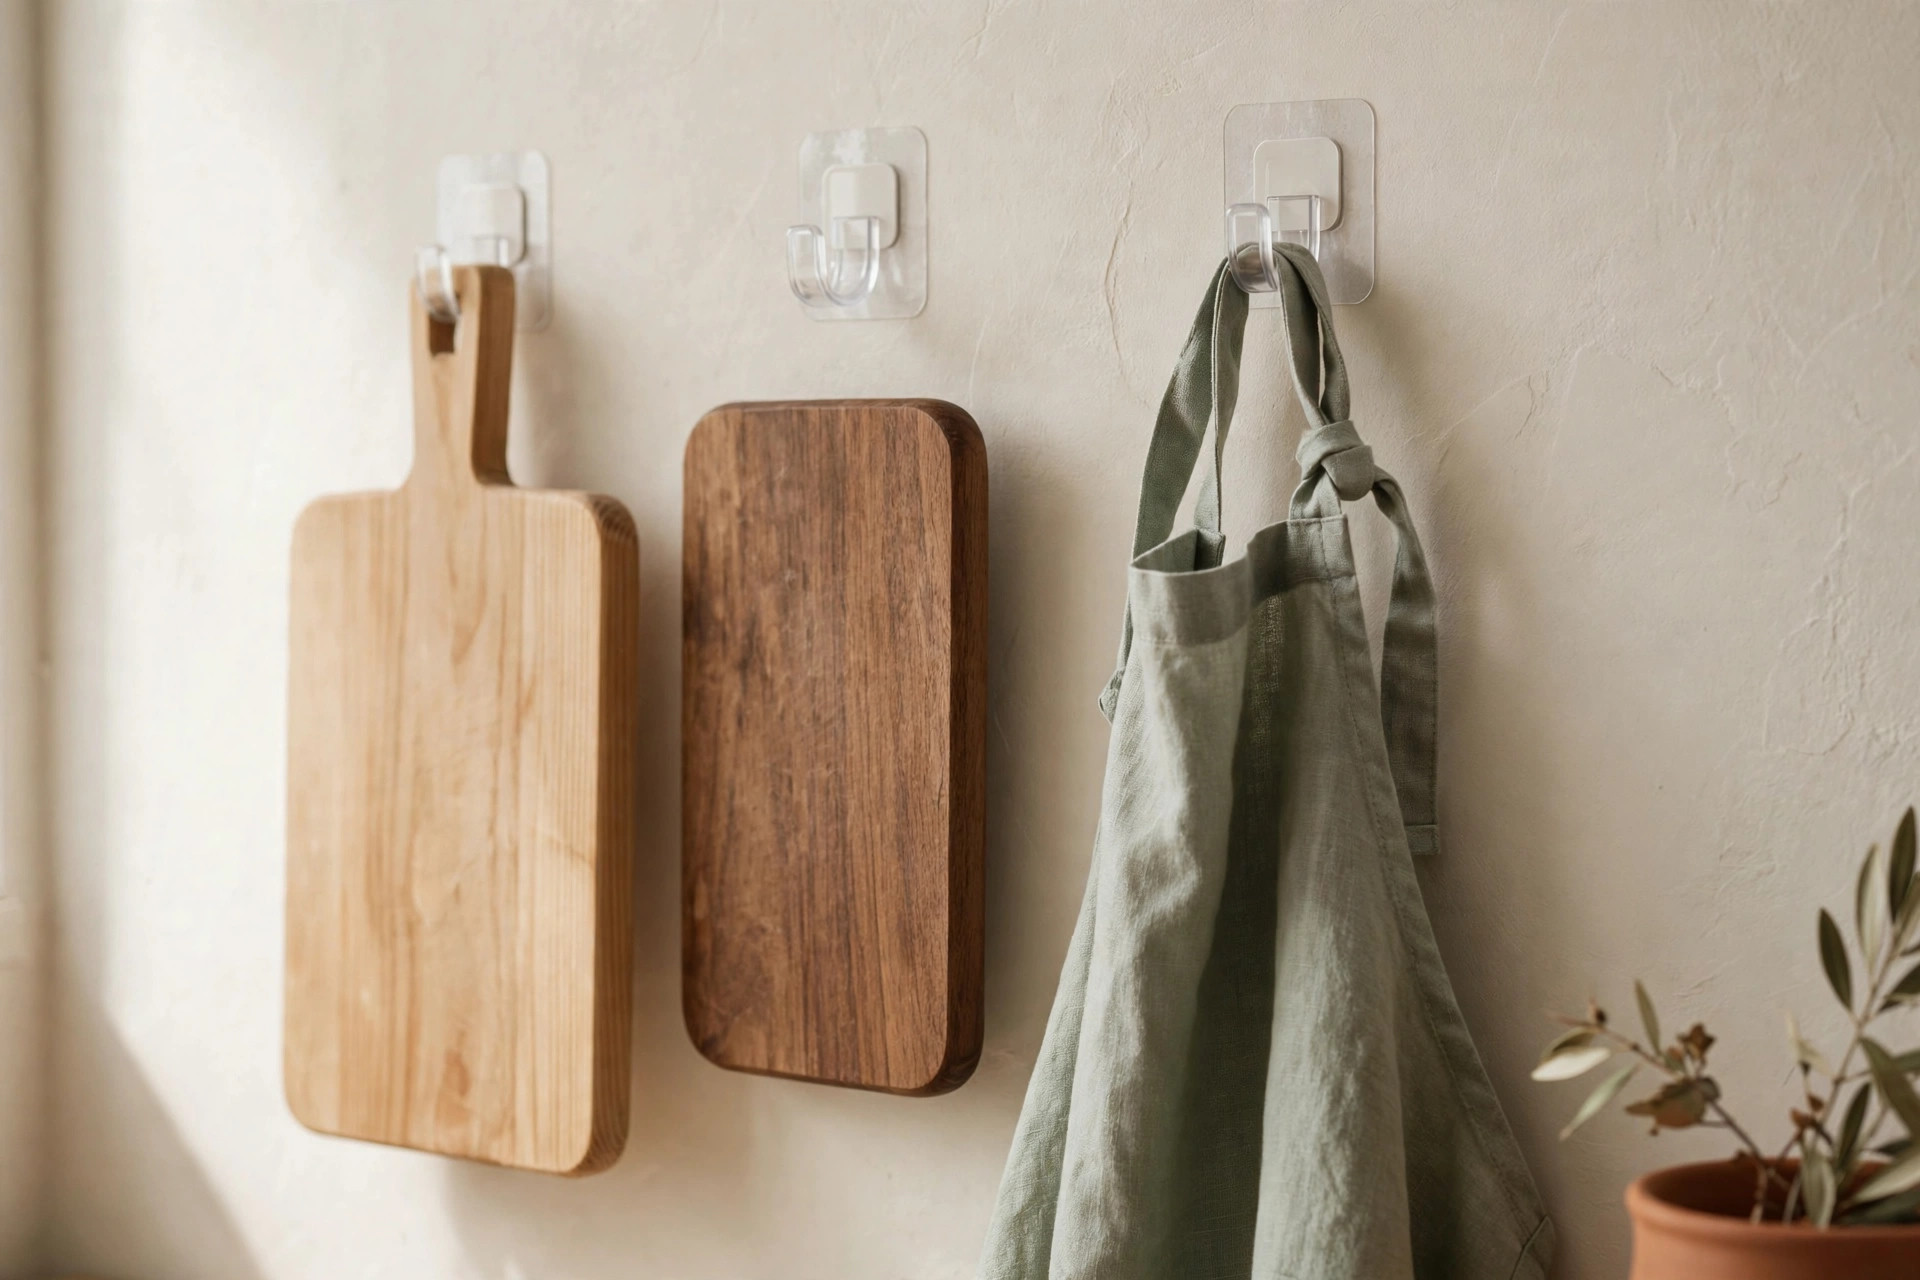
Every kitchen wall mounted storage idea above has a no-drill version. Large removable adhesive strips are rated up to 7 or 8 pounds per set, and screw-free brackets that clamp to a counter or tension between surfaces need no holes. The trade-offs are real: adhesive weakens in heat and humidity near stoves, needs 24 hours to cure, and holds less on textured or painted walls.
14. Use high-capacity removable strips for rails and small shelves
Rate strips for the full loaded weight — not the empty rail — and mount on smooth backsplash tile or glass, not textured drywall. Clean the surface with rubbing alcohol, press firmly for 30 seconds, then wait the full 24-hour cure before hanging anything. Use one large-strip set per 12 inches of rail, and in humid kitchens replace strips yearly, because steam is the slow enemy of adhesive.
15. Bridge cabinet gaps with a tension rod and S-hooks
Wedge a spring-tension rod (typically adjustable 18 to 28 inches) horizontally between two upper cabinets or between a cabinet and a wall, then hang S-hooks with light items: measuring cups, oven mitts, a small basket of garlic. It needs flat, parallel surfaces, holds roughly 5 to 10 pounds, installs in two minutes, and leaves zero trace — the single best renter move on this list.
The weekly reset: keeping walls from becoming clutter
Wall storage has one enemy: slow accumulation. Every hook invites one more thing, and within a month a tidy rail looks like a flea market. Two short weekly rituals keep your walls working as storage instead of display.
16. Run a five-minute Sunday wall audit
Once a week, stand at each wall zone and pull anything untouched in seven days — the duplicate whisk, the novelty mug, the fourth spatula. Park it in a “week box” on a high shelf; if it sits there three Sundays running, it leaves the wall for good. Five minutes weekly beats a two-hour purge quarterly.
17. Enforce the one-touch return rule
Whatever comes off the wall goes back to its hook before you sit down to eat. Utensils get hung the moment they are dry; the knife returns to the strip when washed, not “later.” Wall storage only saves time if returning is faster than rummaging — and it is, but only when the return is immediate. For everything the wall should not hold, 18 Small Kitchen Cabinet Organization Ideas That Maximize Every Shelf is the companion read.
Mistakes to avoid: what NOT to buy
Oversized multi-tier wall organizers. A five-tier tower covering a full backsplash becomes a visual junk drawer. Start with a rail, and add a shelf only when the rail is full.
Adhesive hooks near the stove or oven. Heat and steam degrade adhesive, and a rail of utensils crashing down beside a hot burner is a genuine hazard. Anything within 2 feet of a heat source gets screwed into a stud, full stop.
Cute but flimsy hooks rated under 5 pounds. Read the rating for the loaded item, not the empty hook, and halve the rating for humid kitchens. A flimsy hook holding a 3-pound pan is a wall repair waiting to happen.
Open shelves for rarely used items. Shelves holding the fondue set you touch twice a year become dust museums. If it is not weekly-use and display-worthy, it belongs behind a cabinet door.
Frequently asked questions
How can I hang heavy pots on a wall without damaging it?
Anchor into wall studs with lag bolts — a 24-inch rail secured to two studs carries 30-plus pounds of cookware. Without studs, use toggle bolts rated for 50 pounds each, never simple plastic anchors.
Can I use these kitchen wall storage ideas in a rental without drilling?
Yes. High-capacity removable strips hold rails, small shelves, and magnetic strips up to about 7 pounds per set on smooth surfaces, and tension rods wedged between cabinets carry light utensils with zero holes. Mount adhesive on tile or glass, let it cure 24 hours, and keep it away from stove heat. Ideas 14 and 15 are fully renter-safe.
How do I keep open shelves from looking cluttered?
Limit shelves to daily-use, display-worthy items in a tight color palette, and leave one-third of each shelf empty. If a shelf holds more than about ten pieces, it is a cabinet in disguise — move the overflow behind a door.
How much weight can adhesive wall hooks actually hold in a kitchen?
Large removable strip sets are rated up to 7 to 8 pounds each on smooth, clean surfaces — roughly half that on textured walls or in steamy spots near the stove. Always rate for the loaded item (a full utensil load, not an empty hook) and re-check the bond monthly in humid kitchens.
Conclusion
Your walls are the cheapest square footage in your kitchen — already paid for, already empty, and one rail away from working harder than any counter. Start with a single magnetic strip or utensil rail this weekend, then let the wall-first rule guide every storage decision after. Browse the full kitchen collection — and save this pin for later so your next project starts at the wall.