Craft supply organization ideas for small spaces start with an uncomfortable truth: the supplies are rarely the real problem. The problem is that every new project adds a bag, a bundle, or a box, and none of them ever had a home. Soon your dining table is a cutting mat, your closet shelf is a yarn shop, and finding scissors takes longer than the project itself. If you craft in a spare corner, a small apartment, or a shared room, you do not need a dedicated craft room. You need a system that keeps supplies visible, reachable, and contained, so you can start in minutes and clear up just as fast. These 18 ideas do exactly that.
Sort by craft, not by container: the audit that comes first
Before buying a single bin, empty every craft stash onto one surface and group supplies by craft: paper together, sewing together, painting together, yarn together.
1. Run a 30-minute craft audit before buying anything
Set a timer and sort everything into keep, finish soon, donate, and toss. Throw away dried markers, bent needles, and mystery pieces with no project attached. Donate unopened kits you will not start.
2. Give every craft its own labeled home, even if it shares a shelf
A craft without a designated spot spreads. Assign each craft one container, one shelf section, or one cart tier, and label it.
Rolling carts: the small-space crafter’s best friend
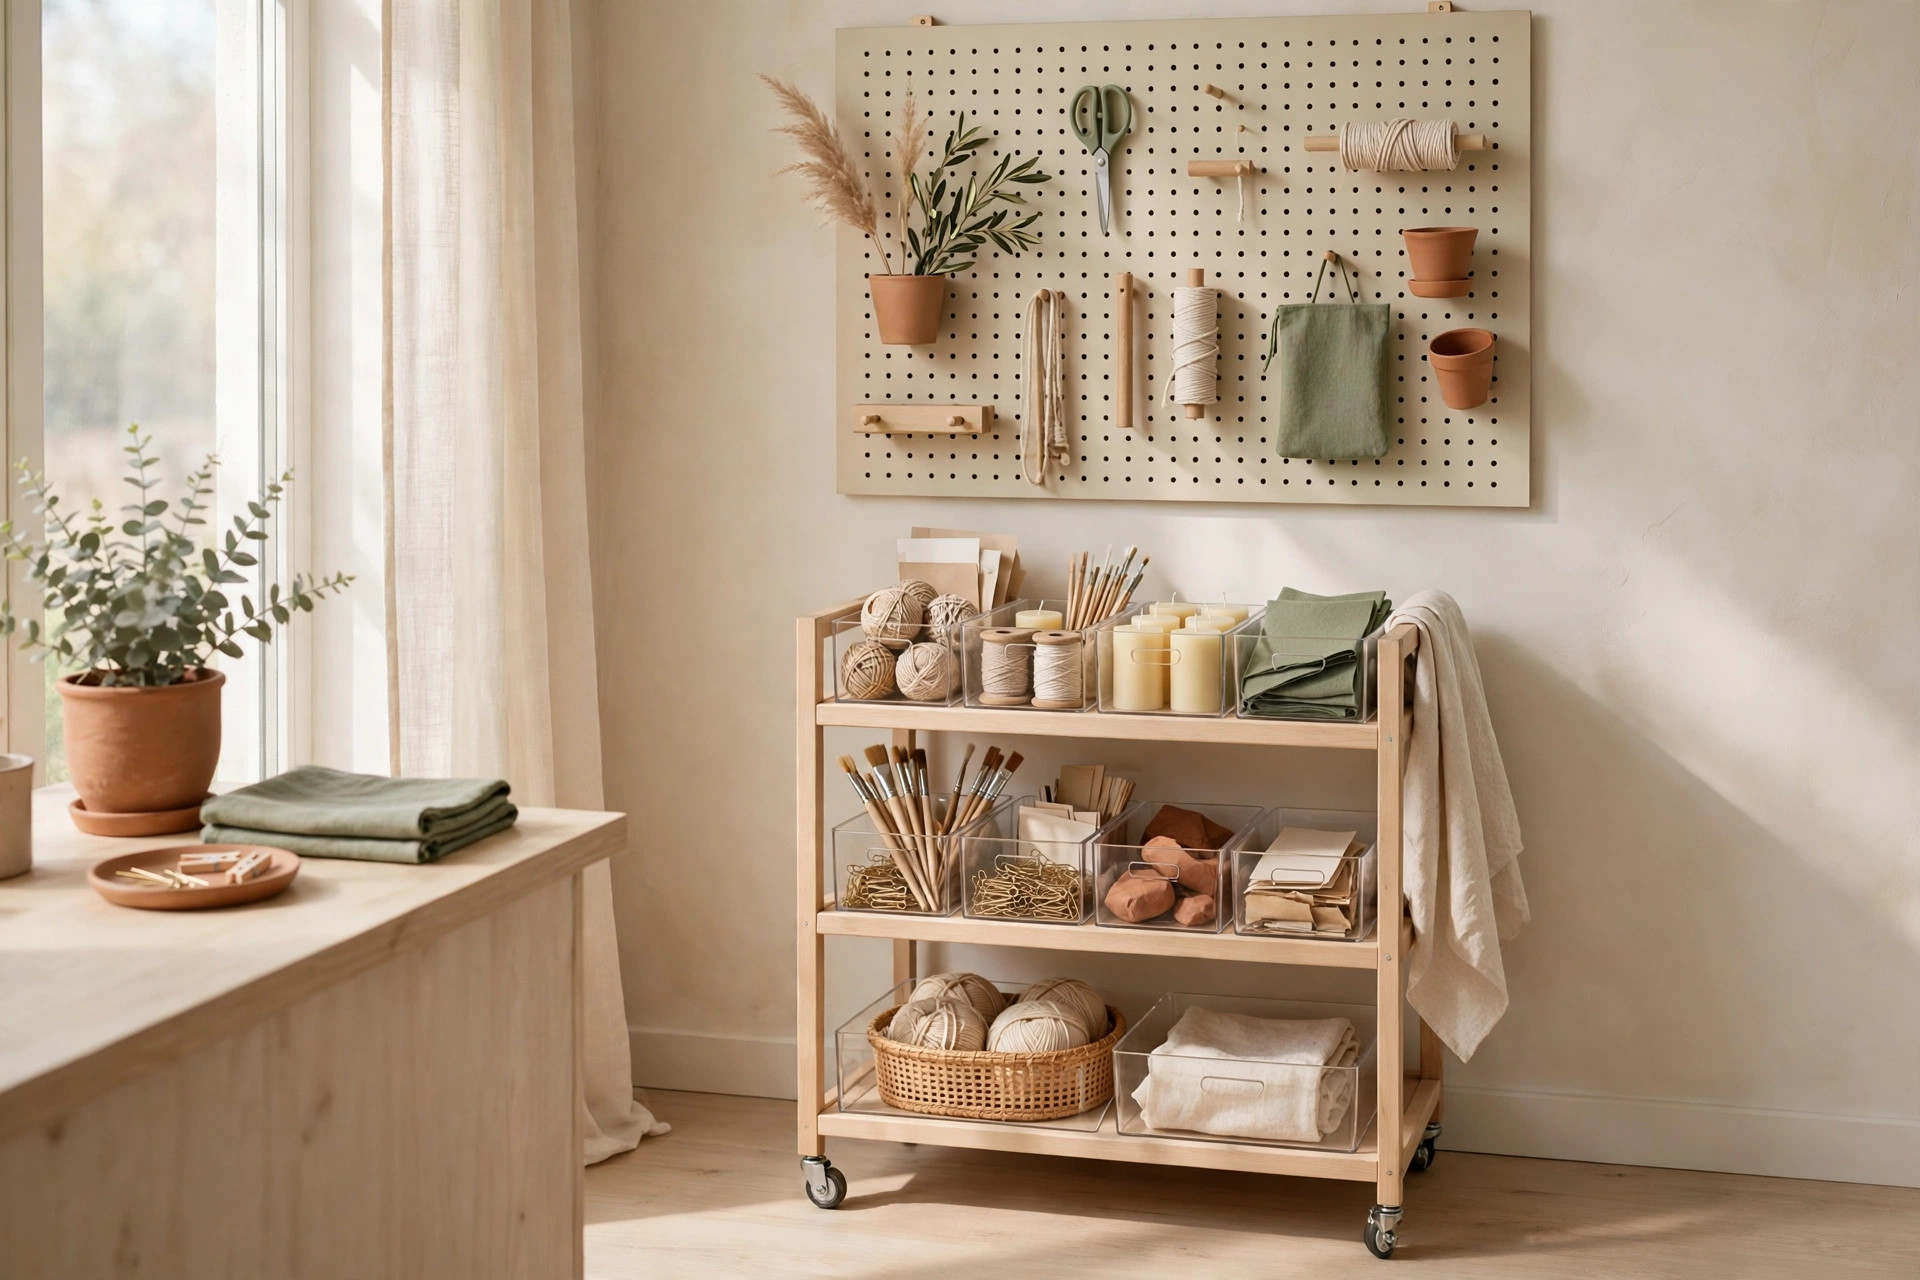
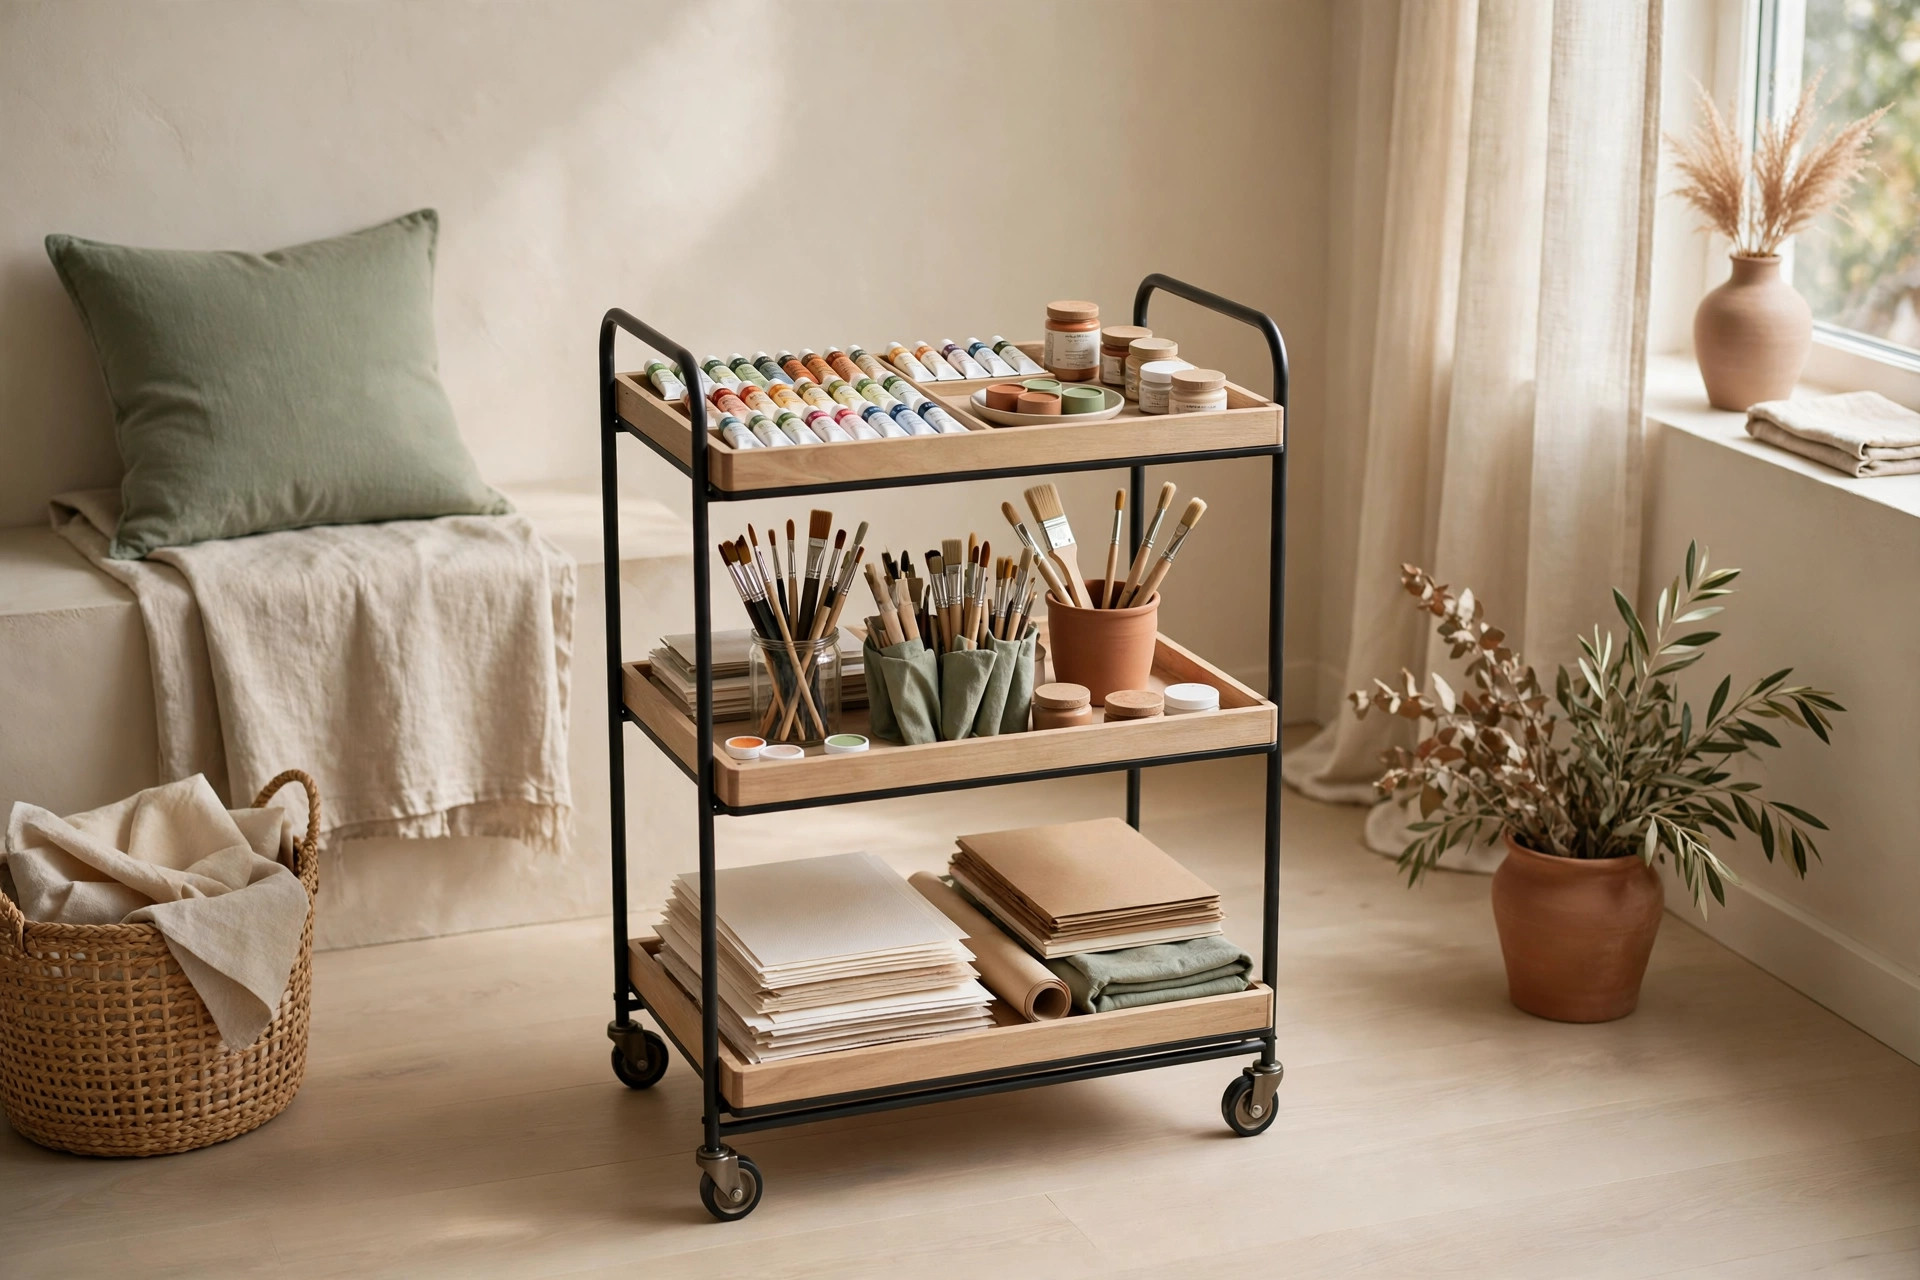
A three-tier rolling cart is the most useful small-space craft storage because it moves. Roll it to the table when you work, tuck it into a closet gap when you do not, and use its tiers to separate supplies by step. Choose one roughly 17 inches wide and 12 inches deep.
3. Dedicate one cart tier to tools you reach for every time
Scissors, rulers, adhesive, pencils, and a rotary cutter belong on the top tier, upright in a cup or small caddy. If your most-used tools live at the bottom of a bin, you will stop putting them back, and the cart will slowly become a junk pile on wheels.
4. Turn a cart into a single-craft station
Load everything for your current main craft onto one cart: fabric and thread for sewing, or cardstock, stamps, and ink pads for cardmaking. When you switch crafts, swap the cart contents rather than adding a second cart. One cart in use beats three carts in storage.
5. Park the cart in a gap, not in the middle of the room
Measure the gaps you already have: between a bookshelf and the wall, beside a wardrobe, or at the end of a hallway. A cart that has a parking spot gets put away.
Wall storage: pegboards, rails, and hanging jars
Walls are the most underused storage in a small home, and craft supplies suit them because so many are small, light, and easier to grab when hung. Renters can use adhesive hooks or a pegboard leaned against the wall, secured with removable strips.
6. Hang a pegboard for tools, not for decoration
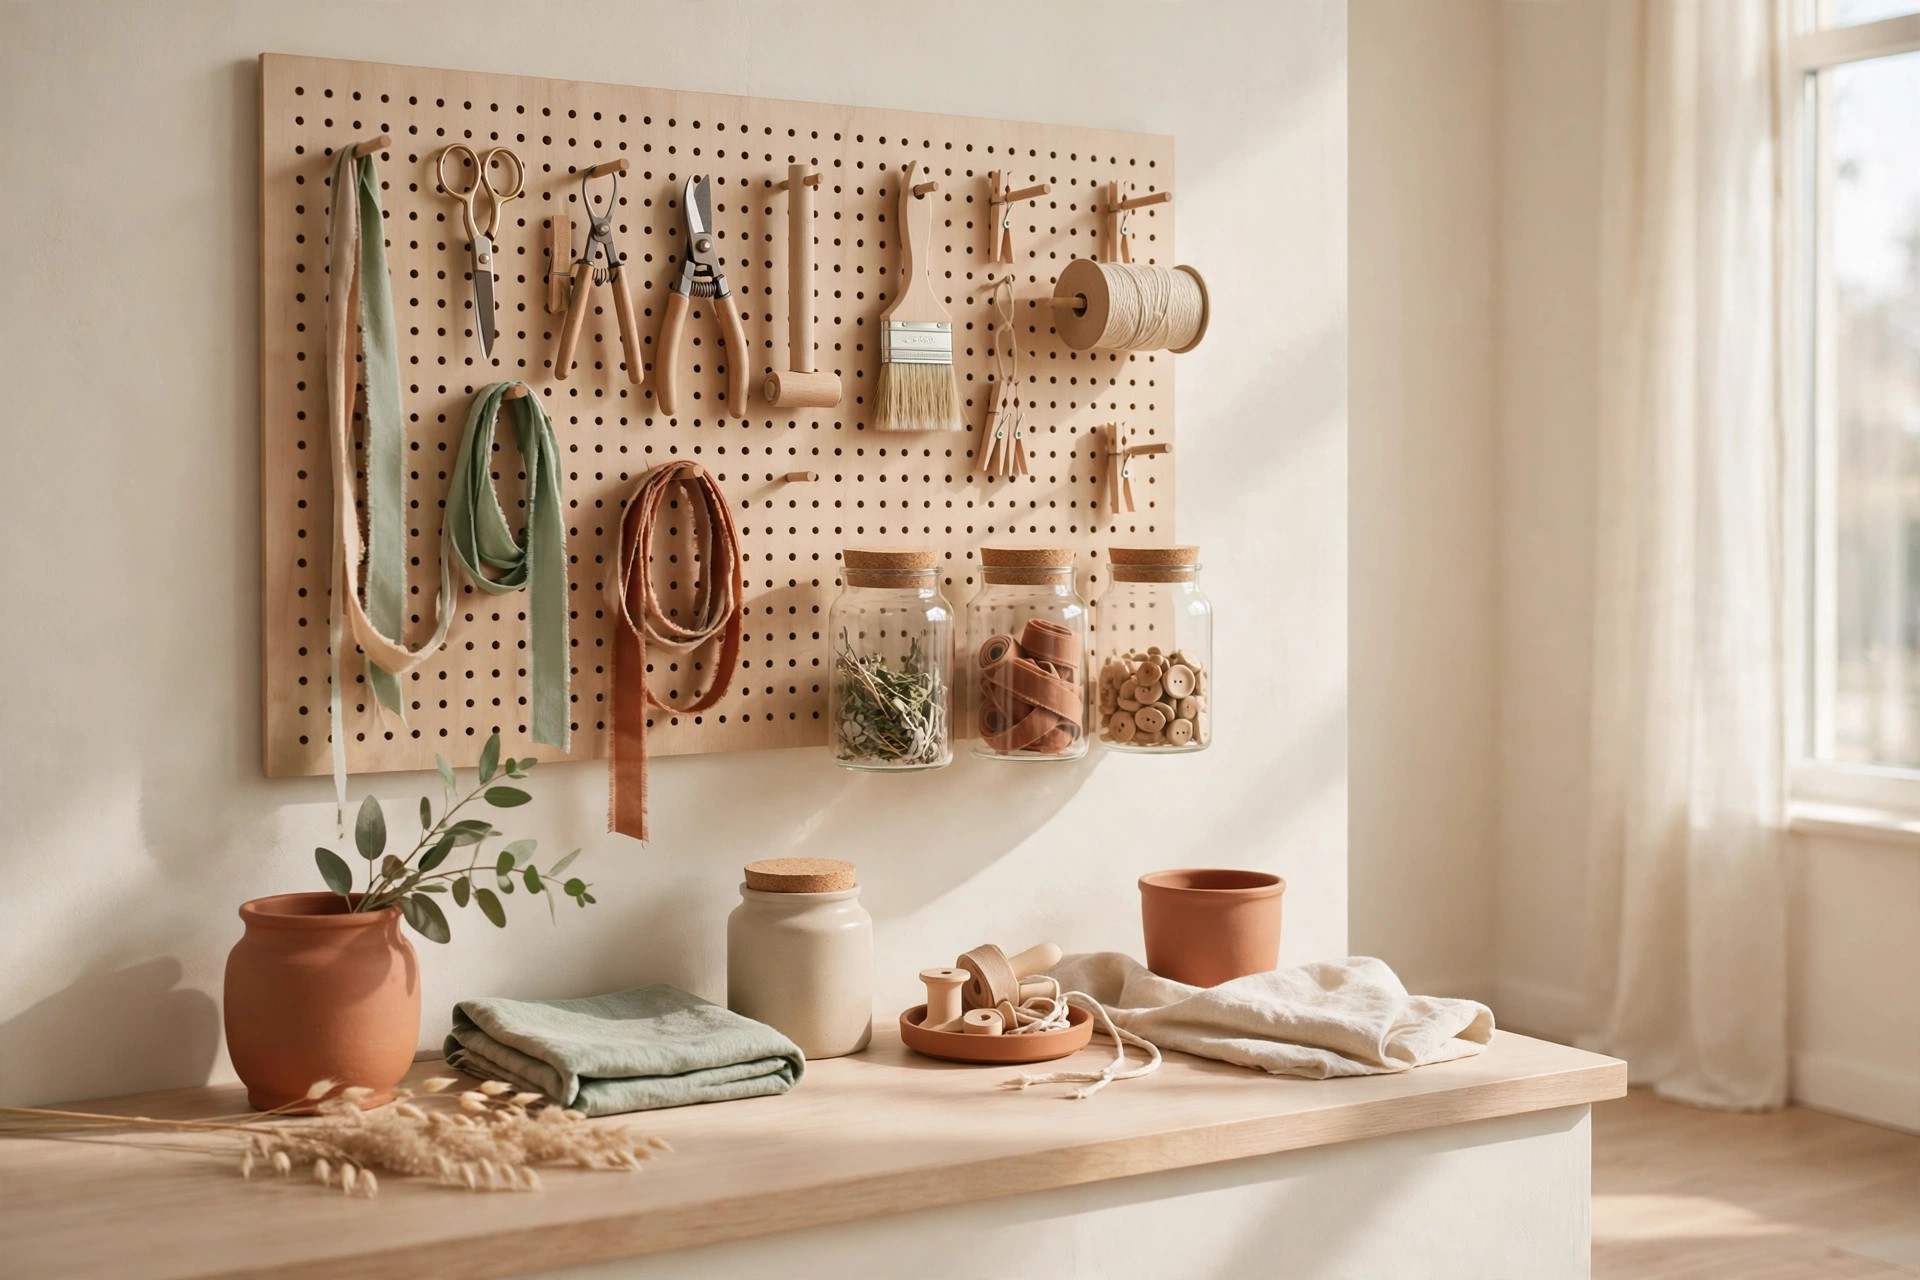
Mount a pegboard roughly 24 by 32 inches above your work surface and hang scissors, rulers, tape, and spools on hooks and small baskets. Keep the most-used tools at arm height. A pegboard only works if you can reach everything without a step stool. For more ways to go vertical, these vertical storage ideas for small apartments show how wall systems multiply storage without losing floor space.
7. Add a rail and hooks for ribbons, tapes, and rolls
A simple kitchen rail with S-hooks holds ribbon spools, washi tape, and twine where you can unspool them without removing them from the hook. Thread each spool onto the rail or a dowel hung from two hooks, and cut directly from the roll.
8. Screw small jars under a shelf for tiny supplies
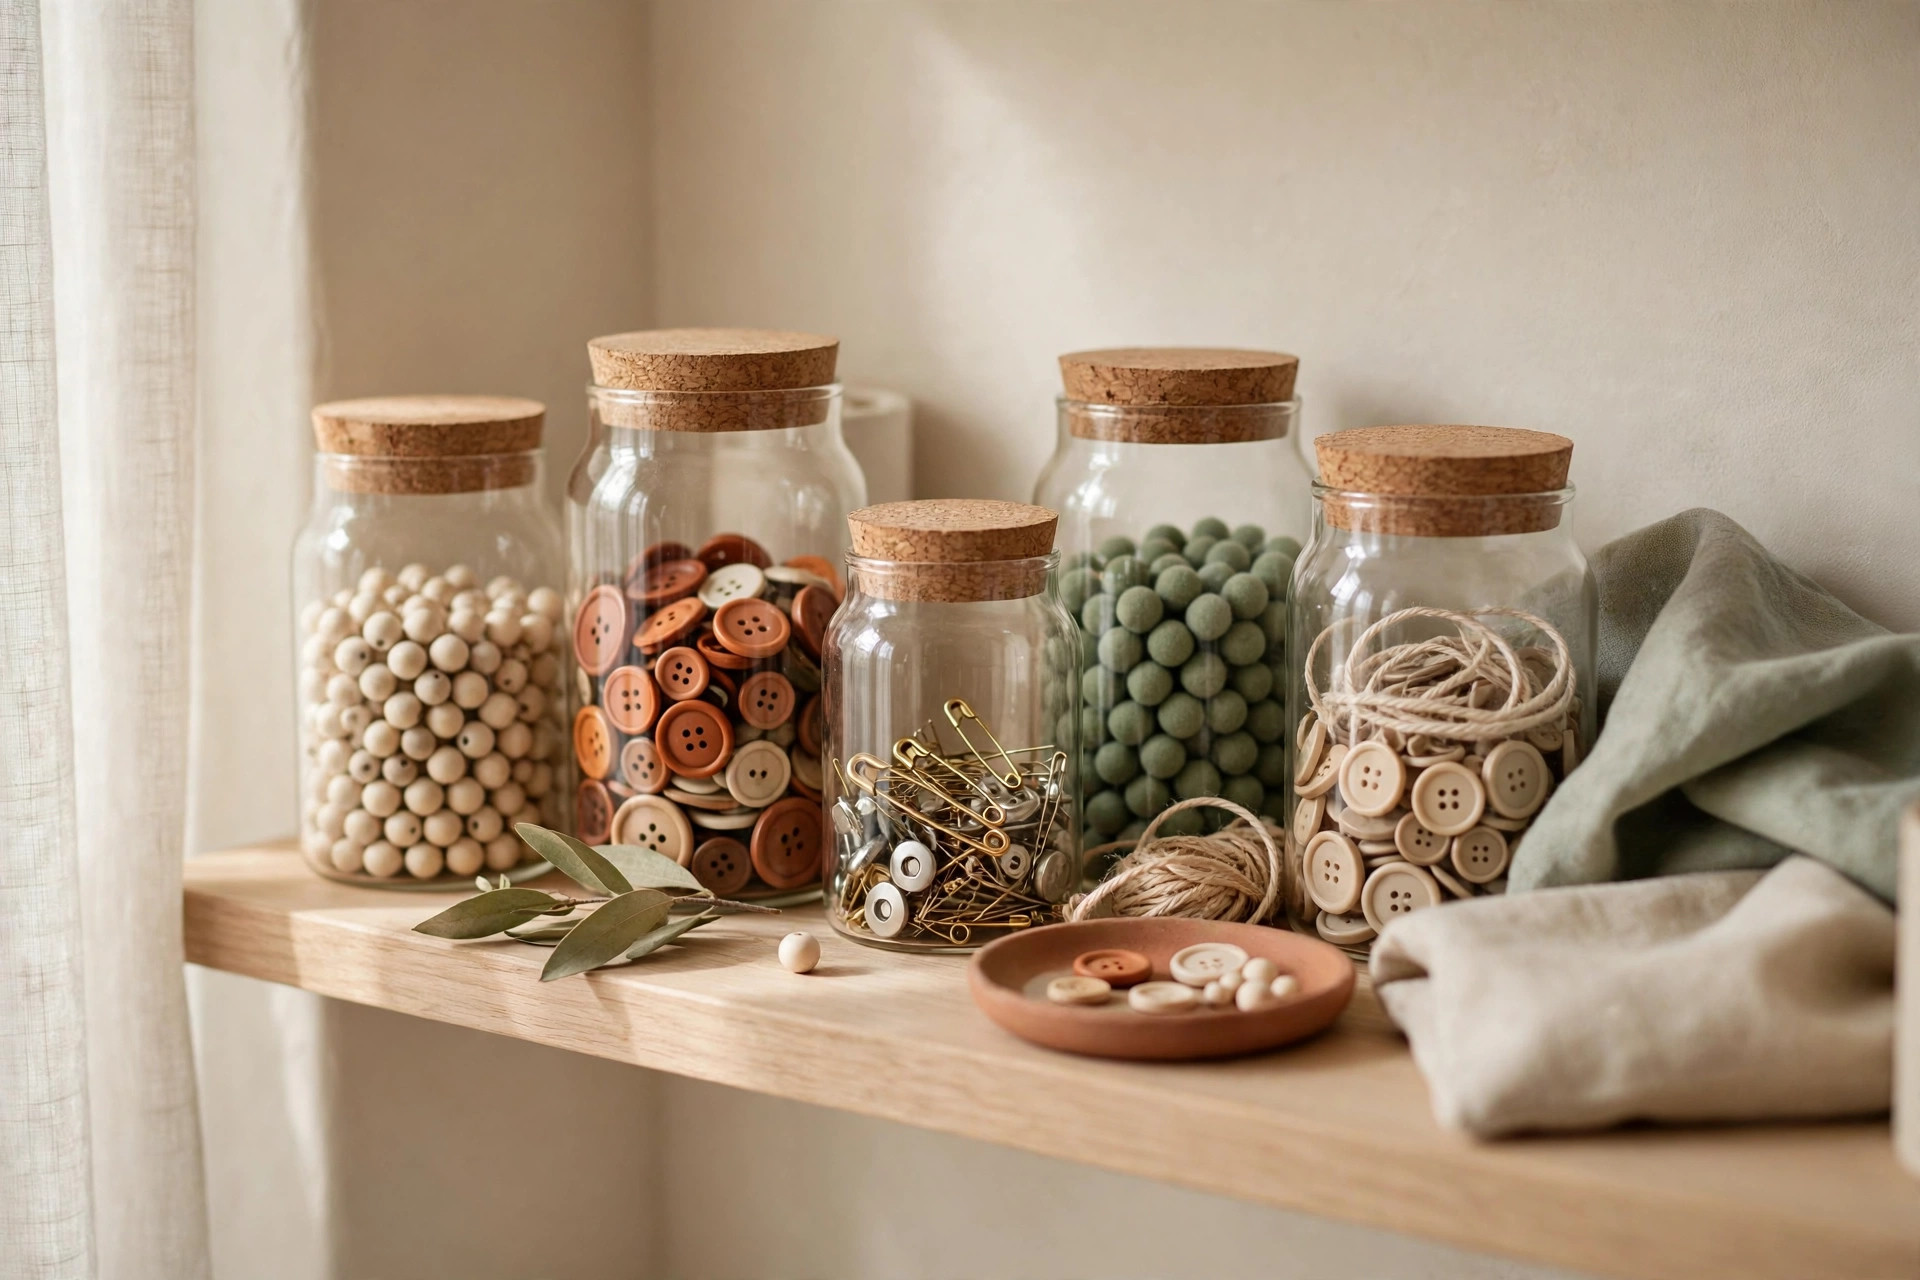
Attach jar lids to the underside of a shelf with short screws, fill the jars with buttons, beads, and pins, and twist each jar on and off its lid. The supplies stay visible and take zero shelf space.
Clear bins and the see-it-to-use-it rule
Crafters do not forget projects because they lose interest. They forget them because supplies are hidden inside opaque boxes. Choose stackable clear bins roughly 10 by 6 by 6 inches for small supplies and 14 by 10 by 8 inches for larger stock,.
9. Sort clear bins by project step, not by supply type
Instead of one bin for all paper and another for all glue, try one bin per project type: a cardmaking bin with cardstock, envelopes, and stamps together, or a painting bin with brushes and acrylics together.
10. Keep one open bin for this week’s supplies only
An open-top bin on your desk or cart holds only what you are using this week. Everything else stays in its labeled, closed home. When the week ends, empty the open bin back into those homes.
Paper, fabric, and yarn: taming the three bulky categories
Paper, fabric, and yarn cause most small-space craft chaos because they are bulky and multiply fast. Each needs its own approach: paper lies flat, fabric folds best vertically, and yarn needs visibility or it becomes a tangled mystery bag.
11. Store paper flat in vertical file holders, sorted by size
Stand cardstock and patterned paper upright in magazine holders, sorted by size and then by color family. Paper stacked flat hides the sheets at the bottom and gets bent corners.
12. Fold fabric upright like files, and cap the collection
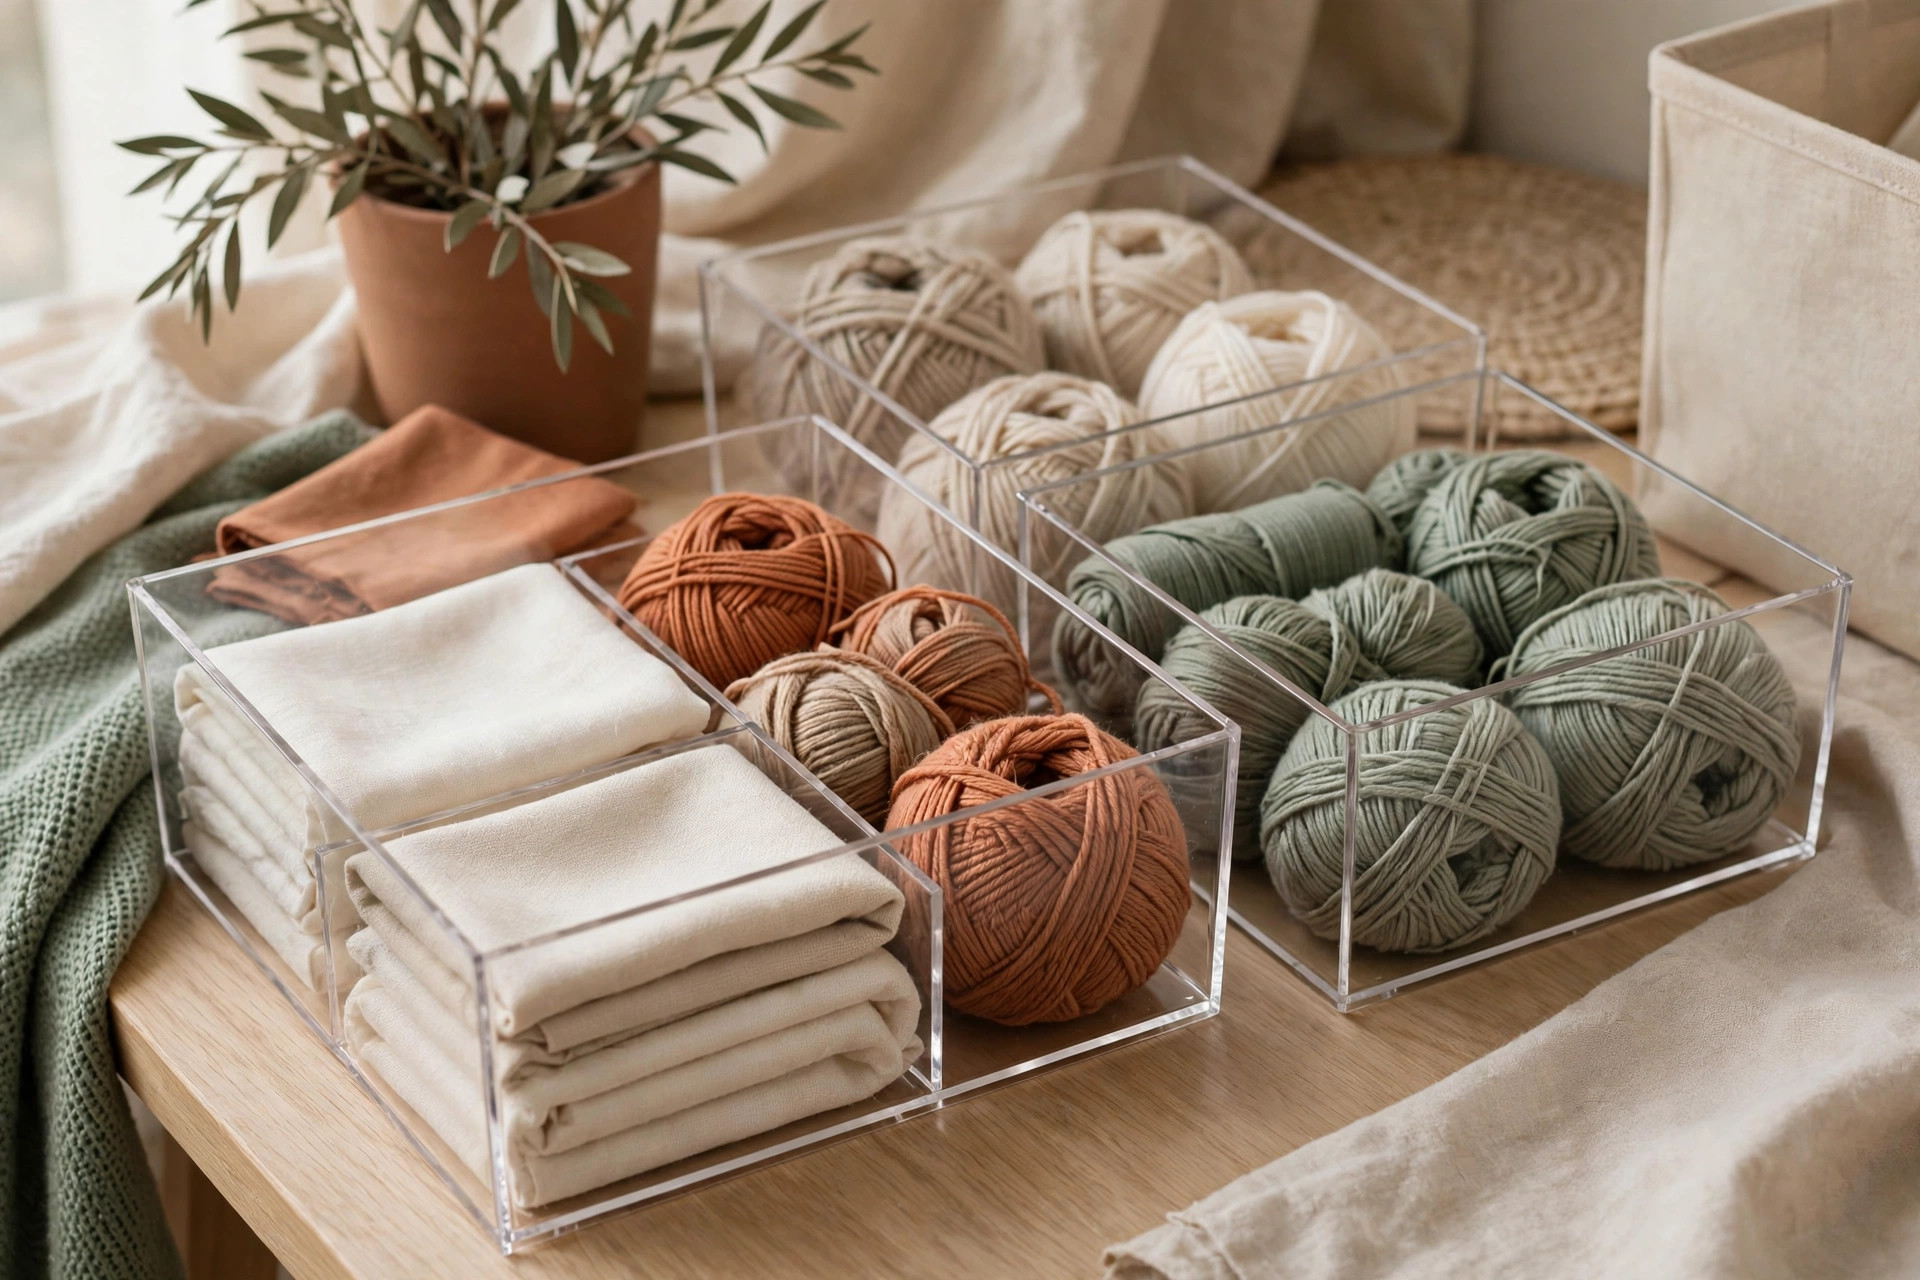
Fold fabric into rectangles that stand upright in a bin or drawer, spine facing up, so you can see every print at once. Then set a hard limit: one bin, or one shelf, for fabric. When the bin is full, something leaves before something new enters.
13. Keep yarn in clear bins with one ball out at a time
Store yarn by weight and color in clear bins with lids, and keep only the ball you are using in a small basket beside your chair. Loose yarn in bags tangles and hides colors you already own.
Small-item systems: beads, buttons, and notions
Small items are where craft organization either succeeds or collapses. A single mixed bag of beads, buttons, and pins is unusable.
14. Use divided tackle-style boxes for beads and findings
Compartment boxes with adjustable dividers and snap-shut lids are ideal for beads, jump rings, and clasps. Label each box by craft or color family, and store the boxes upright like books so you can pull one out without opening five others.
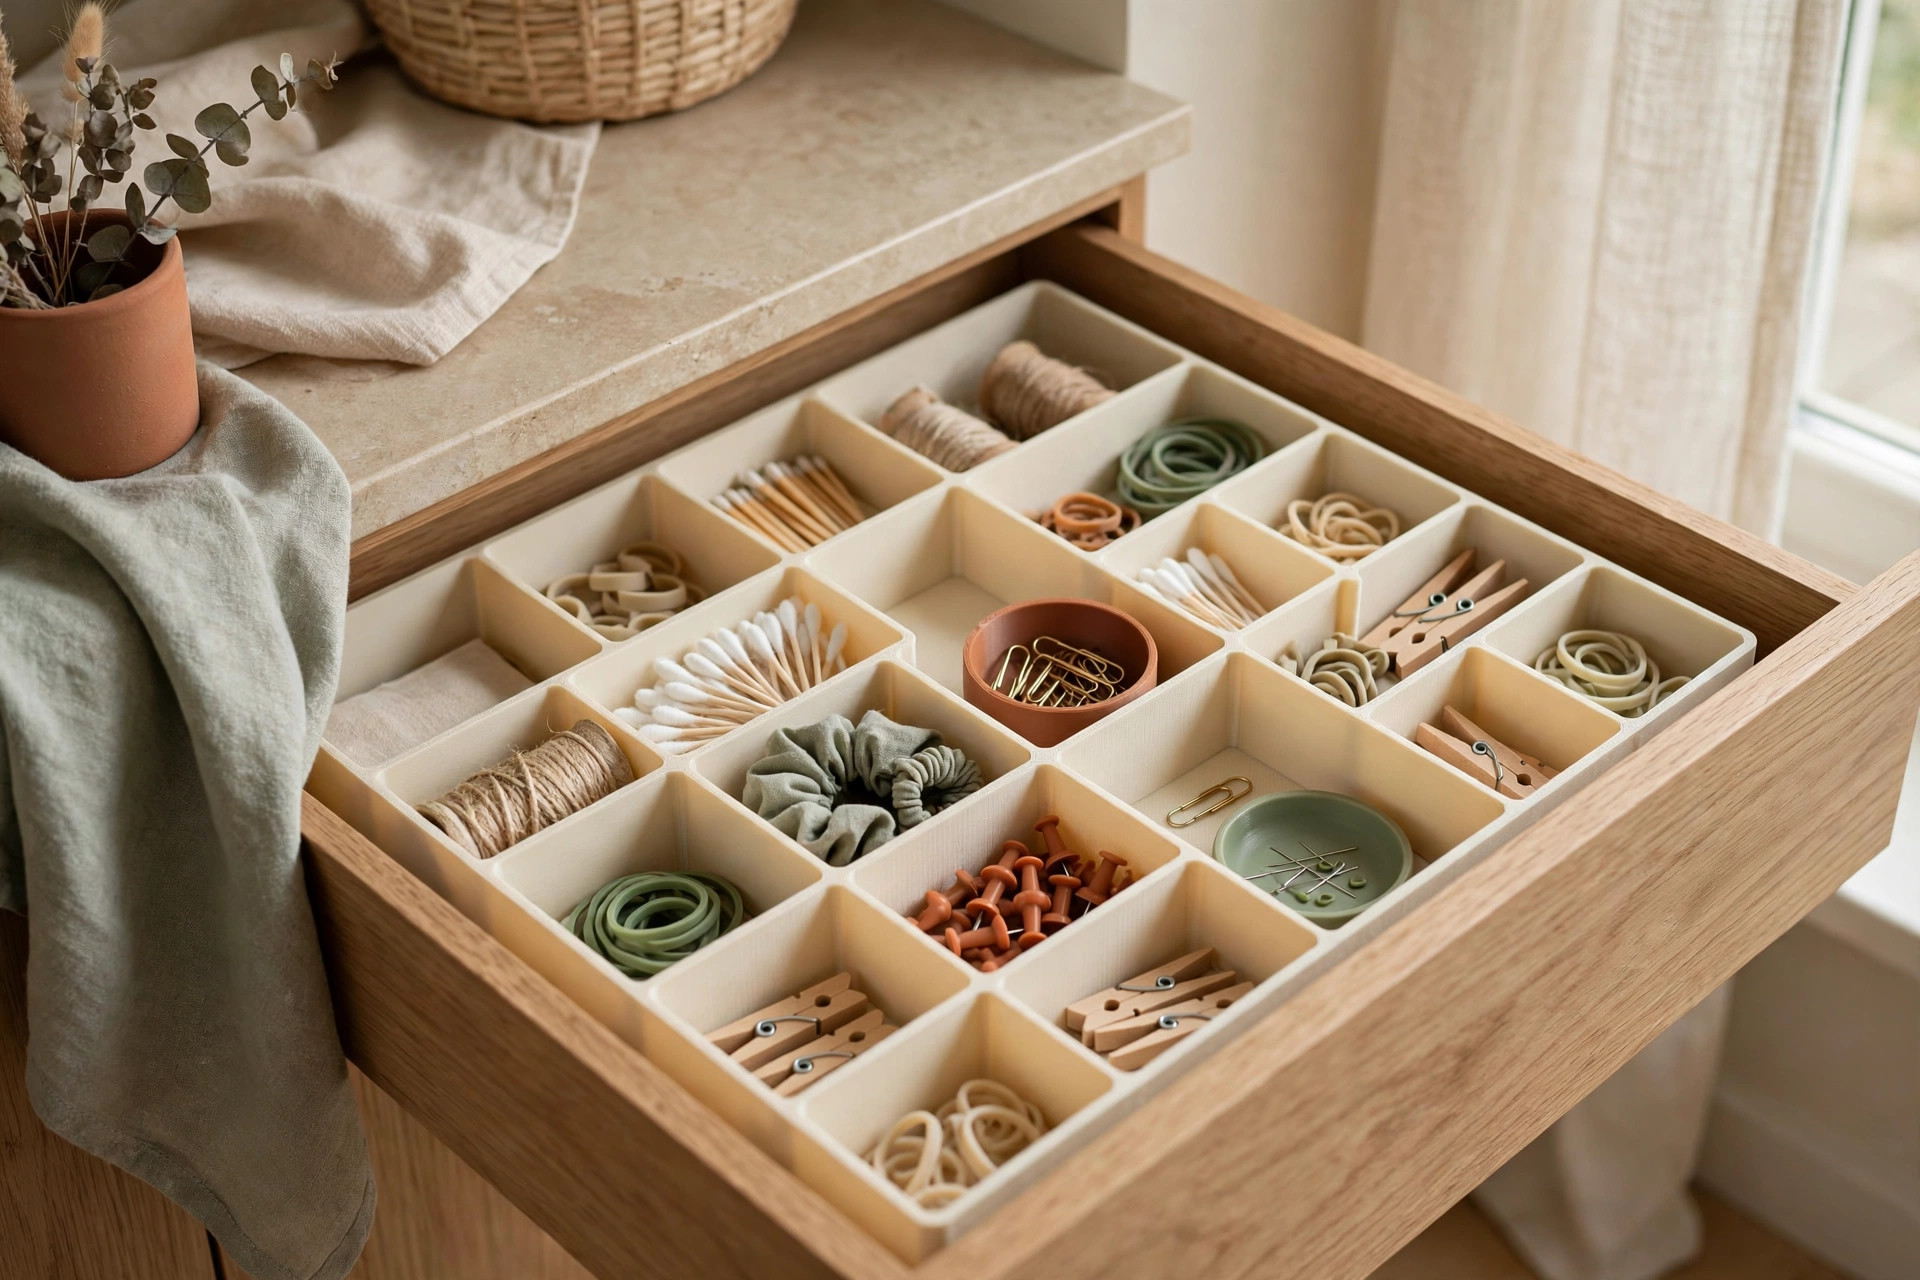
15. Corral notions in a divided drawer tray
Sewing notions, needles, pins, and bobbins belong in a shallow divided tray inside a drawer, one compartment per type. This is the same principle behind good junk drawer organization ideas: small things stay usable only when each type has its own compartment instead of sharing one open space.
The project-in-progress station that doesn’t eat the table
Every crafter needs a place for the project they are halfway through, and that place is usually the dining table, permanently. The fix is a station with a firm size: one tray, one basket, or one shelf that holds the current project and nothing else.
16. Keep one lidded tray per active project, and only one active project out
Use a shallow tray roughly 14 by 10 inches with a lid, and keep the current project’s supplies, pattern, and half-finished piece inside it. The lid lets you stack the tray on a shelf between sessions without dust or damage.
17. Build a five-minute pack-down routine into every session
End each session by returning tools to the cart, closing the project tray, and wiping the table. Set a timer for five minutes if it helps. A five-minute routine survives a busy week and keeps a shared table actually shared.
Keeping it contained: one zone, one limit, one reset
The final idea is not a product at all. It is a boundary. Small-space craft storage fails when crafts expand into every room, so draw one zone for crafting, give it one container limit per category, and schedule one reset. The zone can be a corner or one wall, with a monthly fifteen-minute reset. This is the same zoning logic behind this guide to studio apartment organization zones: one room can hold several uses, but only when each use has a defined zone and a limit.
18. Do a monthly fifteen-minute craft reset, on the calendar
Put the reset on your calendar for the same day each month. Return anything that migrated to other rooms, empty the open weekly bin, and donate anything you have not touched in a year.
Mistakes to avoid
Buying storage before auditing leaves you with beautiful bins full of supplies you do not need. Storing everything in opaque boxes is the second mistake: hidden supplies are forgotten supplies. Avoid open containers for small items, avoid stacking bins so high you cannot reach the bottom one, and avoid keeping every scrap “just in case.” Do not buy a second cart to solve overflow; overflow signals it is time to edit the collection.
Frequently asked questions
Can I organize craft supplies in a small apartment without a craft room?
Yes. A rolling cart, a wall pegboard, and one shelf of clear bins give most crafters everything they need. The key is one defined craft zone with a container limit, not a separate room.
How do I store craft supplies in a rental without drilling holes?
Use adhesive hooks rated for the weight, tension-mounted shelves, a leaning pegboard secured with removable strips, and over-the-door organizers.
What is the best way to store yarn in a small space?
Clear lidded bins sorted by weight and color, with only the active ball out in a basket. Yarn needs visibility so you do not rebuy colors you own, and a lid keeps it clean and untangled.
How often should I declutter craft supplies?
Do a quick fifteen-minute reset monthly and a full audit twice a year. Monthly resets catch migration early.
How do I stop craft supplies from taking over the dining table?
Use one lidded project tray and a five-minute pack-down routine at the end of every session. The table stays shared because the project has a home off the table between sessions.
Conclusion
Craft supply organization in a small space is not about owning less creativity. It is about giving every craft a visible, reachable home, keeping one project out at a time, and holding one firm boundary on how much you keep. Save this pin for later, and explore more ideas in the storage ideas category when you are ready to organize the next corner of your home.