If your counters are crowded with a toaster, a blender, a coffee maker, and a stand mixer you use twice a month, you are not short on kitchen space — you are short on homes for them. Small kitchen appliance storage ideas work best when they start with one honest question: how often do you actually use each machine? Once every appliance has a home matched to how often it earns its keep, your counters clear up fast and cooking gets easier. These 18 ideas walk you through the audit, the storage spots, and the weekly habit that keeps it all working.
The appliance audit: daily, weekly, and rarely used
Before you buy a single bin or shelf, take every appliance out of its hiding spot and line them up on the table. You cannot organize what you cannot see, so sort each one into three groups and be honest about the last time you used it.
1. Sort by frequency, not by size
Daily appliances are the ones you reach for almost every morning — usually the coffee maker, kettle, or toaster. Weekly appliances include the blender, food processor, or hand mixer. Rarely used appliances are the bread maker or waffle iron that comes out a few times a year. Frequency, not size, decides where each one lives: daily items stay within arm’s reach, weekly items go one step away, and rarely used items move to the farthest shelf.
2. Label each home with its frequency group
Assign each group a zone and stick with it: daily appliances on the counter or in the appliance garage, weekly appliances in a low cabinet or deep drawer, rarely used appliances on a high pantry shelf or in a hall closet bin. A new appliance joins the zone matching how often you will use it.
3. Apply a one-in, one-out rule
Small kitchens cannot absorb unlimited appliances. For every new machine that comes in, one rarely used machine must go out — donated, gifted, or stored elsewhere. This single rule prevents the slow creep that fills counters again within a few months.
Appliance garage cabinets and lift shelves
An appliance garage is a cabinet with a door that hides countertop appliances while keeping them plugged in and ready. It is the single best fix for a counter that always looks cluttered.
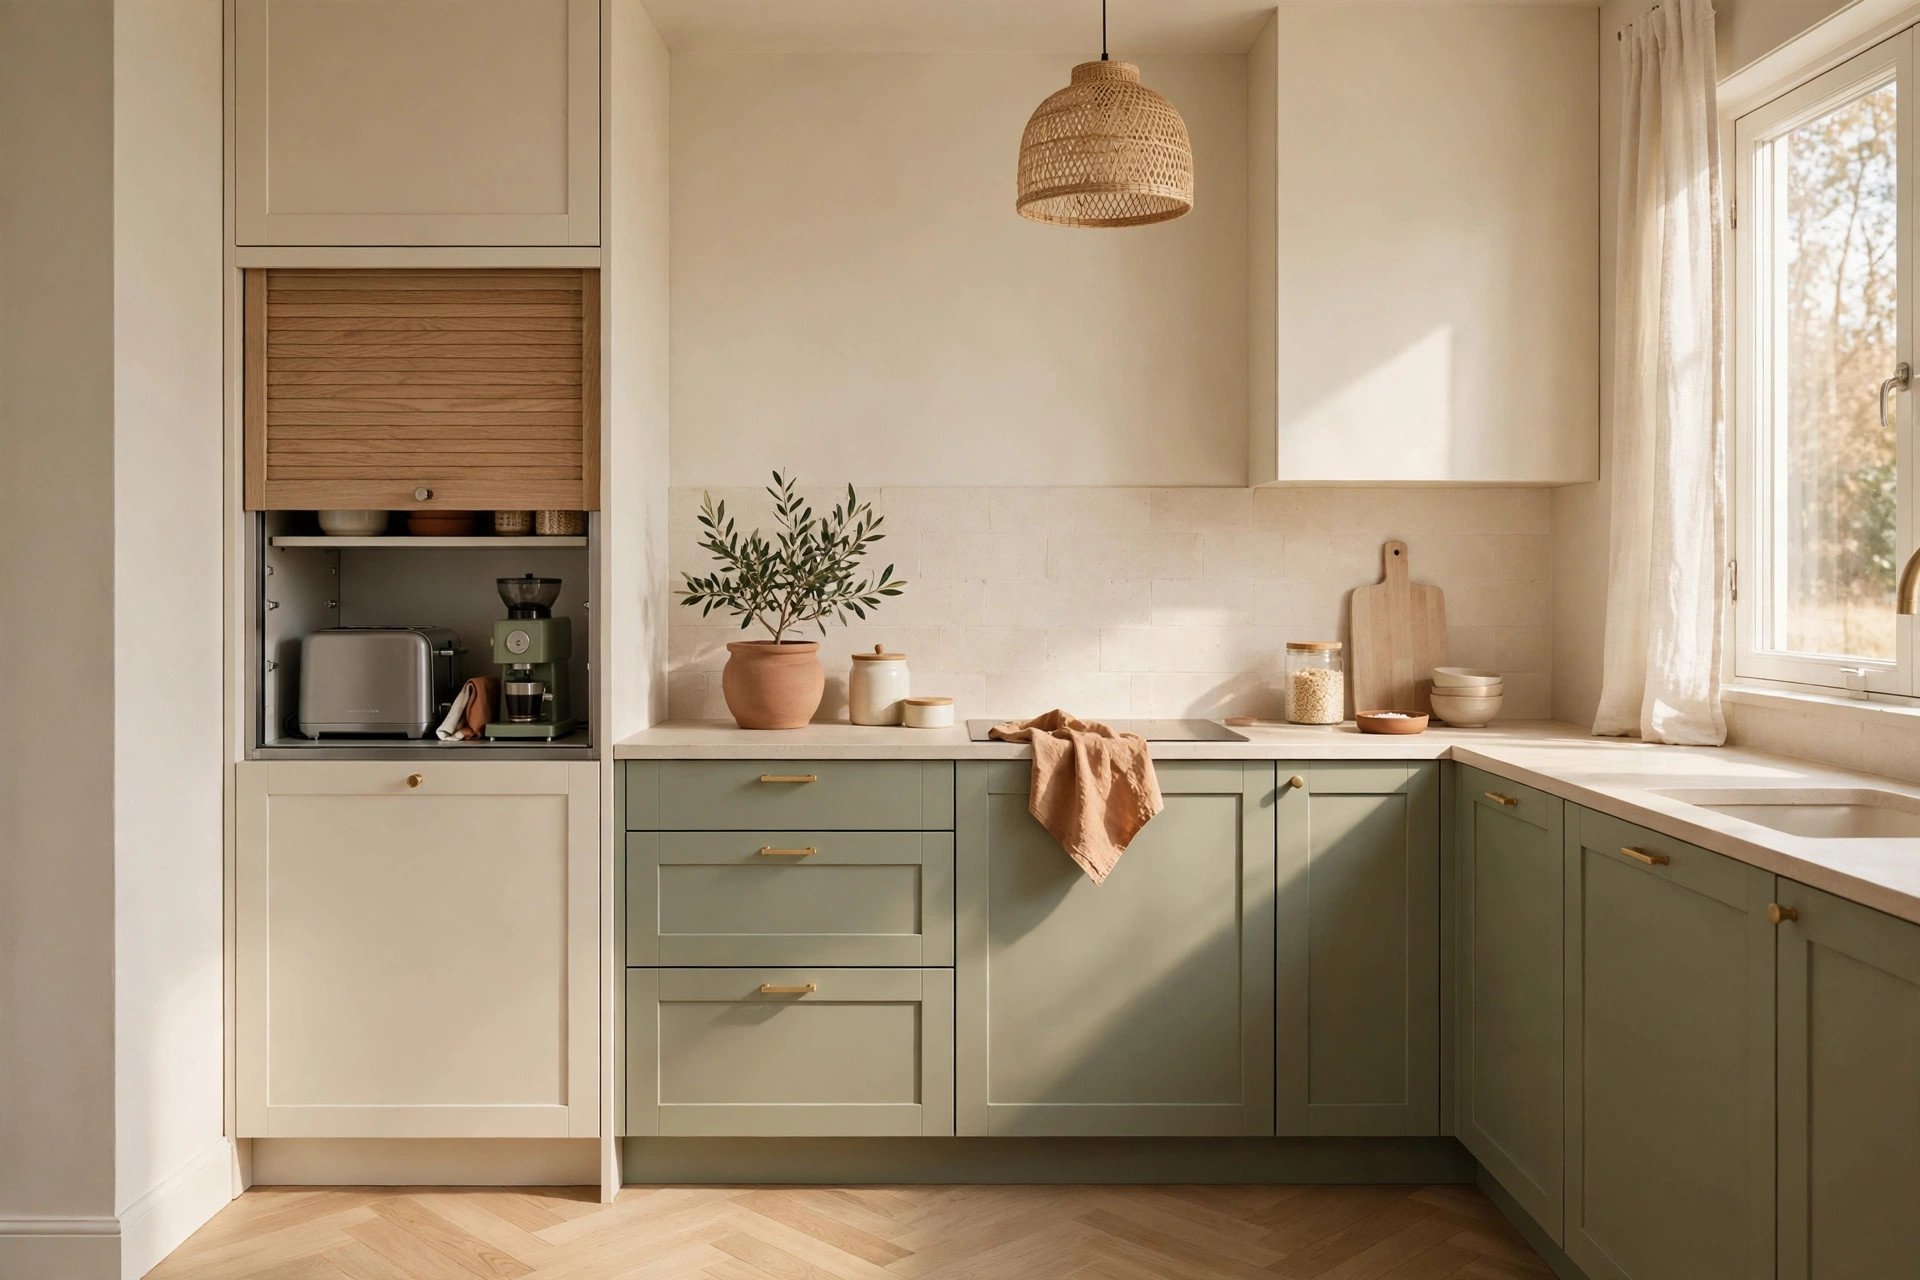
4. Build a countertop appliance garage
An appliance garage is usually a cabinet that sits on the countertop beneath the upper cabinets, with a tambour or lift-up door. Keep the coffee maker and toaster inside, plugged into an outlet in the back, and close the door when you are done. If you rent, a freestanding bamboo garage works the same way with no installation.
5. Install a lift shelf for the heavy stand mixer
A mixer lift is a shelf inside a base cabinet that rises to counter height when you pull it up and folds away when you are done. A stand mixer can weigh 20 to 30 pounds, so lifting it out of a low cabinet every time is a barrier to using it. Measure the mixer’s height with its bowl attached before ordering — most lifts need a cabinet at least 15 inches wide and 21 inches tall inside.
Deep drawers and pull-outs for heavy appliances
Deep drawers are the unsung heroes of small kitchen appliance storage ideas. They hold heavy machines at waist height, slide out so nothing hides in the back, and keep weight low, where it is safest.
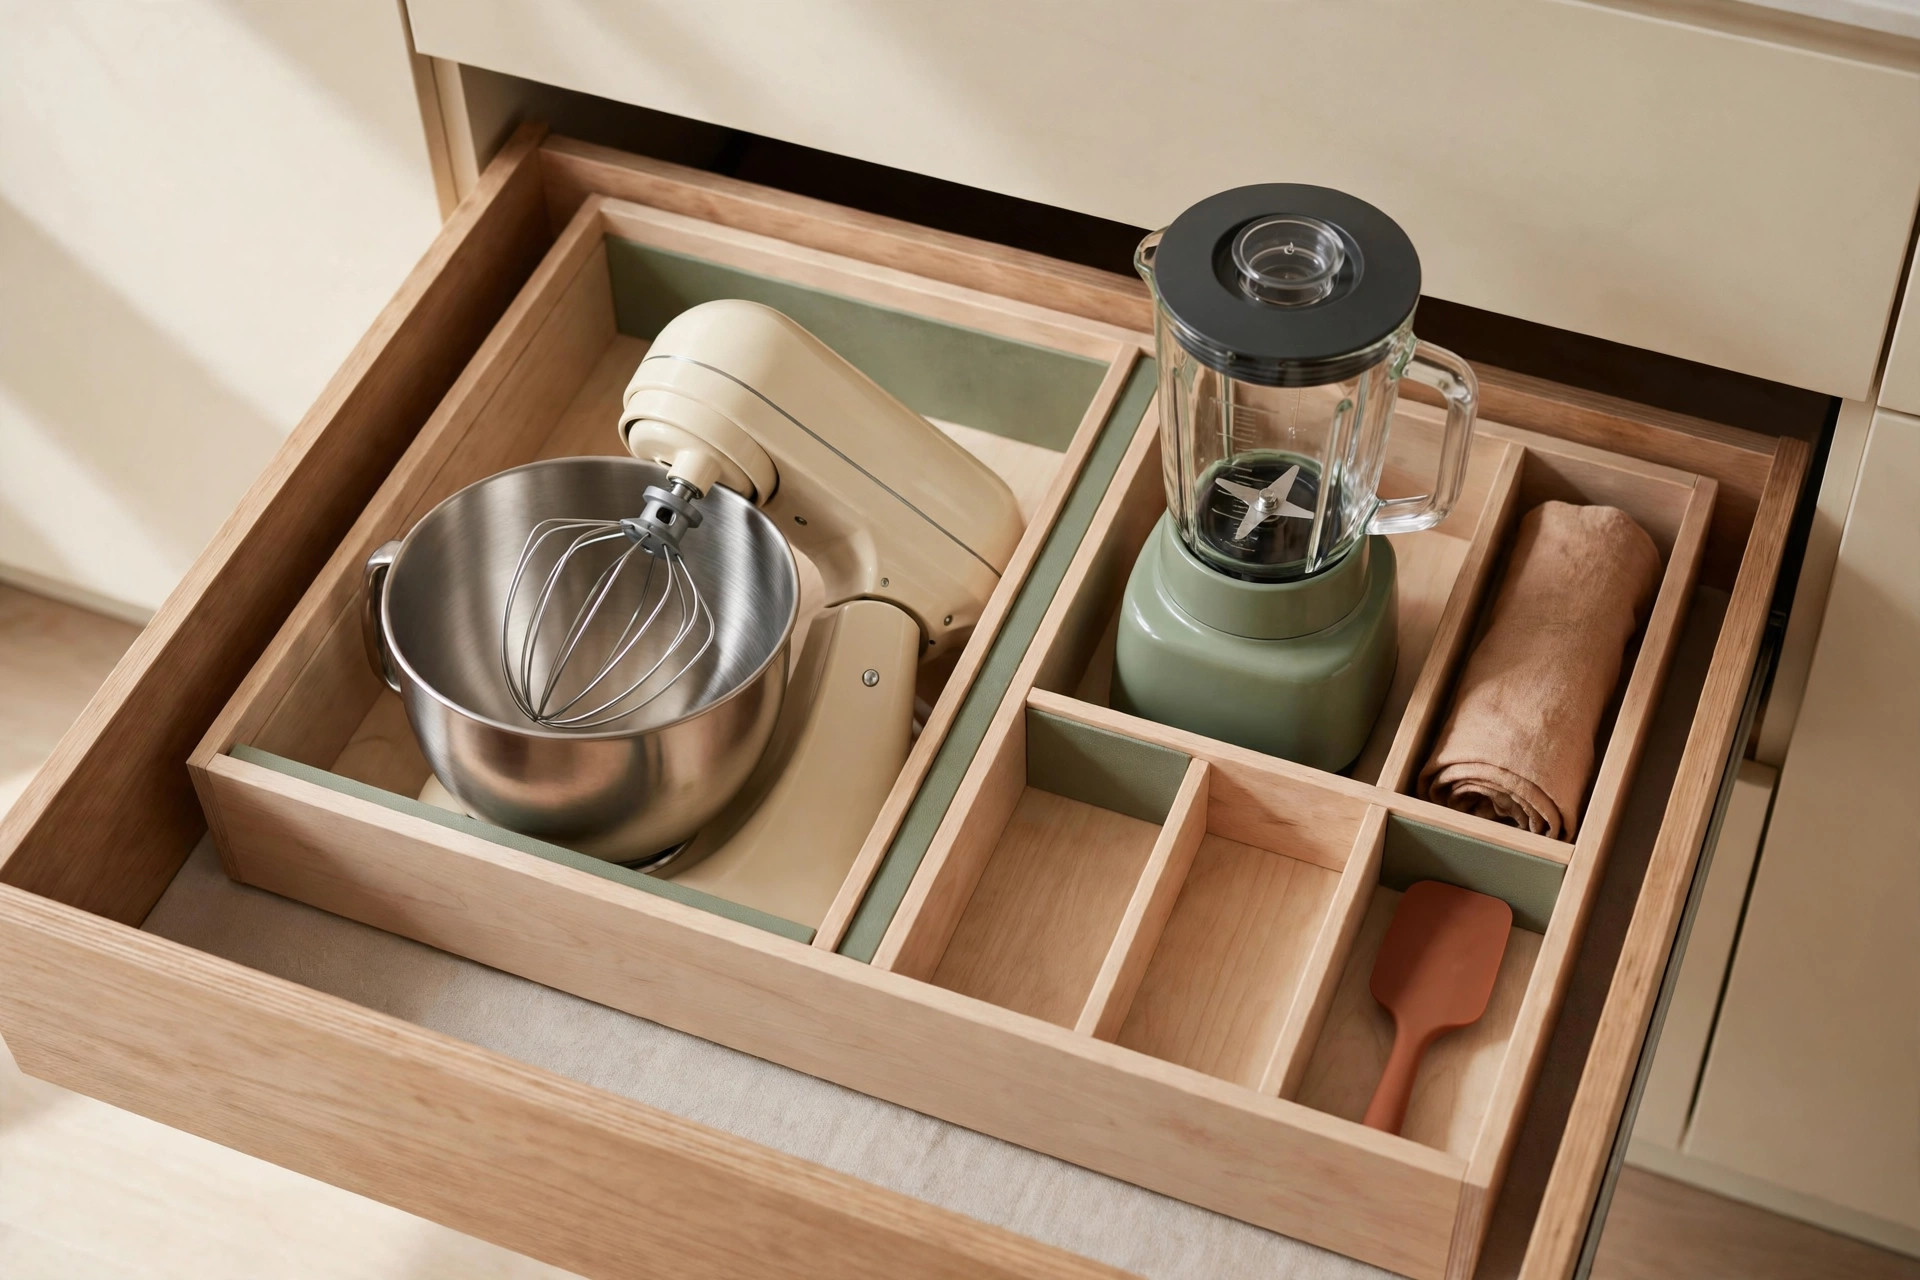
6. Turn a deep drawer into an appliance drawer
Line a deep drawer with a non-slip mat and adjustable dividers, and store the hand mixer, immersion blender, and food processor attachments inside. Dividers stop the drawer from becoming a tangle of cords and blades, and a mat keeps heavy bases from sliding.
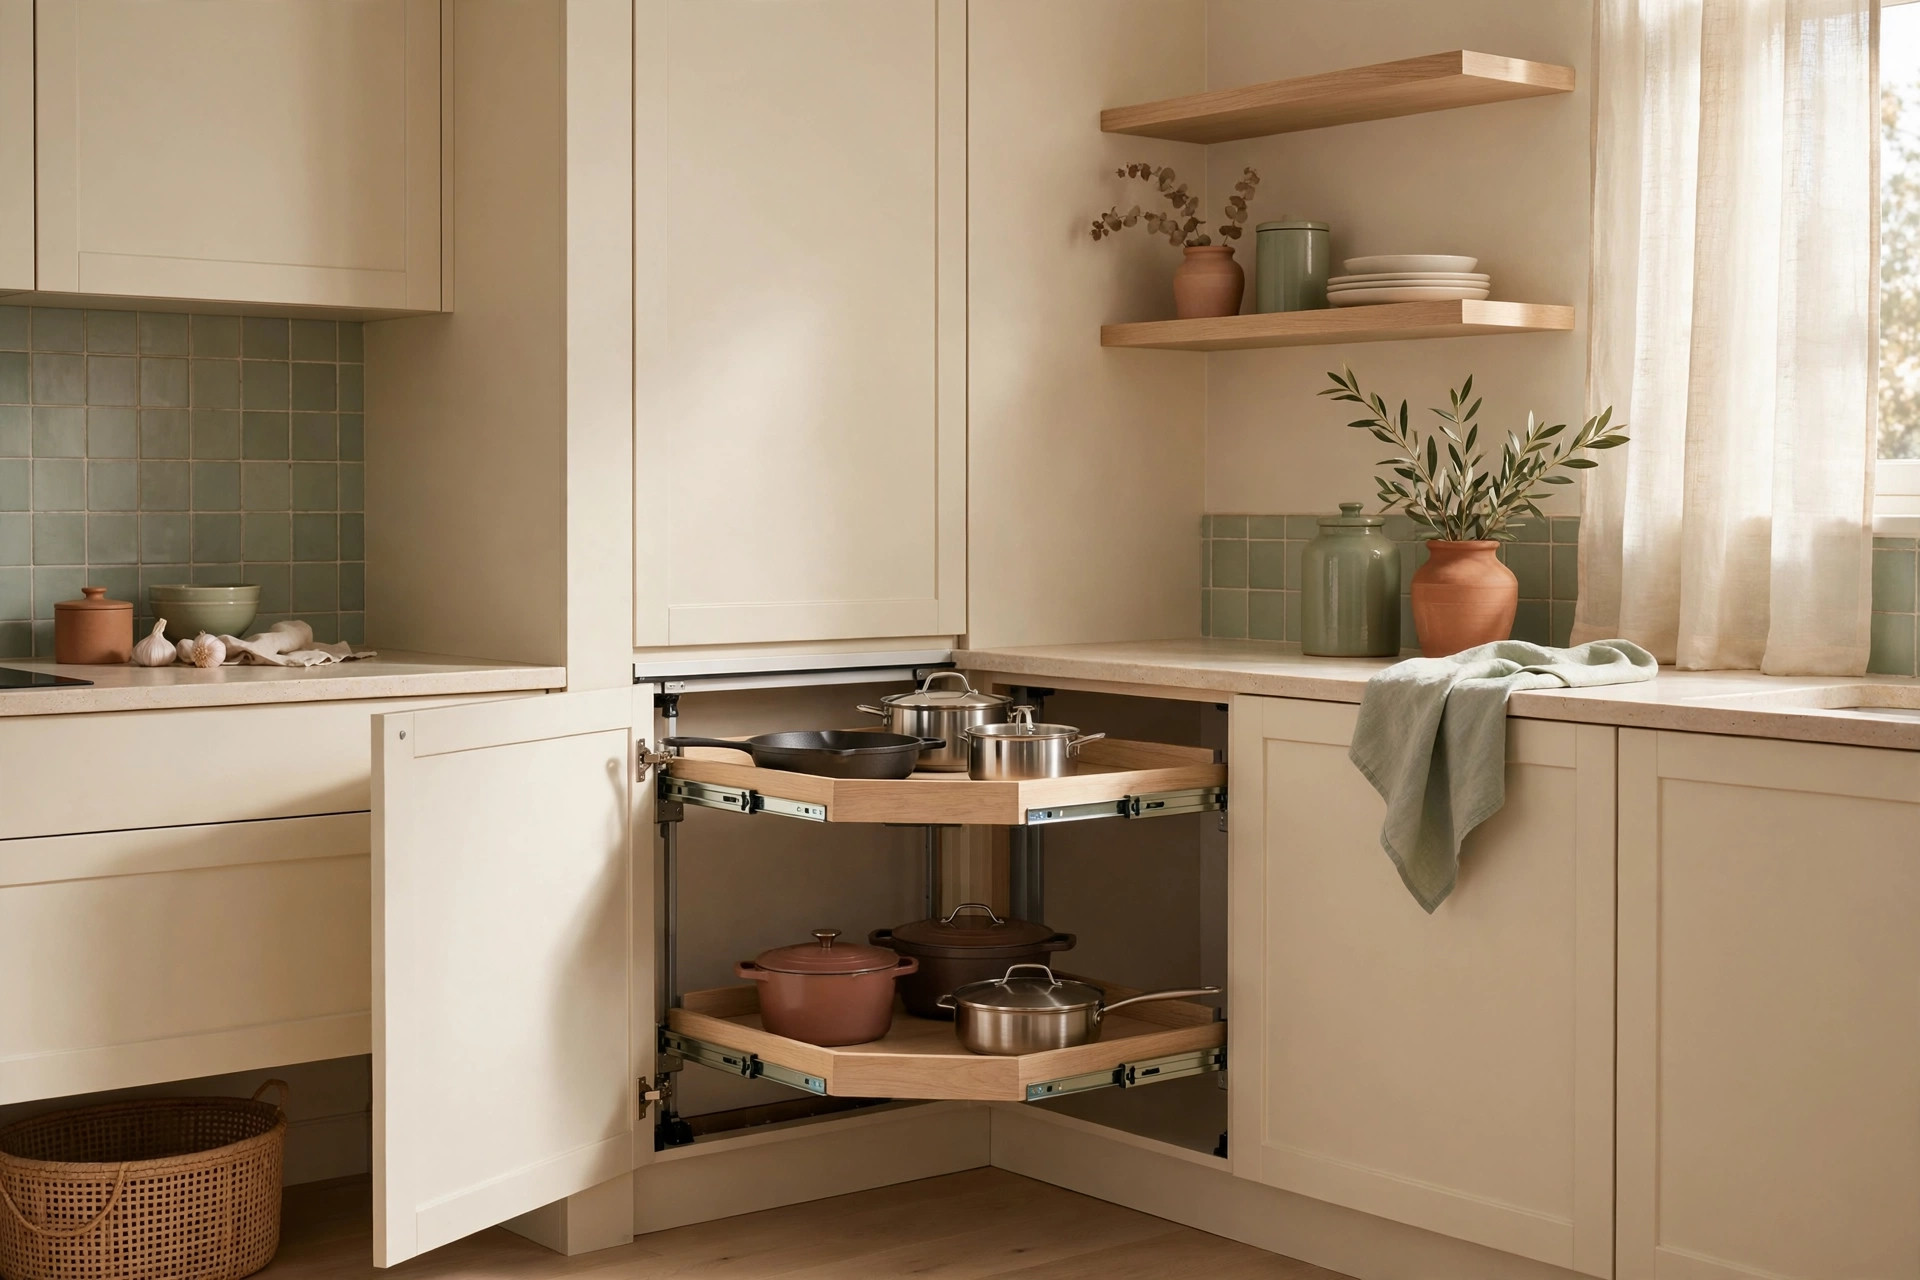
7. Add pull-out shelves to low cabinets
A pull-out shelf turns a deep base cabinet into a drawer you can actually reach into. Slide it out, grab the blender base, slide it back — no kneeling, no reaching past the slow cooker to find the waffle iron. Pull-outs come in standard widths, and many renter-friendly versions install with a few screws. This upgrade pairs naturally with our guide to small kitchen cabinet organization.
8. Put heavy appliances on rolling bases
A small rolling appliance base sits under a stand mixer or slow cooker and lets you slide it out of a cabinet with one hand instead of dragging it. This matters most for machines over 15 pounds, so choose a base rated above your appliance’s weight.
Open shelving for the pretty daily tools
Not every appliance needs to hide. The good-looking daily tools — a handsome kettle, a retro toaster — can earn their place on open shelving, where they are easy to grab and pleasant to look at.
9. Give daily tools one open shelf each
Reserve one open shelf, near your main prep area, for the two or three appliances you use every day. The rule is strict: the shelf holds only daily tools, never overflow.
10. Hang lighter tools instead of stacking them
A wall-mounted rail with S-hooks holds a hand mixer, a milk frother, and measuring tools off the counter entirely. Lighter appliances hang well; heavy ones do not, so keep the stand mixer in its cabinet. If you rent, adhesive-mounted rails work on tile and come off cleanly at move-out.
Pantry and closet overflow for seasonal appliances
Seasonal appliances do not belong in prime kitchen real estate. The bread maker you use in winter and the ice cream maker you use in summer can live farther away, as long as their home is labeled and easy to reach.
11. Create a pantry appliance zone on the top shelf
Dedicate one pantry shelf — ideally the top one, out of daily reach — to rarely used appliances. Store each in its original box or a labeled bin, with its cord wrapped and its attachments inside. An unlabeled box on a high shelf is an appliance you will forget you own. See also our guide to small apartment pantry organization.
12. Use a hall closet bin for bulky seasonal machines
When the pantry is full, a lidded bin in a nearby hall or linen closet is the next best home for bulky seasonal appliances. One labeled bin per appliance keeps the closet tidy and the machine easy to find.
Countertop rules: what earns a permanent spot
Storage alone will not keep counters clear. You also need rules about what stays out, because without them, every appliance slowly migrates back.
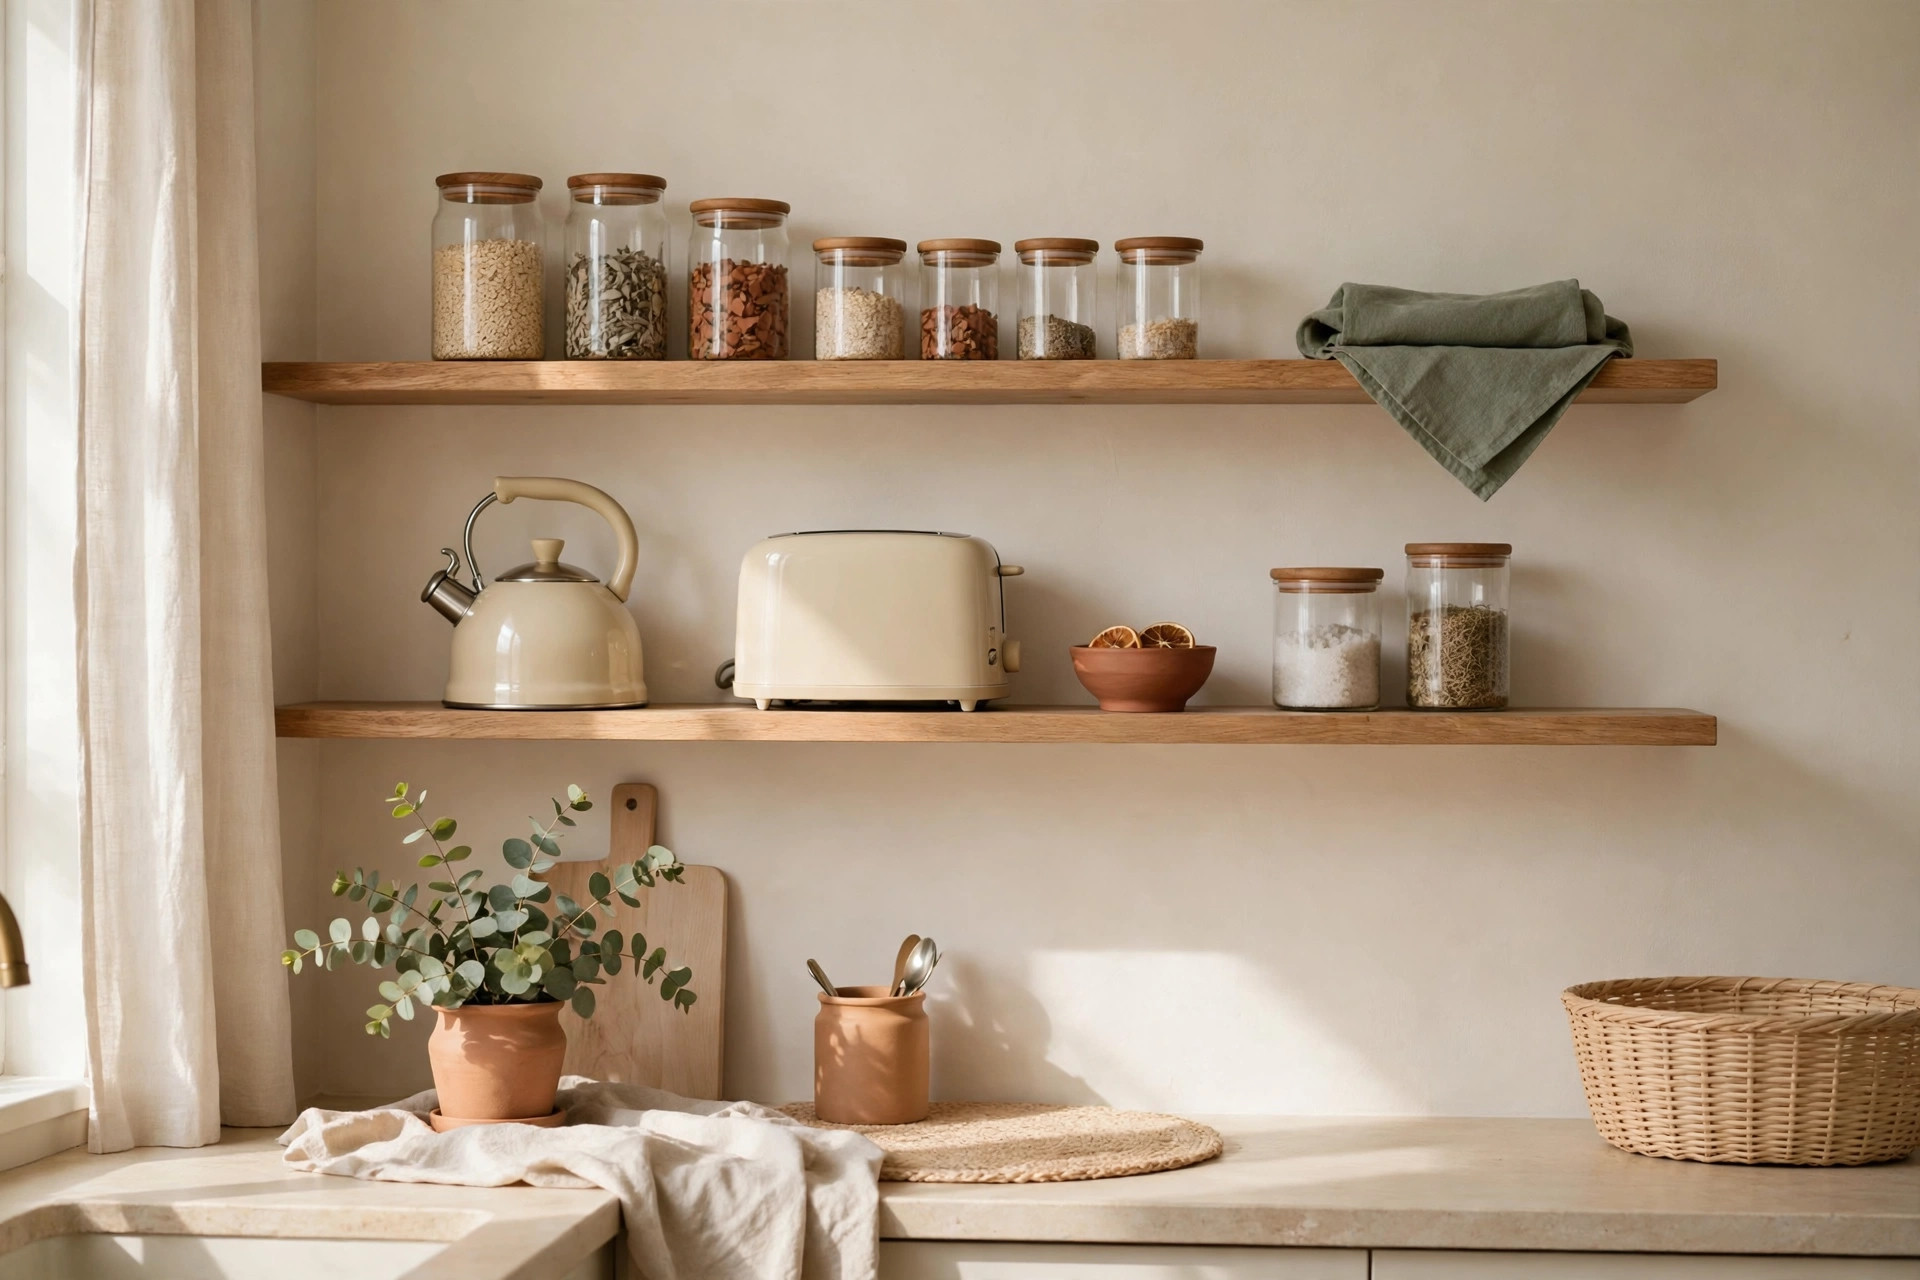
13. Apply the daily-use test to countertop spots
An appliance earns a permanent countertop spot only if you use it at least five days a week. Everything else gets stored after each use. This test is deliberately strict.
14. Corral countertop appliances on a single tray
If two or three appliances do pass the daily-use test, group them on one tray near the outlet they share. A tray defines the boundary — appliances that do not fit on the tray do not stay out — and it makes wiping the counter a one-lift job. Our guide to small kitchen counter organization covers the same logic in more detail.
Cord and accessory storage that stays tidy
Appliance storage fails most often on cords and attachments, not on the machines themselves. A blender base stored neatly means little if its cord is tangled around the food processor blades.
15. Wrap every cord before it goes away
Use a silicone cord wrap or velcro strap on every appliance cord before storing it. Loose cords snag, tangle, and make you dread pulling a machine out.
16. Keep attachments in a labeled caddy beside the machine
Store each appliance’s attachments — blades, discs, dough hooks — in a small lidded bin kept right beside the machine, never in a separate junk drawer. Label the bin, and you stop buying replacements for parts you already own.
The weekly counter reset
Even the best system drifts. A short weekly reset is what keeps small kitchen appliance storage ideas working months after the initial organizing burst.
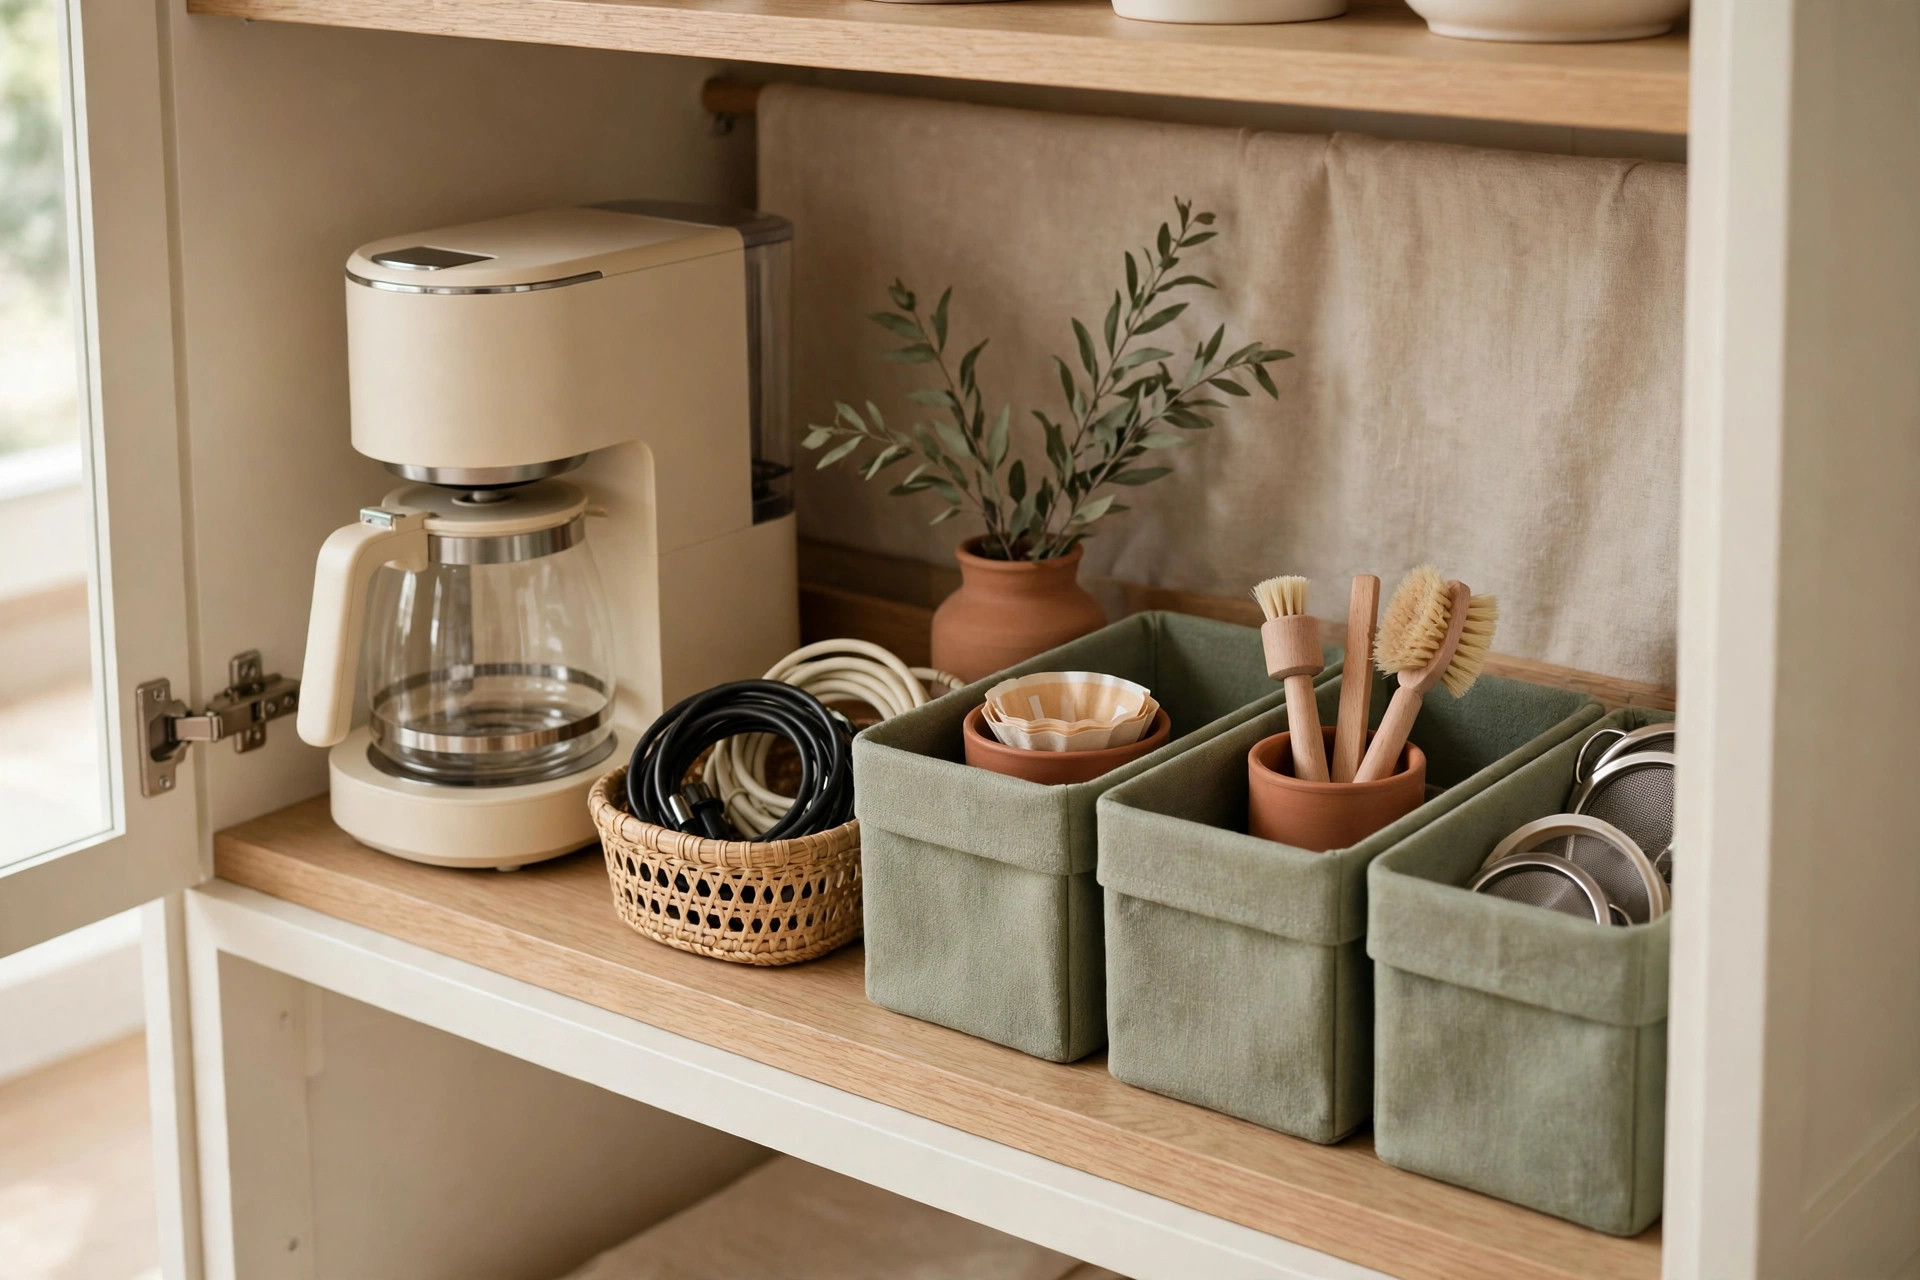
17. Run a five-minute Sunday counter reset
Once a week, walk the counters with a basket: anything that does not pass the daily-use test goes back to its zone, cords get re-wrapped, and the tray gets wiped. Five minutes is enough — you are maintaining a system, not reorganizing.
18. Re-audit once a month and retire the unused
Once a month, ask about each stored appliance: did I use it in the last 30 days? If the answer is no twice in a row, it moves to the donate pile or the farthest closet bin.
Mistakes to avoid
The most common mistake is buying storage before doing the audit — bins sized for appliances you do not even keep. Second, do not store heavy appliances on high shelves where lifting them down is unsafe. Third, avoid the matching-set trap: uniform bins waste space when your appliances are all different shapes. Fourth, never store an appliance with a wet blade or damp cord — dry everything first. Finally, do not let the countertop become the default home again just because putting something away takes thirty seconds.
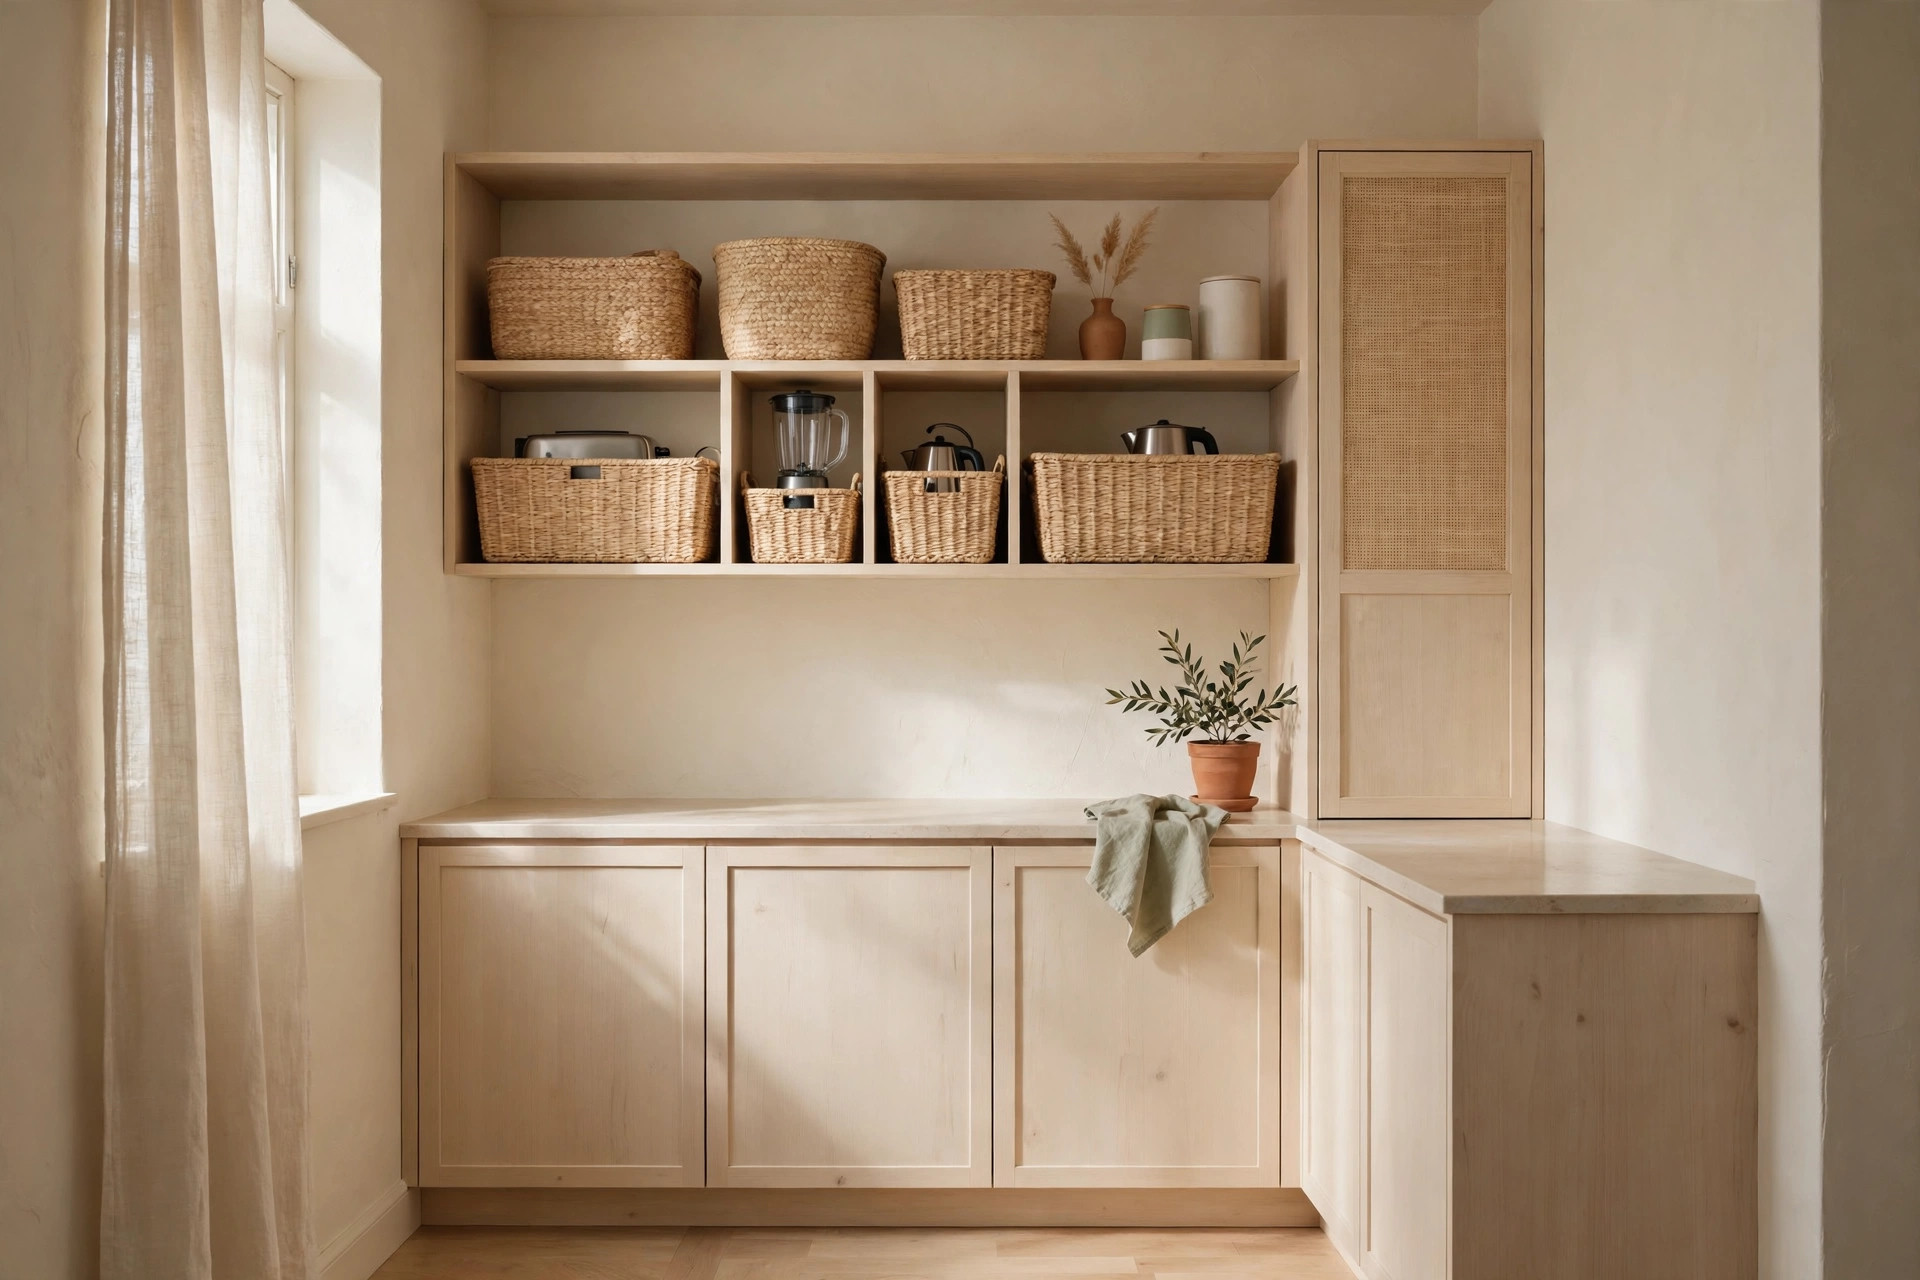
Frequently asked questions
How do I store kitchen appliances in a very small kitchen?
Start with the frequency audit: daily appliances stay out or in an appliance garage, weekly appliances go in a deep drawer or pull-out shelf, and rarely used appliances move to a pantry shelf or closet bin.
Can I store appliances in upper cabinets?
Light appliances like a hand mixer are fine in an upper cabinet, but avoid storing heavy machines above shoulder height. Keep heavy appliances in base cabinets, deep drawers, or on lift shelves.
Where should I store a stand mixer in a small kitchen?
The best spot is a base cabinet with a mixer lift shelf, which brings the mixer to counter height without lifting. Otherwise, a deep drawer or a low cabinet with a rolling base is the next best option.
How can I keep appliance cords tidy?
Wrap each cord with a velcro strap before storing the appliance, and keep the wrapped cord with its machine. For countertop appliances, a cable clip behind the appliance keeps the visible cord neat.
Conclusion
Clear counters come from honest sorting, not from more storage products. Audit by frequency, give each appliance a zone matching how often you use it, and protect the system with a five-minute weekly reset. Browse more ideas in our kitchen category or save this pin for later.