A tiny kitchen counter leaves you two bad choices most mornings: shove the coffee maker into a corner you can barely reach, or let mugs, beans, filters, and sugar sprawl across every inch of work surface. Neither works for long. The good news is that small kitchen coffee station ideas are not about finding more counter space — they are about giving your morning routine a small, defined home so the rest of your kitchen stays usable. These 15 ideas cover what you actually use, machines that fit, mug and bean storage, and a two-minute reset that keeps the whole station tidy.
The coffee audit: what you actually use every morning
Before you buy a single organizer, find out what your coffee routine really looks like.
1. Track one week of real mornings
For seven days, put a sticky note on every coffee item you use — the machine, the mug, the spoon, the sugar jar. At week’s end, anything without a note goes back into a cabinet. Most people use a machine, one mug, and one sweetener daily.
2. Give every daily item a measured footprint
Measure the space your daily gear occupies. A typical tiny-kitchen setup — a slim brewer, one mug, and a small sugar jar — fits in roughly 18 by 12 inches, about the size of a baking sheet. If your station is bigger, the extra inches hold things you do not use daily.
Compact machines that fit tiny counters
The machine is the biggest object in your station, so choosing the right one matters most. A machine an inch too wide can block a sink.
3. Pick a slim brewer, not a feature-packed one
Look for a single-serve or slim drip machine no wider than about 6 to 7 inches. Narrow pod machines and slim 5-cup drip models are built for this exact problem. Skip built-in grinders and milk frothers unless you use them daily — each adds inches and cleaning.
4. Measure height under your cabinets, not just width
Measure from the counter to the bottom of your upper cabinet — usually 15 to 18 inches — then check the machine’s height with its lid open, since you need that clearance to fill the tank or load a filter. If the lid cannot open fully, you will drag the machine out every morning.
Mug storage: hooks, shelves, and stackable solutions
Mugs are the quiet space-eaters of any coffee station — four look harmless, but eight turn a station into a mug museum.
5. Keep two mugs out, store the rest up high
Set a daily-mug rule: two mugs live at the station, one for each regular coffee drinker, and the rest go on a high shelf or in a cabinet. Straight-sided, stackable mugs let you store four in the footprint of two.
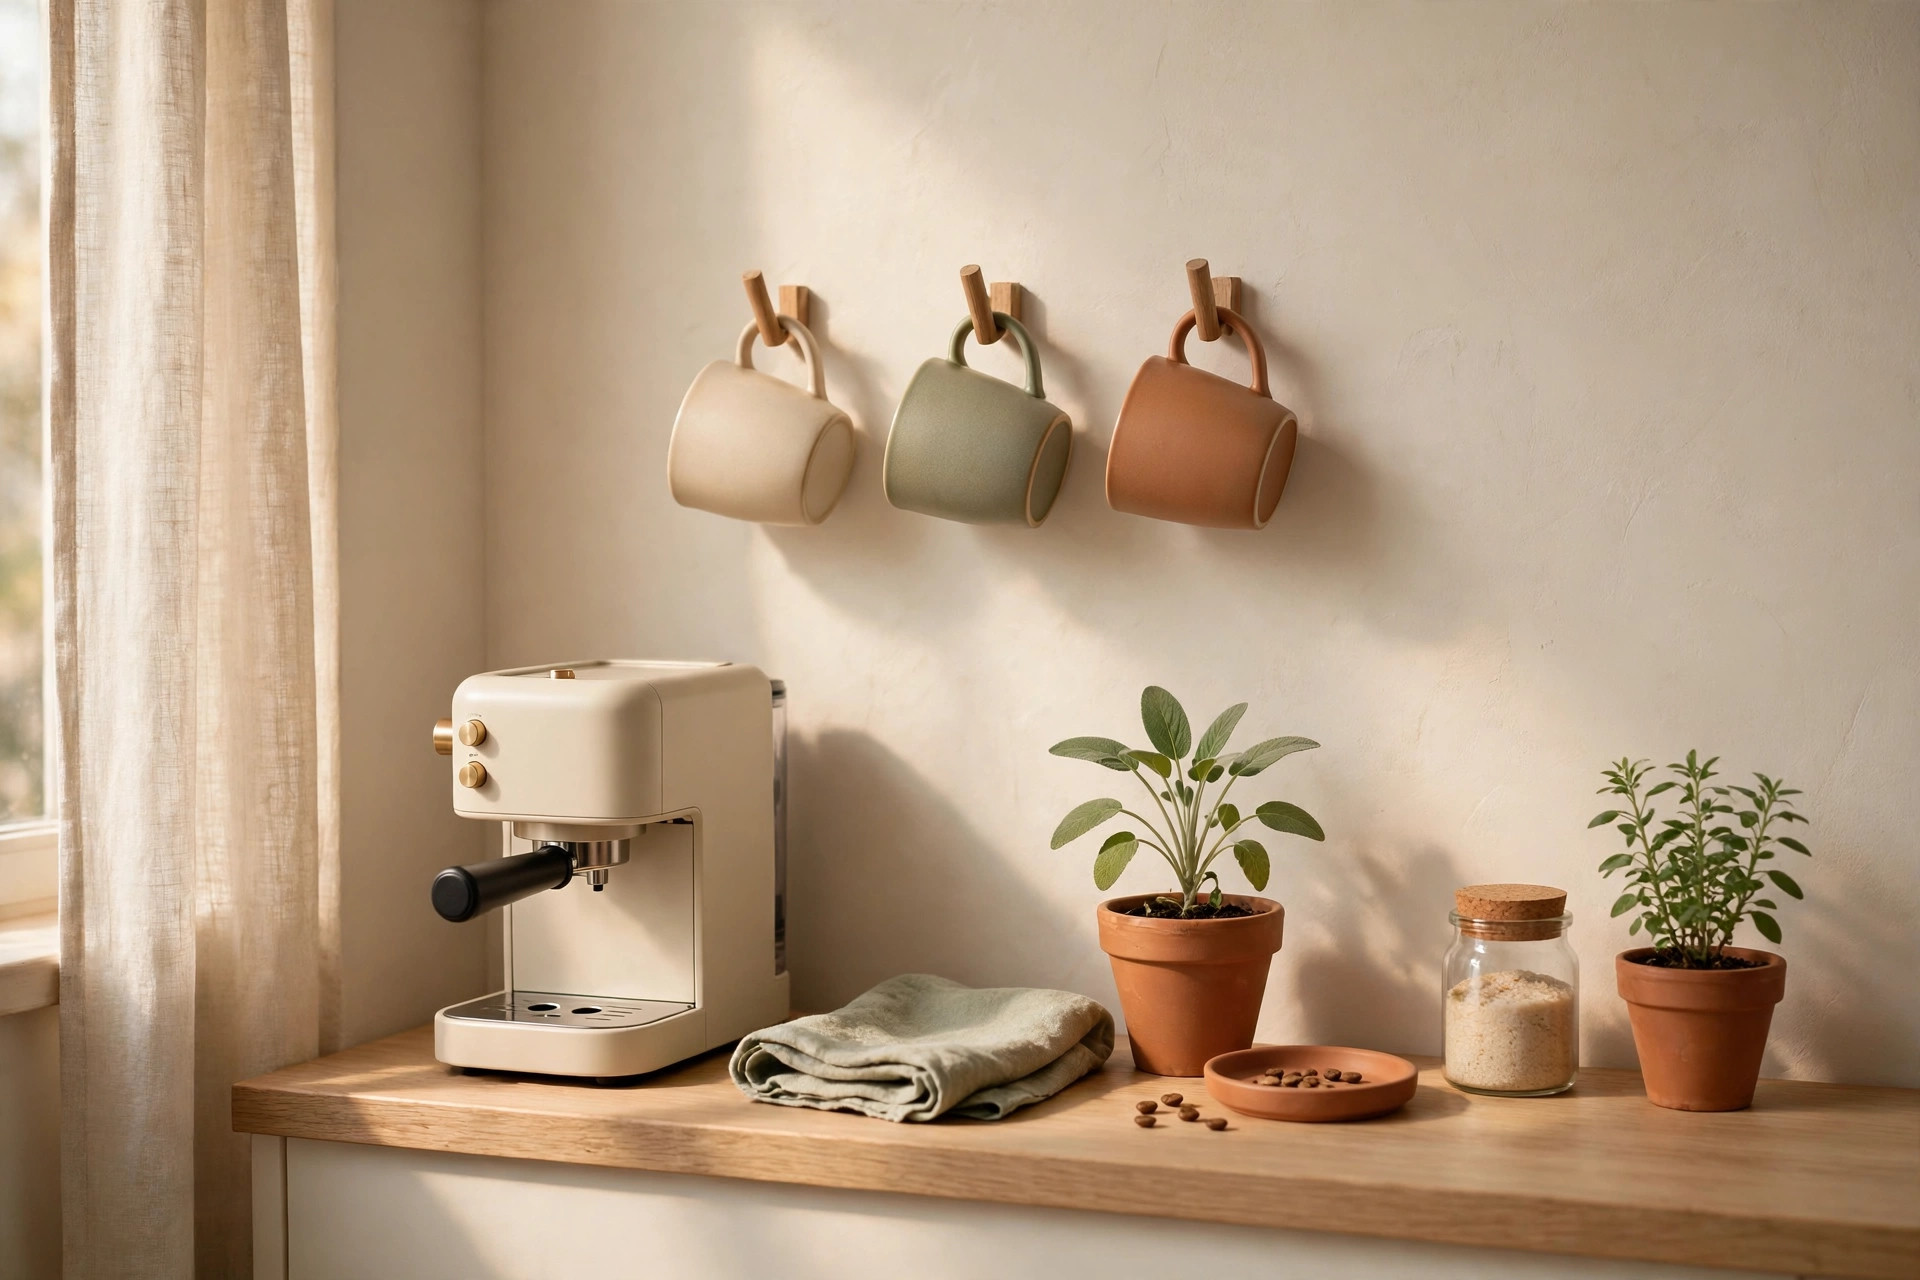
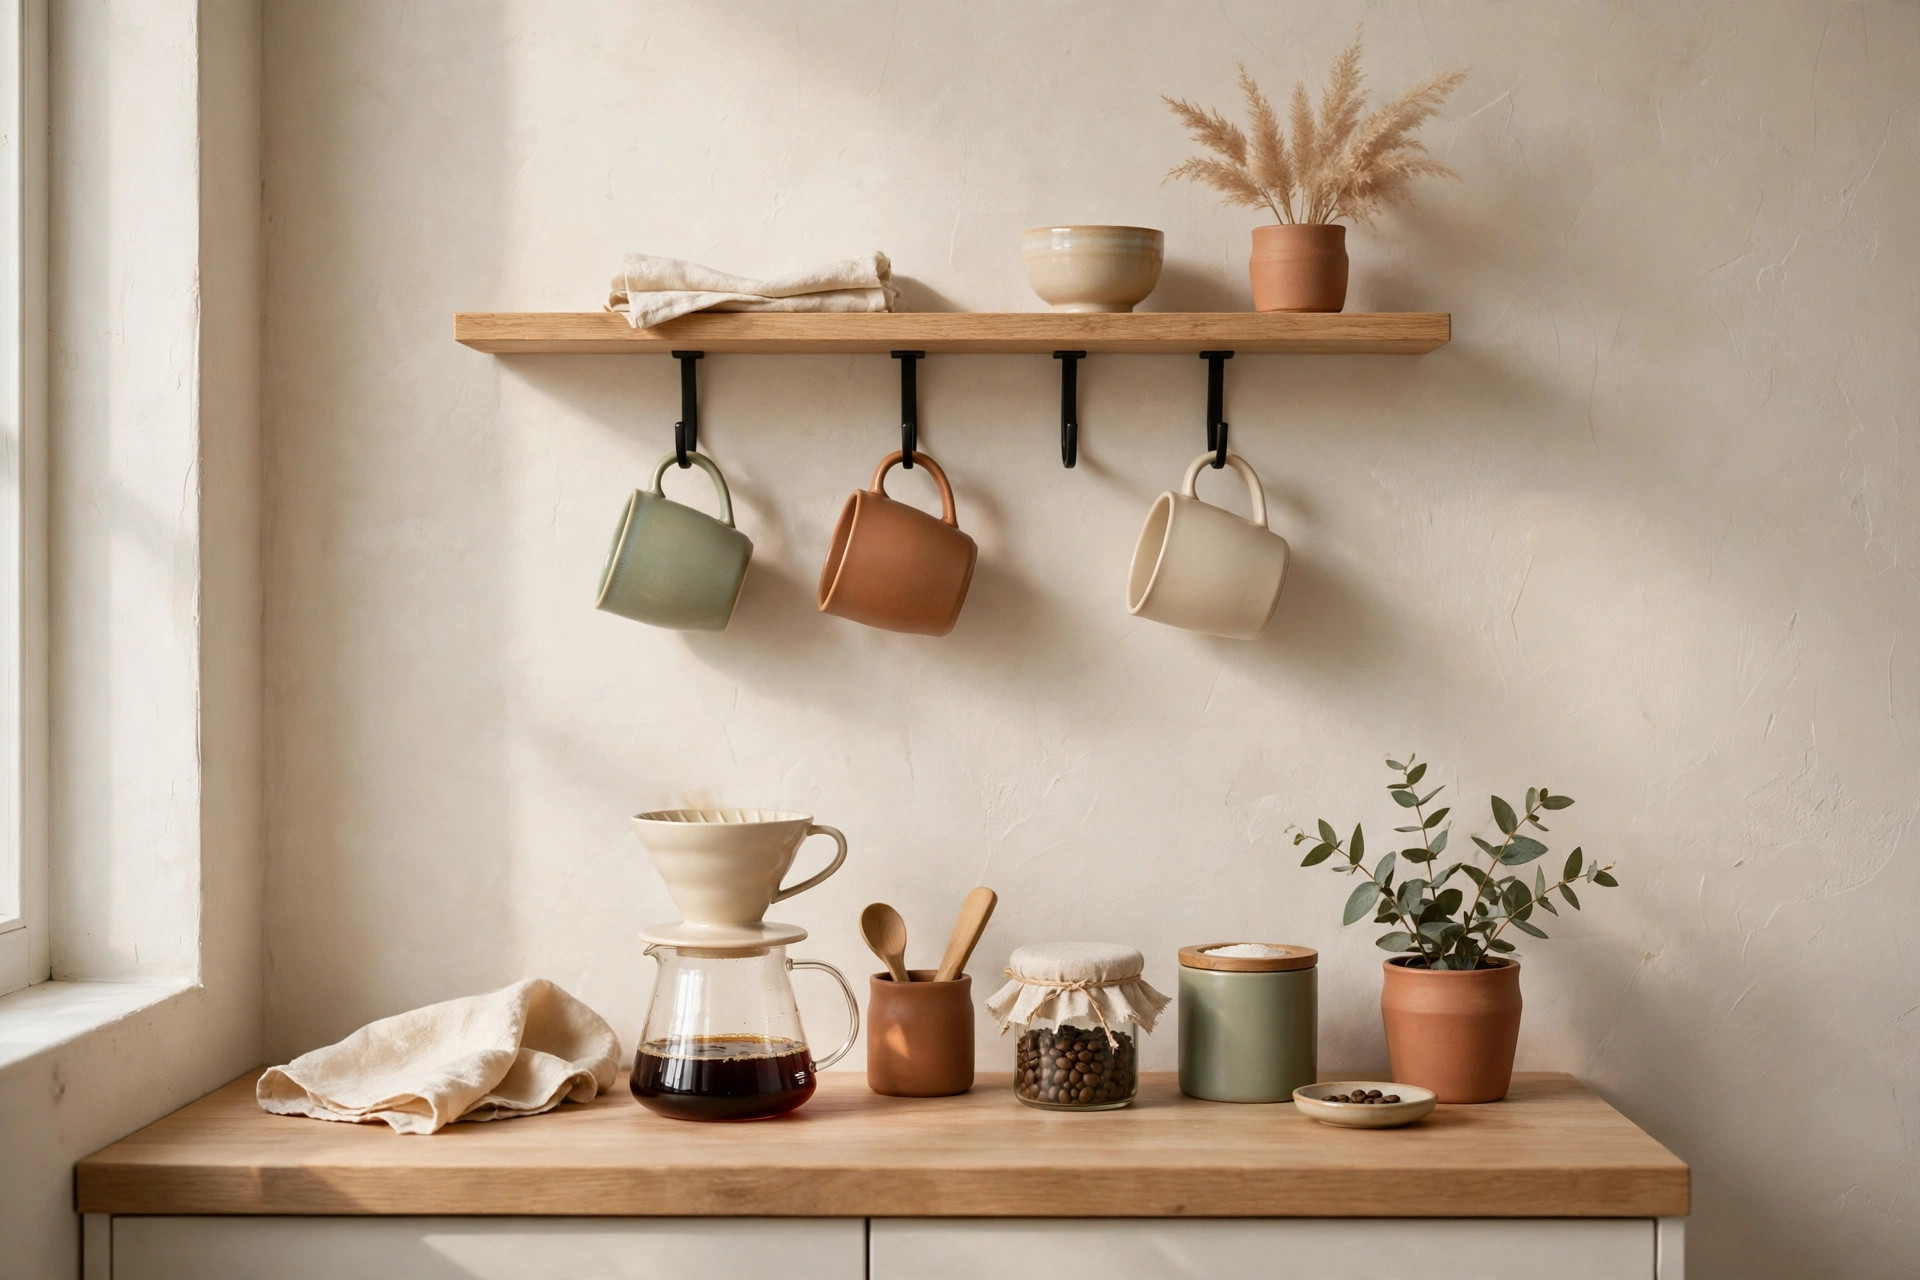
6. Hang mugs under a cabinet with adhesive hooks
Self-adhesive or clamp-on under-cabinet hooks hold two to four mugs by their handles, freeing the counter space those mugs used to occupy. Check the hook’s weight rating first — a full ceramic mug weighs roughly 12 to 16 ounces — and the clearance below the cabinet.
Bean, filter, and pod storage that stays fresh
Coffee goes stale fast, and tiny kitchens make it worse: heat near the stove, cooking smells in filters, and pods lost in a drawer.
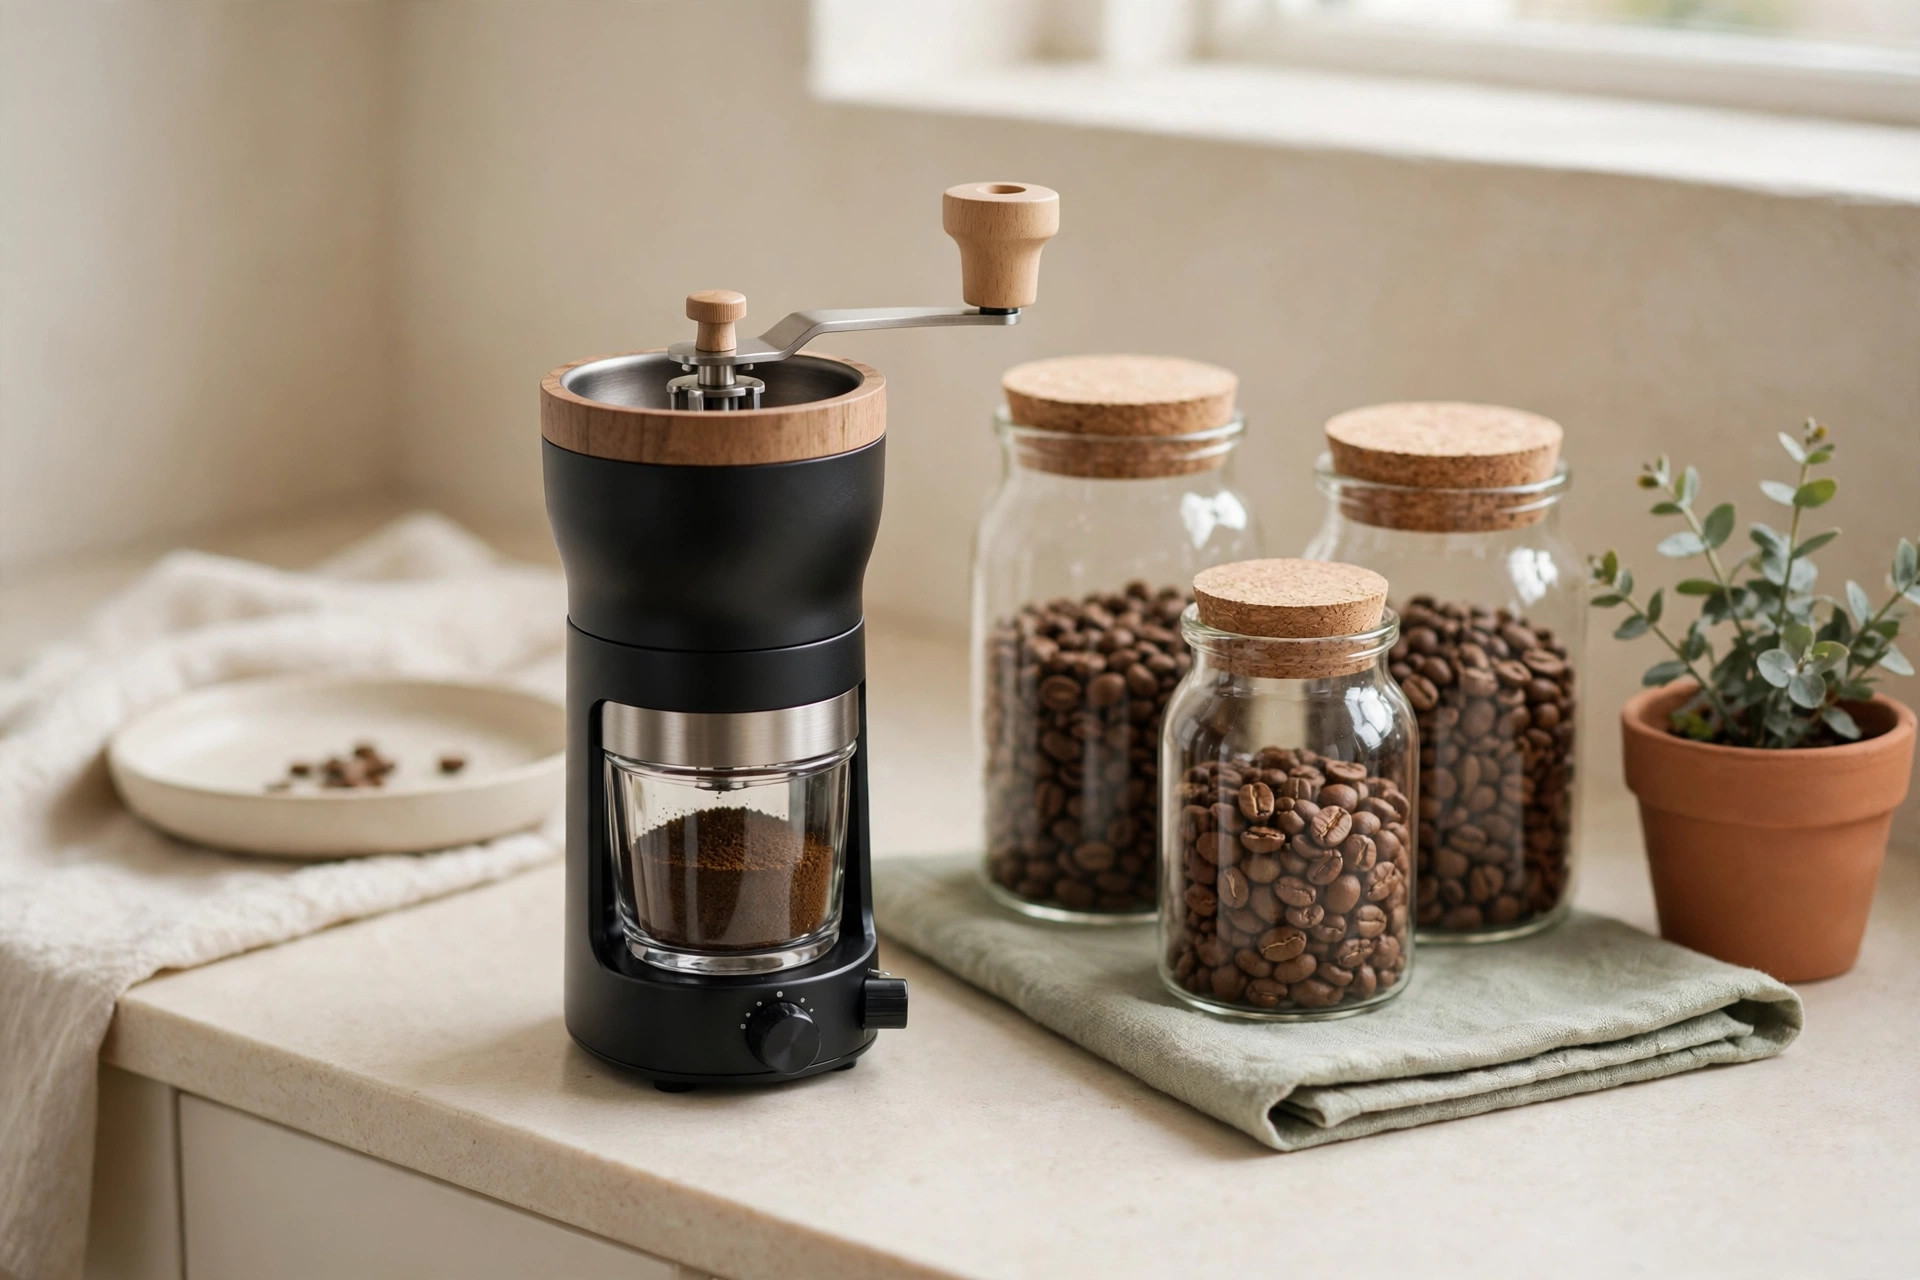
7. Store beans in one small airtight canister, not the bag
Transfer beans into a single opaque, airtight canister sized to about one week’s supply — roughly 8 to 12 ounces for a one- or two-coffee household. Opaque matters: light degrades beans, and clear jars on a sunny counter are the worst spot in the kitchen.
8. Corral filters and pods in a lidded drawer bin
Filters and pods need a container with a lid, not an open basket. A small lidded bin — about 6 by 4 inches — in the drawer nearest the station holds paper filters upright, while a slim divider holds pods in a single row so you can see flavors at a glance.
The tray trick: containing the whole station in one footprint
If you remember one idea from this guide, make it this one: a tray turns a scattered station into a single object with edges.
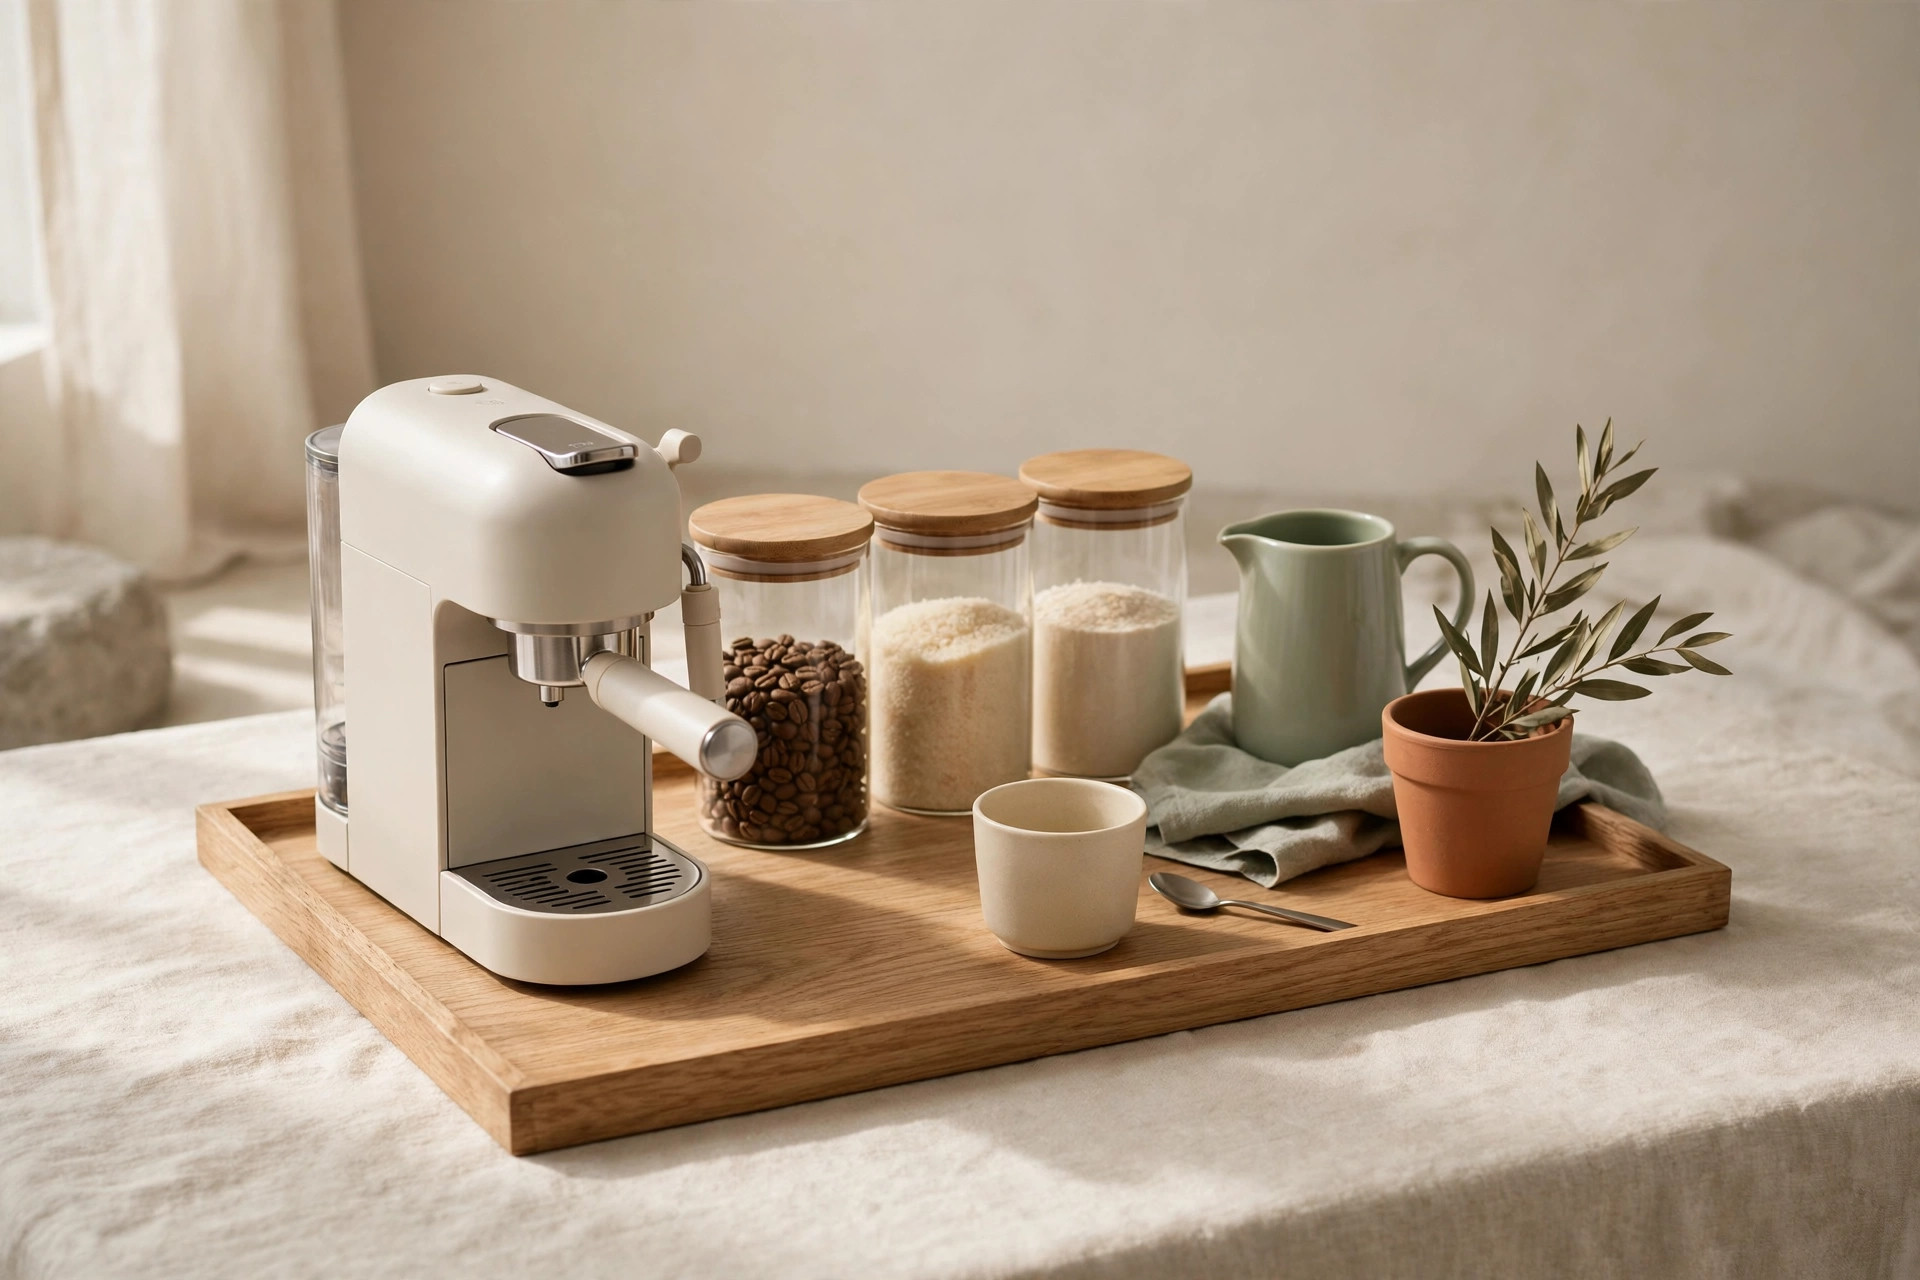
9. Contain everything on one tray
Choose a tray roughly 16 by 12 inches — big enough for the machine, the canister, and one mug, small enough to lift with both hands. A raised lip of about half an inch catches drips. Avoid fabric-lined trays, which absorb spills.
10. Make the tray movable for cleaning and cooking
A station that cannot move is a station that never gets cleaned behind. Keep the tray light enough to lift in one motion — machine plus canister plus mug, no more — so you can slide it aside for cooking and wipe underneath once a week.
The same containment principle works beyond coffee — see Small Kitchen Counter Organization: What to Keep Out (and What to Hide) for the same decision applied to everything else on your counters.
Wall space: shelves and rails above the station
When the counter is full, the wall above it is the only direction left — but only storage you can reach while half-awake helps.
11. Add one small shelf at comfortable reach height
A single shelf, about 18 to 24 inches wide and mounted 12 to 15 inches above the counter, holds the canister, the sugar jar, and a spare mug. Mount it where you can grab the canister without a step stool; a shelf you need a chair to reach is one you will stop using.
12. Mount a short rail for spoons, scissors, and a towel
A 12-inch rail with three or four S-hooks, mounted on the backsplash or the wall beside the station, holds the small tools that otherwise clutter the tray: a measuring spoon, scissors for opening bags, and a small hand towel. Keep the hooks few — a rail with ten hooks becomes a junk rail within a month. The same vertical-storage thinking drives our guide to Kitchen Wall Storage Ideas for Small Kitchens.
Renter-safe setups with zero drilling
Renters cannot drill into the landlord’s cabinets or tile, and anything installed has to come off cleanly at move-out.
13. Build the station with adhesive, clamp, and tension gear only
Adhesive hooks rated for at least 2 pounds hold mugs and rails; clamp-on under-cabinet hooks grip the shelf without screws; tension rods inside a cabinet create a hanging row for mugs or a divider for pods. For shelves, use adhesive-mounted mini shelves rated for your load, or a freestanding countertop riser. The same no-drill toolkit appears in our 17 Renter-Friendly Closet Organization Ideas (No Drilling Required).
The 2-minute morning reset and weekly deep clean
A station that is easy to tidy is a station that stays tidy — so the reset below is designed to be done while the coffee brews, not as a separate chore.
14. Run the 2-minute reset while the coffee brews
While the machine runs, do four things: rinse yesterday’s mug, wipe the tray with the hand towel from the rail, return the spoon and sugar jar to the tray, and push the machine back to its taped outline. Two minutes, four moves, and the station is back to its starting state before your first sip.
15. Deep-clean the station once a week, in ten minutes
Once a week, lift the tray off, wipe the counter underneath, rinse the machine’s removable parts, wash the canister lid, and check the pod and filter supply. Ten minutes, once a week, keeps the station from drifting into the sticky, dusty state that makes people abandon it.
Mistakes to avoid
Buying the station before the audit. Organizers bought for a routine you have not measured always fit the wrong gear. Audit first, buy second.
Storing beans near heat or light. The top of the fridge, the shelf above the stove, and a sunny windowsill are the three worst spots for coffee in a small kitchen. Cool, dark, and sealed beats convenient and visible.
Letting the mug count grow. Every gifted mug that lands at the station pushes a daily mug off the tray. Cap the station at two mugs and move the rest to a shelf the day they arrive.
Blocking the outlet or the sink. A station that covers the only outlet or crowds the faucet makes cooking harder, which is how stations get dismantled in frustration. Leave one outlet free.
Choosing pretty over wipeable. Open baskets, fabric trays, and unsealed wood absorb every drip in real life. On a coffee station, every surface should survive a wipe with a damp cloth.
See also 18 Small Kitchen Cabinet Organization Ideas That Maximize Every Shelf for cabinet strategies that pair with a contained counter station.
Frequently asked questions
How much counter space does a coffee station really need?
About 18 by 12 inches — roughly the size of a baking sheet. That covers a slim brewer, a canister, and one or two mugs. If yours is much bigger, run the one-week audit in idea 1.
Can I build a coffee station with no drilling at all?
Yes — adhesive hooks, clamp-on under-cabinet hooks, tension rods, and freestanding risers all work without a single hole and come off cleanly at move-out (see idea 13).
Where should I store coffee beans in a small kitchen?
In a small, opaque, airtight canister holding about a week’s supply, at the station away from heat, steam, and sunlight. Keep backup bags sealed in a cool cabinet.
How do I keep a coffee station tidy without daily cleaning?
Tie the tidy-up to the brew cycle: the 2-minute reset in idea 14 takes four moves while the coffee brews, and a 10-minute deep clean once a week handles the rest.
What is the best coffee machine for a tiny counter?
A slim single-serve or 5-cup drip machine no wider than about 6 to 7 inches, with a height that fits under your cabinets with the lid open. Measure width, depth, and open-lid height before you buy.
Conclusion
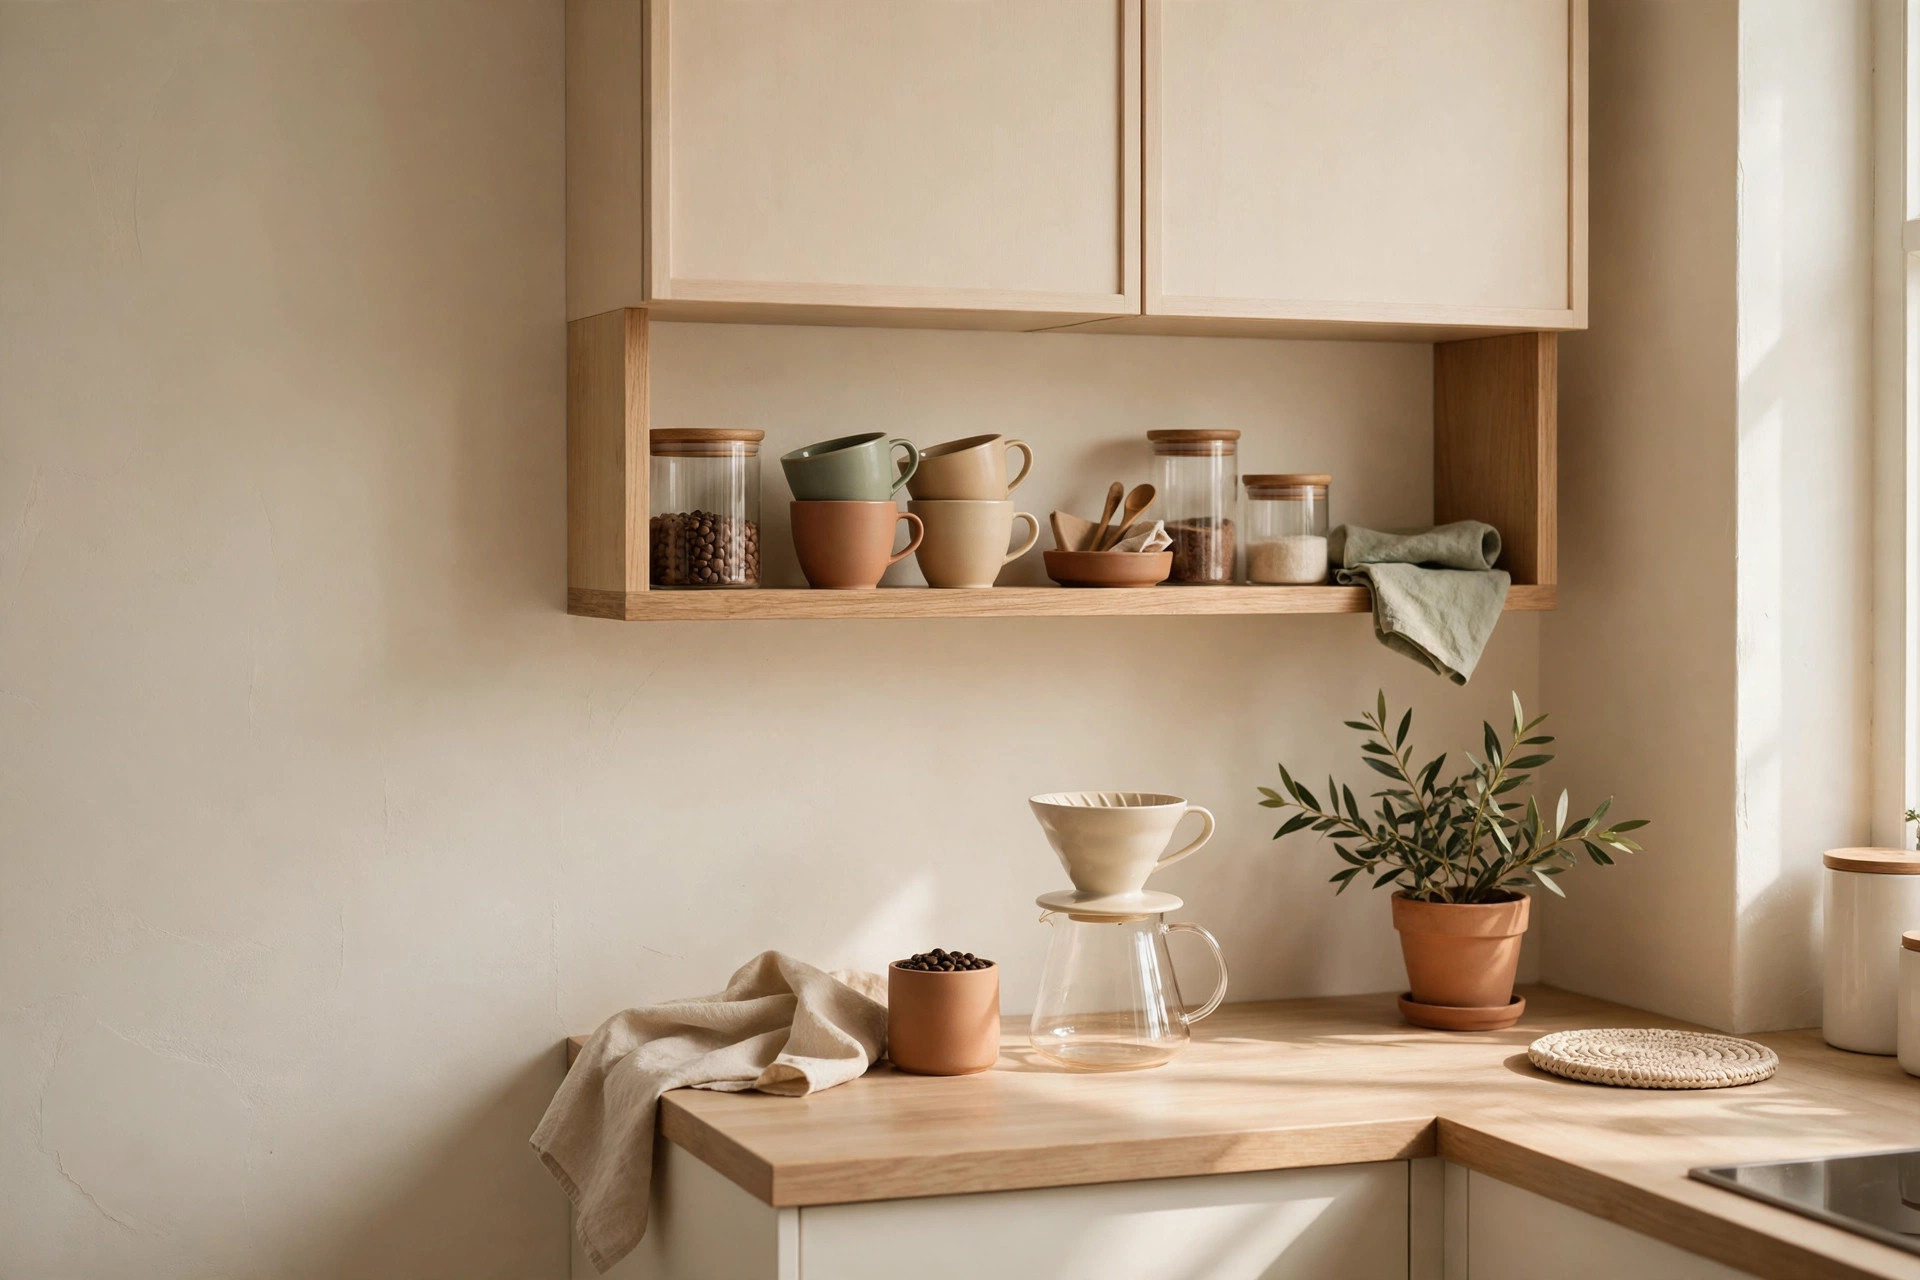
A tiny counter does not need a smaller coffee habit — it needs a smaller, better-defined home for the habit you already have. Audit what you actually use, pick a machine that fits the space you measured, contain the station on one movable tray, and let the wall and a two-minute reset do the rest. Start with the audit this week, and your mornings will get calmer fast. Browse the kitchen category for more small-kitchen ideas — and save this pin for later.