If your cleaning supplies live in a jumble at the bottom of a closet — brooms fallen over, spray bottles leaking, and the one cloth you need buried behind half-empty bottles — you are not disorganized, you are just missing a system. Good cleaning supply closet organization is not about buying a prettier closet; it is about giving every tool a home it returns to without thinking, so cleaning starts in thirty seconds instead of ten minutes of hunting. These 18 ideas are built for small homes, where the closet might be a hallway nook, a slice of the laundry closet, or a single narrow door. Every one is renter-friendly and measured to fit real closets.
Measure the closet: brooms, vacuums, and tall tools first
Do not buy organizers before measuring what actually has to live there. Start with the tallest, bulkiest items, because they set the rules for everything else.
1. Measure your tallest tool, then add 2 inches. Stand your broom, mop, and vacuum upright and measure the tallest one, handle included. Your top shelf, hook height, and hanging rail must clear that height, or you will tilt the broom sideways every time you pull it out.
2. Claim a floor footprint for the vacuum alone. A stick vacuum needs roughly a 12-by-12-inch corner; an upright needs closer to 14 by 14 inches. Mark that corner with tape and do not let bins creep into it — the vacuum cannot hang, so it gets first claim on floor space.
3. Check the door swing and depth before buying anything. Open the door fully and measure the clear depth from the back wall to the door frame, plus the swing arc. If a door rack or rolling cart blocks the door from closing, it is the wrong product no matter how good it looks online. The same door-clearance logic in our 16 Hall Closet Organization Ideas for Tiny Entry Closets keeps a neighboring coat closet working too.
Wall-mounted broom and mop holders
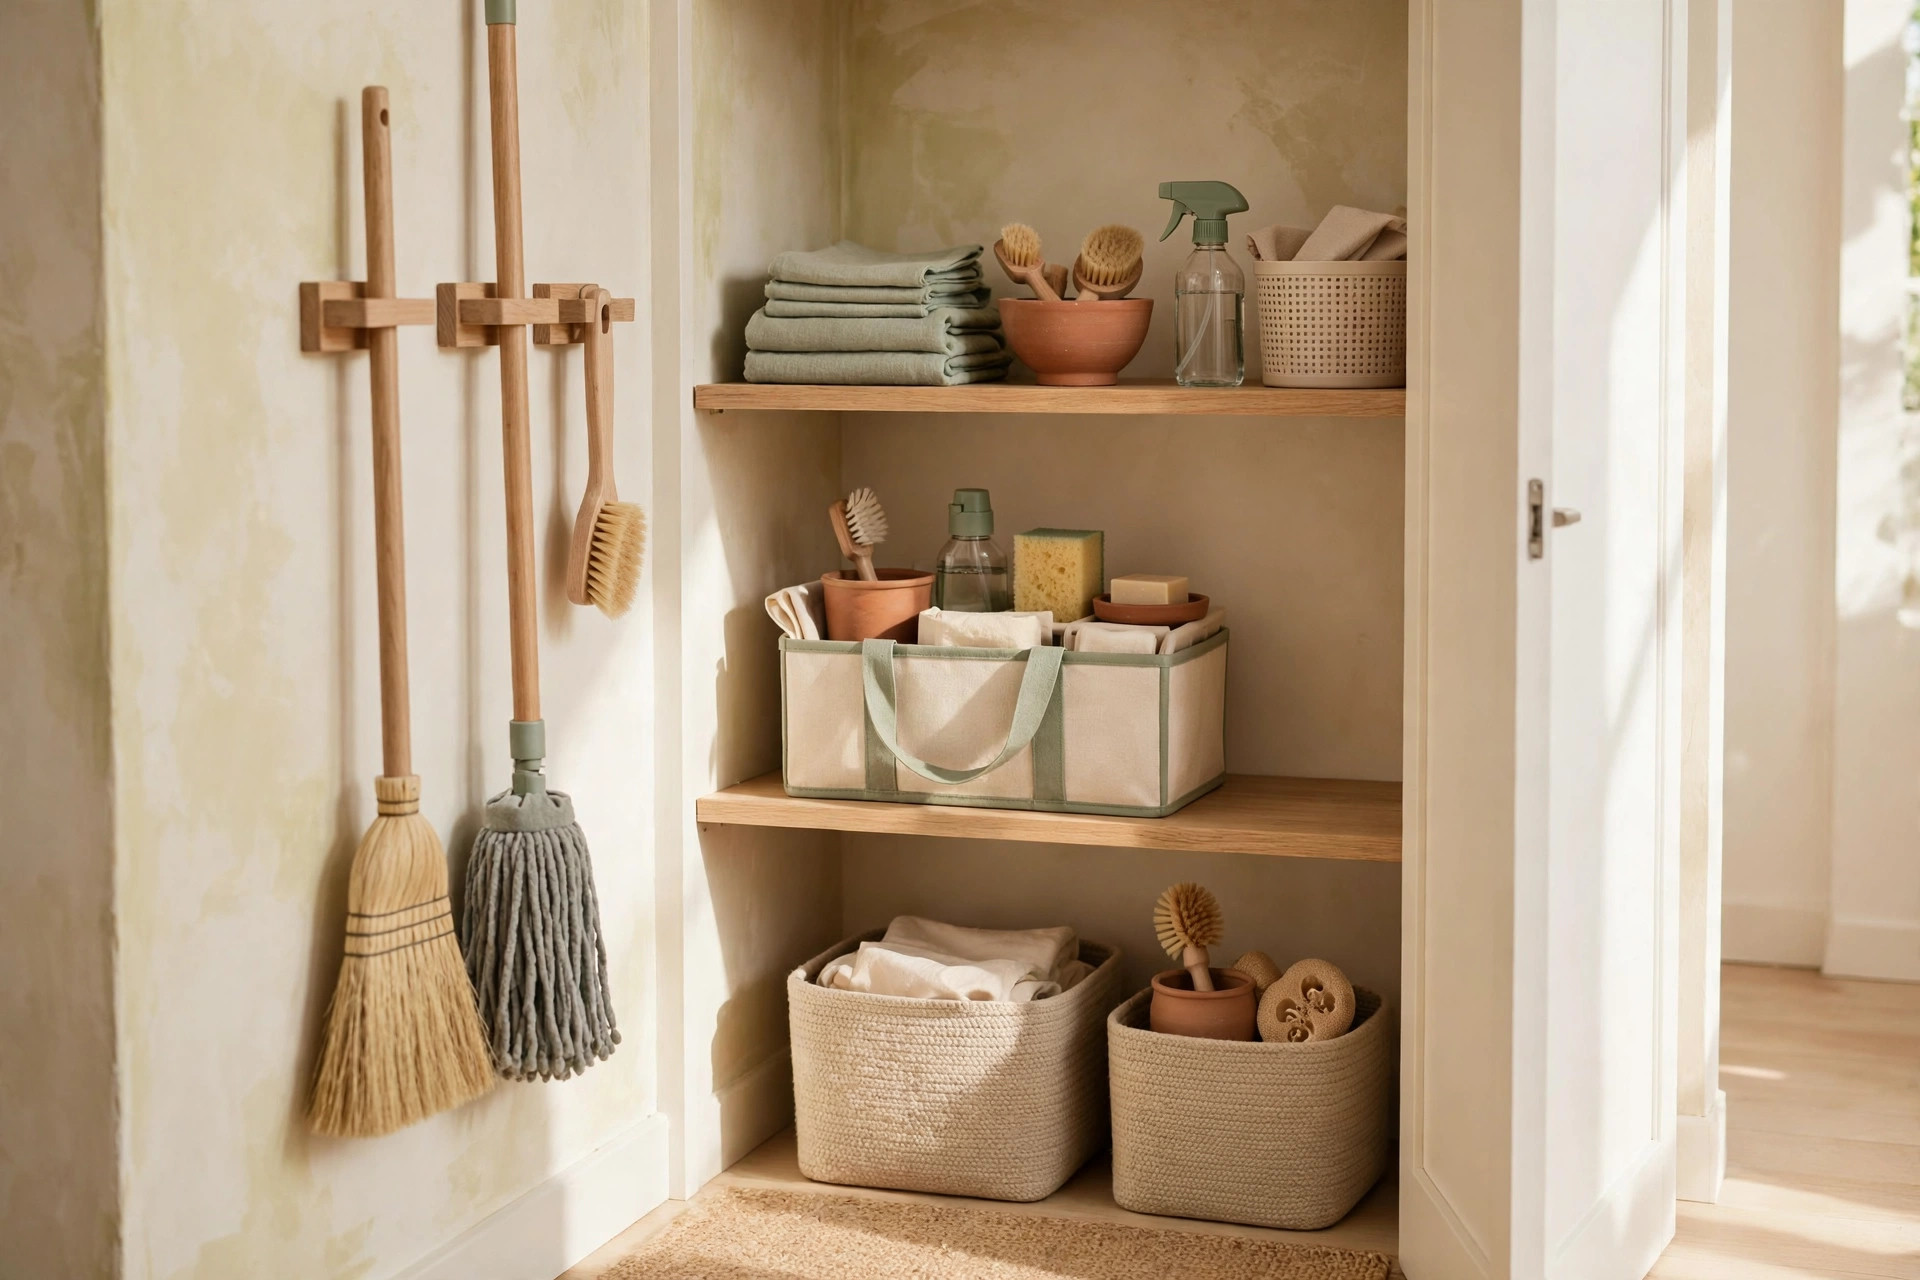
Walls are the most wasted surface in a cleaning closet. Getting handles off the floor frees the bottom shelf and stops the domino effect where one falling broom knocks everything down.
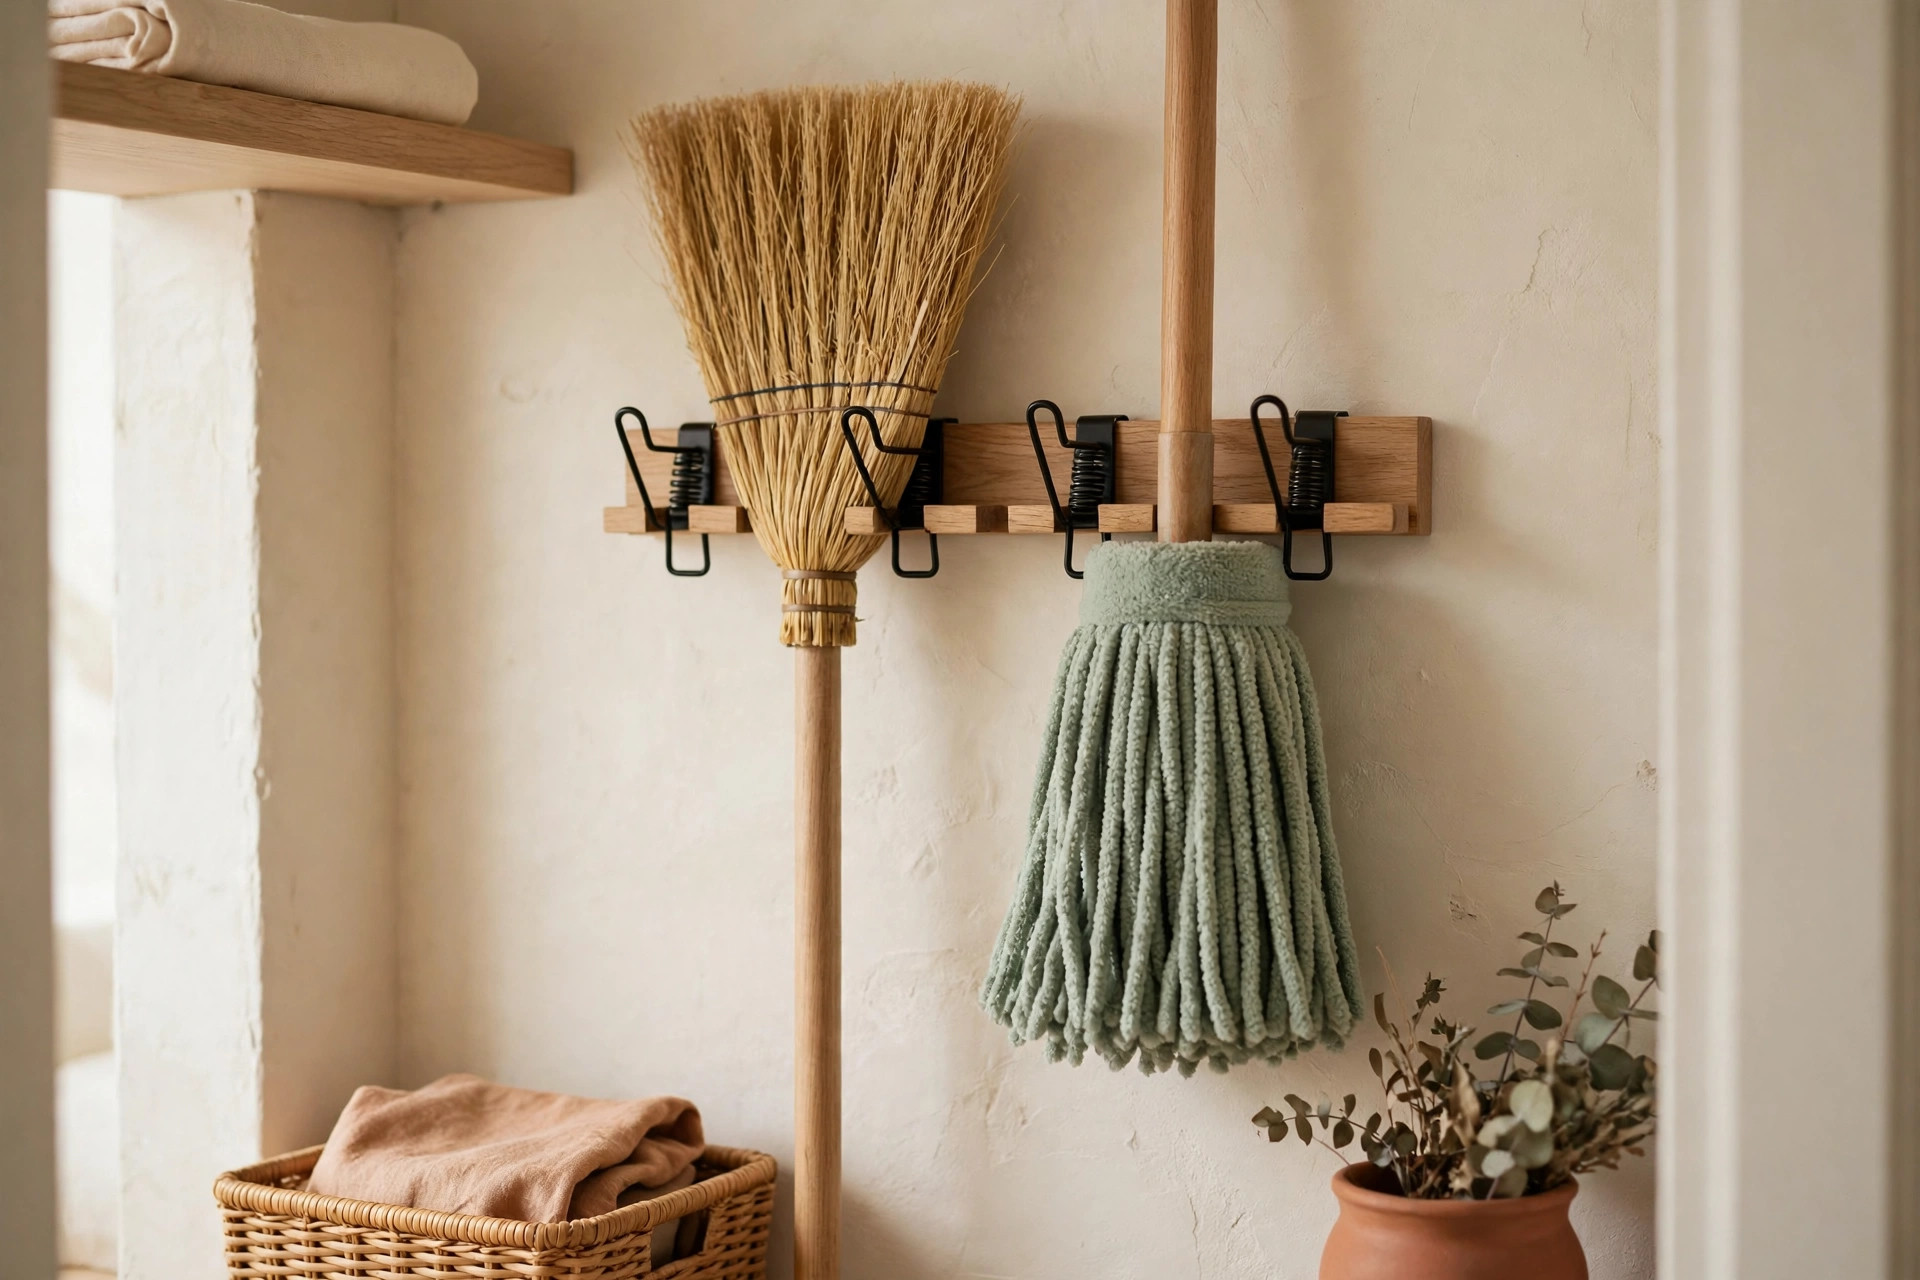
4. Mount a grip-style holder rail at shoulder height. Spring-grip or rubber-grip holders fit handles from about 3/4 inch to 1-1/4 inches in diameter, which covers most brooms, mops, and dusters. Mount the rail at roughly 48 to 54 inches high so heads hang just off the floor, and leave about 4 inches between grips so handles do not jam together.
5. Add a single track rail for tools that do not fit grips. A short slat-wall strip or screw-in rail with S-hooks holds the dustpan, the extendable duster, and the brush that always slides off a grip holder. One 24-inch rail on the side wall is usually enough.
6. Hang the dustpan by its handle, not on the floor. A dustpan left on the floor becomes a trip hazard and a dirt trap. One hook at hip height, beside the broom grips, keeps the broom-and-dustpan pair together so you grab both in one motion.
Door racks for sprays and small bottles
The back of the closet door is roughly 14 square feet of free real estate, perfect for the small bottles that otherwise crowd every shelf.
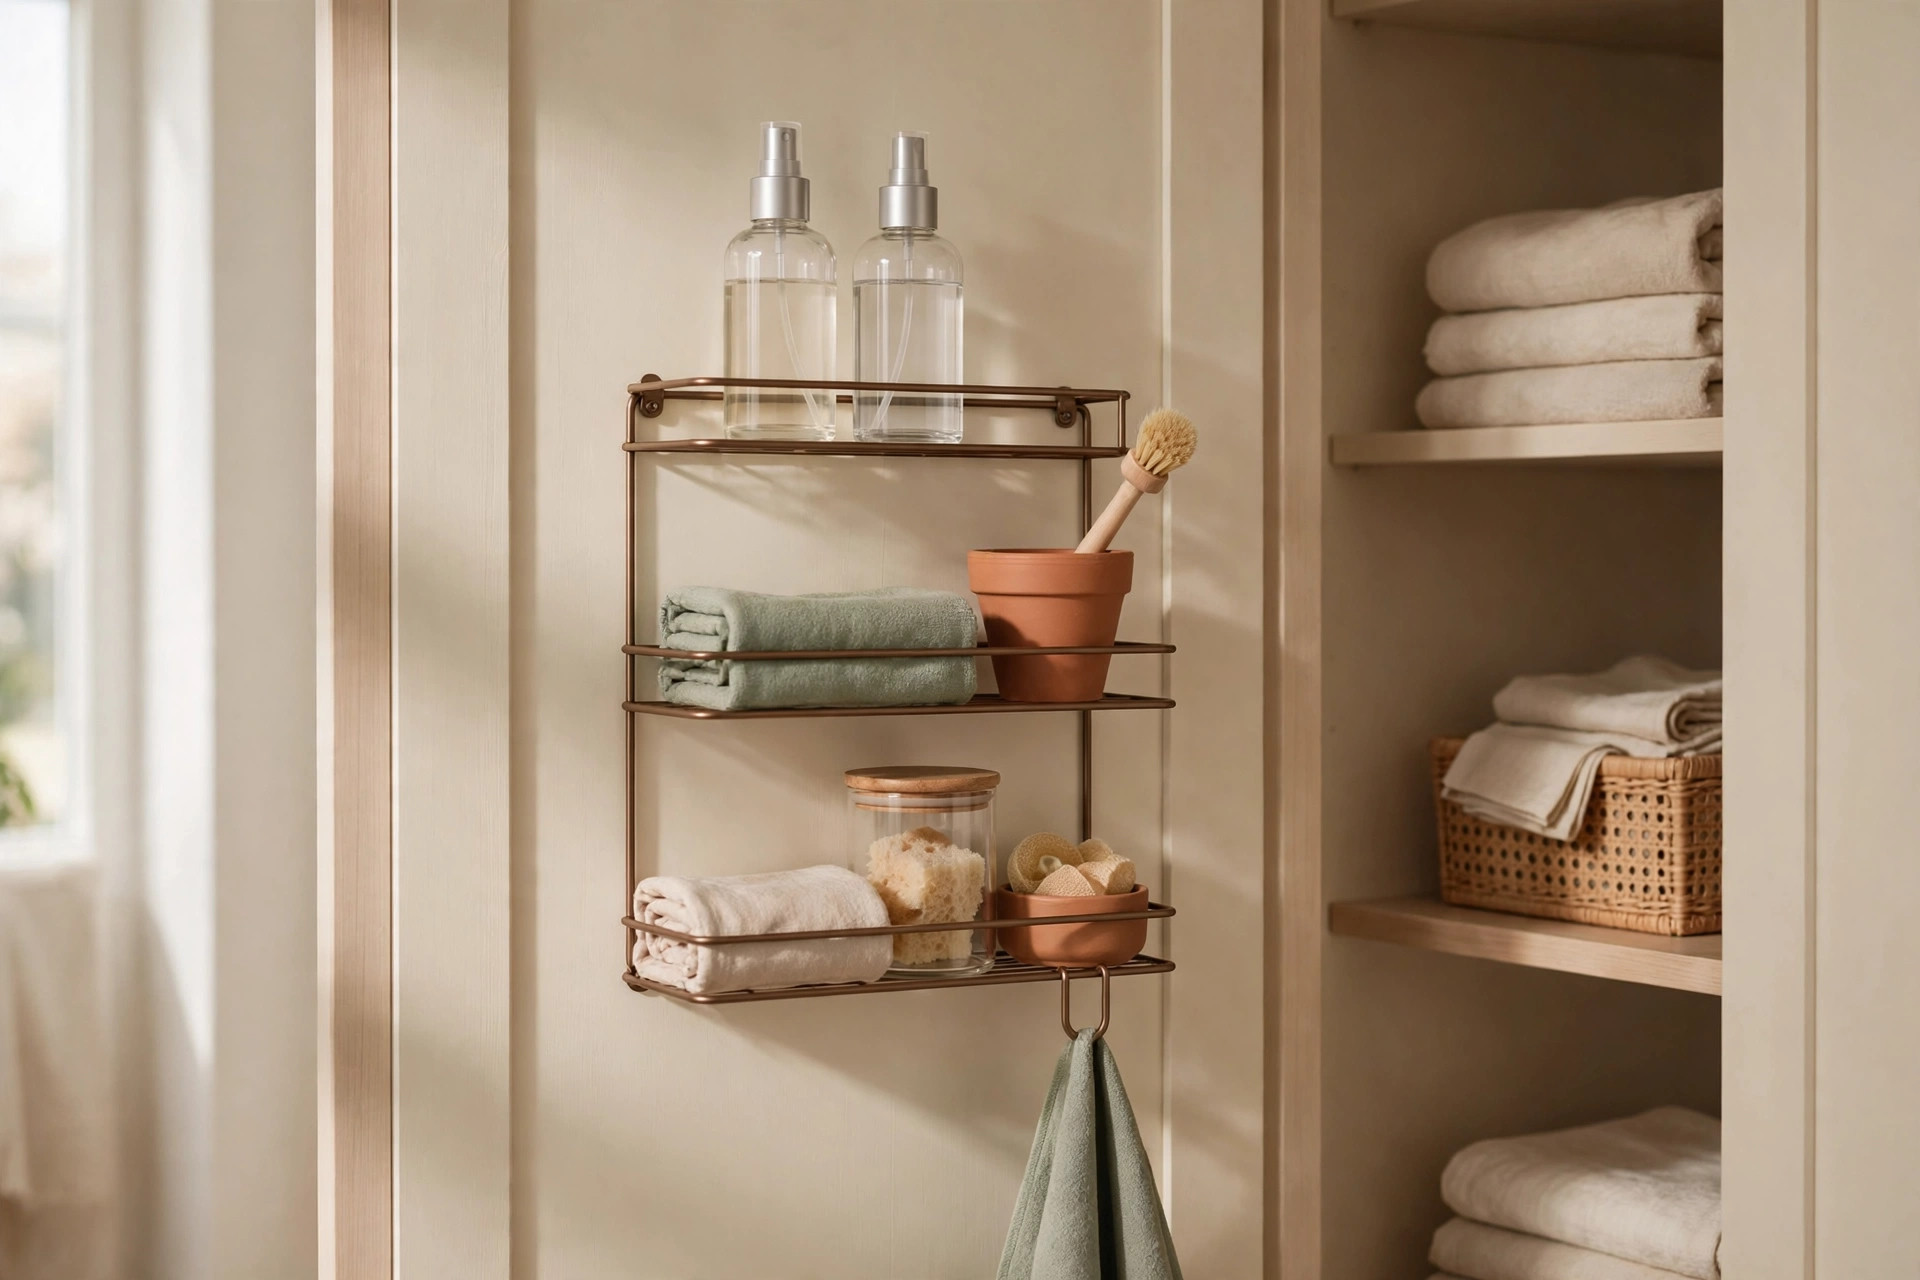
7. Hang a clear over-the-door rack for sprays. A clear-pocket or wire rack with pockets about 4 inches deep holds spray bottles upright and visible, so you can see at a glance which bottle is running low. Choose a rack whose top hooks are no thicker than about 1/4 inch, or the door will not close properly.
8. Add a narrow door-mounted caddy for small bottles and cloths. A wire caddy roughly 12 inches wide and 4 inches deep, hung on the lower half of the door, holds polish, stain remover, small refill bottles, and a rolled cloth or two. Keep the loaded weight under about 10 pounds so the hinges do not sag.
9. Use adhesive hooks inside the door for gloves and bags. Two small hooks at eye level hold rubber gloves and a roll of trash bags, two items that are always needed and always lost. If your closet door is already doing heavy lifting, our Over-the-Door Organization Ideas for Every Room covers weight limits and no-drill options for every door in the house.
The grab-and-go cleaning caddy
A cleaning closet only works if using it is faster than not using it — and the caddy is what makes that true.
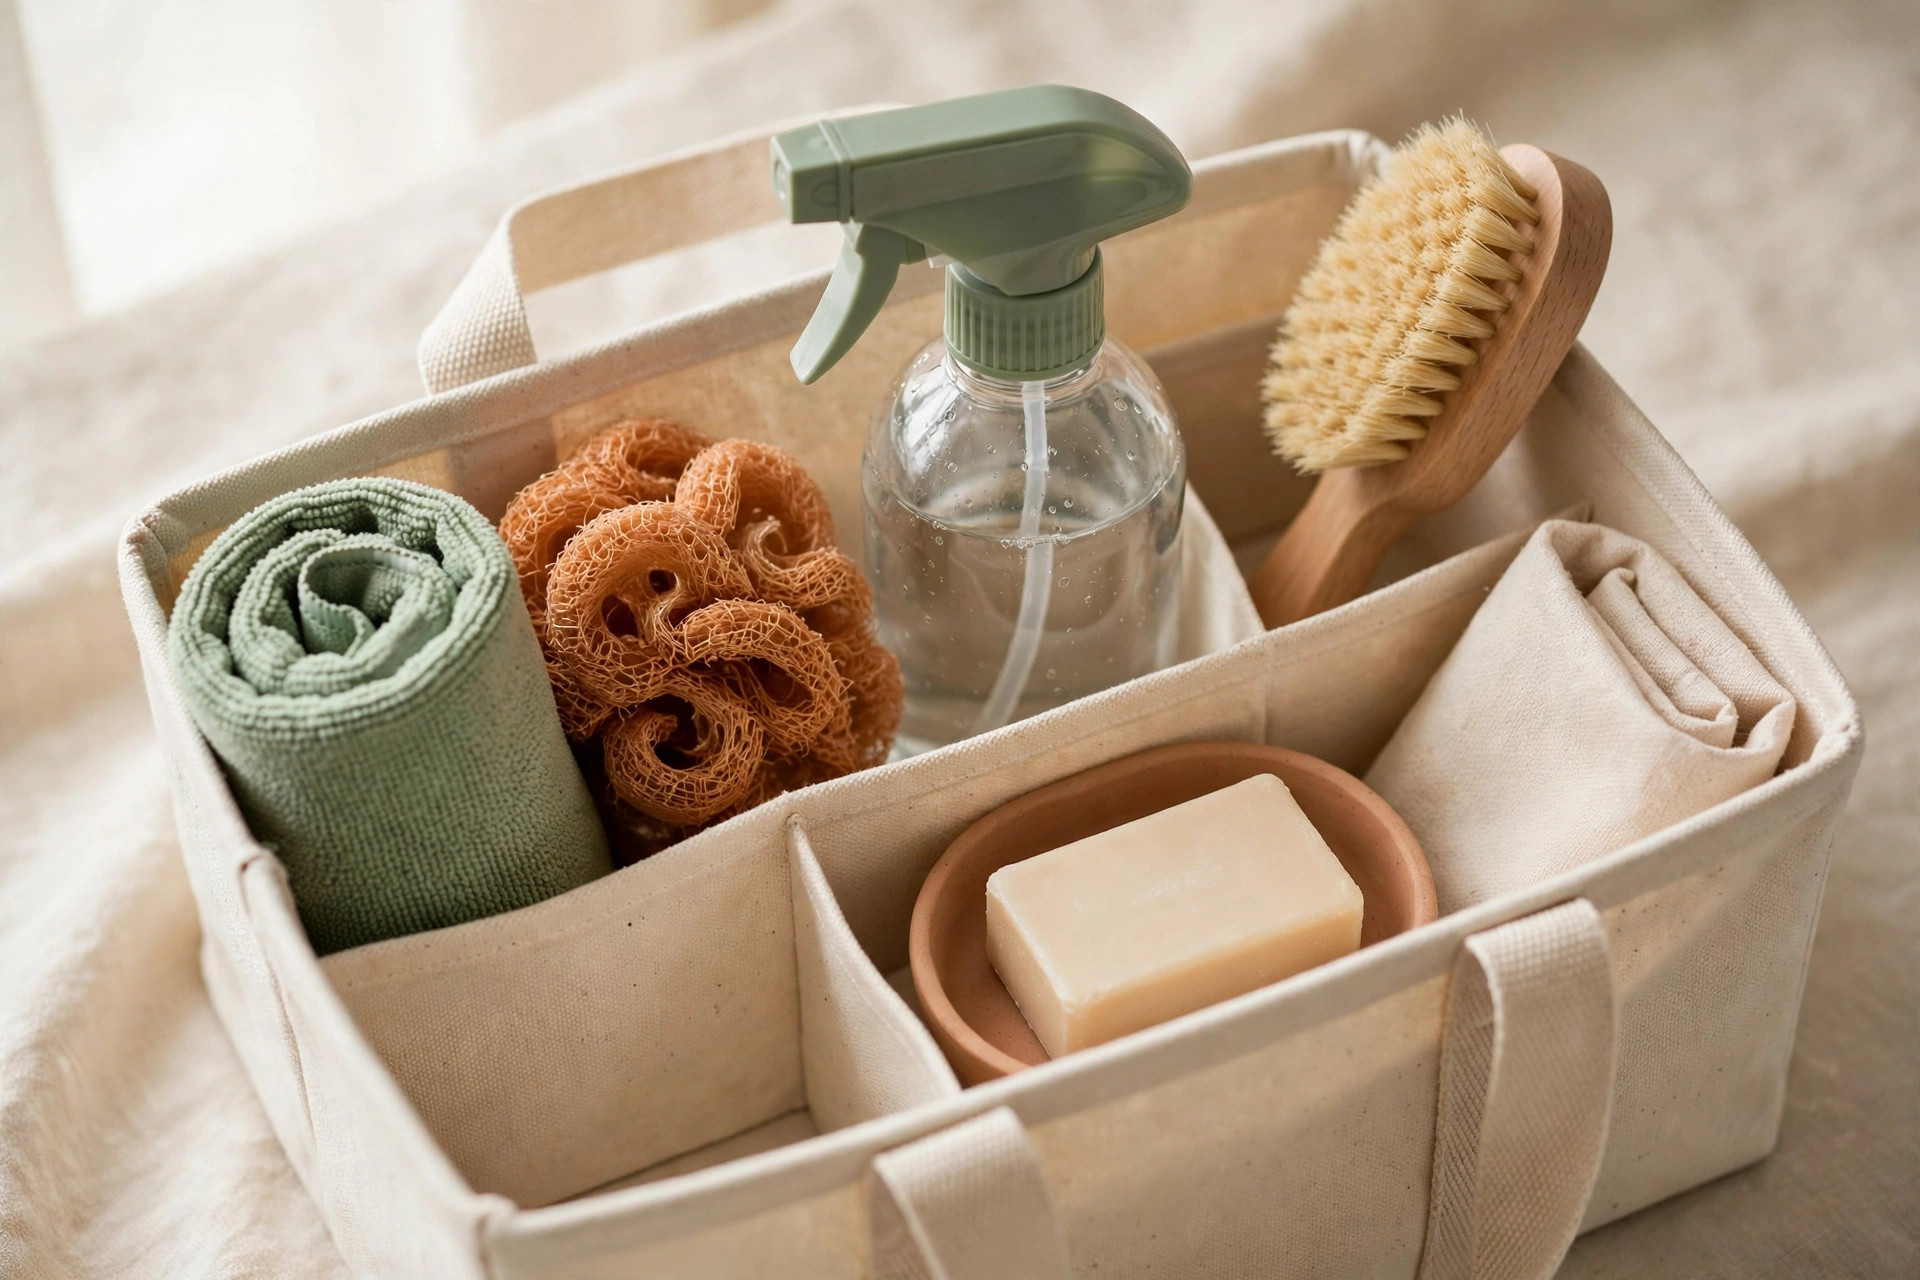
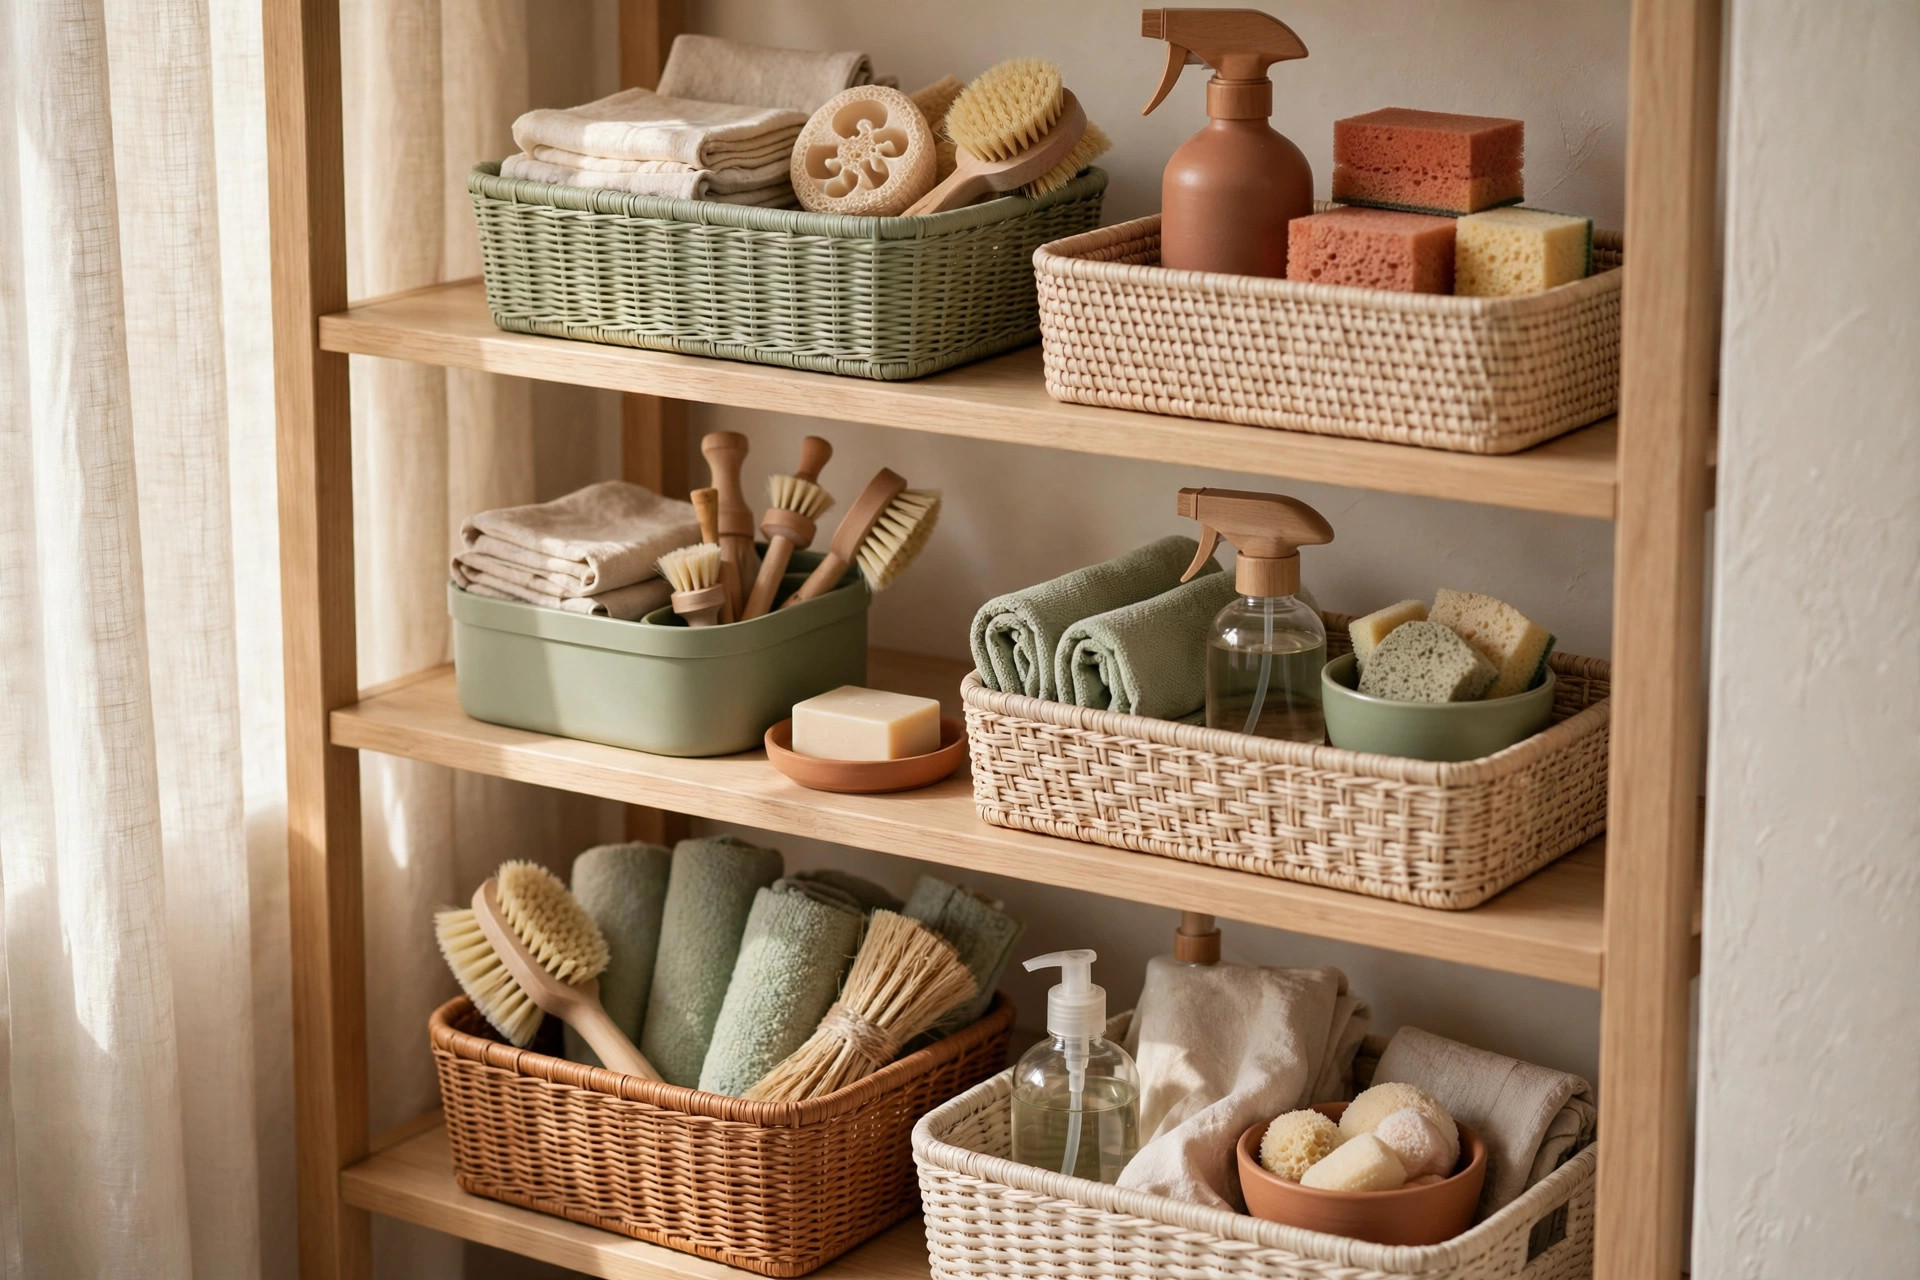
10. Build one caddy with only your everyday cleaners. A handled caddy about 12 by 8 inches should hold an all-purpose spray, a bathroom cleaner, glass cleaner, two or three microfiber cloths, and a scrub brush — nothing else. If a product is not used at least weekly, it does not live in the caddy.
11. Give the caddy a fixed shelf at waist height. The caddy’s home is a shelf between 36 and 42 inches high, right by the door, so you can lift it out with one hand. A caddy stored on the floor or the top shelf will slowly stop being used, and then the whole system quietly collapses.
12. Keep a refill shelf directly above the caddy. One small shelf or bin labeled “refills” holds backup bottles and concentrates. When the caddy bottle runs low, refill from this shelf instead of buying a duplicate — which is how closets end up with four half-empty bottles of the same cleaner.
Zones: daily, weekly, and deep-clean supplies
Zones are what stop a small closet from turning into one mixed pile. Each zone has a shelf, and each shelf has a job.
13. Put daily supplies at hand height, between waist and eye level. Daily means the all-purpose spray, the caddy, paper towels, and cloths. This zone should be reachable without bending or stretching, because anything that requires effort gets skipped on busy days.
14. Give weekly supplies the shelf just below daily. Weekly means the bathroom scrub, floor cleaner, toilet brush and holder, and duster — used often enough to stay in the closet, but not often enough for the prime spot. A toilet brush holder with a drip tray keeps this shelf dry.
15. Send deep-clean supplies to the top shelf. Oven cleaner, grout brush, carpet stain remover, and specialty polishes belong up high, in a single labeled bin, because they are used a few times a year. One bin, not loose bottles, so nothing tips over when you reach for it. If your cleaning closet shares space with laundry, the same zone logic works there too — our 16 Small Laundry Closet Organization Ideas That Actually Fit shows how to split detergent, cleaning, and drying zones in one tight closet.
Labels and safety: keeping chemicals sorted and safe
Labels are not decoration here. They are how you grab the right bottle without reading fine print, and how you keep chemicals from being mixed by mistake.
16. Label every bin and bottle by job, not by brand. “Bathroom,” “Floors,” “Glass,” and “Deep Clean” beat brand names, because you reach for the job, not the logo. Use a label maker or plain masking tape and a marker — both survive damp closet air better than paper stickers.
17. Store chemicals high, locked or latched, and never decanted into food containers. Keep bleach, oven cleaner, and other strong chemicals on the top shelf or in a latching bin, out of reach of children and pets. Never pour a cleaner into an old food or drink bottle, and never mix bleach with anything containing ammonia — the fumes are genuinely dangerous. The U.S. Environmental Protection Agency’s Safer Choice program lists cleaners that meet strict safety criteria if you want lower-toxicity options.
The monthly closet check and restock
Even a perfect closet drifts. The monthly check is the ten-minute habit that keeps it from sliding back into a pile.
18. Run a 10-minute check on the first of every month. Pull out the caddy, wipe the shelves, toss empties and expired products, and check the refill shelf. Then write the restock list from what is actually low. Ten minutes monthly beats a full afternoon of re-organizing twice a year — and it is the habit that makes the other 17 ideas last.
Mistakes to avoid: what NOT to buy
Not every storage product helps a small cleaning closet. Skip the giant multi-tier rolling cart unless your closet is at least 30 inches wide — in a narrow closet it blocks the door and becomes a junk shelf on wheels. Skip pretty open baskets for spray bottles, because bottles tip, leak, and hide each other; a rack that holds them upright works better. Skip buying a full matching set of containers before measuring your shelves, since a bin half an inch too tall is useless. And skip storing aerosols next to a water heater or furnace — heat and aerosols are a bad combination.
Frequently asked questions
Can I organize a cleaning closet without drilling holes?
Yes. Adhesive grip holders, over-the-door racks, tension rods, and freestanding shelf units all work without drilling, as long as you respect their weight ratings and give adhesive mounts 24 hours to cure. Screw-in holders grip better for heavy wet mops, so if you own your home, one small rail screwed into a stud is worth it.
How do I store a vacuum in a tiny cleaning closet?
Give the vacuum the floor corner first, before any bins or shelves are placed. A stick vacuum can hang from a heavy-duty hook if it has a wall-mount bracket, but an upright should stand in its corner with nothing stacked against it. Measure the vacuum’s height before placing the lowest shelf above it.
What cleaning supplies should not be stored together?
Keep bleach away from ammonia-based cleaners, and store acids like vinegar-based descalers separately from bleach too. Keep all strong chemicals on a high shelf or in a latching bin, out of children’s reach, and never move them into unmarked or food containers.
How often should I declutter my cleaning closet?
Do the 10-minute check monthly and a deeper clear-out twice a year. The monthly check catches empties and leaks early; the twice-yearly pass tosses expired products and anything unused for six months.
Conclusion
A small cleaning closet does not need more space — it needs a floor corner for the vacuum, handles on the wall, bottles on the door, one caddy at waist height, and zones that match how often you actually clean. Start with measuring this weekend, add one zone at a time, and let the monthly check keep it honest. For more small-space systems, browse the storage ideas collection, and save this pin for later.