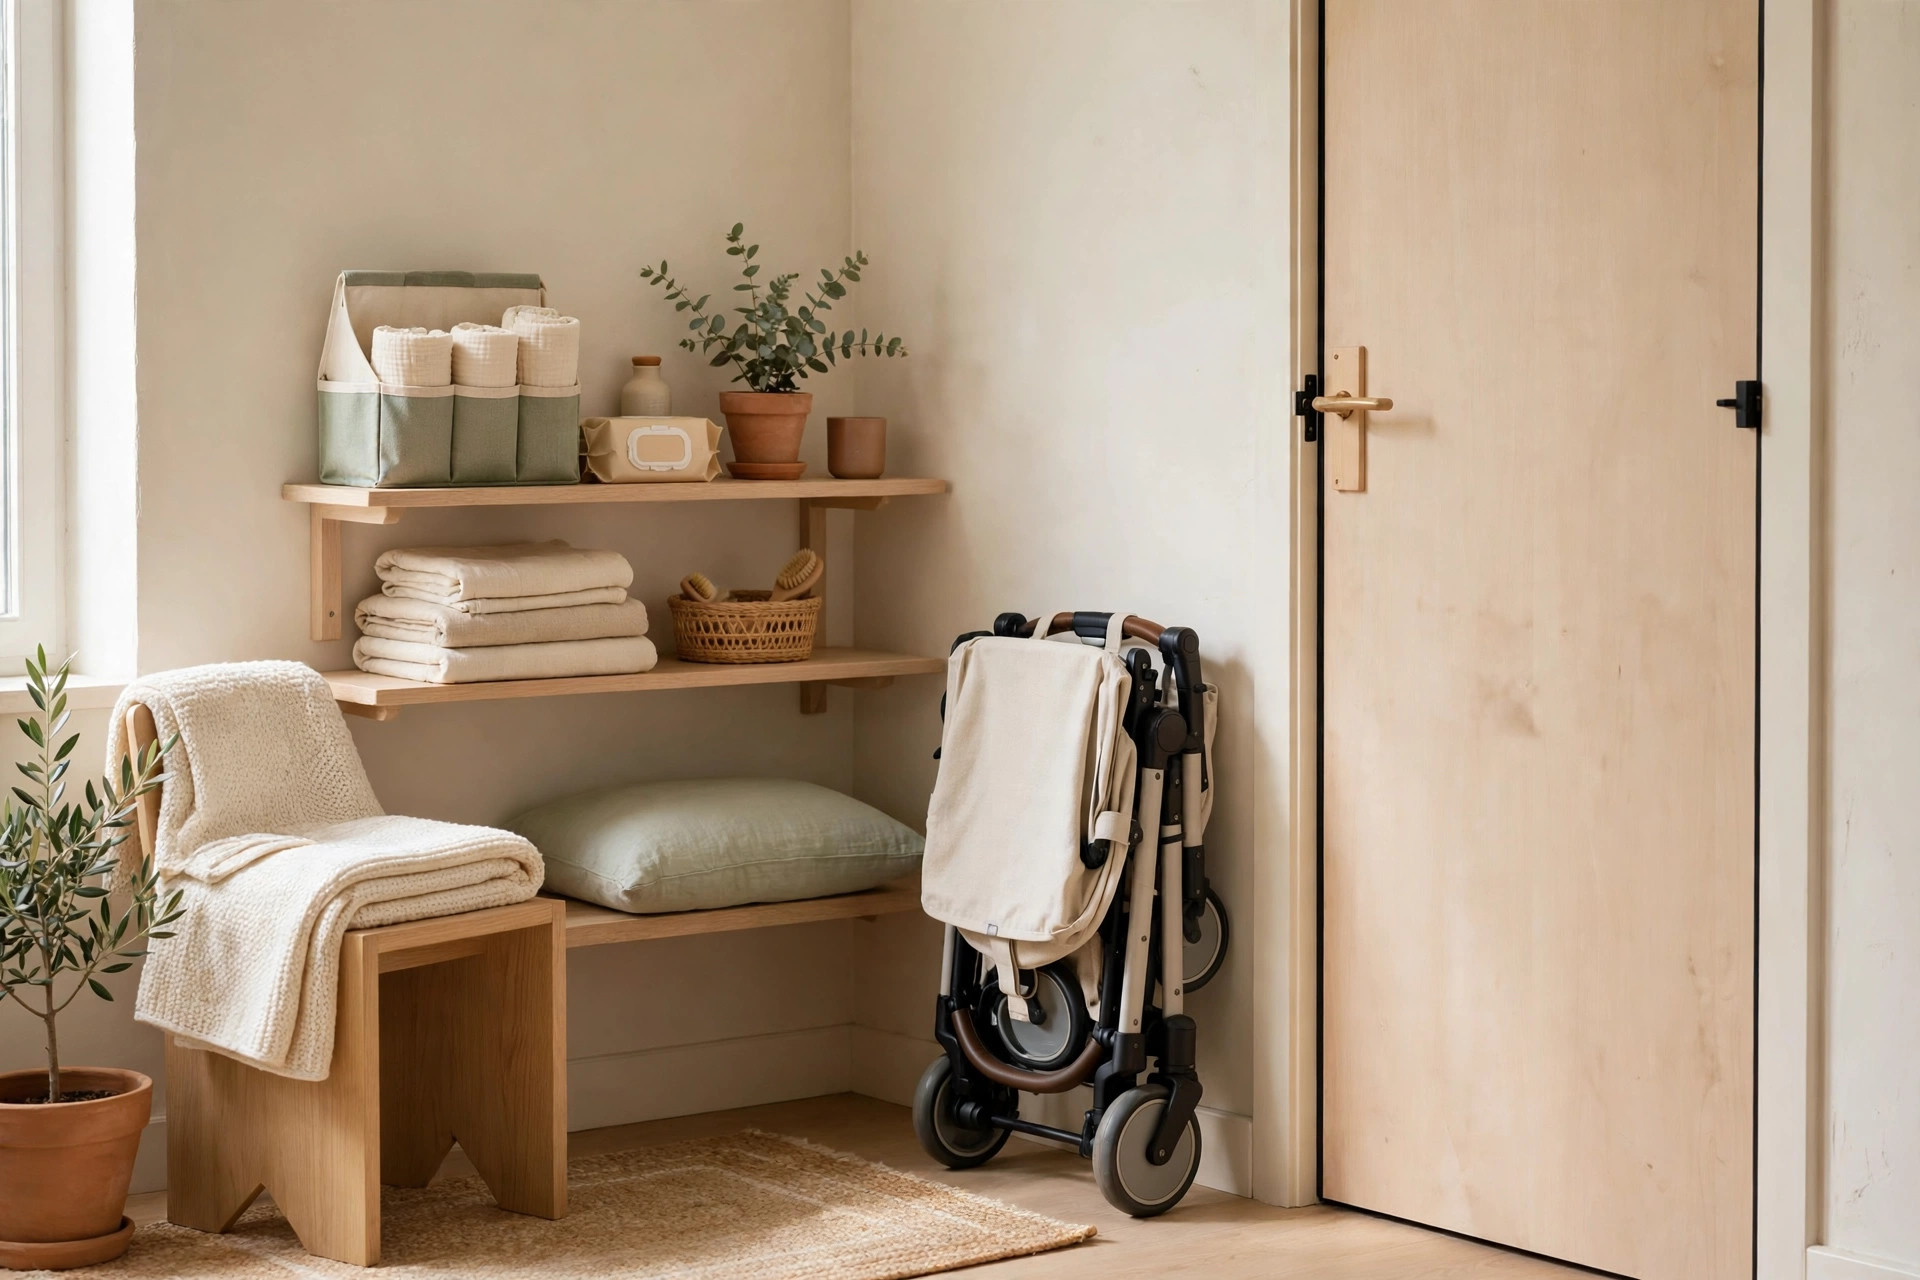
A typical shared dorm room gives two people roughly 200 square feet, one closet, and a long list of rules about what you cannot screw into the walls. These dorm room storage ideas are built for exactly that reality: every one of them is renter-safe, uses no drilling, and comes back out cleanly on move-out day. No landlord disputes, no lost deposits, no holes to patch in May.
The plan is simple. Start with a quick audit of what you actually own, claim the under-bed space first, then work up the walls and doors before you ever buy a freestanding shelf. Follow these 18 college dorm storage ideas in order and a room that feels like a storage unit will start feeling like a place you can actually study, sleep, and live in.
The dorm audit: what you actually brought vs what you use
Before you buy a single bin, count what you own. Empty your bags onto your bed and sort everything into keep, store-at-home, and donate piles.
1. Do the bed-pile audit on move-in weekend
Lay every item on your bed and sort it into four groups: daily use, weekly use, seasonal, and rarely touched. Daily-use items earn desk and door space. Seasonal and rarely-touched items go straight under the bed in labeled bins. Students who skip this step buy organizers for things they should have sent home.
2. Count before you buy anything
Measure your under-bed clearance (usually 6 to 8 inches on a standard frame, more with risers), your closet rod length, and your desk depth before ordering. Write the three numbers on your phone and check every product against them.
Under-bed: the biggest storage in the room
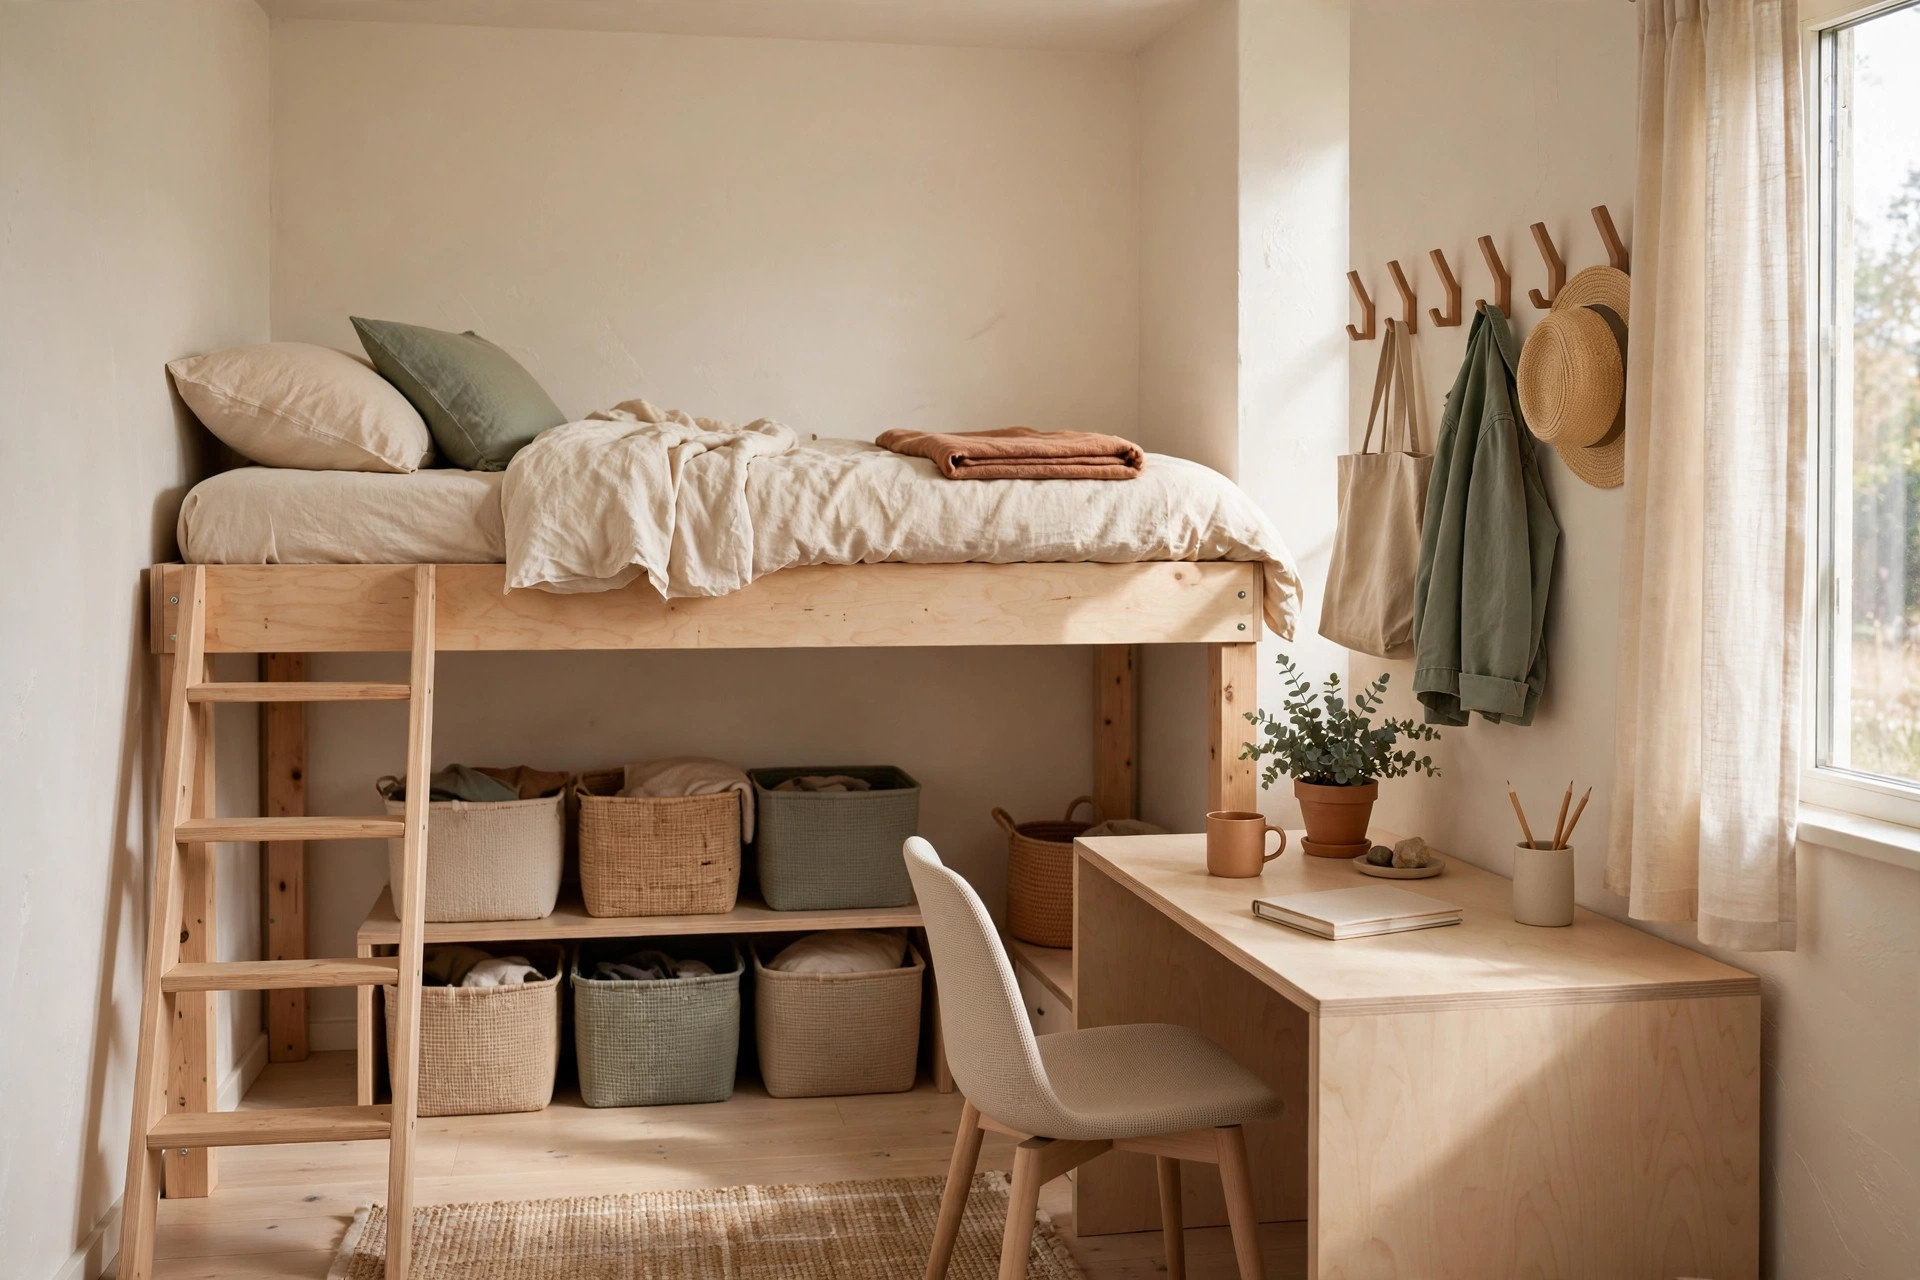
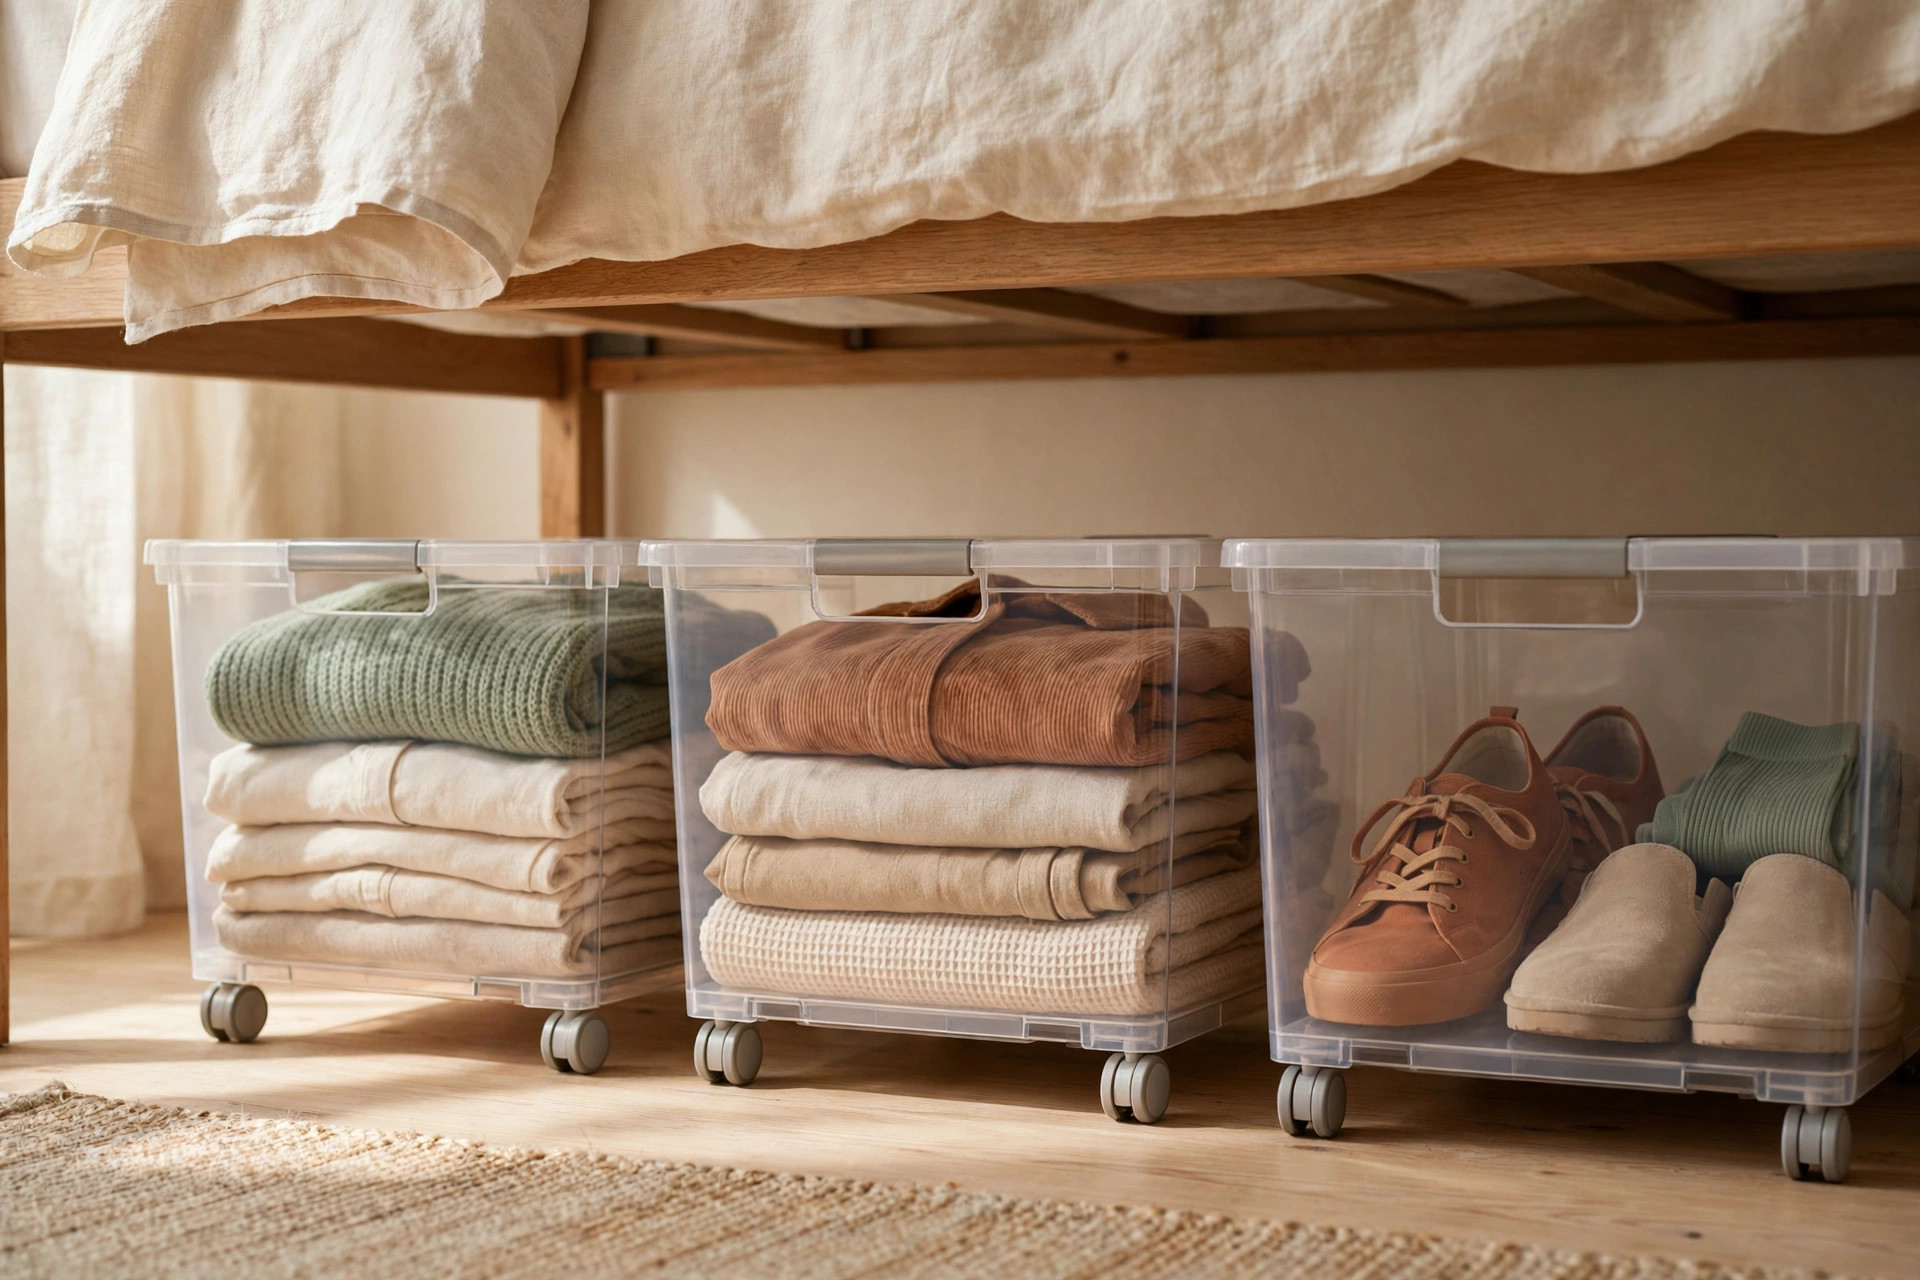
A twin XL bed hides roughly 20 to 25 cubic feet of empty space underneath — the single largest storage zone in the room. Treat it like a drawer, not a dumping ground.
3. Use flat rolling bins, not loose bags
Choose rolling bins no taller than your clearance minus half an inch, ideally 5 to 6 inches tall, so they slide out without lifting the mattress. One bin for off-season clothes, one for extra bedding, one for bulky supplies.
4. Raise the bed with risers for a second layer
Bed risers that lift the frame 5 to 7 inches roughly double your under-bed height, turning one shallow layer into room for stacked flat bins or a low rolling drawer unit. Check your housing rules first — most dorms allow risers but ban bed lofting — and use risers rated for at least 1,000 pounds per set so the frame stays stable.
5. Keep a “first week of the month” bin at the foot
Reserve the bin nearest the foot of the bed for things you grab weekly: laundry supplies, extra towels, chargers, and backup toiletries. For more under-bed layouts, see 18 Under-Bed Storage Ideas That Turn Dead Space Into a Dresser.
Over-door and behind-door storage for shared rooms
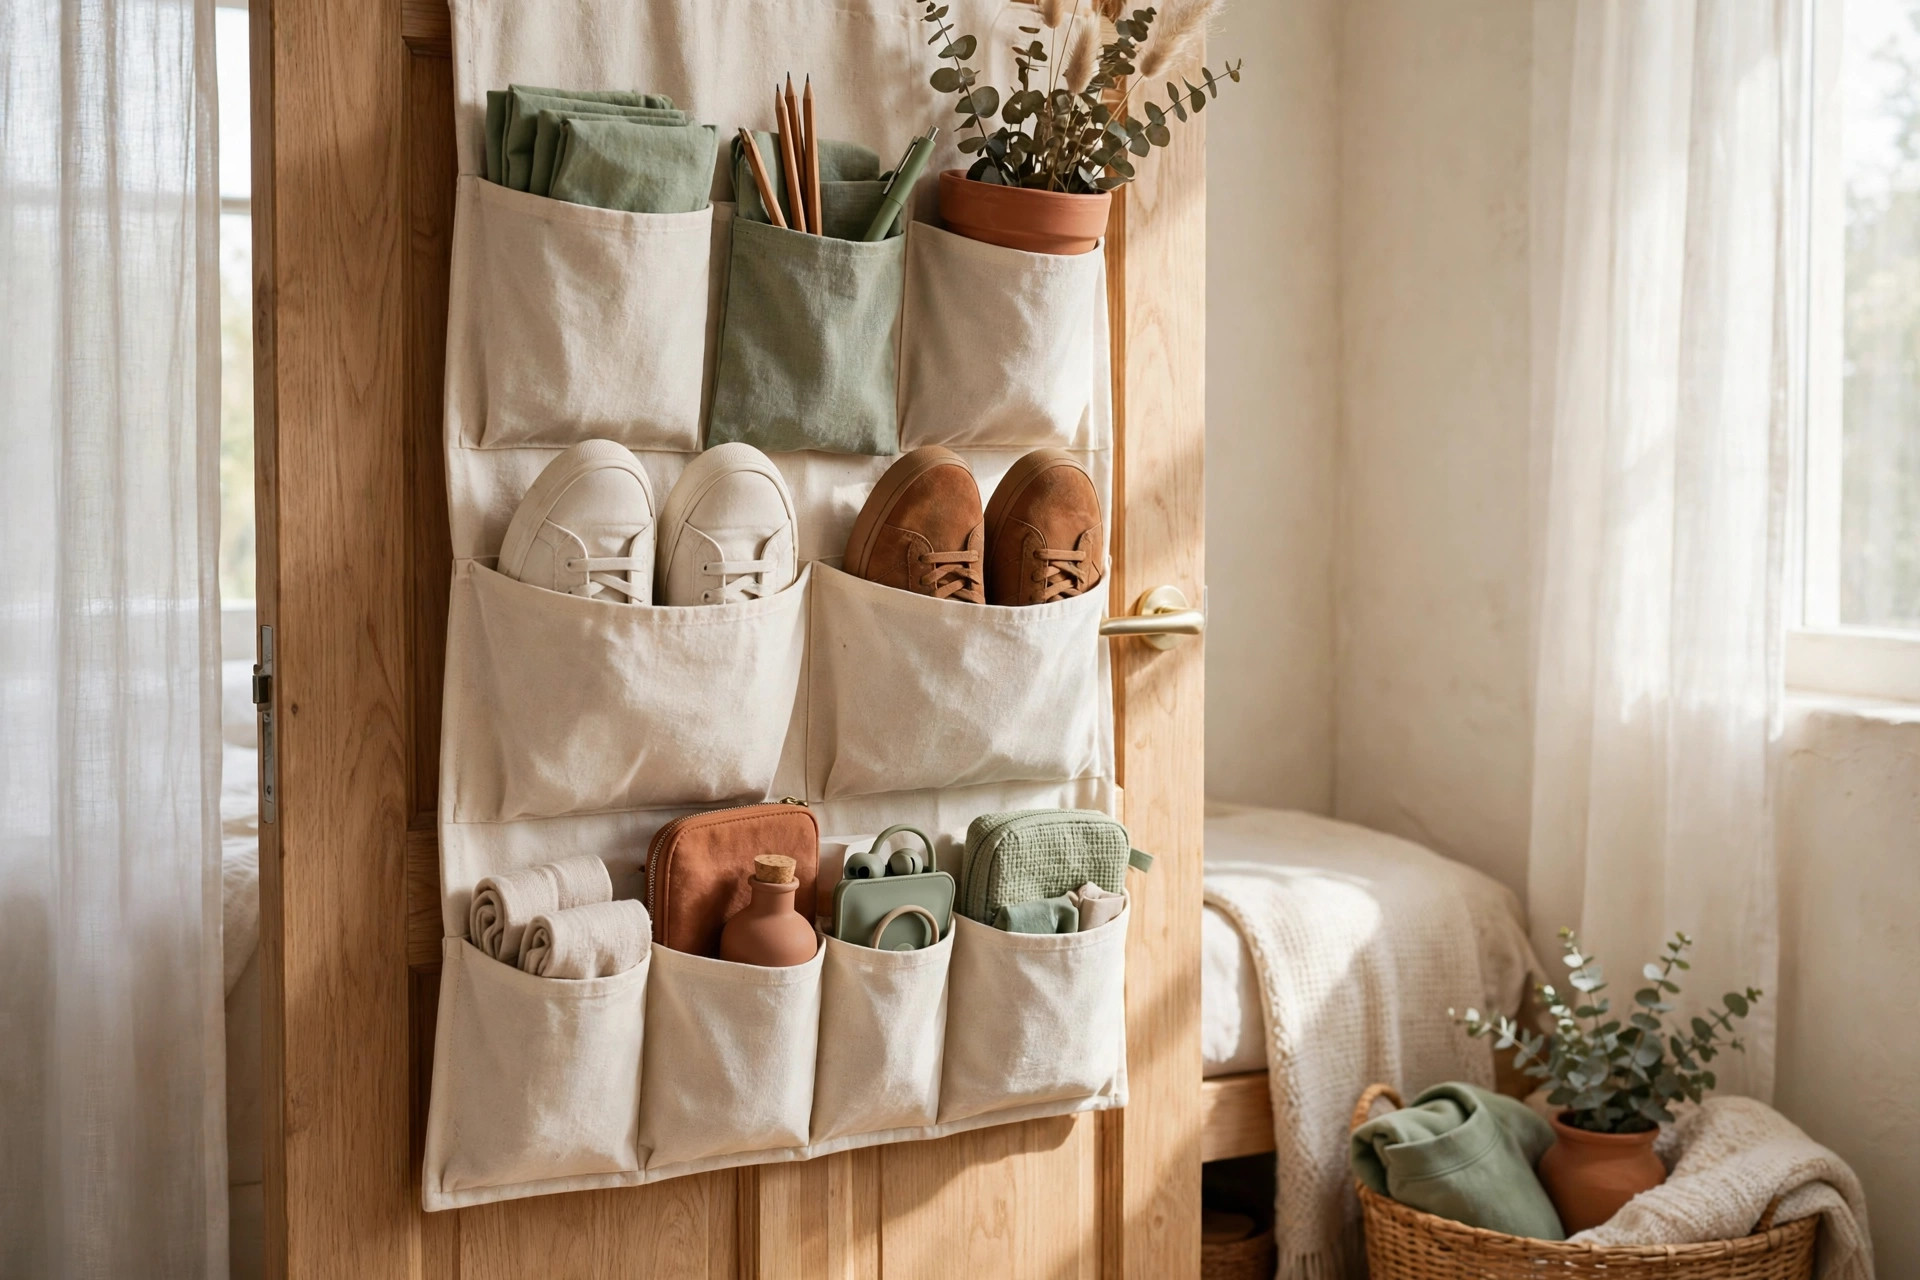
The back of a dorm room door offers about 14 square feet of storage that costs nothing, holds no floor space, and leaves zero marks when it comes down.
6. Hang a clear-pocket organizer on the room door
A 24-pocket clear over-door organizer holds chargers, snacks, stationery, medicine, and small electronics where you can see them all at a glance. Assign the top half to one roommate and the bottom half to the other so the shared door never becomes a shared argument.
7. Put a hook rack behind the door for coats and bags
An over-door rack with 5 to 7 hooks keeps coats, backpacks, gym bags, and towels off the floor and off the one desk chair. Hang it on the inside of the closet door instead if your room door swings against a wall and cannot take the extra depth.
8. Use the bathroom-door or wardrobe-door back for toiletries
If your dorm has a shared bathroom down the hall, a small hanging caddy on the back of your wardrobe door keeps your shower kit, hair tools, and daily toiletries in one grab-and-go spot. Our guide to Over-the-Door Organization Ideas for Every Room covers hook weight limits and door-clearance checks worth reading before you hang anything heavy.
Desk zones for studying in 3 square feet
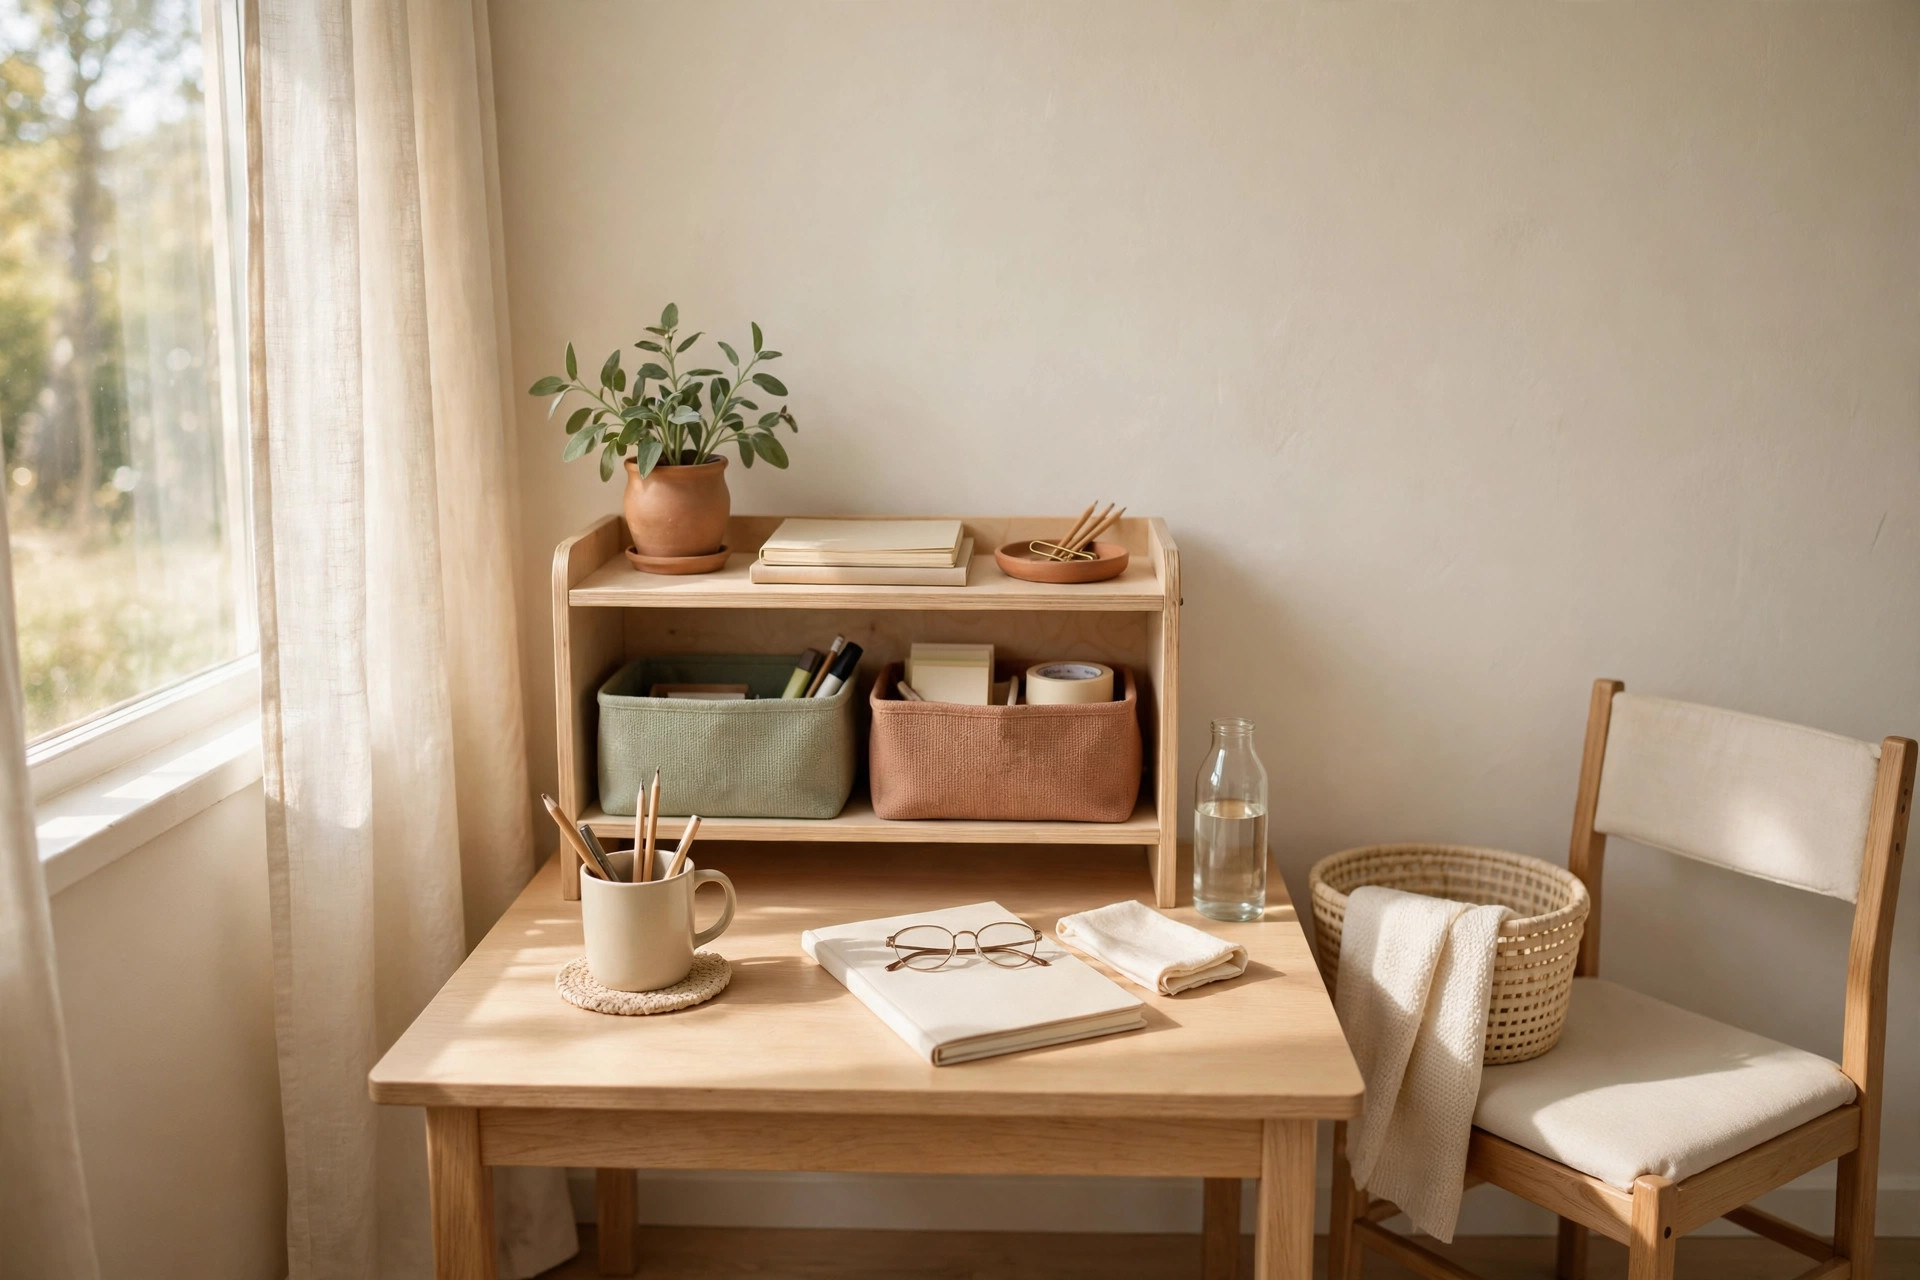
Small dorm room organization usually fails at the desk first: about 3 square feet of surface shared between a laptop, textbooks, and everything else that has nowhere else to go. The fix is not a bigger desk — it is zones. Give every category a home, and nothing drifts.
9. Split the desk into three zones: work, reference, and landing
Keep only your laptop and current notebook in the work zone at the center. Stack the textbook you are using today in the reference zone at the back corner. Reserve a small tray or the far corner as a landing zone for keys, wallet, and phone.
10. Go vertical with a desk shelf and wall-mounted pockets
A monitor riser or small desk shelf adds a second tier for notebooks and a lamp, roughly doubling usable surface without widening the desk. Pair it with adhesive wall pockets (Command-style strips, never screws) beside the desk for pens, cables, and flashcards — vertical storage is free square footage.
11. Corral cables with a clip strip under the desk edge
Stick a row of adhesive cable clips along the back edge of the desk and route your laptop charger, phone cable, and lamp cord through them. Loose cables eat desk space and drag everything off the surface when they snag.
Closet sharing: dividing one closet between two people
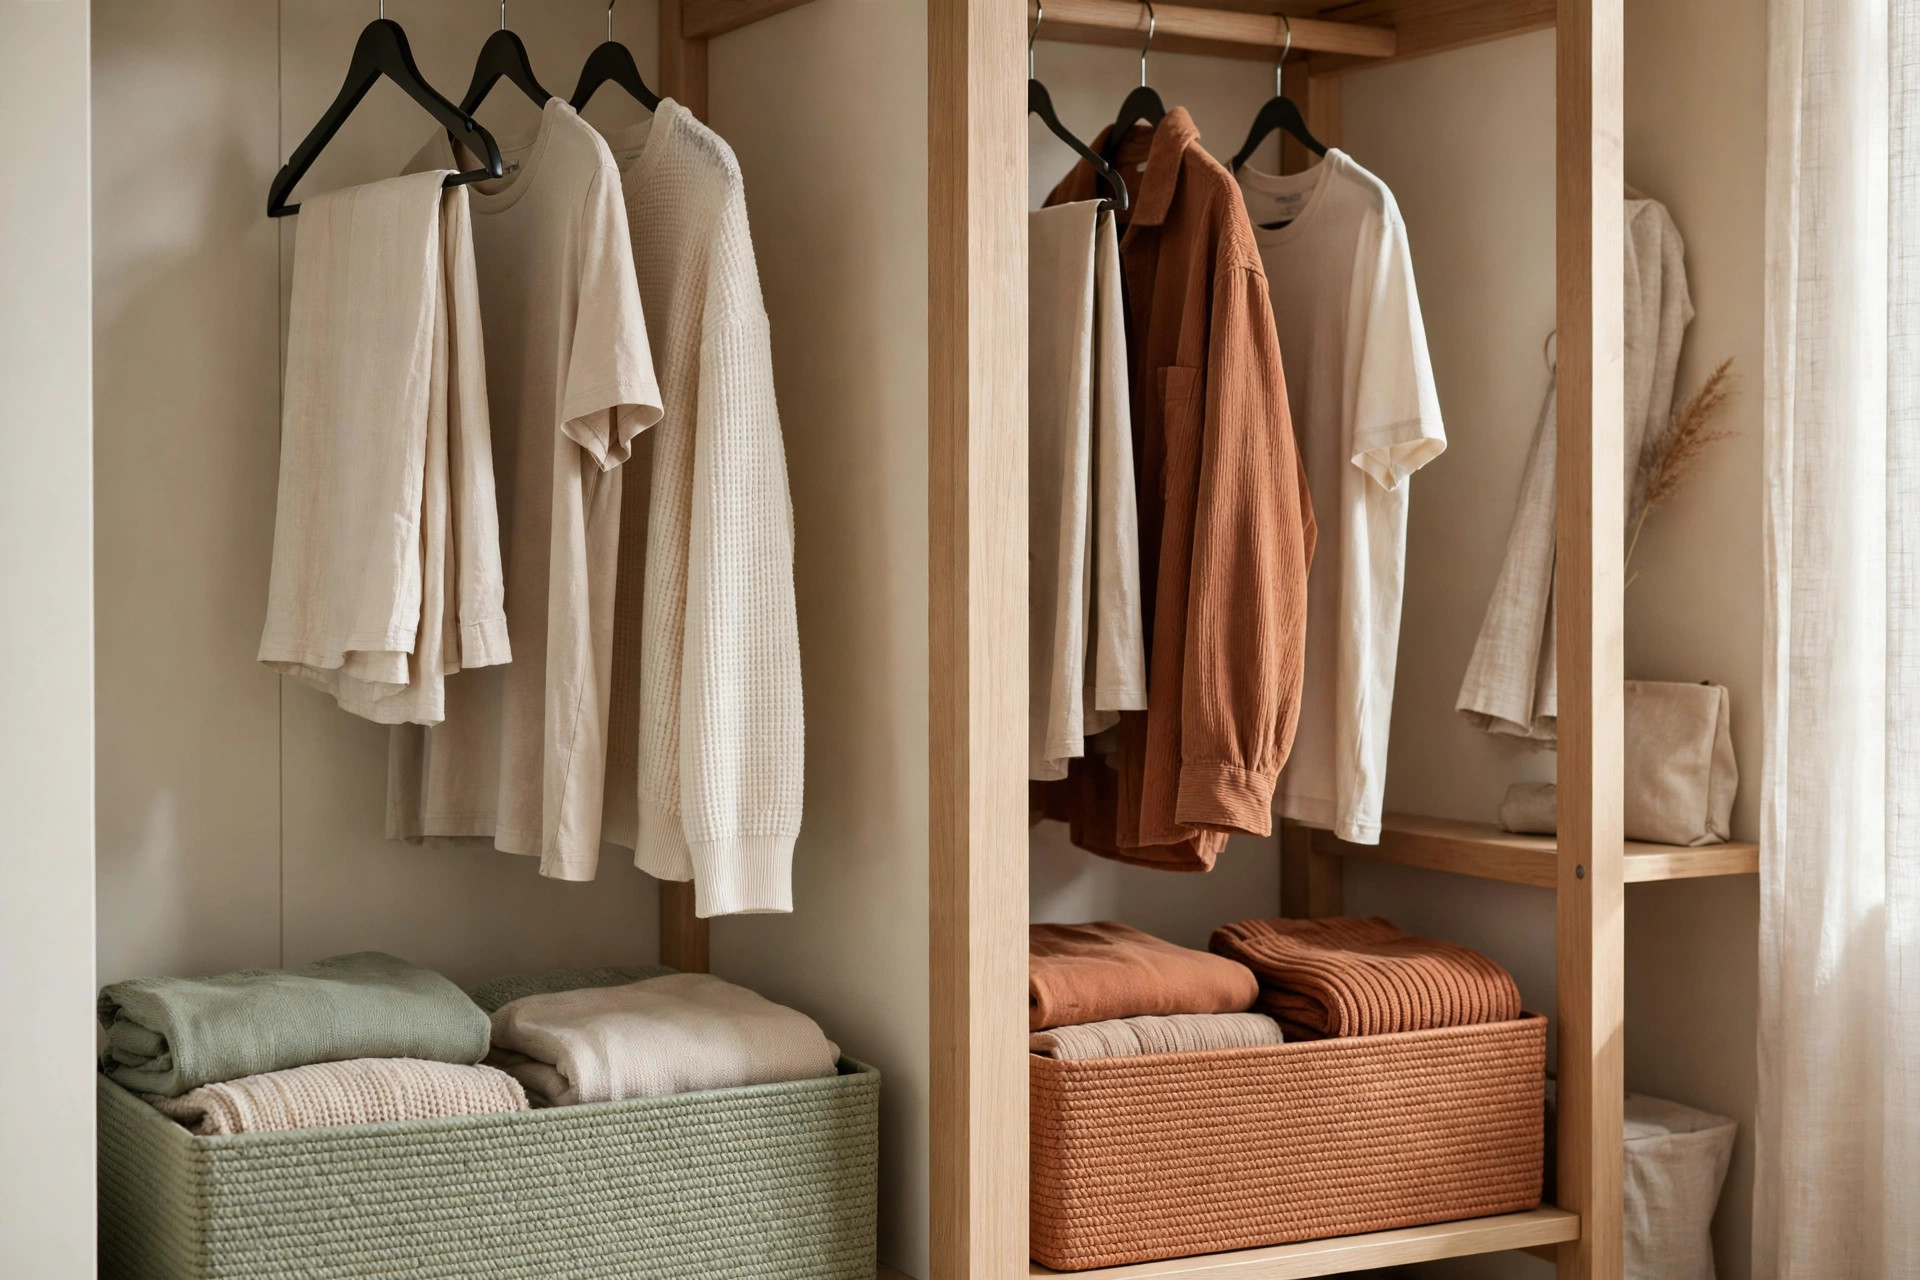
One closet, two wardrobes, one rod. Without a system, the person with more clothes quietly takes over, and the other person’s clothes end up in a laundry basket on the floor.
12. Divide the rod by garment count, not by inches
Count hanging items for each person, then split the rod proportionally. If one roommate has 40 hanging items and the other has 20, the split is two-thirds to one-third — not a hopeful 50/50 that collapses in a week. Mark the boundary with a distinct hanger or a shower-ring marker on the rod.
13. Double-hang the rod to create a second tier
A hanging rod extender or a second tension rod hung about 40 inches below the main rod doubles hanging capacity for shirts and folded pants. Keep long coats and dresses on the single-hang side only, so the lower tier never gets blocked.
14. Give each person a labeled shelf bin and a floor zone
Assign one shelf bin per person for folded clothes, accessories, and small items, and split the closet floor down the middle: one shoe tray or small bin per side. The same fair-split logic works beyond dorms — see 15 Closet Organization Ideas for Couples Sharing One Closet for more zone-splitting tactics.
Laundry and shoes without floor piles
Laundry and shoes are the two categories that turn a tidy dorm into a floor-pile disaster fastest, because both grow daily and neither has a natural home.
15. Use a slim rolling laundry hamper, not a bag on the floor
A narrow rolling hamper — about 12 inches wide — slides between the bed and the wall or beside the dresser, and it rolls to the laundry room, so dirty clothes never sit in a heap by the door. A two-section hamper sorts lights and darks if your laundry room charges per machine.
16. Line shoes up on a low rack by the door, one pair per person per day
A two-tier shoe rack that holds 6 to 8 pairs fits beside most dorm doors and keeps shoes off the walkway. Limit it to the pairs you actually wear that week; out-of-season and rarely worn shoes go under the bed in a bin.
Move-out plan: what lifts out cleanly
Move-out day is where renter-safe storage pays off. If everything lifts, peels, or unhooks in under an hour, you get your deposit and your afternoon back.
17. Keep a move-out kit in one labeled bin
Pack a bin in the first week with the things move-out needs: adhesive-strip remover or dental floss for Command strips, a small trash bag roll, packing tape, and a marker.
18. Photograph every adhesive spot before you peel
Take a quick photo of each wall, door, and desk edge where you stuck anything, then peel slowly at a 45-degree angle and wipe the residue with warm water. If a strip resists, heat it gently with a hair dryer for 30 seconds rather than yanking it.
Mistakes to avoid
The fastest way to waste money in a dorm is buying storage before measuring. Oversized bins that do not fit under the bed, a freestanding shelf that blocks the door swing, and a shoe rack wider than the wall beside the door all end up in the hallway or the dumpster. Second, avoid anything that drills, nails, or glues permanently — the deposit you save is worth more than any organizer. Third, do not buy matching sets before the audit: a six-piece bin set looks tidy in the store and wrong in a room with 6 inches of clearance. Finally, never store food in under-bed bins without sealed containers — crumbs and open snacks attract pests.
Frequently asked questions
Can you use Command strips in a dorm room?
Most dorms allow adhesive strips because they remove without damage, but check your housing agreement first — a few older buildings with fragile plaster ban them. Use strips rated for the weight, and remove them with the pull-tab method.
How do you organize a dorm room shared with a roommate?
Start with a written split: rod space by garment count, one shelf bin each, one door-organizer half each, and a shoe limit per person.
What is the best storage for under a dorm bed?
Flat rolling bins 5 to 6 inches tall are the best default, because they slide out without lifting the mattress and keep categories separated. Add bed risers if you need a second layer.
How can I store shoes in a tiny dorm room?
Keep a two-tier rack by the door for the 3 to 4 pairs you wear weekly, and move everything else under the bed in a bin. Cap it: when a new pair arrives, an old pair goes under the bed or home.
Conclusion
A tiny dorm room does not need more furniture — it needs an audit, an under-bed system, a door that works harder, a zoned desk, and a fair closet split, all removable without a trace. Start with the audit this weekend and add one zone at a time. Browse more ideas in small-spaces and save this pin for later so the move-out checklist is waiting when you need it.