Every small home has the same nightly scene: phones in kitchen outlets, a tablet cable snaking across the sofa, a laptop charger lost behind the bed, and someone asking where their cable went. The problem is rarely the number of devices. It is that charging has no home, so every device lands wherever an outlet happens to be free. These family charging station ideas fix that with one tidy hub, cables labeled, hidden, and always ready to go. You will learn how to size a station, pick its one spot, hide the cables, keep kids safe, and build a plug-in routine that sticks.
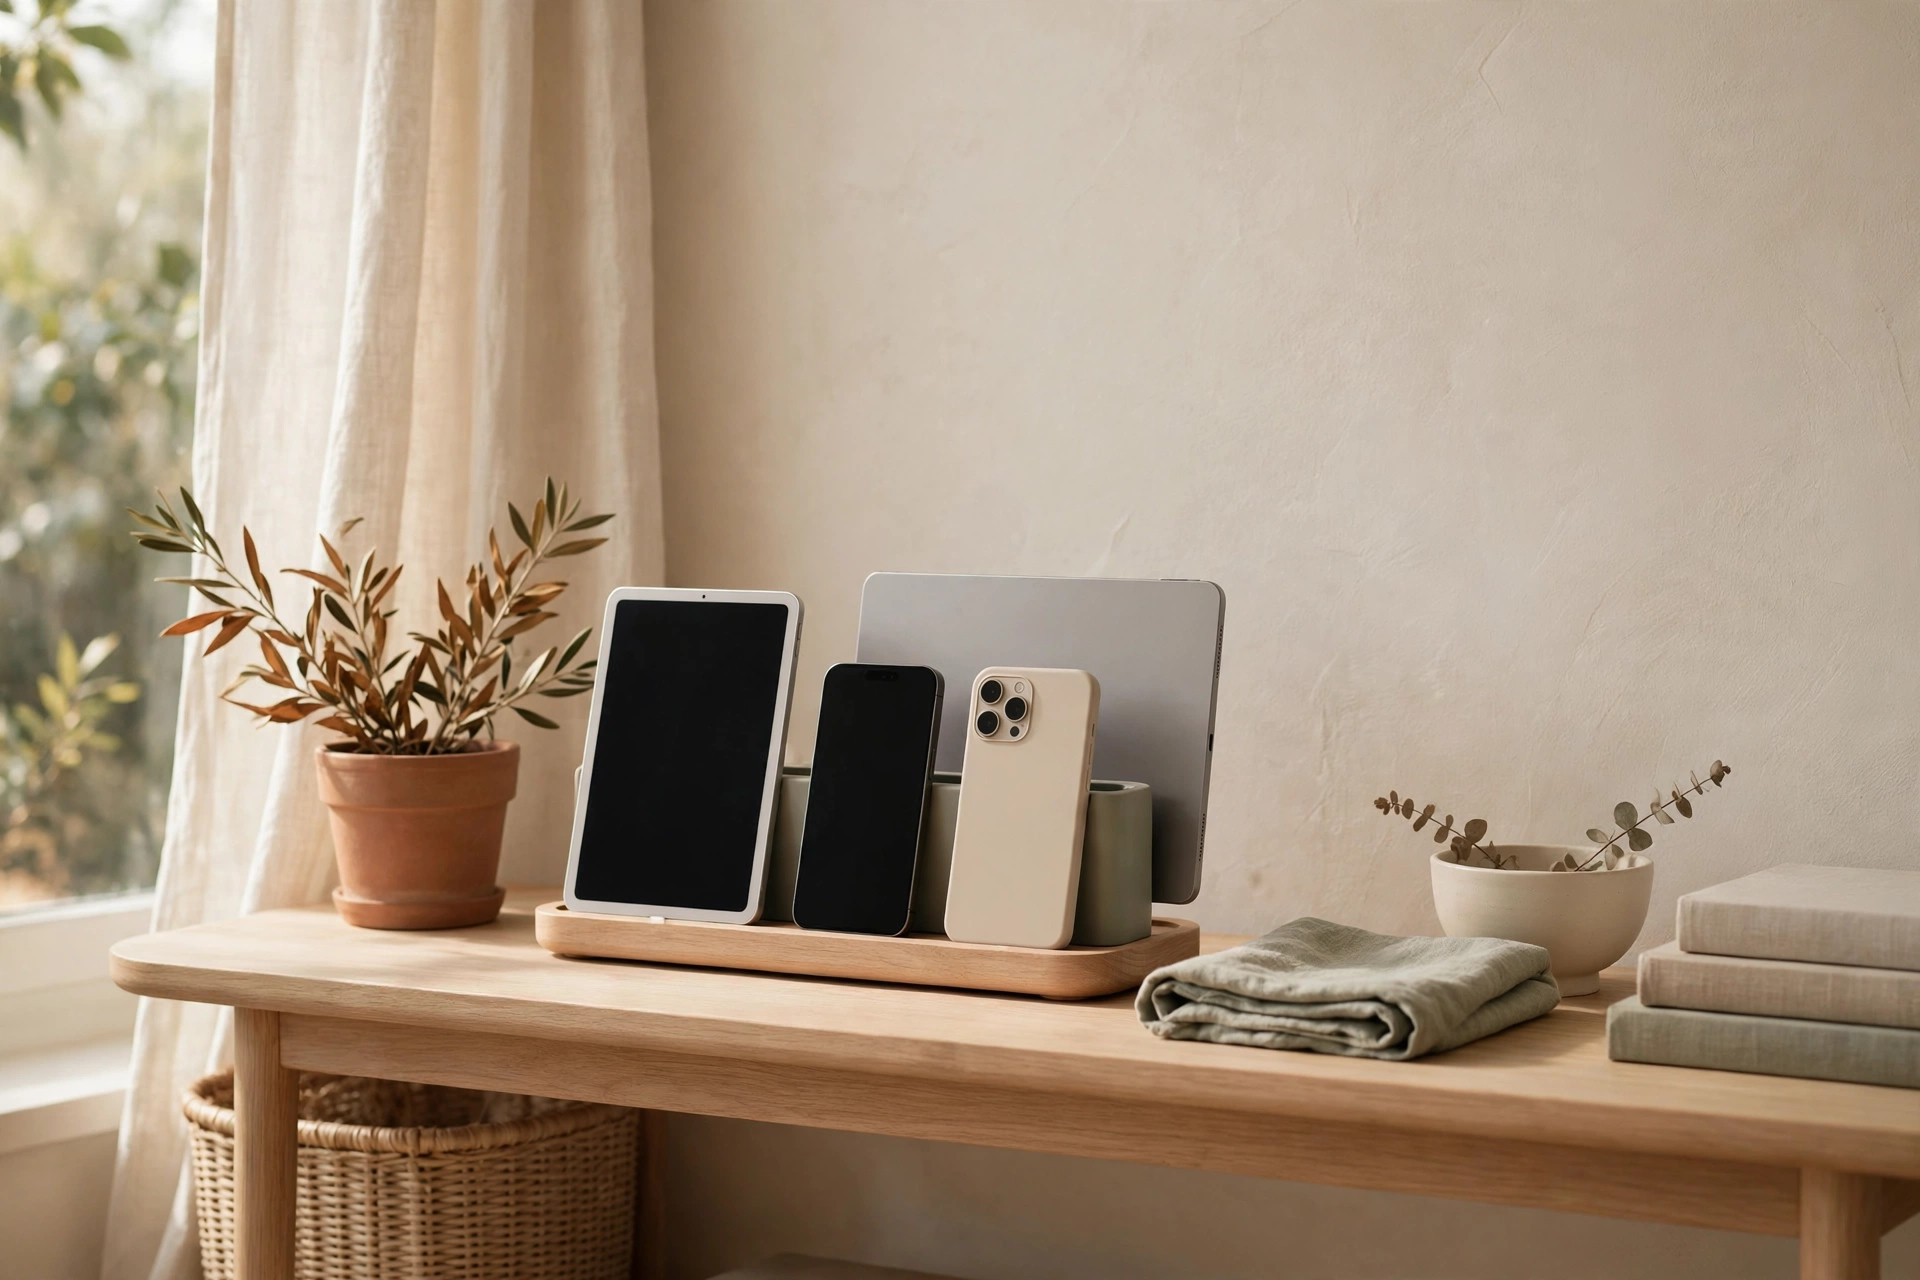
Count the devices: sizing the station to your household
A station built for two phones will fail in a house with four people, two tablets, and a laptop. Size it from a real count, and leave room for the next device.
1. Do a one-evening device census
Tonight, list every device charged at least twice a week, phones, tablets, laptops, e-readers, earbuds, smartwatches, game consoles, with each cable type: USB-C, Lightning, or micro-USB. Most families of four land at 8 to 12 devices, so 6 to 8 ports plus one spare is the realistic minimum. Count power bricks: a laptop brick can swallow two neighboring outlets.
2. Match the power strip to the load, not the other way around
Choose a surge-protected strip or dock rated for your devices’ total wattage at once. A phone draws roughly 10 to 20 watts, a tablet 12 to 30, a laptop 45 to 65, so four devices at once can pass 150 watts. Buy a strip with spaced-out outlets or a USB hub rated 60 watts or higher, and keep one port free for the next device or a guest.
The one-spot rule: where the station lives
One station beats three half-stations. When charging spreads across rooms, cables multiply and nothing is fully charged when you need it. Pick one spot for all overnight charging.
3. Put the station where the family already pauses
The best spot is somewhere people pass every evening: a kitchen counter end, a hallway console, or a shelf by the front door. It needs one outlet within reach and a surface at least 12 inches wide, with room for phones to lie flat. Avoid bedrooms: a glowing station in a sleeping room gets the system voted out fast. If your entryway is tight, borrow the drop-zone thinking in our 15 small entryway organization ideas: one landing spot, close to the door.
4. Give every person one labeled slot
Give each family member a fixed slot, a labeled tray compartment, a hook, or a numbered shelf position, and keep it permanent. Named slots turn “plug your phone in” from a negotiation into a habit. For younger kids, use a picture label or colored dot, with their slots at the front.
Drawer charging stations: hidden and tidy
If a row of phones on the counter feels cluttered, move the station inside a drawer. Devices disappear, cables stay, counter stays clear.
5. Convert a shallow drawer with a drilled cable hole
Pick a drawer at least 3 inches deep and within 3 feet of an outlet, in the kitchen or a hallway console. Drill one 1.5-inch hole in the back panel, fit a rubber grommet so cables do not fray on raw wood, and run a short power strip inside, secured with adhesive strips or a screw. Phones lie flat inside and the drawer closes on everything. If the drawer holds odds and ends, clear it first with our 17 junk drawer organization ideas.
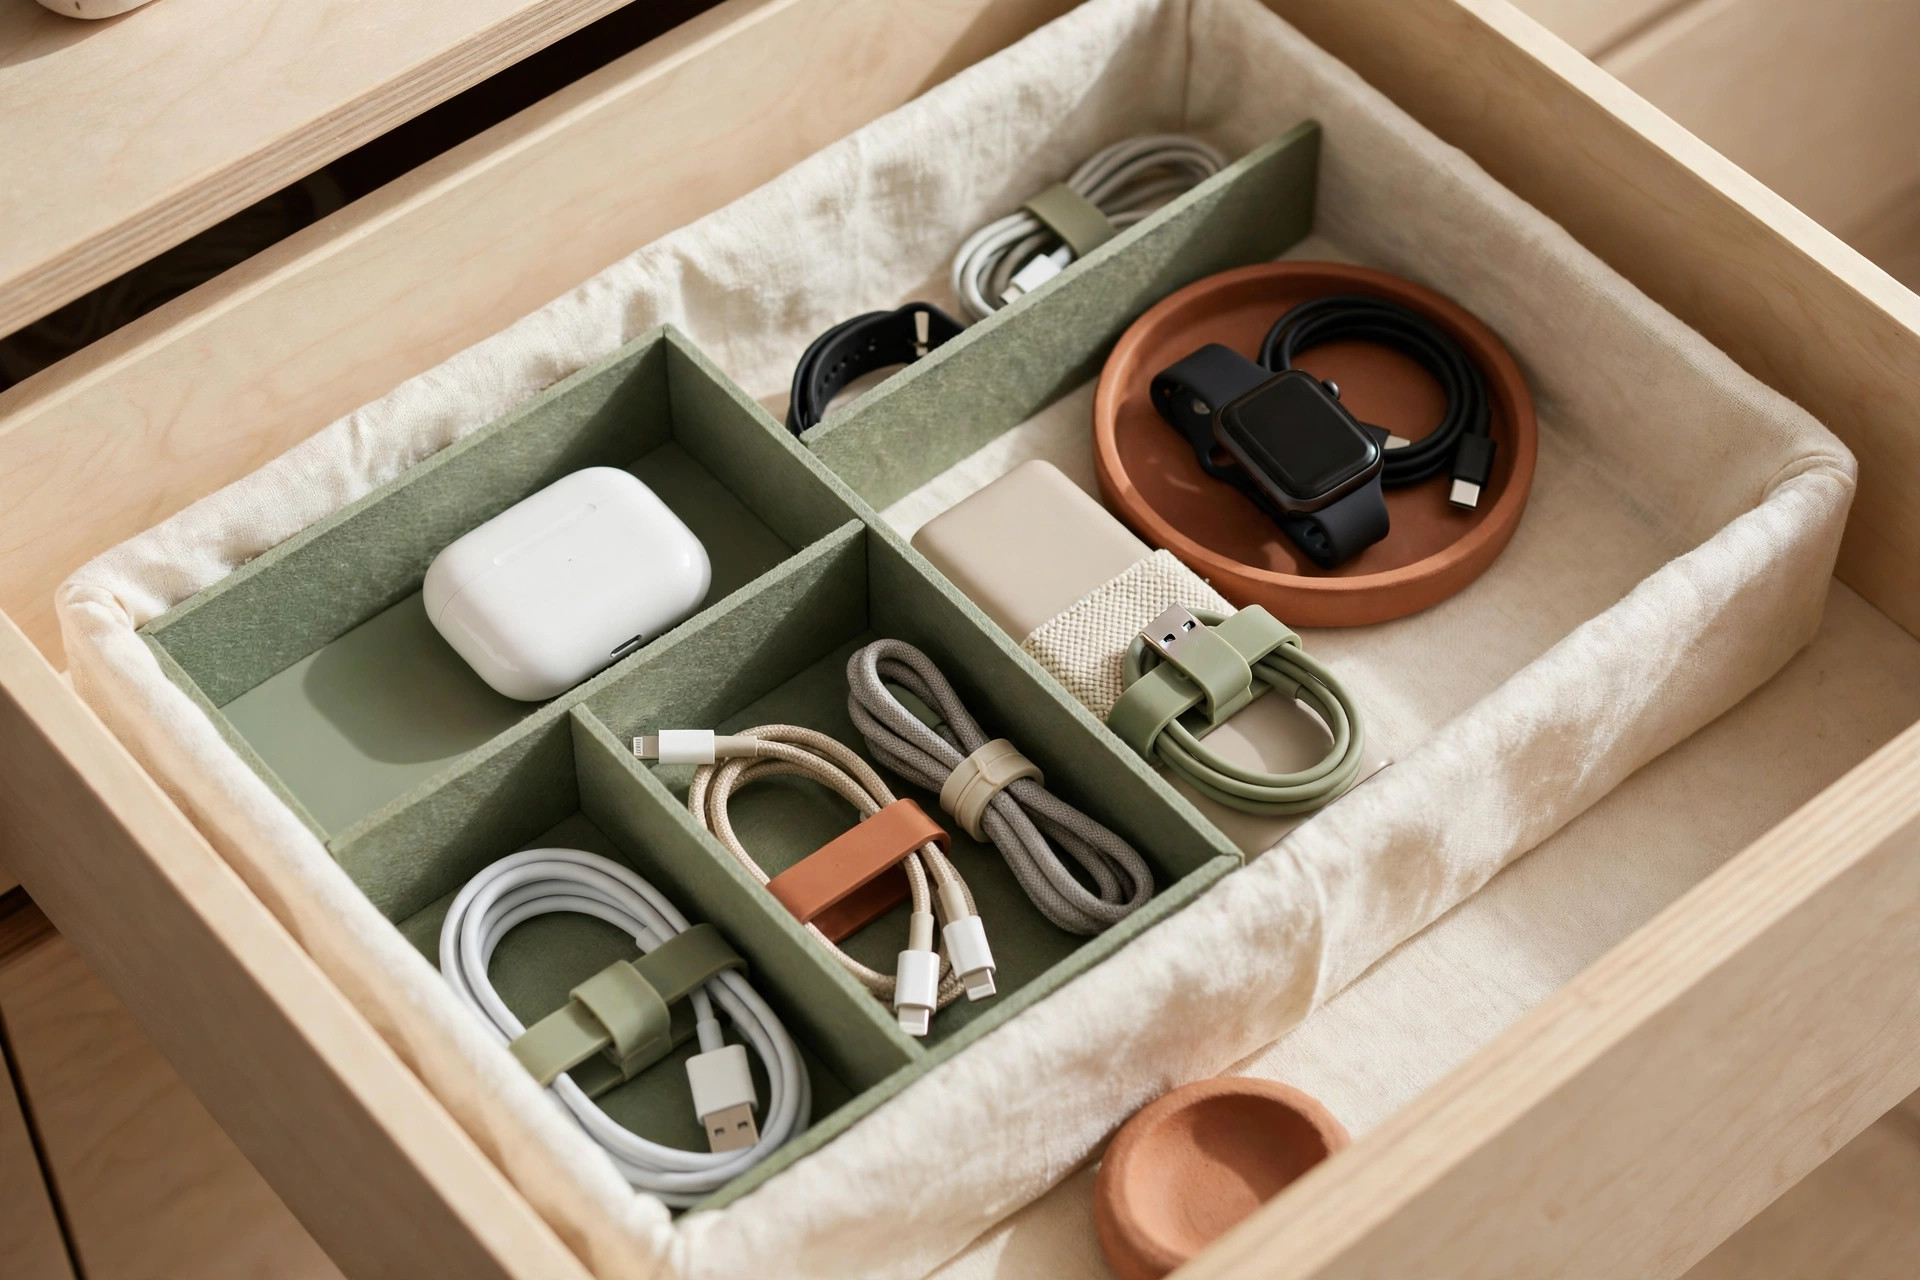
6. Use a drawer divider as a cable parking lot
Add a spring-loaded divider or small bamboo tray insert, one compartment per device. Coil each cable to about 12 inches, tuck the excess behind the divider, and let only the connector end peek out. This stops cables tangling into one knot. Keep labeled spares in the back compartment, so a dead cable swaps in seconds.
Wall-mounted and shelf stations for tight spaces
When counter and drawer space are both gone, go vertical. A wall-mounted station uses zero floor and zero counter space.
7. Mount a narrow shelf with a lip above an outlet
A wall shelf 18 to 24 inches wide and 5 to 6 inches deep, mounted 6 inches above an outlet, holds three to four phones and a tablet. Add a lip about 1 inch high along the front edge, so devices cannot slide off when grabbed in a hurry. Run a short 1-foot cable from each device to a small power strip under the shelf, clipped underneath so nothing dangles. This is renter-friendly: two screws into a stud, or adhesive strips rated for the shelf’s weight if your lease forbids holes. The keep-only-daily-items discipline in our 17 small desk supply organization ideas applies here too: a device not charged weekly earns no slot.
8. Hang a pocket organizer on the back of a door
A fabric shoe organizer with clear pockets, hung over a bedroom or closet door, makes an instant multi-device station for under the cost of a dinner out. Put the power strip on the floor behind the door, thread one short cable into each pocket, one pocket per device: earbuds and smartwatches up top, phones in the middle, a tablet in the largest bottom pocket. Best for kids’ rooms and guest rooms, where a permanent shelf is overkill.
Cable management: labels, short cables, and clips
Cable chaos is a length problem: 6-foot cables doing a 1-foot job, sliding off surfaces, and tangling together. Good charging station organization starts here, and these cable organization ideas cost almost nothing.
9. Switch every station cable to the shortest length that reaches
Replace long cables at the station with 1-foot or 2-foot versions, measured from the power strip to the device: 1 foot for a phone on a shelf above the outlet, 2 feet for a device one slot over, nothing longer unless a device sits farther away. Keep one long cable in the drawer as a spare for the sofa or car, never in the station itself. Short cables cannot tangle or fall behind furniture.
10. Clip cables to the surface so they stay put
Stick small adhesive clips, about half an inch wide, along the back edge of the shelf, tray, or drawer, one per cable, spaced 2 inches apart. Each cable lives in its own clip when not in use, so its connector waits where the device goes instead of sliding to the floor. When a cable dies, replace its clip too.
Kid-safe charging rules for shared stations
A shared station is also a safety lesson. Kids will plug things in unsupervised sooner than you expect, so build the rules into the station itself, not just into reminders.
11. Keep the power strip out of reach and the cables out of walkways
Mount the power strip inside the drawer, under the shelf, or behind a small cover box, so little hands cannot switch it off or poke at outlets. Route every cable along a wall or shelf edge, never across a walkway or doorway. For children under eight, charge devices only in the shared station, never in their bedroom overnight, in a room adults pass through in the evening. Devices charging in the living room cannot glow under a pillow at midnight.
12. Teach the three-check rule before a device plugs in
Teach every child three checks: the cable is not frayed or hot, the plug goes in straight and fully, and the device lies flat on a hard surface, never under bedding, in a bag, or on a sofa cushion. Damaged cables go into a labeled “broken” box for an adult to replace. Let older kids own the weekly cable check: safety as responsibility, not a lecture.

Travel and grab-and-go charging kits
A home station solves charging at home, but the morning scramble starts when someone leaves with a dead phone and no cable. A grab-and-go kit closes that gap.
13. Build one kit per bag, not one kit for the house
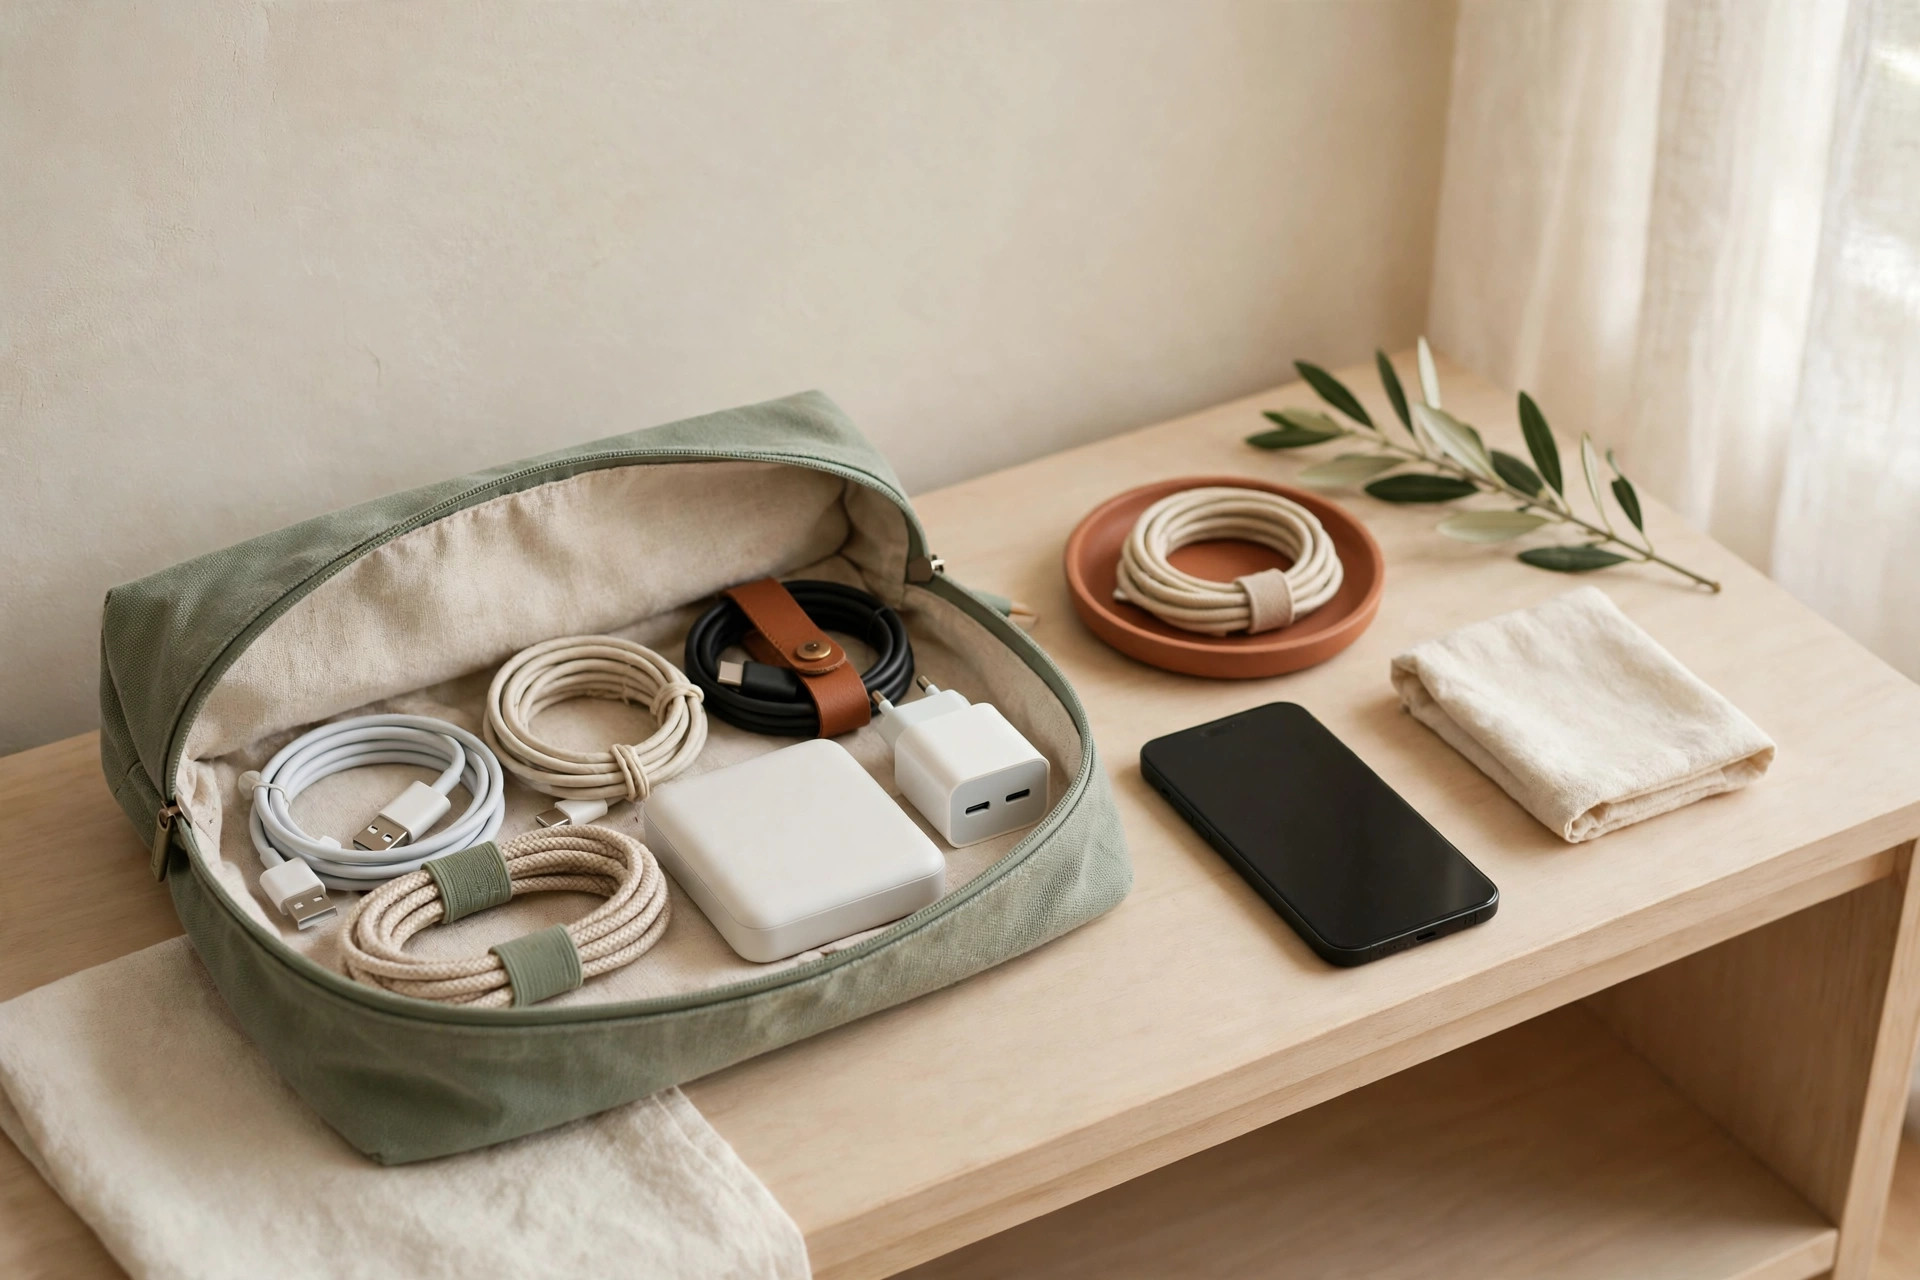
Pack a small zip pouch for each regularly used bag: school backpack, work bag, gym bag. Each pouch holds one multi-tip cable or two short cables for that owner’s devices, plus one compact power bank of at least 10,000 mAh, enough for roughly two full phone charges. Refill every Sunday evening from the home station: power bank back on the charger, borrowed cables back in their slots. One shared kit always ends up in the wrong bag.
14. Keep a labeled “leaving the house” shelf by the door
Reserve one small tray or shelf section by the front door for items that leave every morning: fully charged power bank, car charger, and the one long cable outside the station. Everything here is ready to grab; nothing here charges overnight. An empty power bank goes straight to the station, never back on the shelf, so the shelf never holds a dead battery disguised as a ready one.
The nightly plug-in routine
The best station fails without a routine: it only works when devices actually land in it. Keep the routine short and tied to something the family already does.
15. Anchor plug-in to an existing evening habit
Pick a habit the household already shares, dinner cleanup, teeth brushing, or the last show of the evening, and make plug-in the step right after it. Devices go to their labeled slots, cables clip in, and the station gets a ten-second glance: every slot filled, no cable on the floor, nothing charging under a blanket. Stick a “plug in before bed” note on the station for two weeks, then remove it once the habit holds. Dinner cleanup is the best anchor: the cue comes before anyone is tired enough to skip it.

Mistakes to avoid
Do not buy a dock before counting devices, or you will own a handsome dock with too few ports and a power strip trailing behind it. Do not mix fast chargers with cheap unbranded cables: a cable that cannot carry the charger’s wattage charges slowly and heats up. Do not run the station from an outlet shared with a space heater, kettle, or hair dryer, and never daisy-chain one power strip into another. Do not hide a laptop brick in a closed box with no airflow. And do not place the station where nobody passes in the evening, because a station nobody walks past is a station nobody uses.
Frequently asked questions
Can one charging station work for a family of five or more?
Yes, if you size it honestly. Count every device charged twice a week, add two spare ports, and split across two nearby surfaces if one shelf cannot hold everything: phones on the wall shelf, laptops on the console below. One-spot means one area, not one single shelf.
How do I hide charging cables in a rental without drilling?
Use adhesive cable clips, a command-strip shelf, and a drawer or basket station that needs no holes at all. A fabric pocket organizer over a door, or a lidded basket with a cable slot in the back, hides cables completely and leaves no marks when you move out.
What is the safest way to charge kids’ devices overnight?
Charge them in a shared station in a common room, on a hard surface, with an undamaged cable and a power strip out of reach. Never charge under bedding or inside a closed bag, and retire any frayed, swollen, or overheating cable immediately rather than taping it.
How often should I replace charging cables?
Replace a cable as soon as it frays, kinks, charges intermittently, or feels hot, and review the station every six months. Daily-use cables typically last one to two years, so one labeled spare per cable type keeps a dead cable from breaking the routine.
A small home does not need fewer devices, it needs one place where charging happens, every time, without thinking. Count what you own, pick the spot, hide the cables, and tie plug-in to a habit you already have. Browse more ideas in our storage ideas collection and save this pin for later.