Kids art supply organization is the difference between a home that encourages creativity and a home buried under dried-out markers and half-finished drawings. In a small home, art supplies spread fast: crayons migrate to the sofa, glitter appears on the kitchen table, and stacks of paper take over every flat surface. The goal is not to hide creativity away. It is to give every supply a visible, reachable home so your child can start creating independently and clean up without a battle. These 15 ideas work in apartments, shared bedrooms, and living rooms alike, using carts, bins, and wall space you probably already have.
The art supply audit: what kids actually use
Before you buy a single bin, gather every art supply in the house into one pile. You will almost certainly find duplicates, dried-out pens, broken crayons, and materials your child outgrew years ago. The audit takes about 30 minutes and it is the step that makes everything else work, because you can only organize what you actually keep.
1. Sort supplies into keep, toss, and donate piles. Test every marker and pen on scrap paper, snap broken crayons in half for younger children or discard them, and set aside unopened duplicates for school donations. Keep only what your child reached for in the last three months, plus one backup set of basics.
2. Count by category, not by item. Write down roughly how many crayons, markers, paints, brushes, papers, and sticker sheets you own. This count tells you the size of storage you need: a child with 24 crayons needs one small cup, while a child with 120 needs a divided caddy.
Rolling carts: the mobile art station
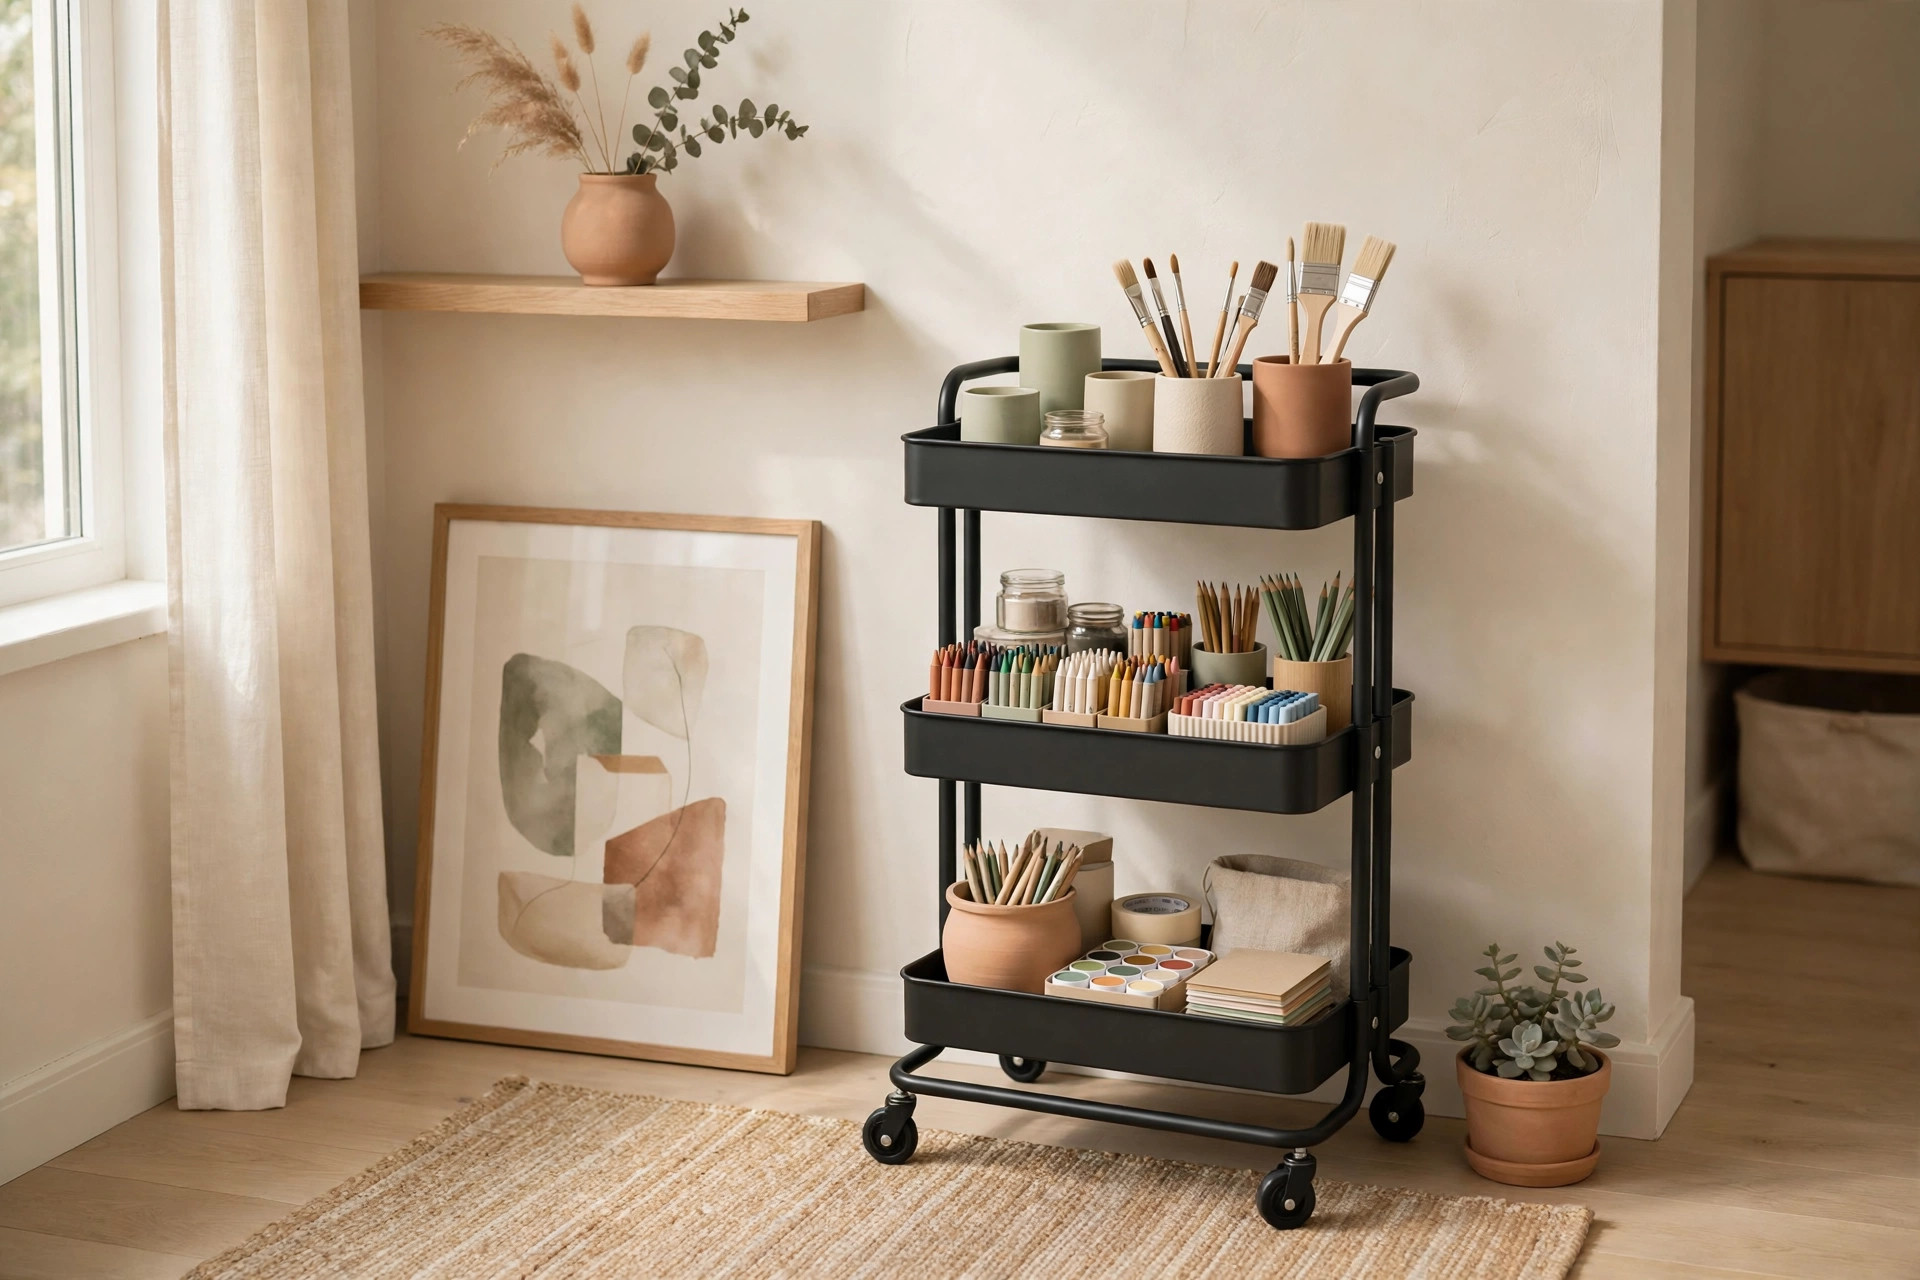
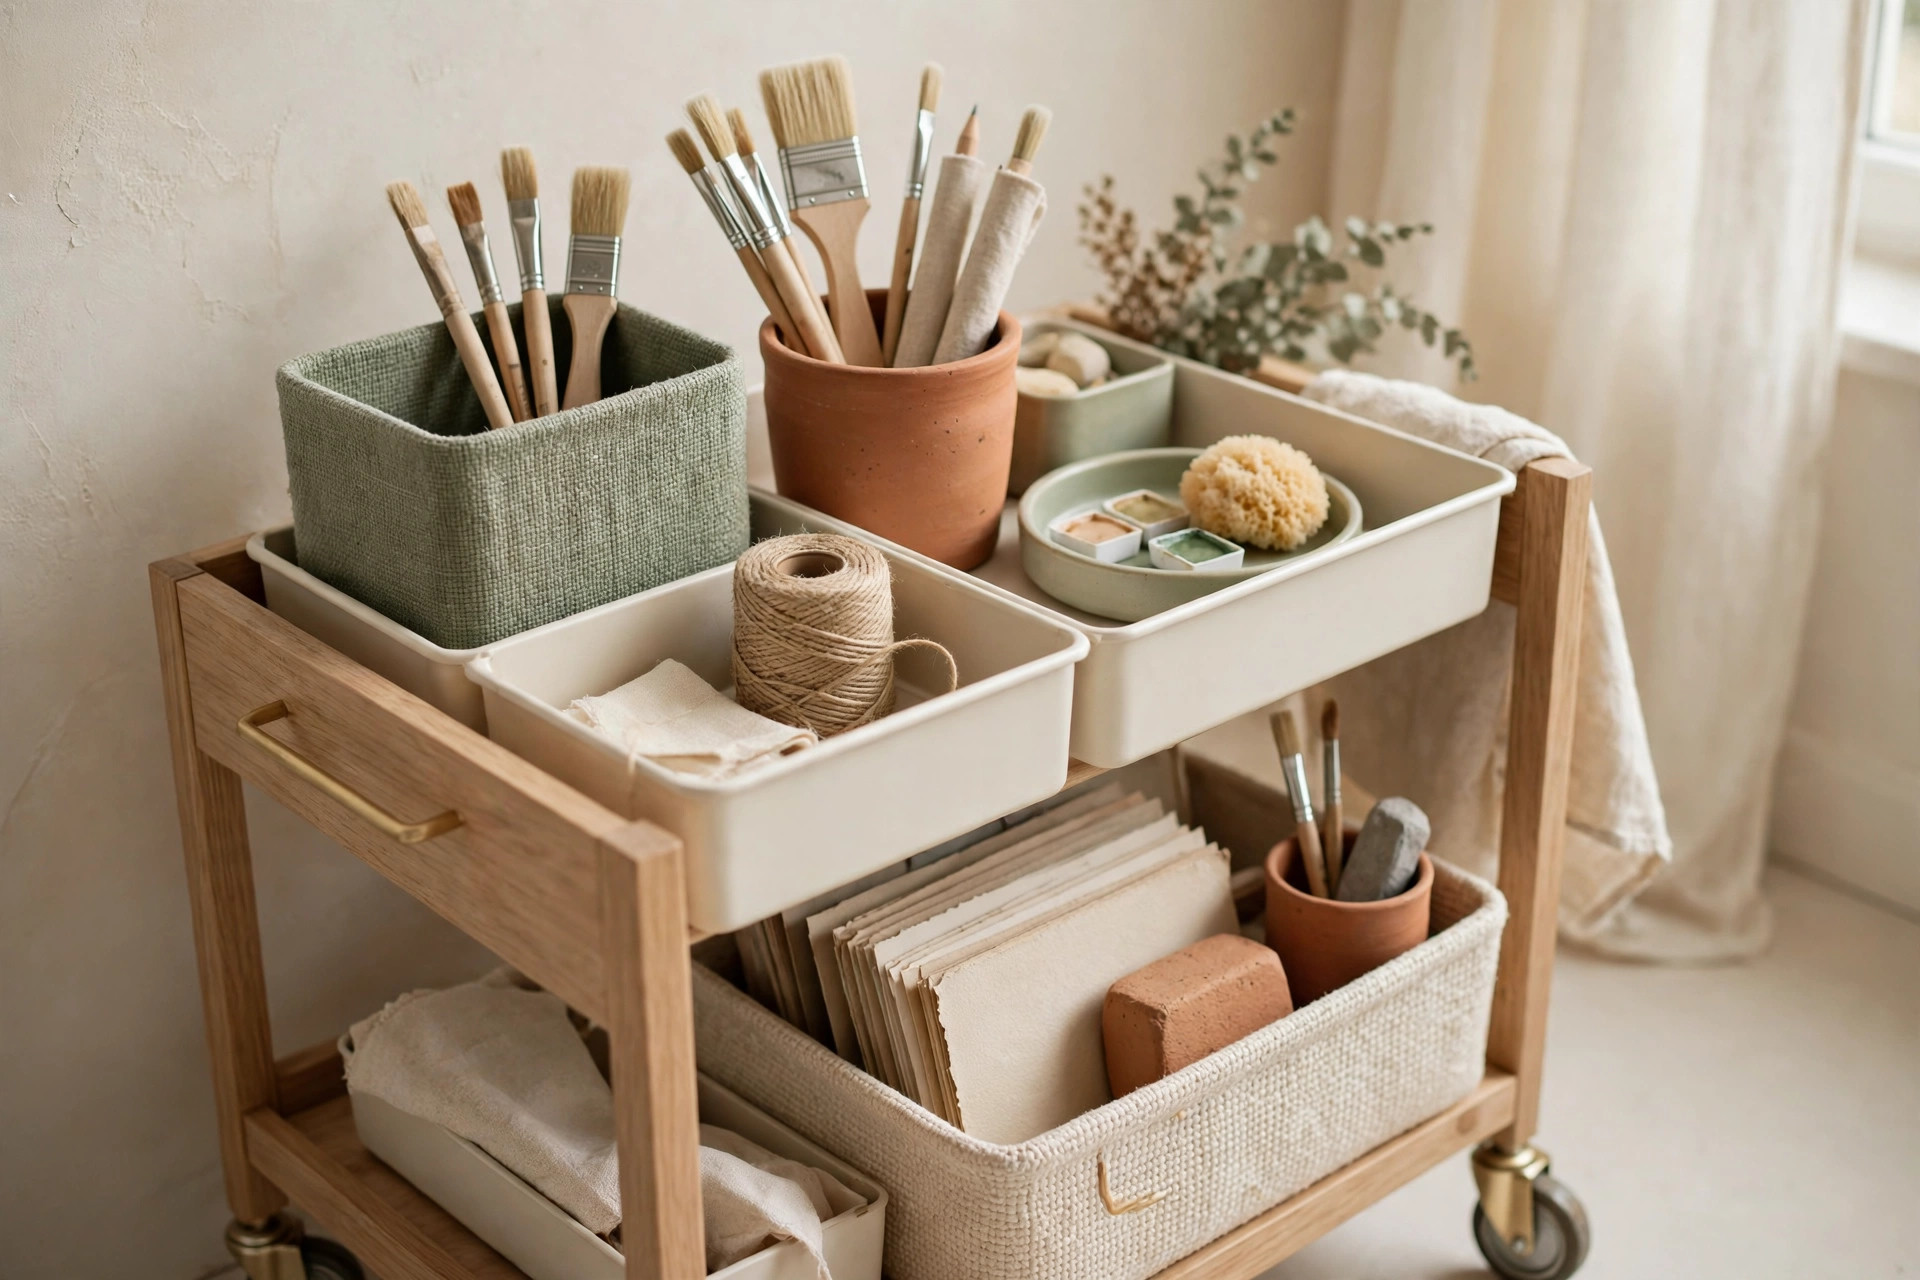
A rolling cart is the single best investment for art supply storage in a small home, because it turns any table into an art table and then rolls away when dinner is ready. Look for a three-tier cart roughly 17 inches wide and 35 inches tall.
3. Dedicate one tier per stage of a project. Put paper and coloring books on the top tier, drawing tools in the middle, and paint and messy supplies on the bottom tier, where spills are easiest to wipe. When everything travels together, your child stops raiding five different drawers to start one drawing.
4. Park the cart in a fixed spot every time. A cart that wanders becomes clutter on wheels. Choose one parking place, such as the end of a hallway or beside a bookshelf, and make returning it part of the cleanup routine. If your home has no spare floor space, a slim cart under 12 inches wide can slide between furniture pieces. Similar mobile storage works for grown-up projects too, as shown in these craft supply organization ideas for small spaces.
Labeled bins by medium: crayons, paint, paper
Sorting by medium, rather than by color or size, is what lets a child find supplies and put them back without help. A bin labeled “markers” is a decision a five-year-old can make; a drawer of mixed supplies is not.
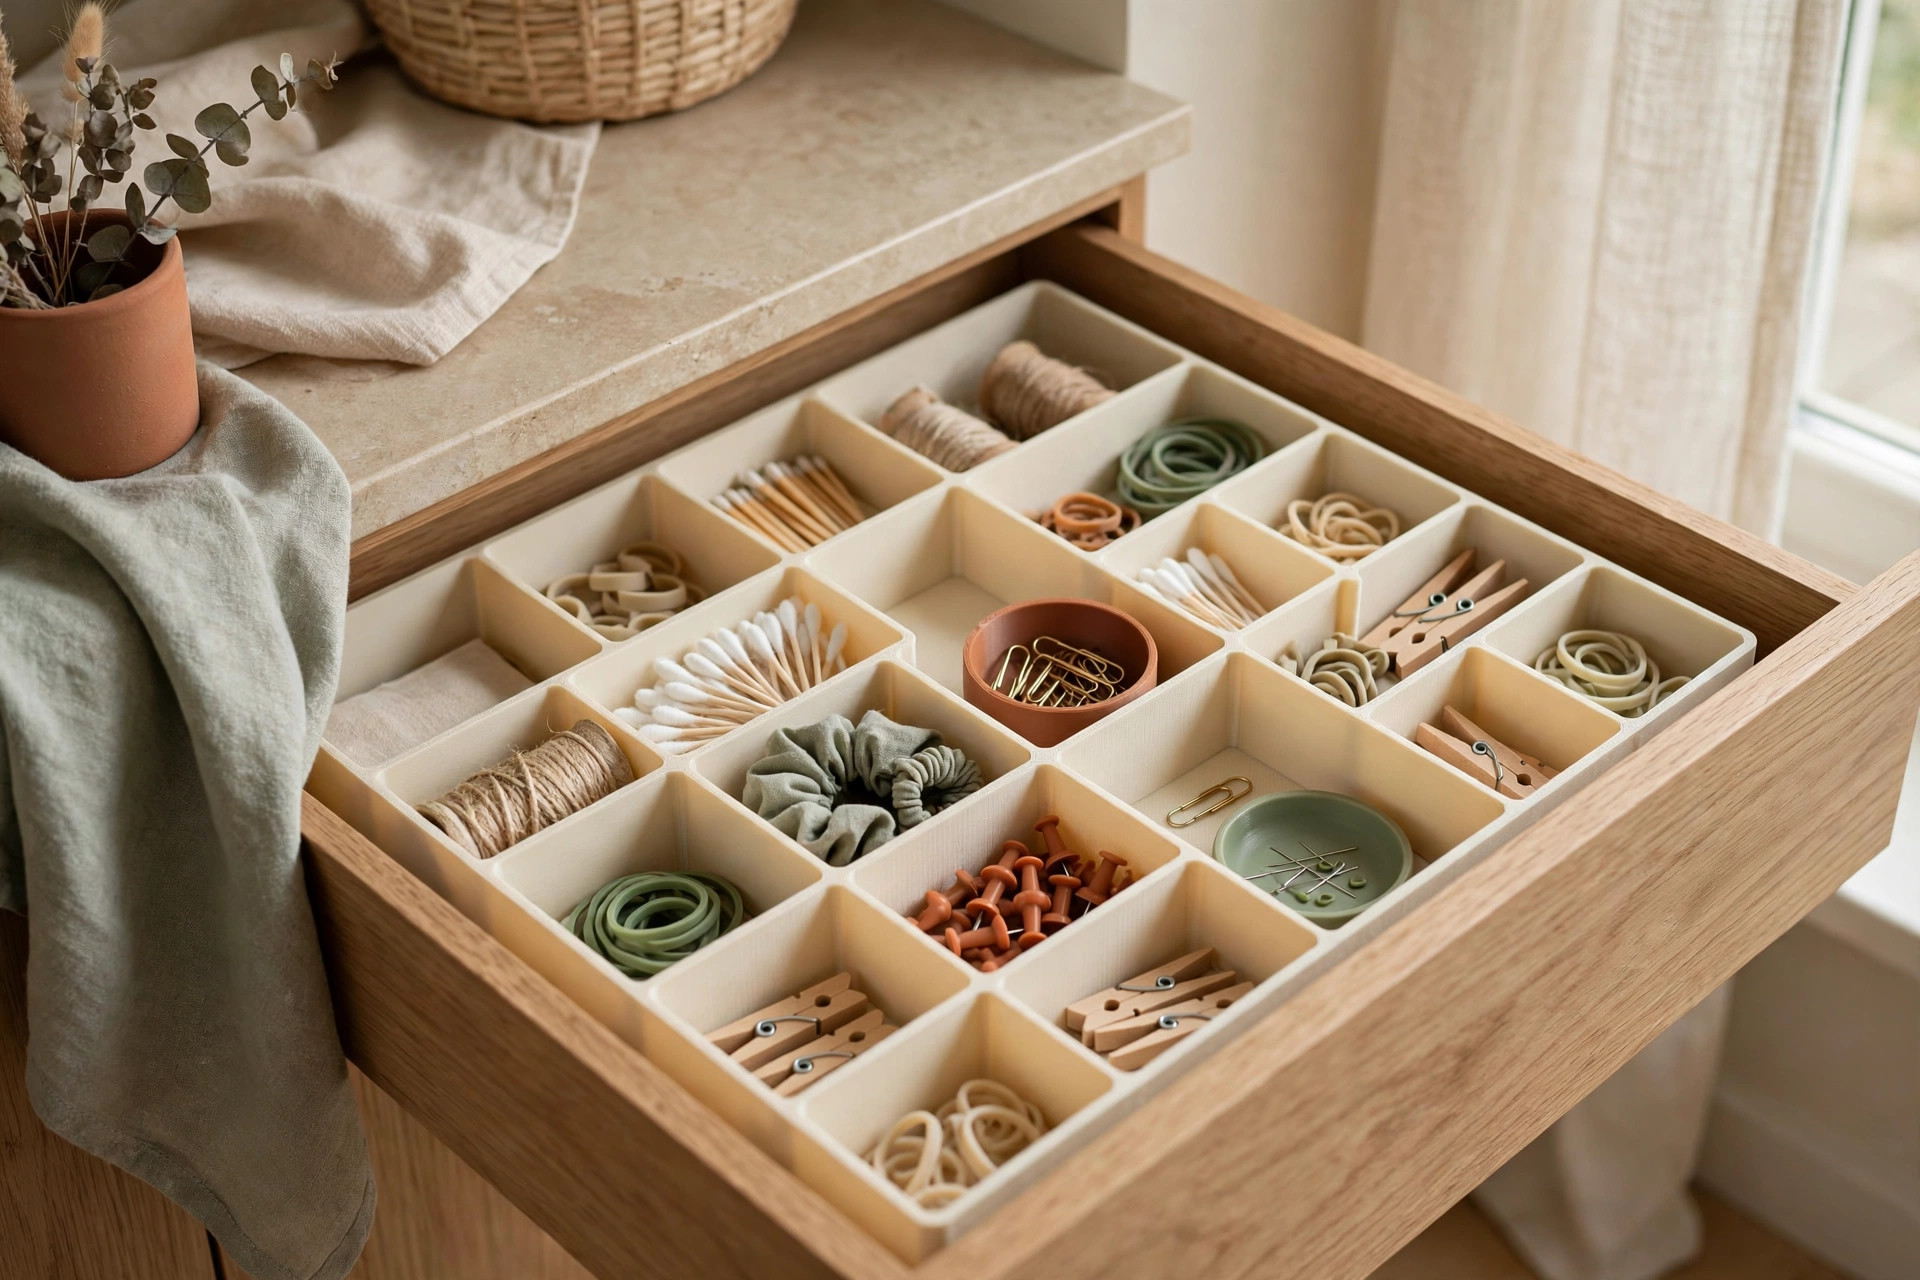
5. Use clear, stackable bins about 10 by 6 by 6 inches for each medium. Crayons go in one, markers in another, colored pencils in a third. Add a picture label as well as a word label so pre-readers can match the picture on the bin to the supplies inside. Keep lids off for daily-use bins and on for messy supplies like paint and glue.
6. Keep one “project bin” per child. When a child is mid-project, a single open bin holds everything for that creation: the drawing, the specific markers, and the stickers. It stops half-finished work from spreading across the table, and it makes cleanup a one-bin job instead of a whole-room hunt.
Paper storage: flat, vertical, and visible
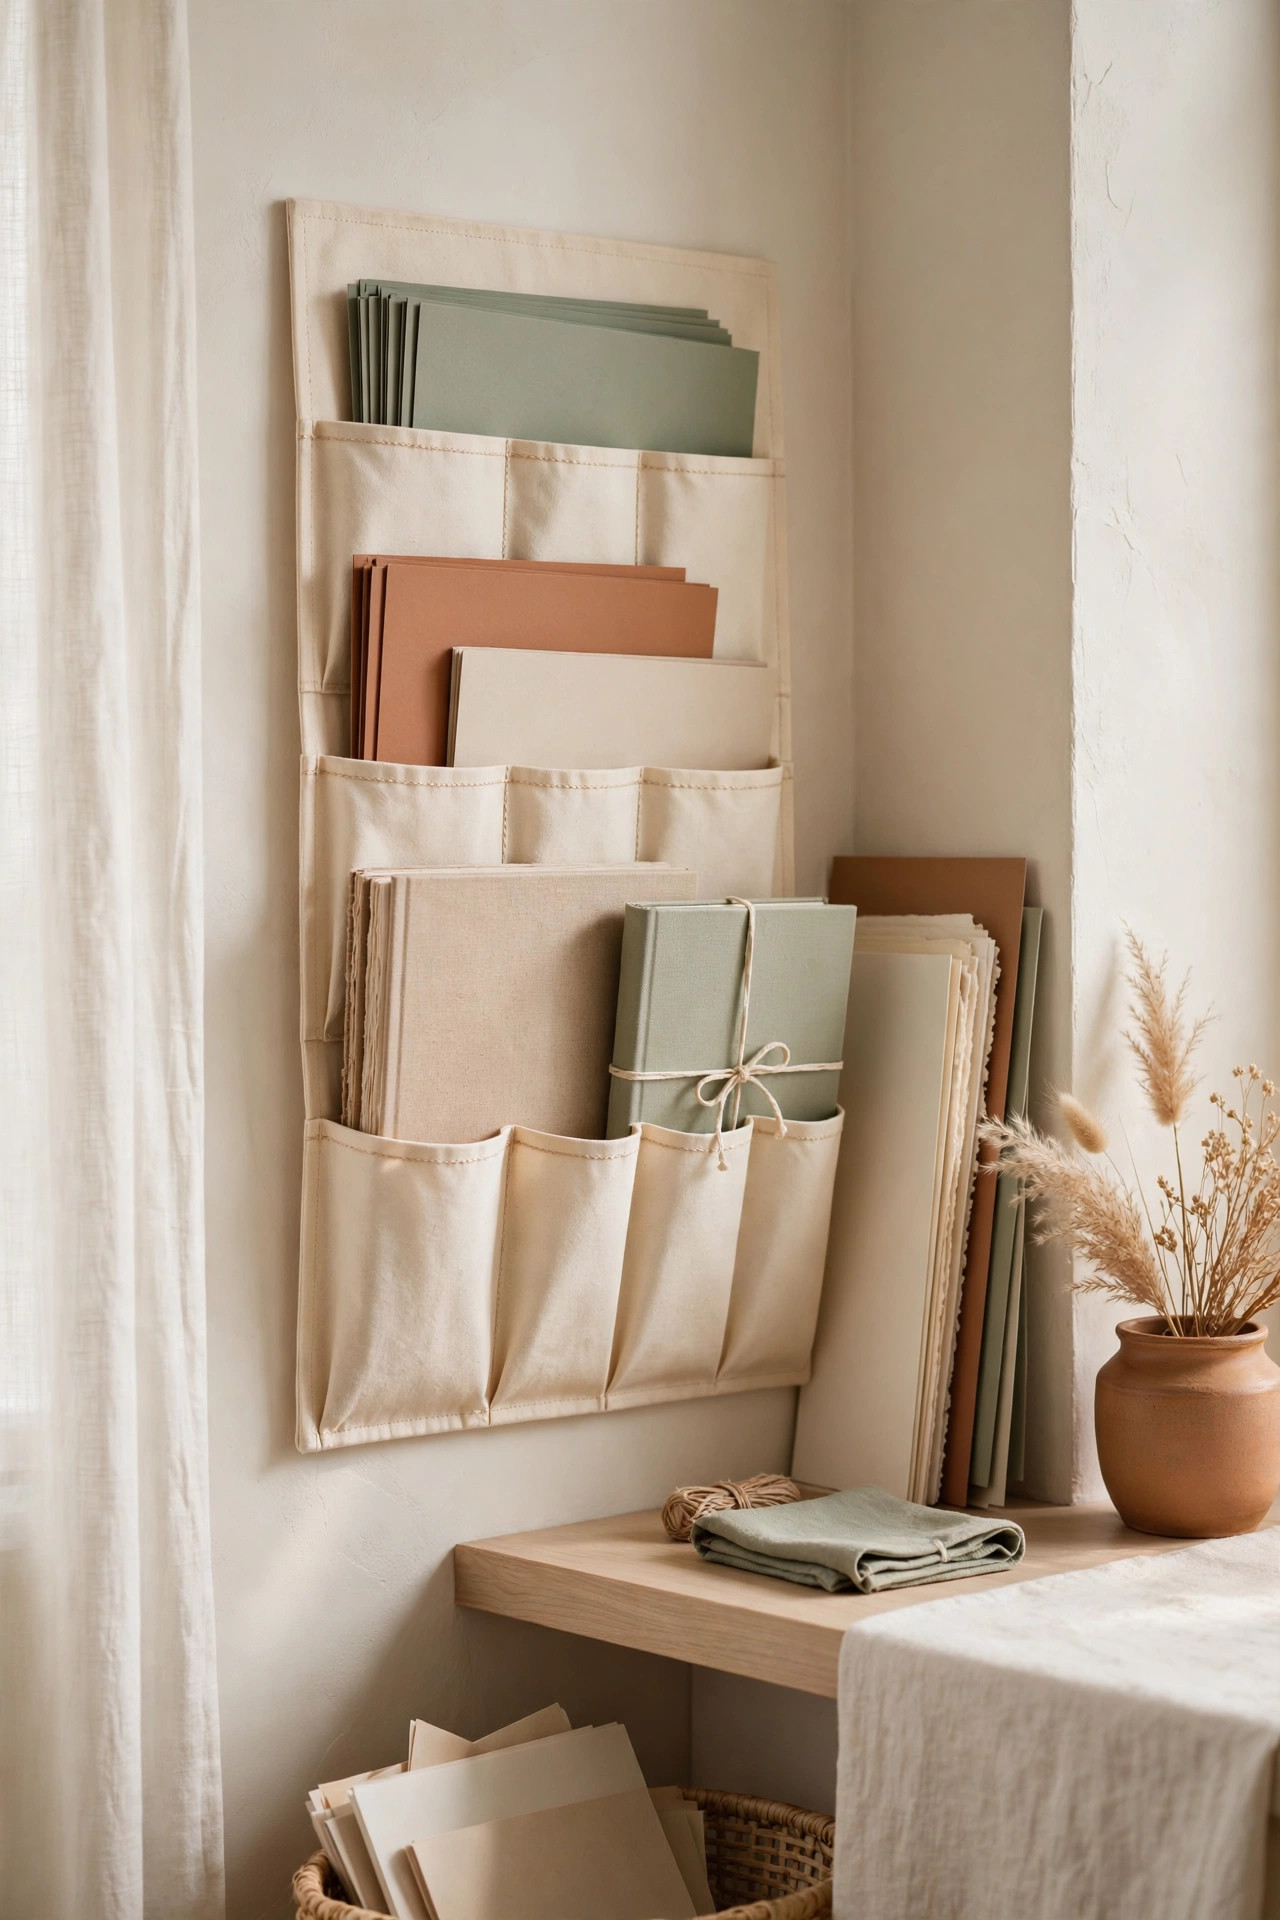
Paper is the bulkiest art supply and the one most likely to pile up, because it arrives constantly from school, relatives, and craft kits. Store it three ways at once: flat for good paper, vertical for works in progress, and visible for daily-use sheets.
7. Store good paper flat in a magazine holder or shallow tray. Stack construction paper, cardstock, and sketch pads flat so sheets do not curl or crease. A single upright magazine file holds a surprising amount of paper on a shelf only 4 inches wide, which matters when shelf space is scarce.
8. Stand coloring books and sketch pads vertically like books. Vertical storage lets your child flip through options and pull one out without disturbing the rest, the way books work on a shelf. Keep the current coloring book at the front and rotate older ones to the back, so the choice stays manageable instead of overwhelming.
Drying and display: where finished art lives
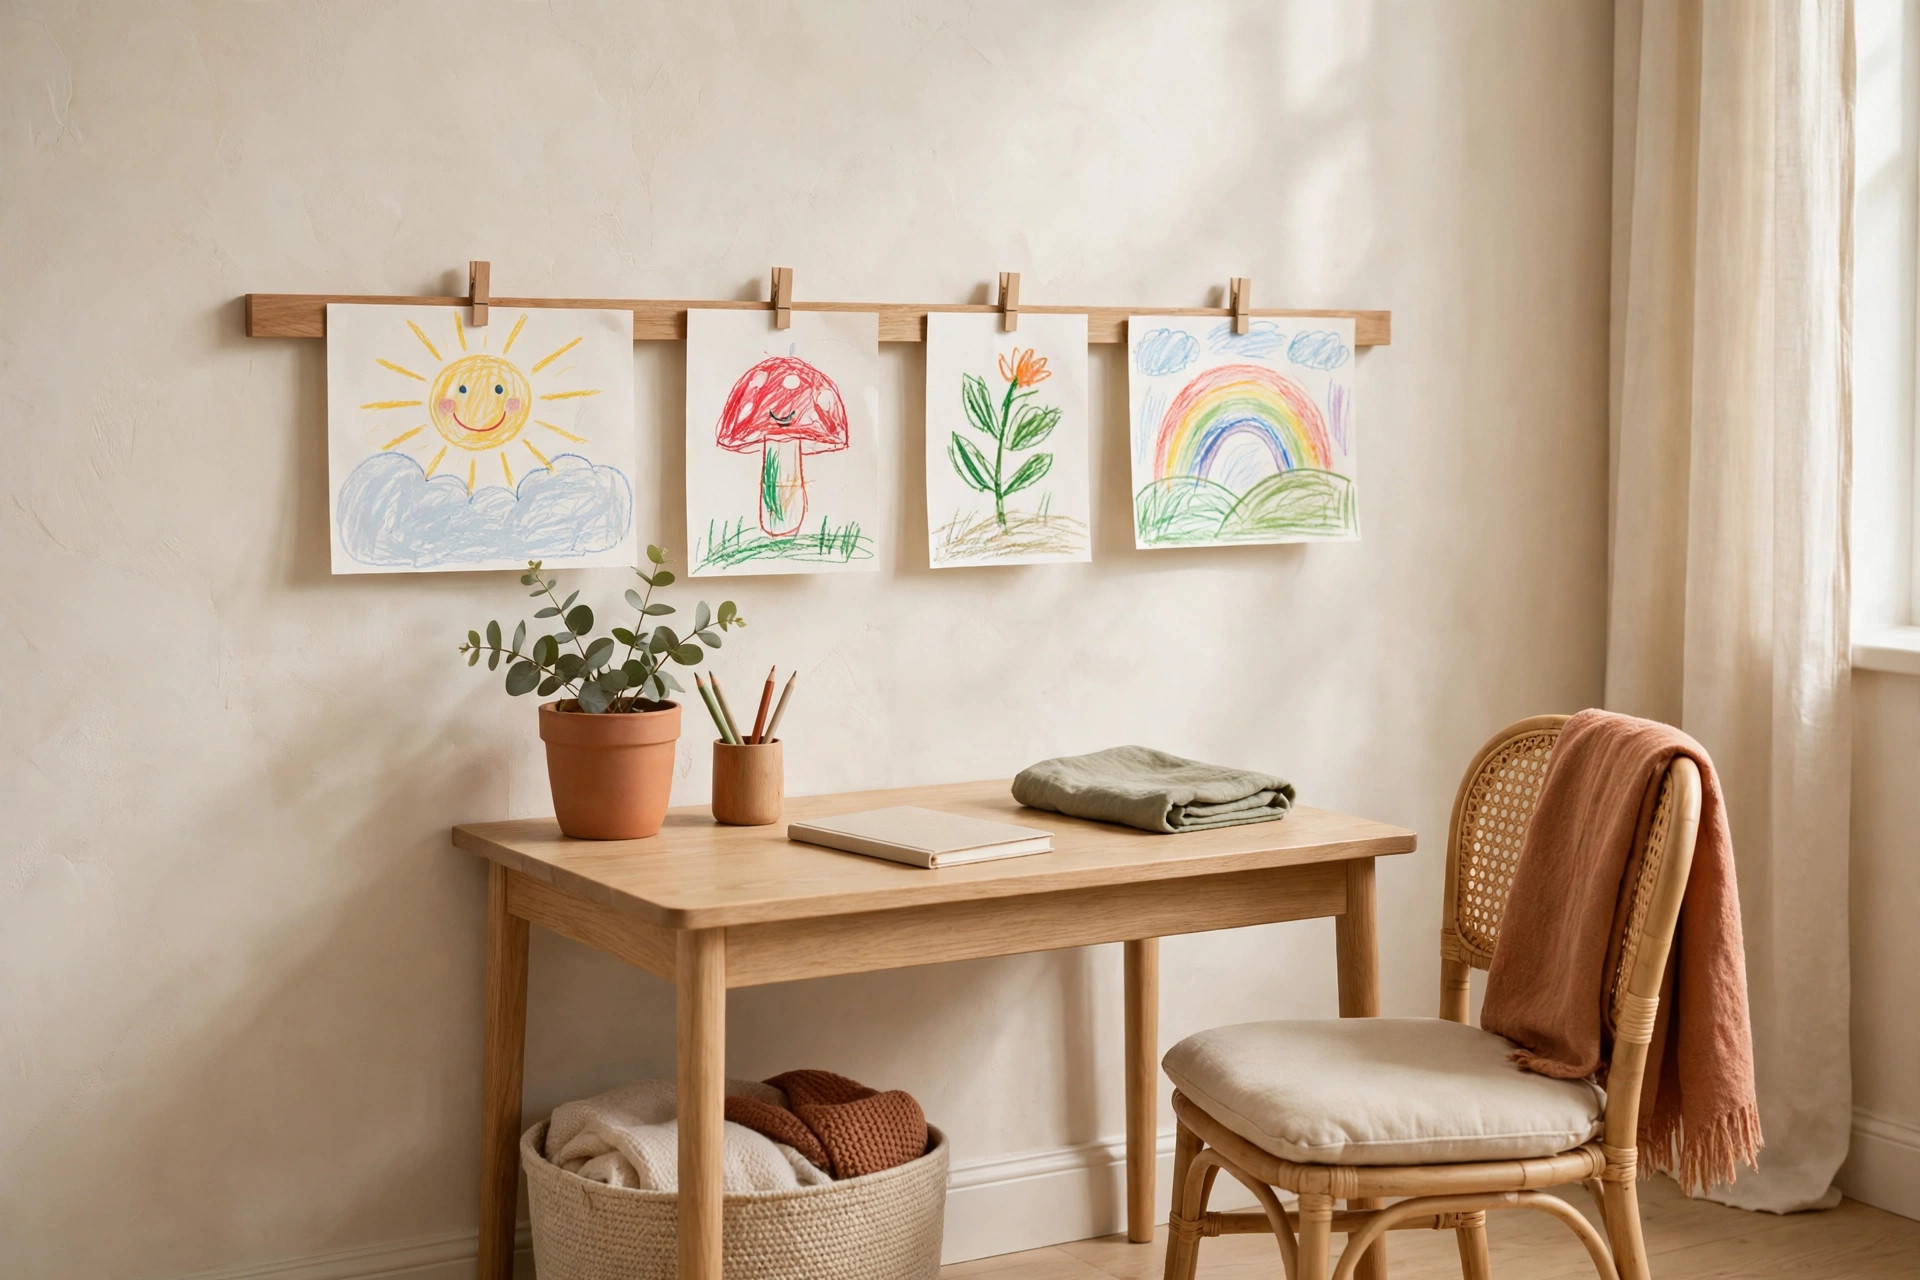
Finished art needs a destination, or it becomes a second pile. Decide in advance how much art your home displays, how much it keeps, and how much it lets go, and give each category a physical place.
9. Hang a wire and clip display across one wall. A length of wire with small clips, mounted at your child’s eye height, holds a rotating gallery of about 10 to 12 pieces. When a new favorite arrives, an older one comes down. This rotation keeps the display joyful instead of crowded.
10. Keep one portfolio folder per school year. A large flat portfolio, roughly 18 by 24 inches, stores the pieces worth keeping without taking over a closet. At the end of the year, sit down together and choose the 10 best pieces to keep permanently; photograph the rest before recycling them. The photo archive takes no shelf space at all.
Mess containment: trays, smocks, and wipeable zones
Mess is not the enemy; uncontained mess is. A small home survives art time when the messy zone is defined before the paint comes out, not after it is on the tablecloth.
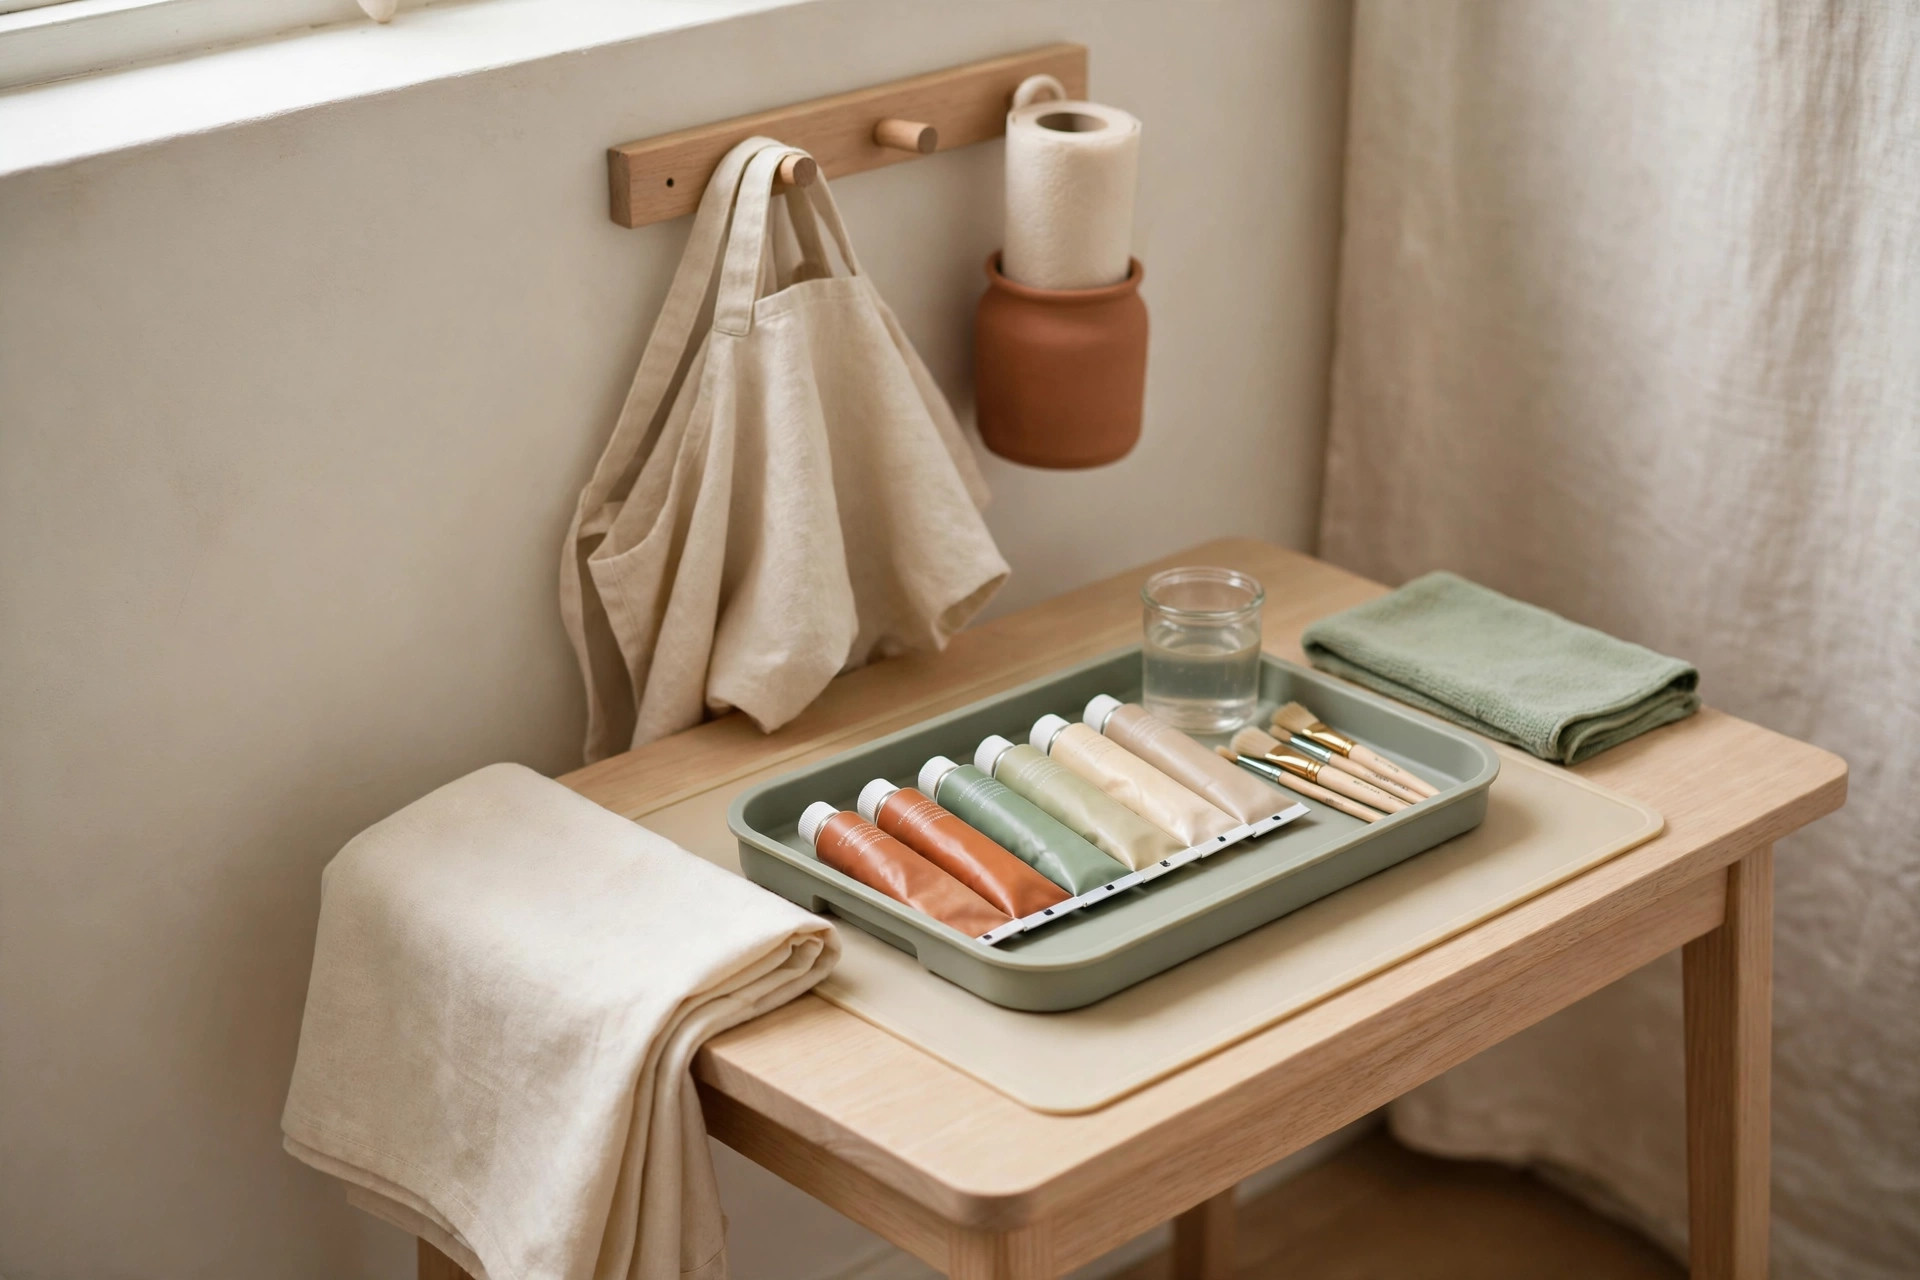
11. Set every project on a rimmed baking tray or cafeteria tray. A tray with a raised edge catches paint drips, beads, and glitter, and it can be carried to the sink in one trip. Keep two trays stacked near the art supplies so a second project can start while the first dries. For paint and glue, check labels for non-toxic certification, and the U.S. Consumer Product Safety Commission offers general guidance on choosing safer children’s products.
12. Hang a smock and a pack of wipes on the cart itself. An old adult T-shirt worn backwards makes a free smock that covers sleeves and fronts. Hook it on the side of the rolling cart with a small pack of baby wipes, so protection and cleanup live exactly where the mess happens rather than in another room.
Shared spaces: art corners in living rooms
Many small homes have no spare room for art, so the art corner has to share a living room without making the whole room feel like a classroom. The trick is a defined zone with a clear boundary, even if that boundary is only a rug and a shelf.
13. Claim one corner with a small table and a wall shelf above it. A folding table about 24 by 20 inches is enough for one child to work, and a single shelf above it holds the daily-use bins at arm’s height. When the corner has its own furniture, art supplies stop colonizing the coffee table. If toys share the same room, the same zone logic applies to them, as in these kids toy storage ideas for small living rooms.
14. Use a curtain or folding screen to close the corner when guests arrive. A tension rod with a simple curtain, or a lightweight folding screen, hides the art zone in seconds. The corner can stay a working studio behind the curtain instead of being packed away after every session.
The monthly art supply purge
Even the best system drifts. Markers dry out, paper stacks grow, and new supplies arrive with birthdays and holidays. A monthly purge of about 15 minutes keeps the system at the size your home can actually hold.
15. Purge on the first weekend of every month, with your child. Go bin by bin: test markers, recycle finished or torn paper, and move outgrown supplies to a donation bag. End by checking that every remaining bin still fits its shelf or cart tier. If a bin overflows, something leaves before anything new comes in, which is also the rule that keeps a kids closet organized in a small bedroom from creeping back into chaos.
Mistakes to avoid
Buying storage before the audit is the most common mistake: it fills your home with pretty bins that do not fit what you actually own. Sorting by color instead of by medium looks beautiful and confuses every child who uses it. Avoid storing supplies above your child’s reach, which guarantees you become the supply fetcher for every project. Do not keep every piece of art, since a collection with no limit becomes a pile with no purpose. And never use a system that takes more than two minutes to clean up: if cleanup is a chore, children will stop doing it.
Frequently asked questions
How can I organize kids’ art supplies in a small apartment?
Start with an audit, then use a rolling cart as the main station and labeled bins by medium for the rest. One cart plus three or four small bins covers most families, and vertical paper storage on a shelf handles the bulkiest supply without taking floor space.
How do I keep art supplies from taking over the living room?
Give art a defined corner with its own small table and shelf, and park a rolling cart in a fixed spot when it is not in use. A curtain or folding screen can hide the corner in seconds, which works better than packing everything away after every session.
Can kids clean up their own art supplies?
Yes, if the system is built for them: picture labels they can match, bins at their height, and one project bin per child. Keep cleanup under two minutes, and most children from age four up can manage it with only occasional reminders.
How often should I purge kids’ art supplies?
Once a month is enough for most families. A 15-minute purge on the first weekend of the month catches dried-out markers and paper buildup before they overflow the bins, and it keeps new supplies from quietly doubling the collection.
Conclusion
Kids art supply organization does not require a spare room or expensive furniture. A rolling cart, labeled bins by medium, vertical paper storage, and a monthly purge give creativity a home that fits a small house and a routine children can actually follow. Start with the audit this weekend, then add one idea at a time. Save this pin for later, and browse more ideas in our storage ideas collection.