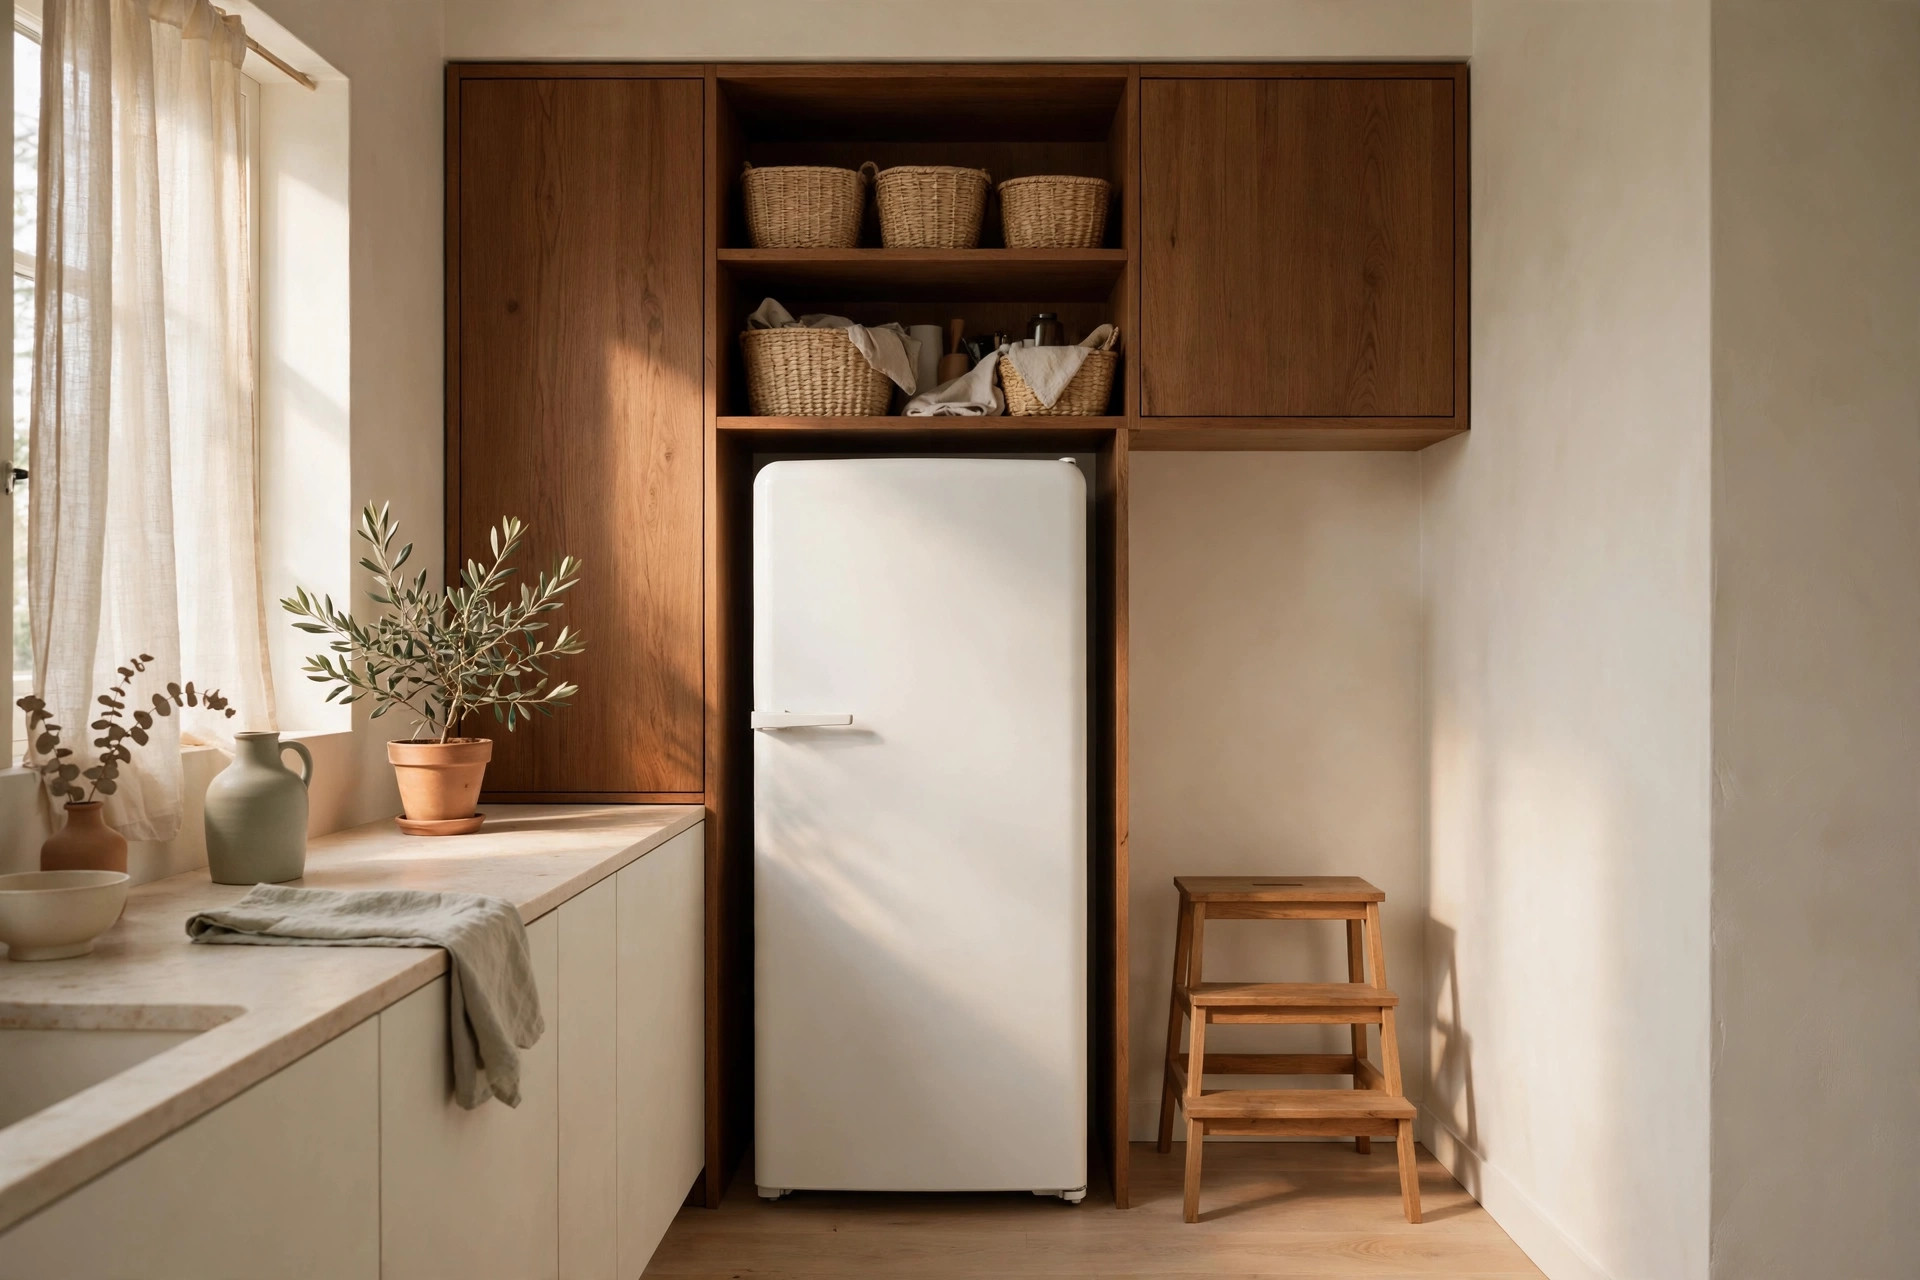
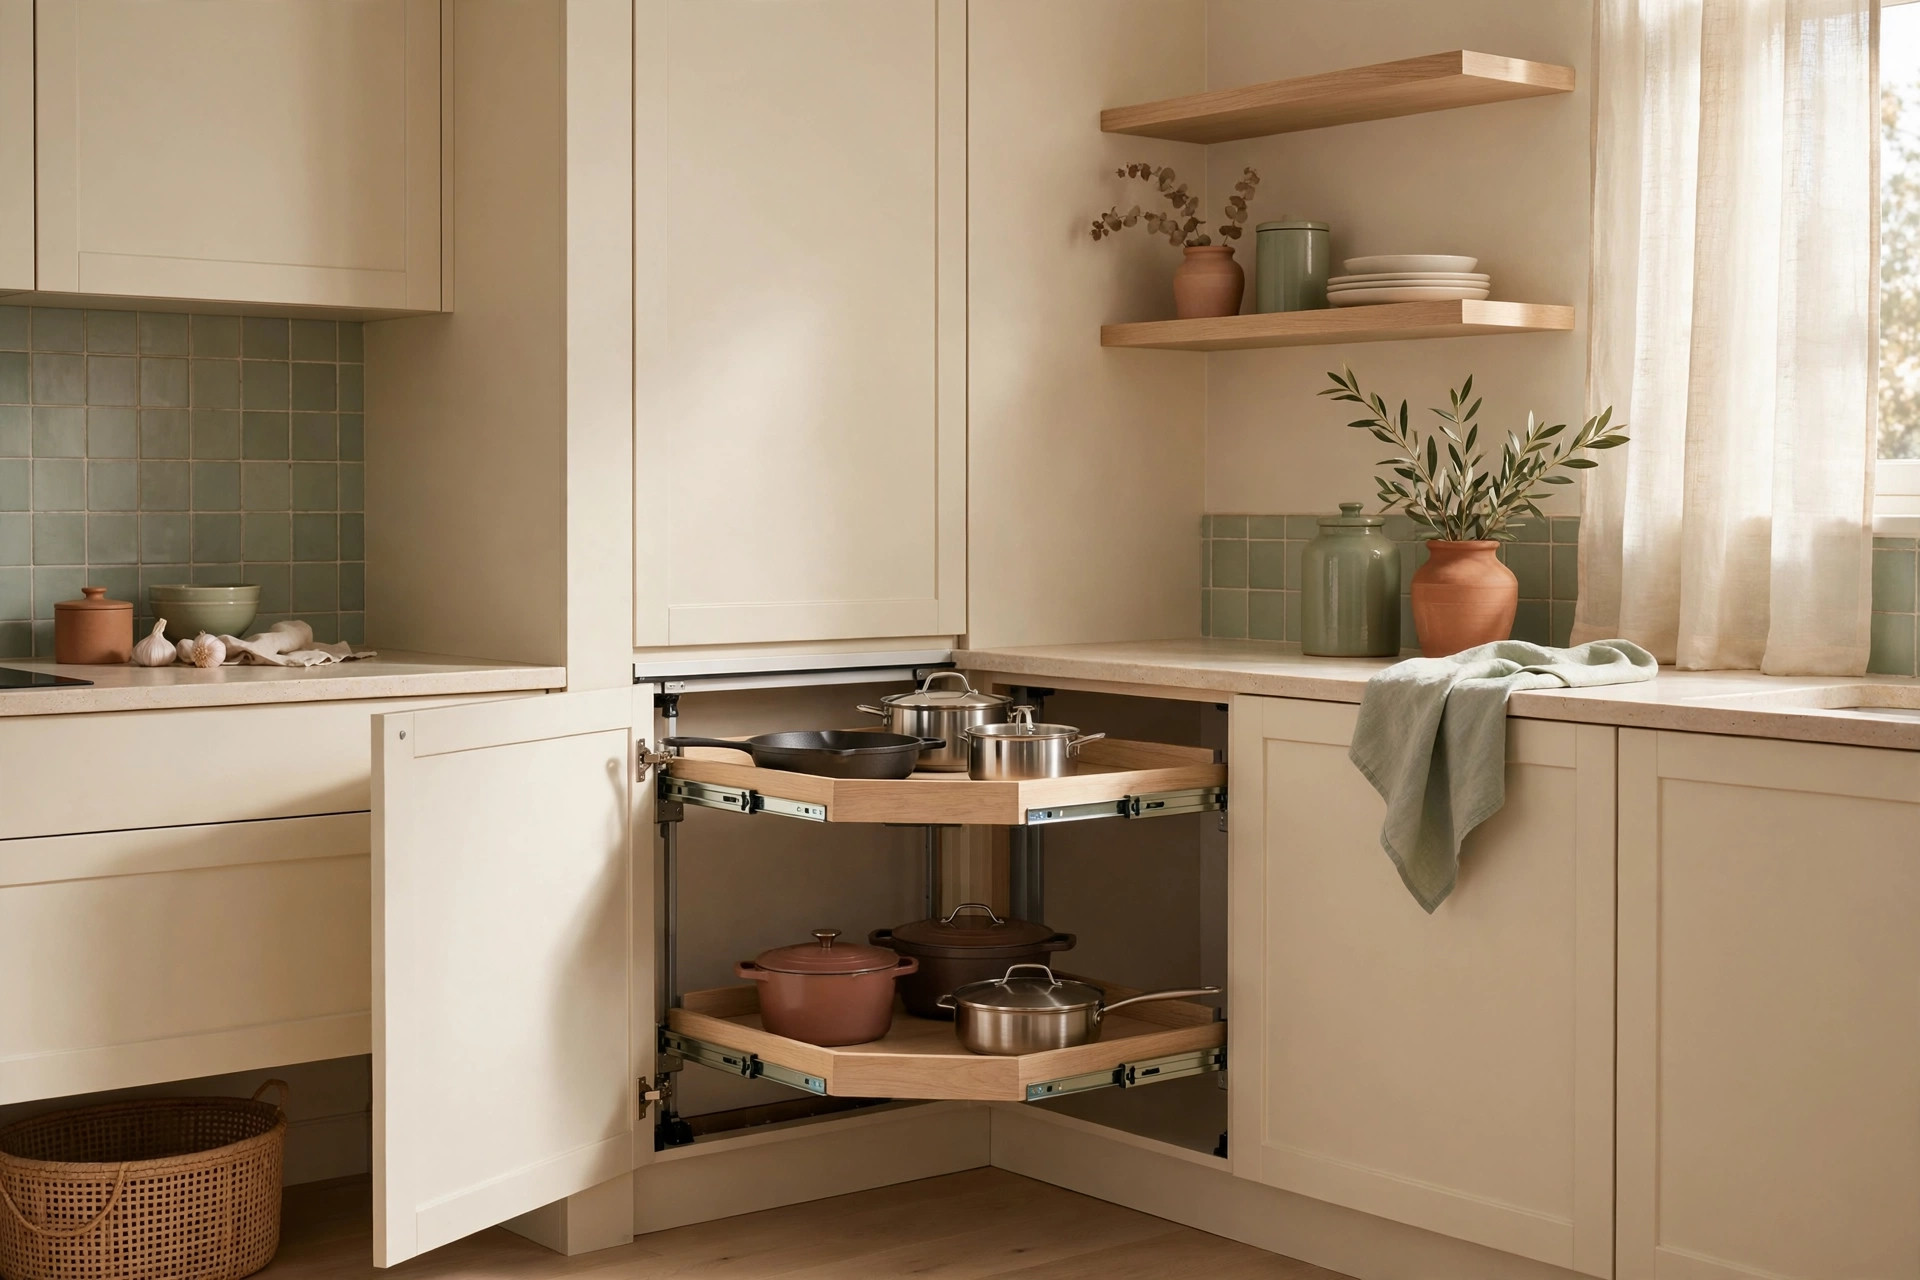
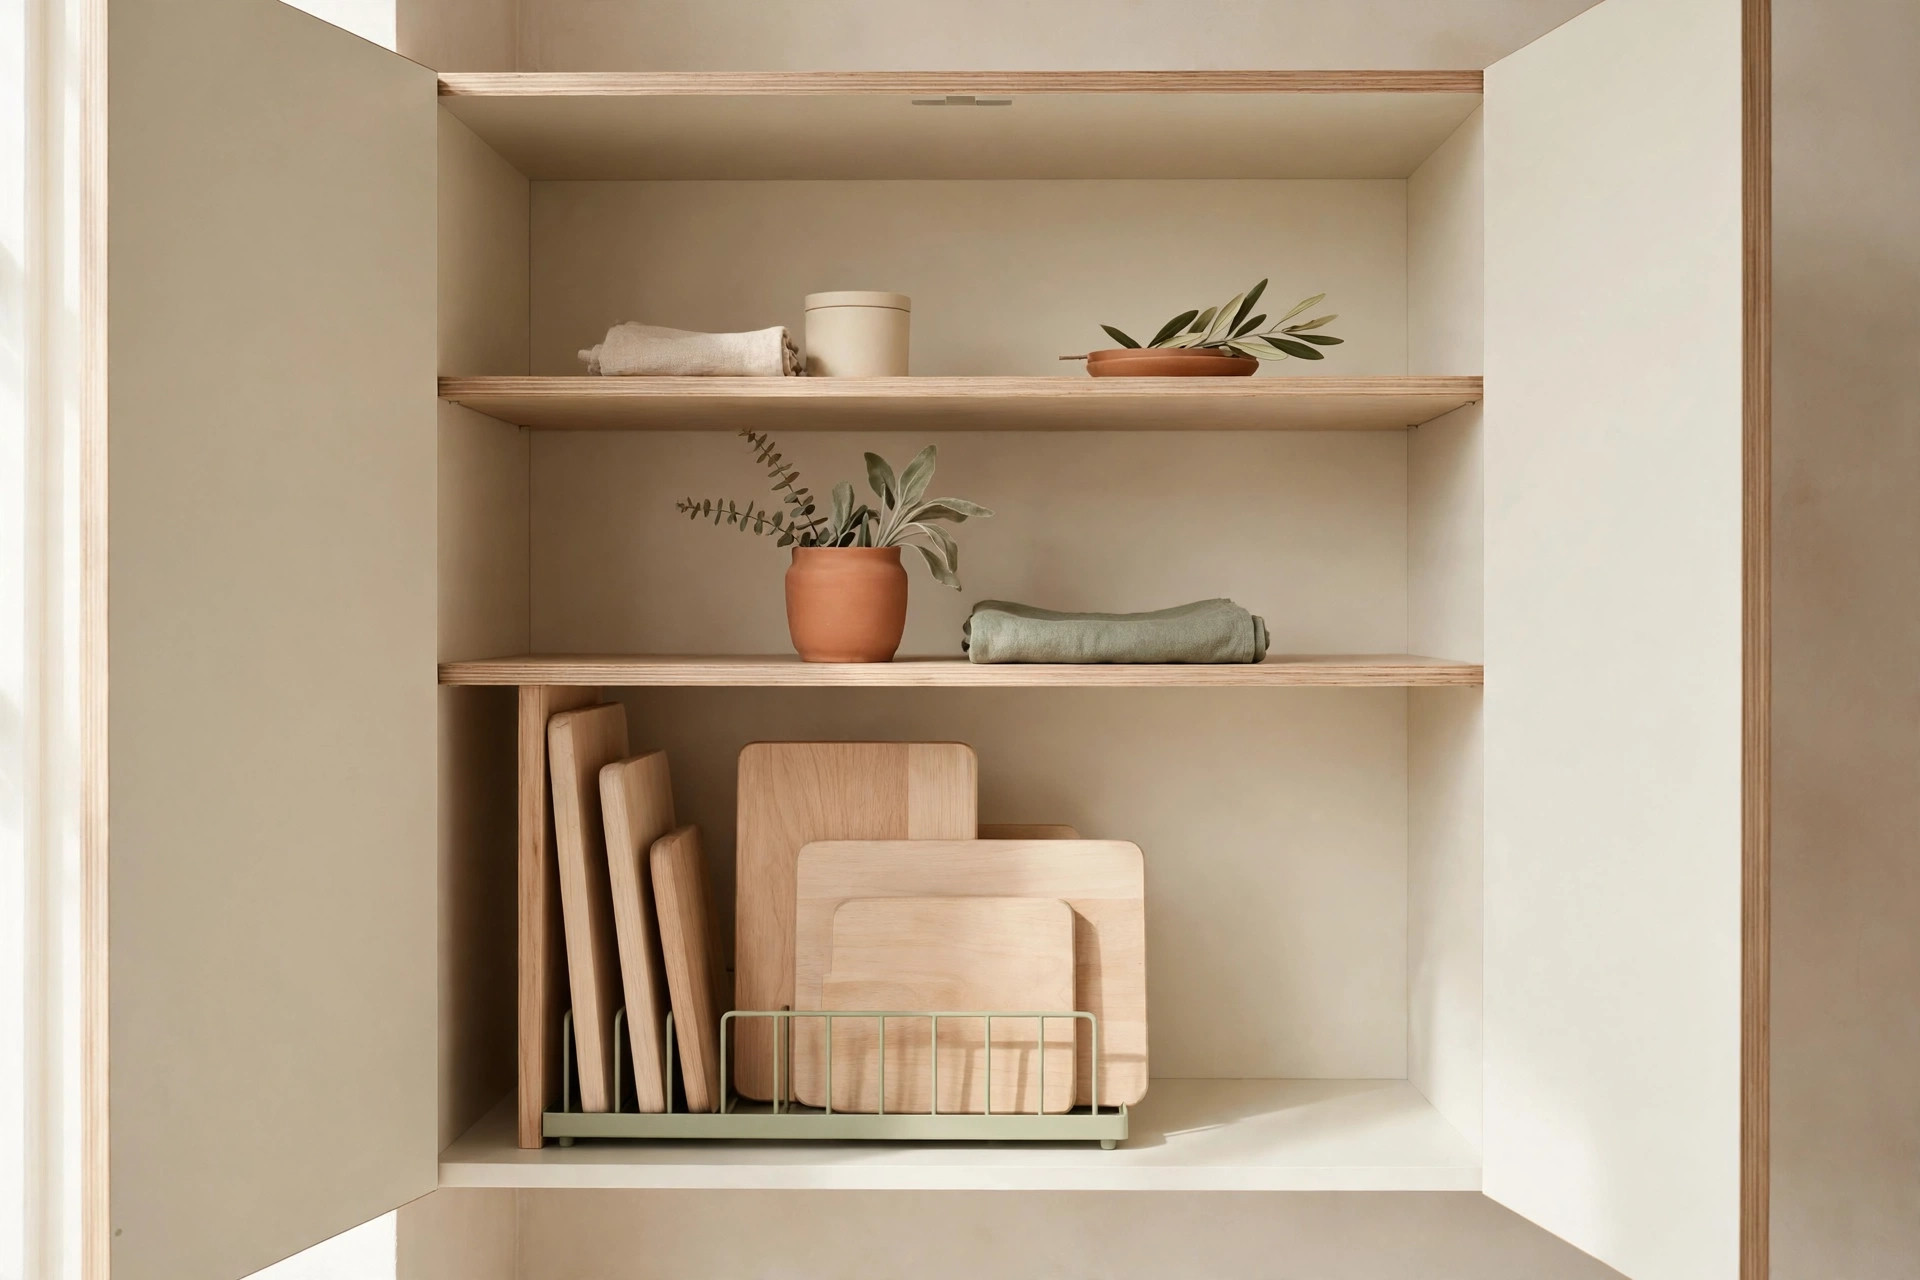
You rent the kitchen, not the walls — and most leases make that distinction expensive. One row of screw holes behind a spice rack can cost you part of your deposit. The good news is that renter friendly kitchen organization does not need a single screw. Tension, gravity, hooks, and freestanding furniture can add a surprising amount of storage to a small rental kitchen, and every piece of it packs into a moving box when your lease ends. These 17 ideas use only no-drill methods, ordered the way you should tackle them: rules, cabinets, doors, floors, walls, counters, and a move-out plan.
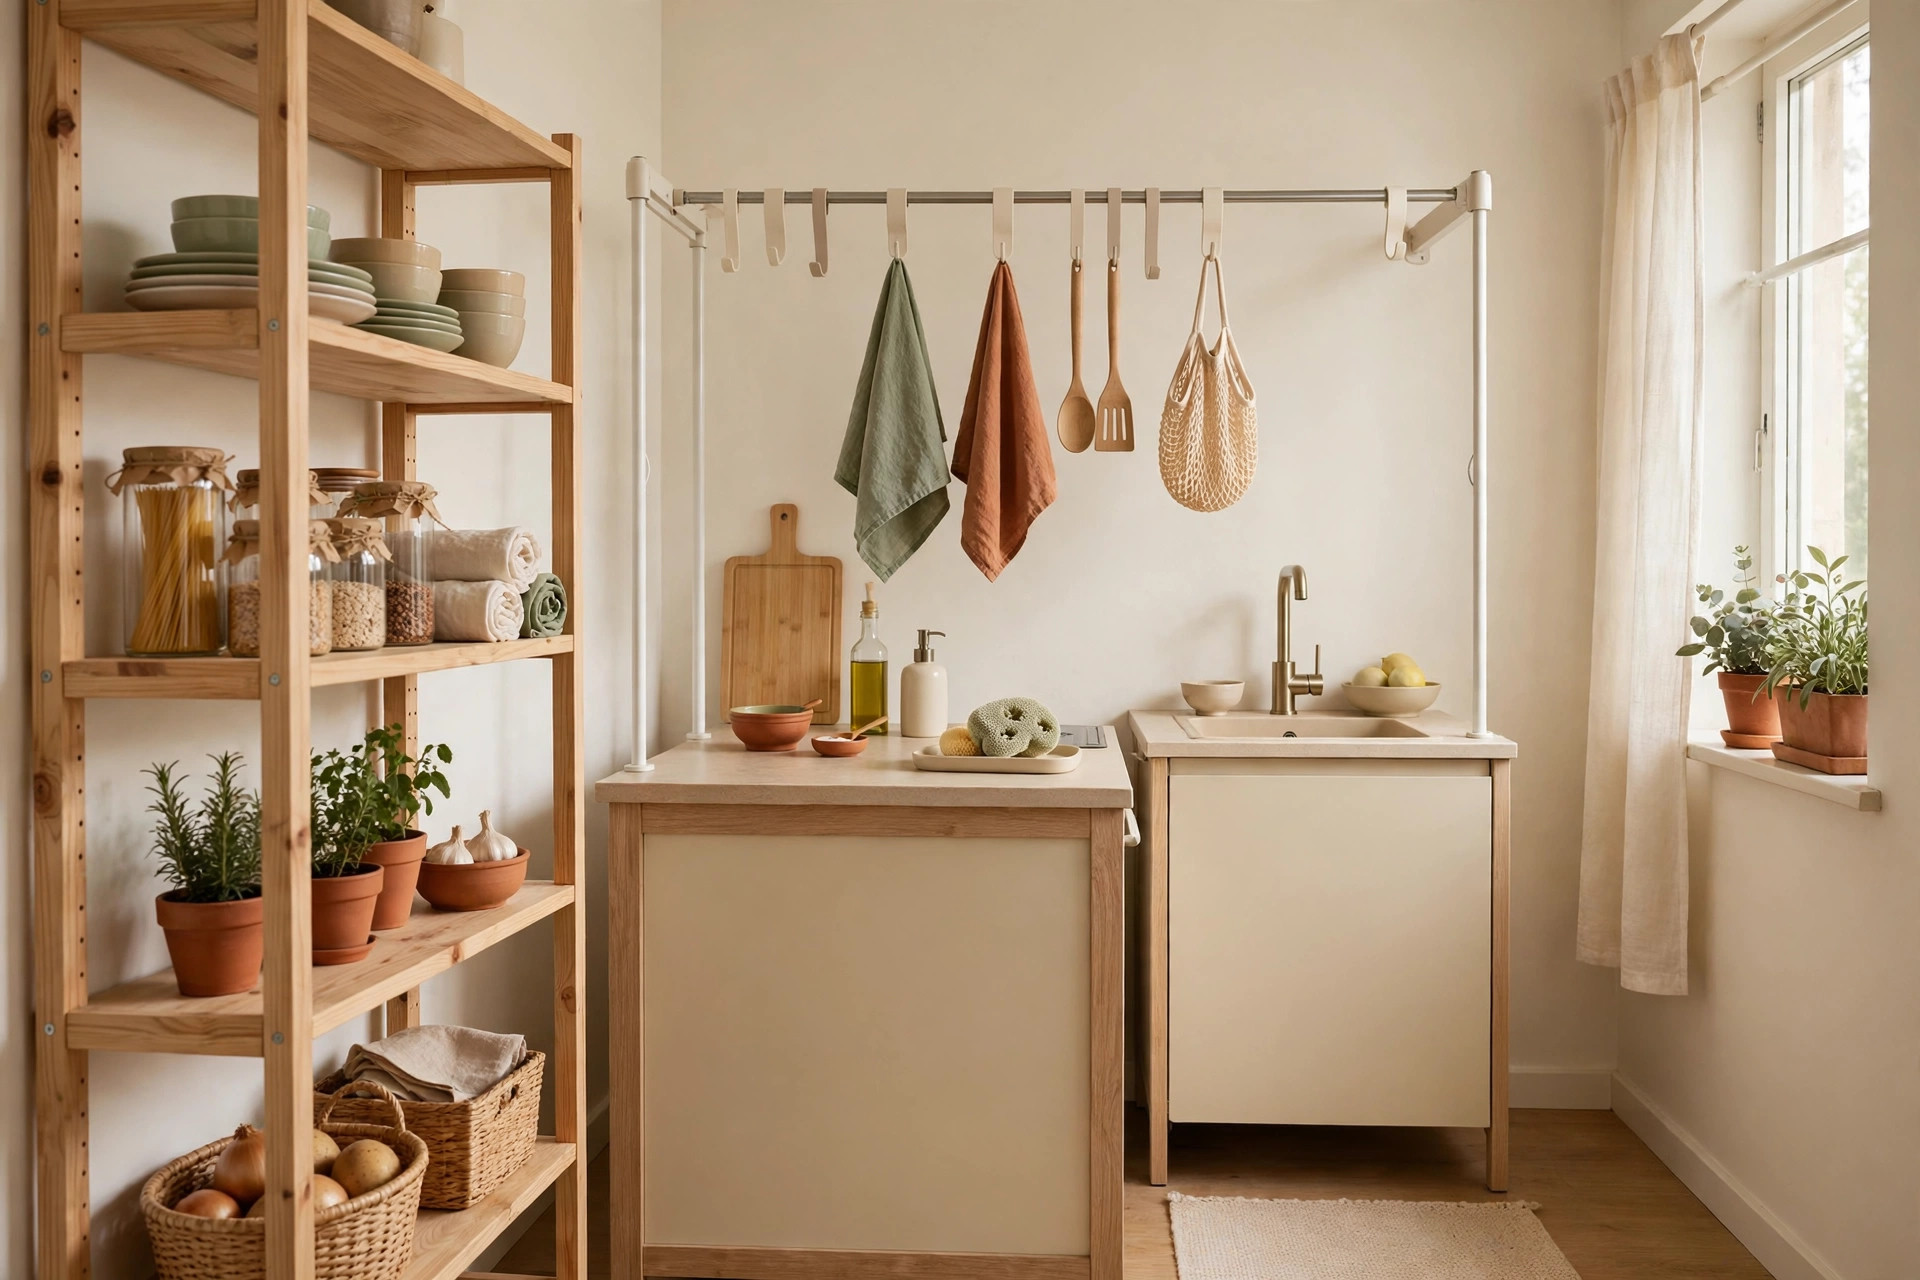
The renter’s kitchen rulebook: what no-damage really allows
Most leases ban the same short list: holes, anchors, screws, and anything that damages paint or tile when removed. What they almost never ban is tension between two surfaces, weight hanging over a door, items standing on the floor, or adhesive strips used within their rated weight and removed with the pull tab. That gap is your entire playbook. If a product needs a wall, skip it. If it needs a rod, a door, the floor, or tension, it is fair game. A second rule matters just as much: every no-drill system has a weight limit, and exceeding it is how “removable” turns into a dented cabinet door or a strip that rips paint. Check the rating and keep heavy items low and freestanding.
1. Audit the kitchen and photograph everything before you buy
Measure cabinet interiors (width, depth, and shelf-to-shelf height), the gap under your sink, door thickness, and the space between counter and upper cabinets. A standard base cabinet is about 24 inches deep with a 10- to 12-inch shelf gap — numbers that decide whether a riser or bin actually fits. Photograph every wall, cabinet door, and tile surface before you hang anything. Those photos are your move-out proof if a landlord later claims damage you did not cause.
2. Build a four-part no-drill toolkit before buying storage
Your mounting system is four things: tension rods for inside cabinets, over-door and over-cabinet hooks for doors, removable adhesive strips for light wall items, and freestanding units for everything heavy. Buy mounting hardware first and bins second — a bin that needs a screw is a bin you cannot use.
Tension rods inside cabinets and under sinks for sprays and lids
Tension rods are the renter’s secret weapon because they cost a few dollars, install in seconds, and leave zero marks. The trick is sizing: measure the exact span, then buy a rod whose range covers it near the middle, not at its maximum extension, where it grips weakest. Twist it tight and test it with a firm tug.
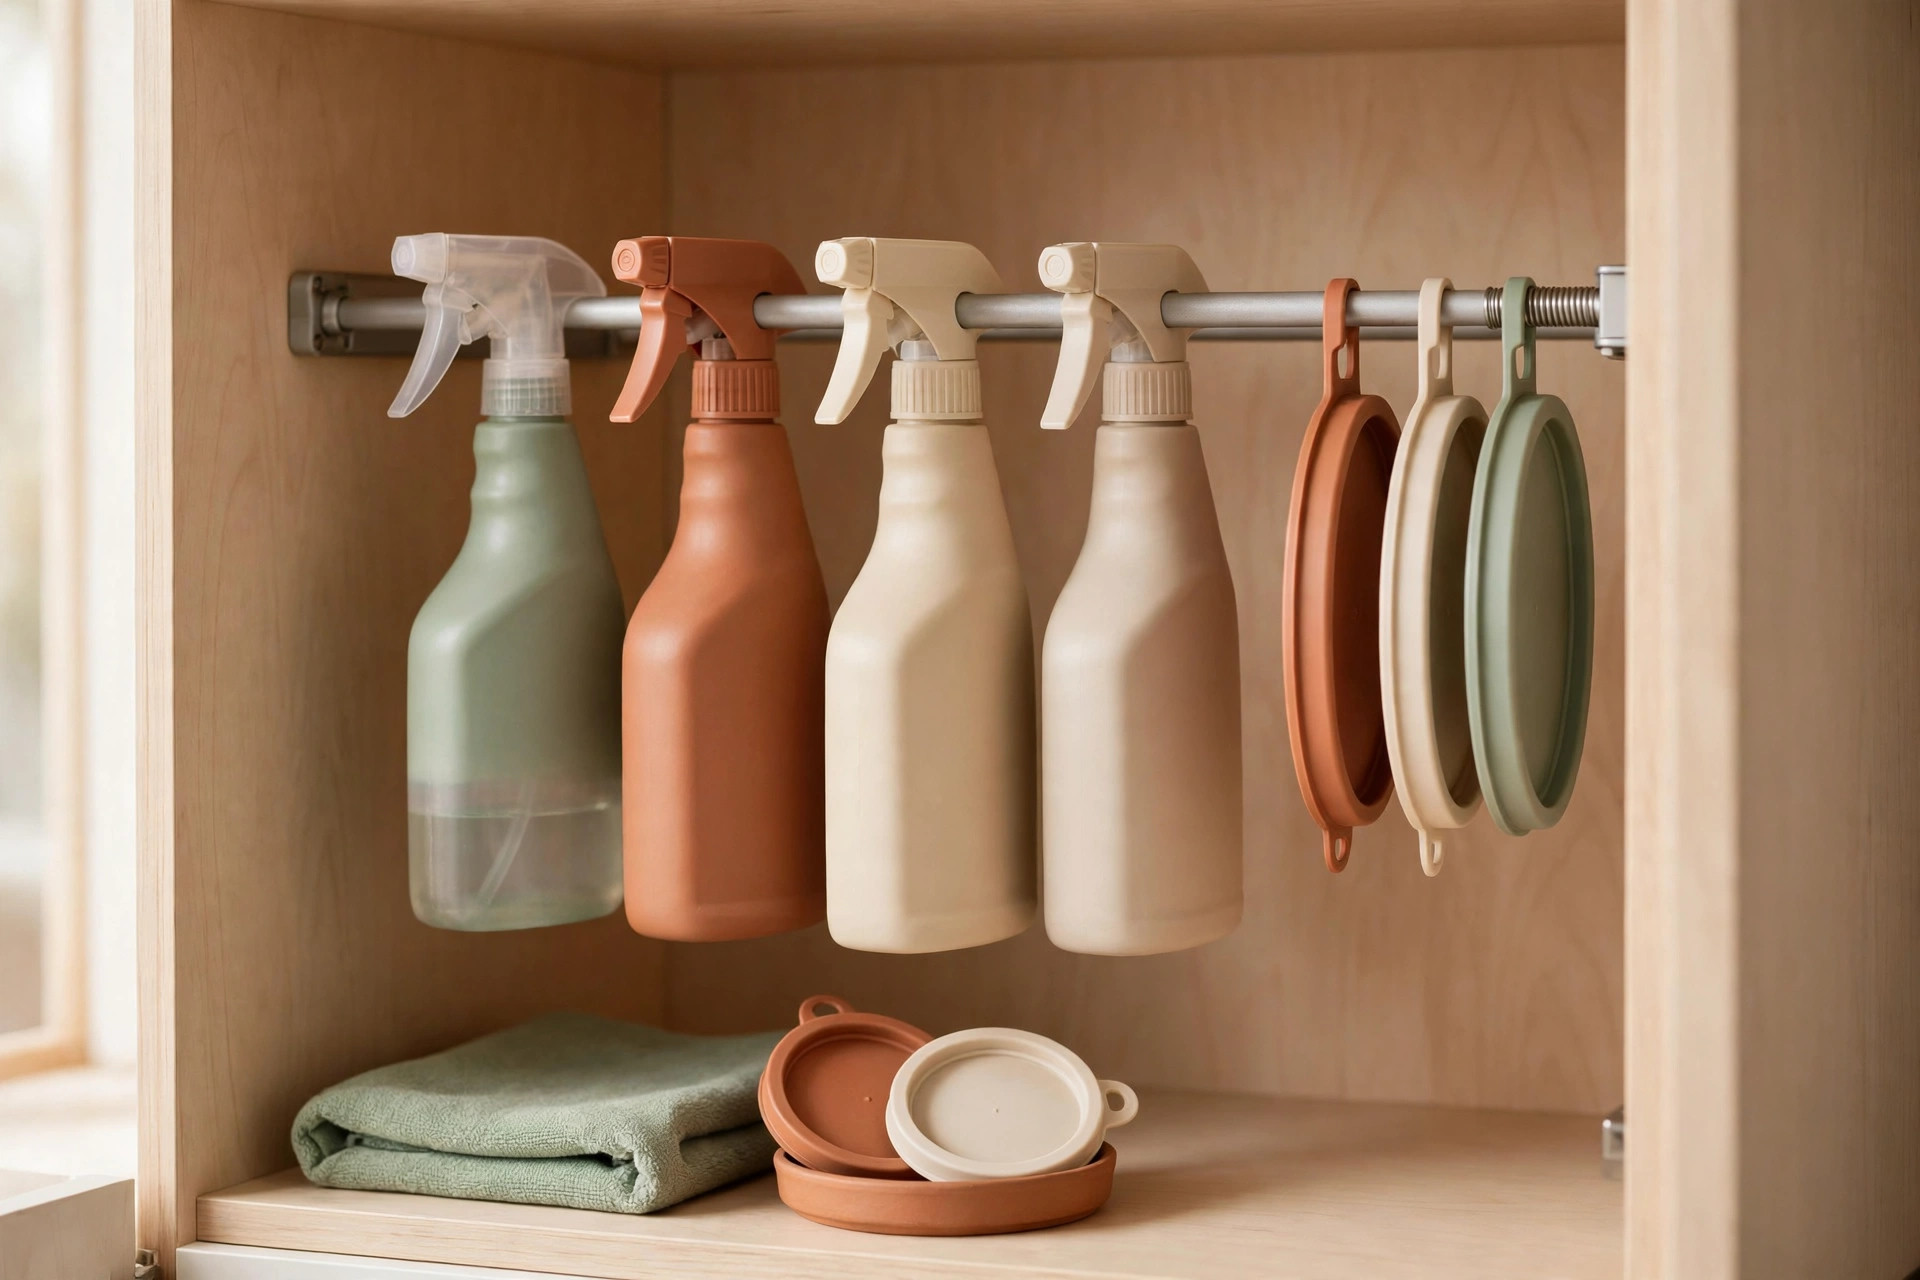
3. Hang spray bottles from a tension rod under the sink
Run a tension rod across the under-sink cabinet a few inches below the top, then hang spray bottles by their triggers from the rod. This lifts bottles off the cabinet floor and frees the whole bottom shelf for bins. It works best in cabinets at least 12 inches wide with no garbage disposal blocking the span.
4. File pot lids vertically with two parallel tension rods
Place two tension rods a few inches apart near the bottom of a deep cabinet, then slide pot lids between them like files in a drawer. Lids stand upright, and you can pull one without toppling the rest. Measure your largest lid first — a 12-inch lid needs the rods spaced about 3 inches apart and set low enough that the lid clears the shelf above.
5. Divide a deep cabinet with a vertical tension rod divider
In a wide, shelf-less base cabinet, a vertical tension rod wedged between floor and shelf acts as a divider for cutting boards and baking sheets. Stand boards on one side and sheet pans on the other, and nothing slides sideways into a jumbled stack. For the rest of the cabinet, our 18 Small Kitchen Cabinet Organization Ideas That Maximize Every Shelf covers risers and bins that pair well with this divider.
Over-door and over-cabinet racks that add storage instantly
Doors are wasted storage in most rentals. An over-door rack uses the door you already have, adds no holes, and moves with you. The one check that matters is door clearance: measure the door’s thickness and the gap at the top, and confirm the rack’s hooks fit without forcing the door closed. Forcing a rack onto a too-thick door strains hinges and leaves marks — the exact damage you are trying to avoid.
6. Add a pantry shelf with an over-door wire rack
Hang a multi-tier wire rack over the pantry door for canned goods, spices, and small boxes. A six-tier rack holds roughly 30 spice jars or 20 cans, which is often the equivalent of an entire extra cabinet shelf. Keep the heaviest cans on the lowest tiers so the door swings freely.
7. Hang foil, wrap, and bags on an over-cabinet-door organizer
A slim over-cabinet-door rack on the inside of a cabinet door holds rolls of foil, cling wrap, and parchment upright, plus a small bin for zip-top bags. This frees a full drawer or shelf that those rolls used to occupy. It only works on doors with a flat top edge and at least a quarter-inch of clearance — check before you buy, since framed doors with thick rails can block the hooks.
8. Turn the inside of a cabinet door into a cleaning caddy
A narrow over-door caddy on the under-sink cabinet door holds dish soap, sponges, and a scrub brush exactly where you use them. Pair it with the tension rod from idea 3 and the under-sink cabinet becomes a two-zone system. If you want door storage ideas for the rest of the apartment, our Over-the-Door Organization Ideas for Every Room covers the same no-drill rules room by room.
Freestanding shelves and carts for counters and corners
When a rental kitchen has no storage to add to, add furniture instead. Freestanding pieces are the only no-drill option with no weight limit beyond the floor, which makes them the right home for appliances, heavy pots, and bulk pantry goods. The trade-off is floor space, so measure your gaps first.
9. Roll a narrow cart into the gap beside the fridge
A 5- to 7-inch-wide rolling cart slides into the dead gap between fridge and counter and holds oils, condiments, and canned goods on three or four tiers. Measure the gap at both the top and bottom — fridges lean, and a cart that fits at the floor can jam halfway up.
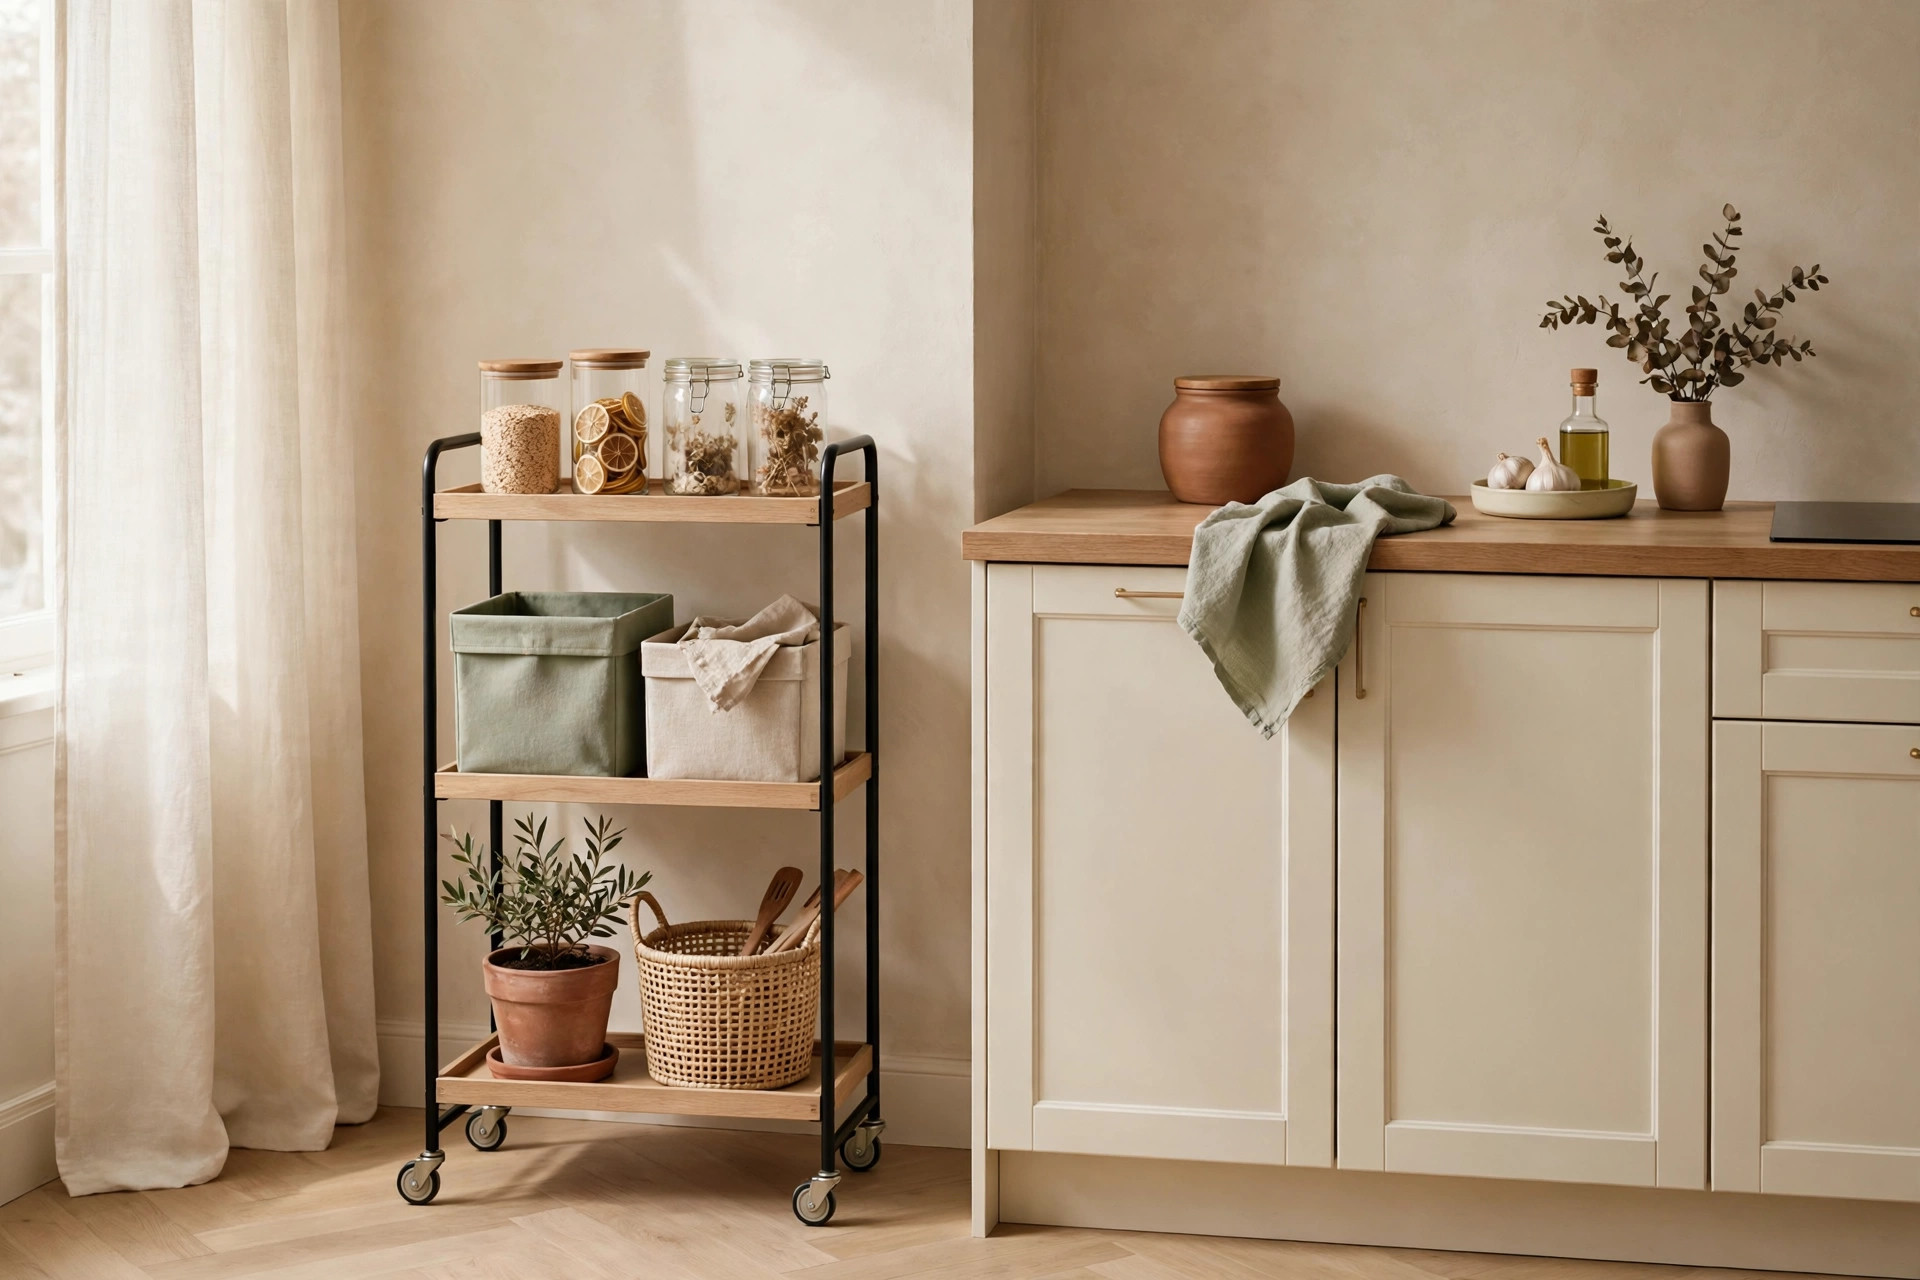
10. Add a freestanding shelf unit for appliances and bulk goods
A three- or four-tier metal shelving unit against one wall becomes your overflow pantry and appliance garage in one. Put daily appliances at counter height, heavy items like a stand mixer on the bottom shelf, and bulk goods up top. Keep the heaviest items low and the unit away from the stove’s heat.
11. Fill a dead corner with a freestanding corner shelf
Corners in rental kitchens usually hold nothing but dust. A triangular corner shelf turns that dead space into a home for the coffee maker or toaster, pulling appliances off the main counter. Choose a unit with a footprint no deeper than the counter itself, so it does not jut into your walkway.
Removable hooks, rails, and adhesive mounts that actually hold
Adhesive mounting has a bad reputation because most failures are user error, not product failure. Strips fail when they are overloaded, stuck to dusty or textured surfaces, or loaded before the adhesive cures. Follow the rating, clean the surface with rubbing alcohol first, press firmly for 30 seconds, and wait the full hour the package specifies before hanging anything. Done right, a strip rated for 3 pounds holds a row of mugs for a whole lease — and peels off cleanly with the pull tab.
12. Hang mugs under upper cabinets with adhesive hooks
Stick two or three adhesive hooks under an upper cabinet and hang mugs by their handles. This frees an entire cabinet shelf and puts daily mugs at hand height. Use one hook per mug and keep them away from the stove, where rising heat softens adhesive.
13. Mount a removable utensil rail on the backsplash
An adhesive-mounted rail with S-hooks along the backsplash holds spatulas, ladles, tongs, and measuring cups within arm’s reach of the stove. It only works on smooth tile or glass — textured tile and grout lines defeat adhesive, so test one hook for a week before committing to a full rail. Keep the rail at least 12 inches from direct burner heat.
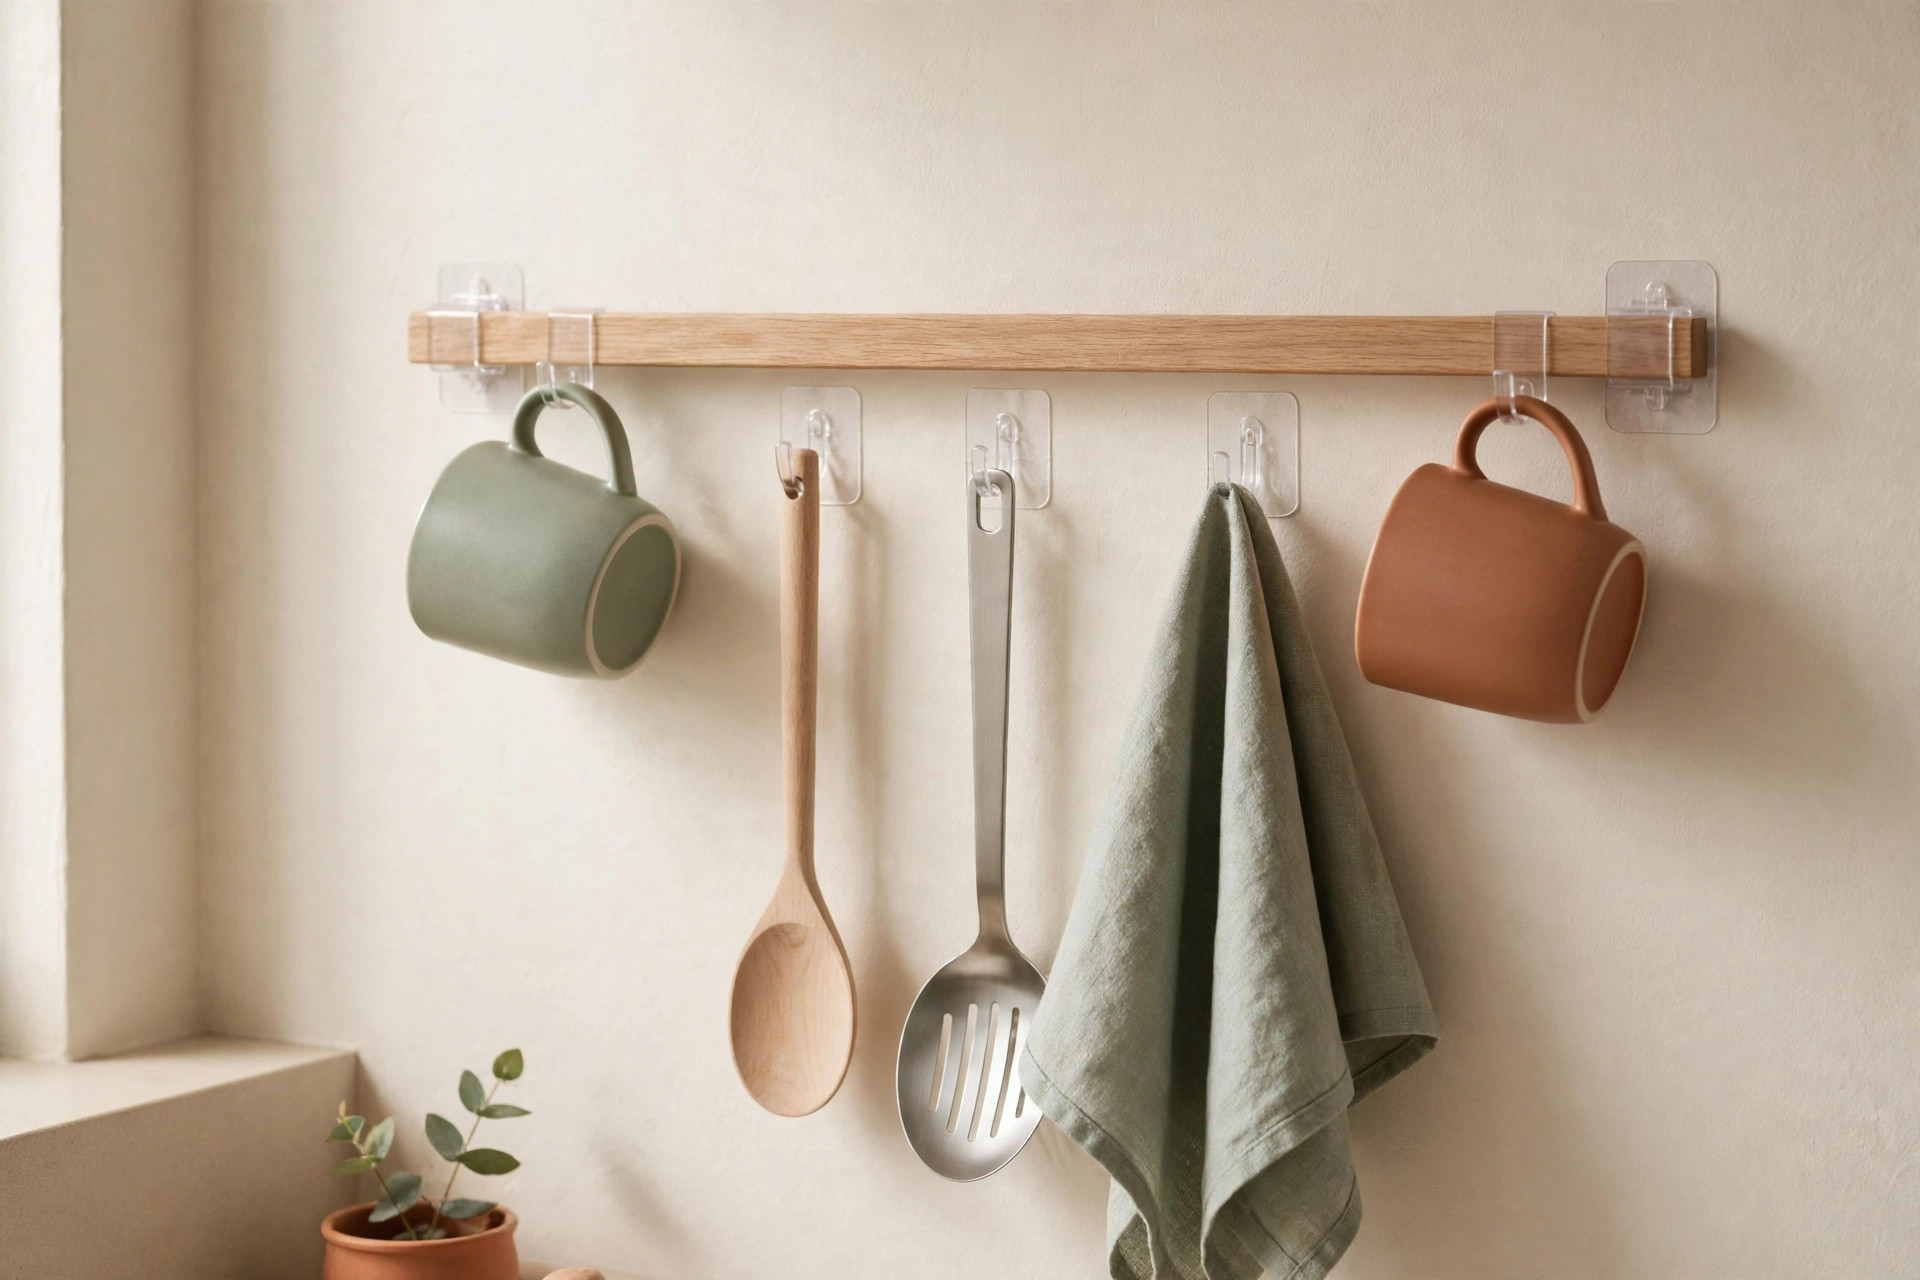
14. Stick a magnetic strip alternative inside a cabinet door
If your landlord bans even adhesive on tile, mount a small adhesive-backed magnetic strip or a row of adhesive hooks on the inside of a cabinet door instead. Knives with magnetic strips aside, this is the spot for scissors, a vegetable peeler, a thermometer, and measuring spoons — the small tools that otherwise rattle around a drawer.
Counter zones without drilling: trays, risers, and turntables
Counters are where rental kitchens feel smallest, because everything lands there by default. The fix is not more storage — it is deciding what earns counter space and giving everything else a zone.
15. Define zones with trays so clutter stops spreading
Put a tray under the coffee station, another by the stove for oils and salt, and a third near the sink for soap and a sponge. Trays fence each zone so items stop migrating, and they catch drips so you wipe one tray instead of the whole counter. A tray about 12 by 8 inches fits most stations without hogging space.
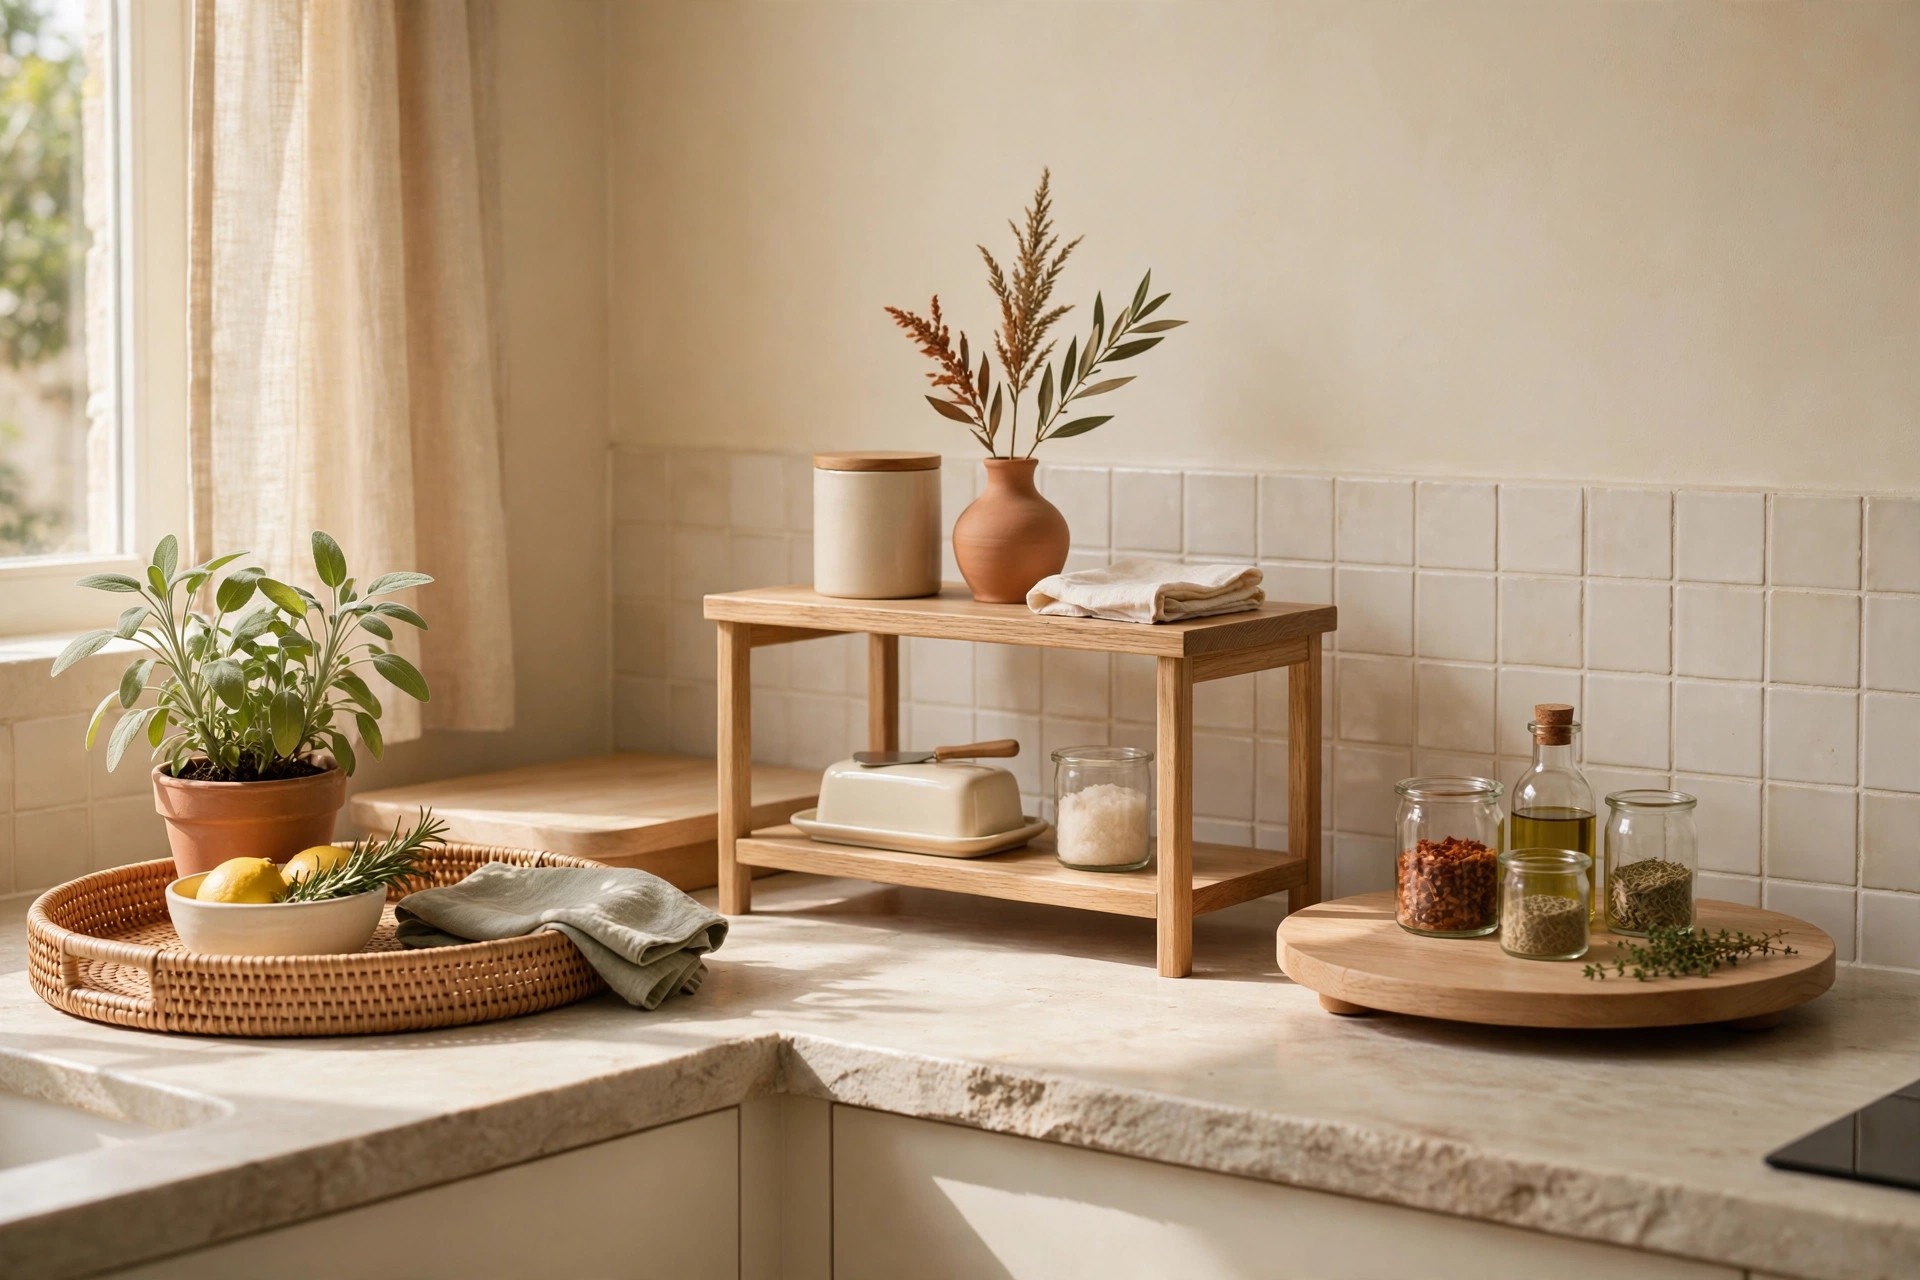
16. Stack vertically with risers and turntables inside corners
A shelf riser over the counter corner doubles usable area for mugs or spices, and a 10-inch turntable ends the reach-and-knock-over routine for oils and sauces. Measure the height under your upper cabinets before buying a riser — a standard 9-inch riser needs at least 10 inches of clearance to be useful. For deciding what deserves to stay out at all, our Small Kitchen Counter Organization: What to Keep Out (and What to Hide) gives a simple keep-or-hide test for every item.
Move-out plan: what lifts off cleanly in under an hour
A no-drill kitchen earns its keep on moving day. Work in this order: pull every adhesive strip by its tab, slowly, straight down along the wall — never yank outward, which is what tears paint. Lift tension rods out, unhook over-door racks, and roll carts and shelves to the door. Wipe every surface you used, then walk the kitchen with your move-in photos and compare. If a strip left residue, a dab of rubbing alcohol on a cloth removes it without damaging paint. Done in this order, the whole removal takes under an hour.
17. Do a one-hour removal rehearsal before moving week
Six weeks before your lease ends, remove one adhesive strip and one tension rod as a test. If a strip resists, warm it gently with a hair dryer on low for 30 seconds and pull again — heat softens adhesive without harming paint.
Mistakes to avoid
The most expensive renter mistake is the “just one screw” exception. A single screw into a cabinet or tile is still a hole, and landlords charge per repair, not per intention. The second mistake is overloading adhesive and over-door racks past their ratings; a rack that slides off a door leaves dents that a screw never would. Third, never use adhesive on fresh paint (under 30 days old), wallpaper, or rough brick — it will either fail or take the surface with it. Fourth, do not wedge a cart so tight it blocks the fridge’s airflow. Finally, do not buy storage before measuring. A cart that is half an inch too wide or a riser that is half an inch too tall is a return trip, not a solution.
Frequently asked questions
Can I use adhesive hooks in a rental without losing my deposit?
Yes, if you use them correctly. Choose strips rated for at least double the weight you plan to hang, apply them to clean, smooth surfaces, and remove them by pulling the tab slowly along the surface — never outward. Avoid fresh paint, wallpaper, and textured surfaces, where removal is most likely to cause damage.
How much weight can a tension rod hold inside a cabinet?
A standard spring tension rod holds about 2 to 5 pounds, which is plenty for spray bottles and pot lids. Never hang cast iron or full liquid containers from a tension rod — those belong on freestanding shelves.
What is the best no-drill storage for a tiny apartment kitchen?
Start with the three highest-impact pieces: a tension rod under the sink, an over-door rack on the pantry door, and a narrow rolling cart for the fridge gap. Together they typically free an entire cabinet shelf and add a shelf’s worth of new storage.
Do over-door racks damage doors?
They can, but only when misused. Damage comes from racks forced onto doors that are too thick, or overloaded racks that strain hinges. Measure your door thickness, match the hook size, and keep heavy items on the lowest tiers.
How do I remove adhesive strips without peeling paint?
Pull the tab slowly straight down along the wall, keeping the strip flat against the surface. If it resists, warm it with a hair dryer on low for about 30 seconds and try again. If residue remains, wipe it with rubbing alcohol on a soft cloth — never scrape with a blade or scouring pad.
Conclusion
A rental kitchen does not need holes to hold more — it needs tension rods, door racks, freestanding furniture, and adhesive used within its limits, plus a move-out plan that respects the walls you borrowed. Start with the under-sink rod and the pantry door rack this weekend. Save this pin for later, and browse more ideas in our kitchen organization collection when you are ready for the next room.