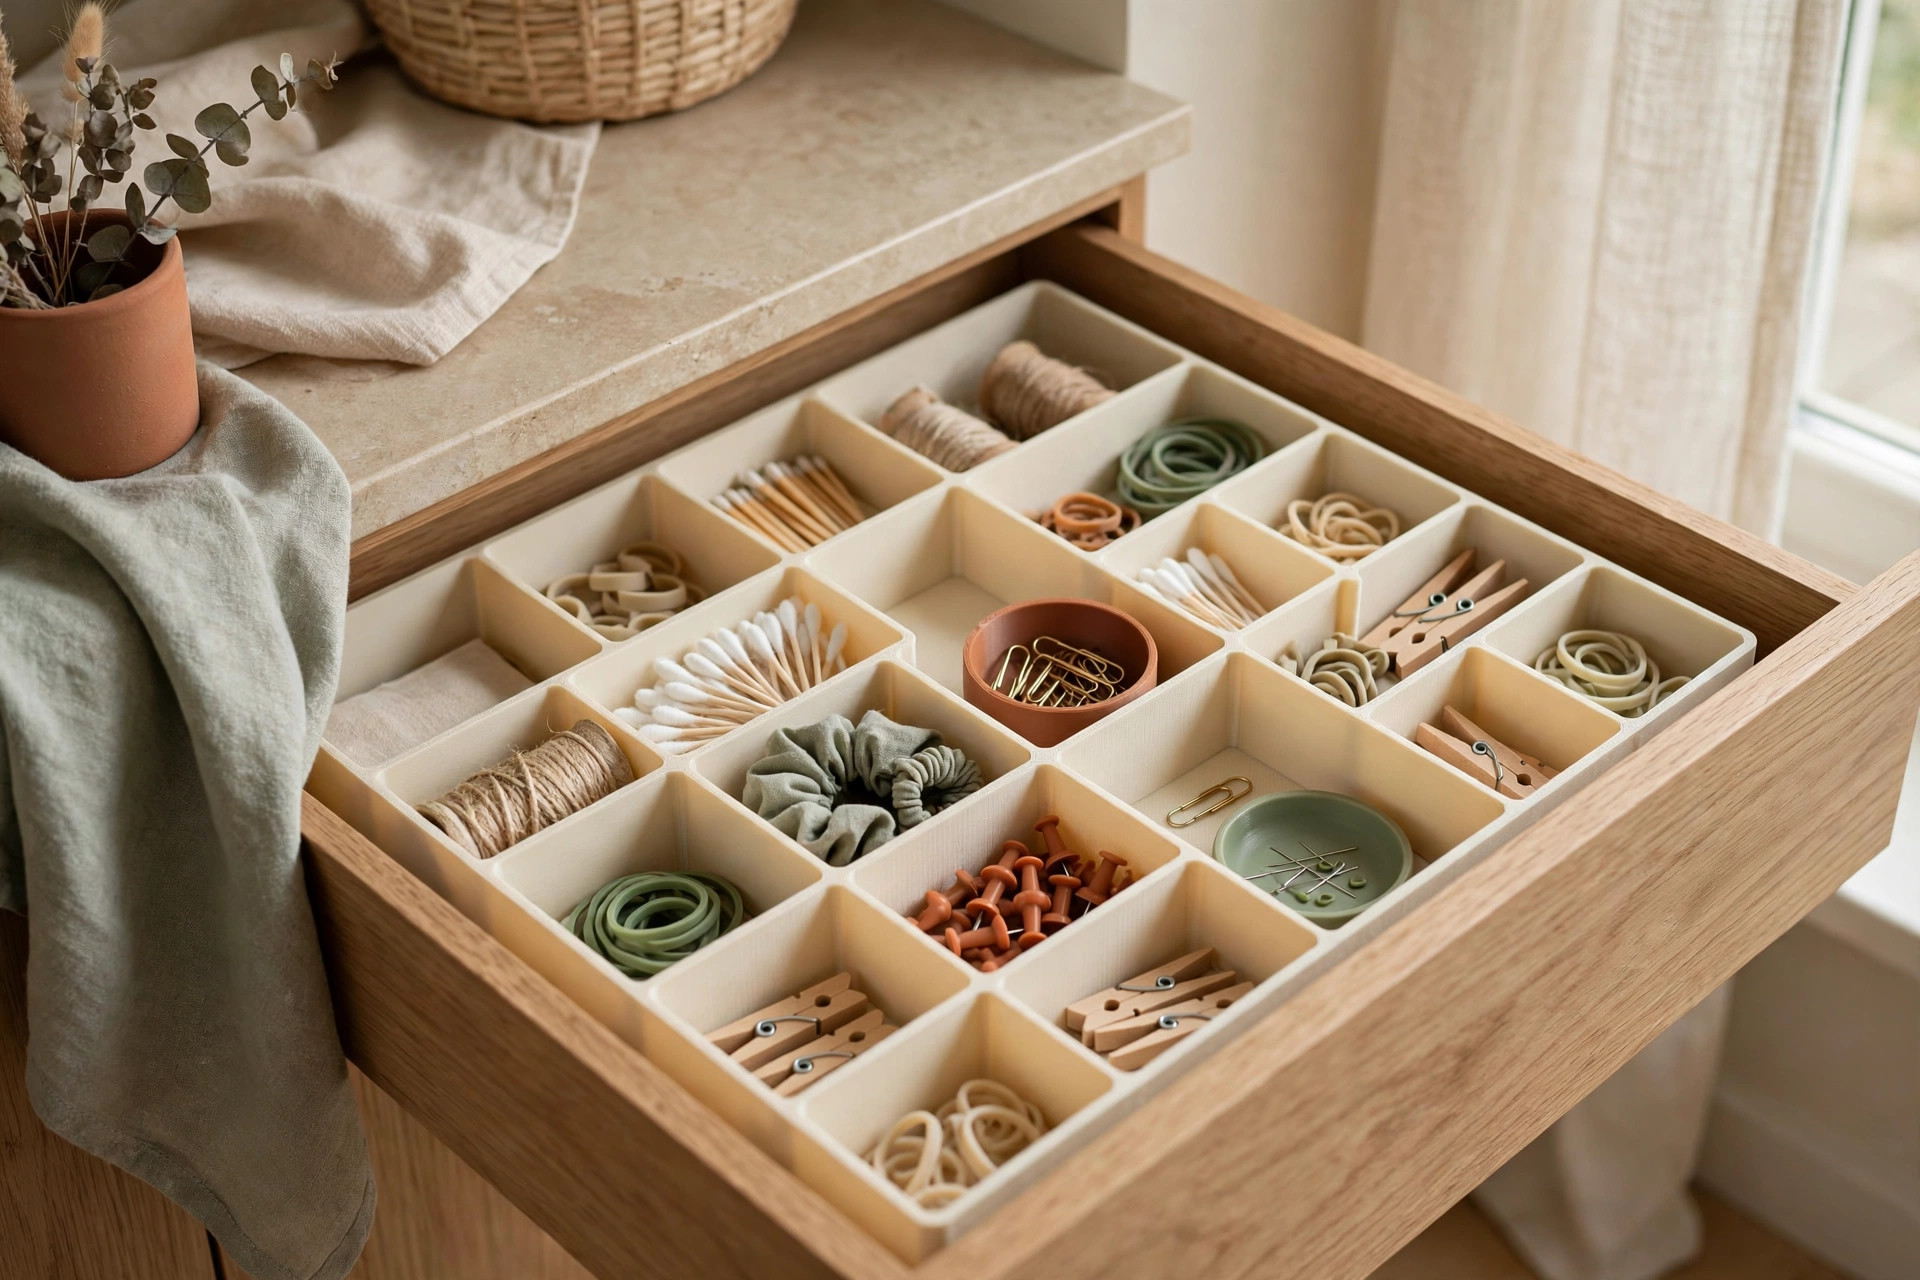
Sewing in a small home usually means sewing at the kitchen table or in a cleared-out closet. But supplies spread: spools in a bag, fabric on a chair, a pincushion lost under patterns. These sewing supply organization ideas are built for exactly that reality — no spare room, no dedicated sewing studio, just a system that keeps everything findable and packs away fast when the table needs to become a dinner table again. You will sort what you actually use, store thread and fabric so you can see them at a glance, and set up a portable kit that makes starting a project a five-minute job.
The sewing audit: tools you use vs stash you keep
Before you buy a single bin, take everything out and sort it. The goal is an honest split between everyday tools and someday stash.
1. Sort into three piles: weekly, monthly, and someday
Put scissors, seam ripper, tape, pins, and your most-used thread in the weekly pile. Monthly supplies go in a second pile. Everything else is the someday pile. The weekly pile earns the prime spot; the someday pile goes in one closed box.
2. Keep one project box per active project
A clear shoebox-sized container (about 13 x 8 x 5 inches) holds one project’s pattern, cut pieces, thread, and notions. When you sit down to sew, you grab one box, not five drawers. This stops works in progress from colonizing every flat surface.
Thread storage: wall racks, boxes, and color order
Thread tangles because spools roll and unwind in drawers. Keep it visible, upright, and sorted.
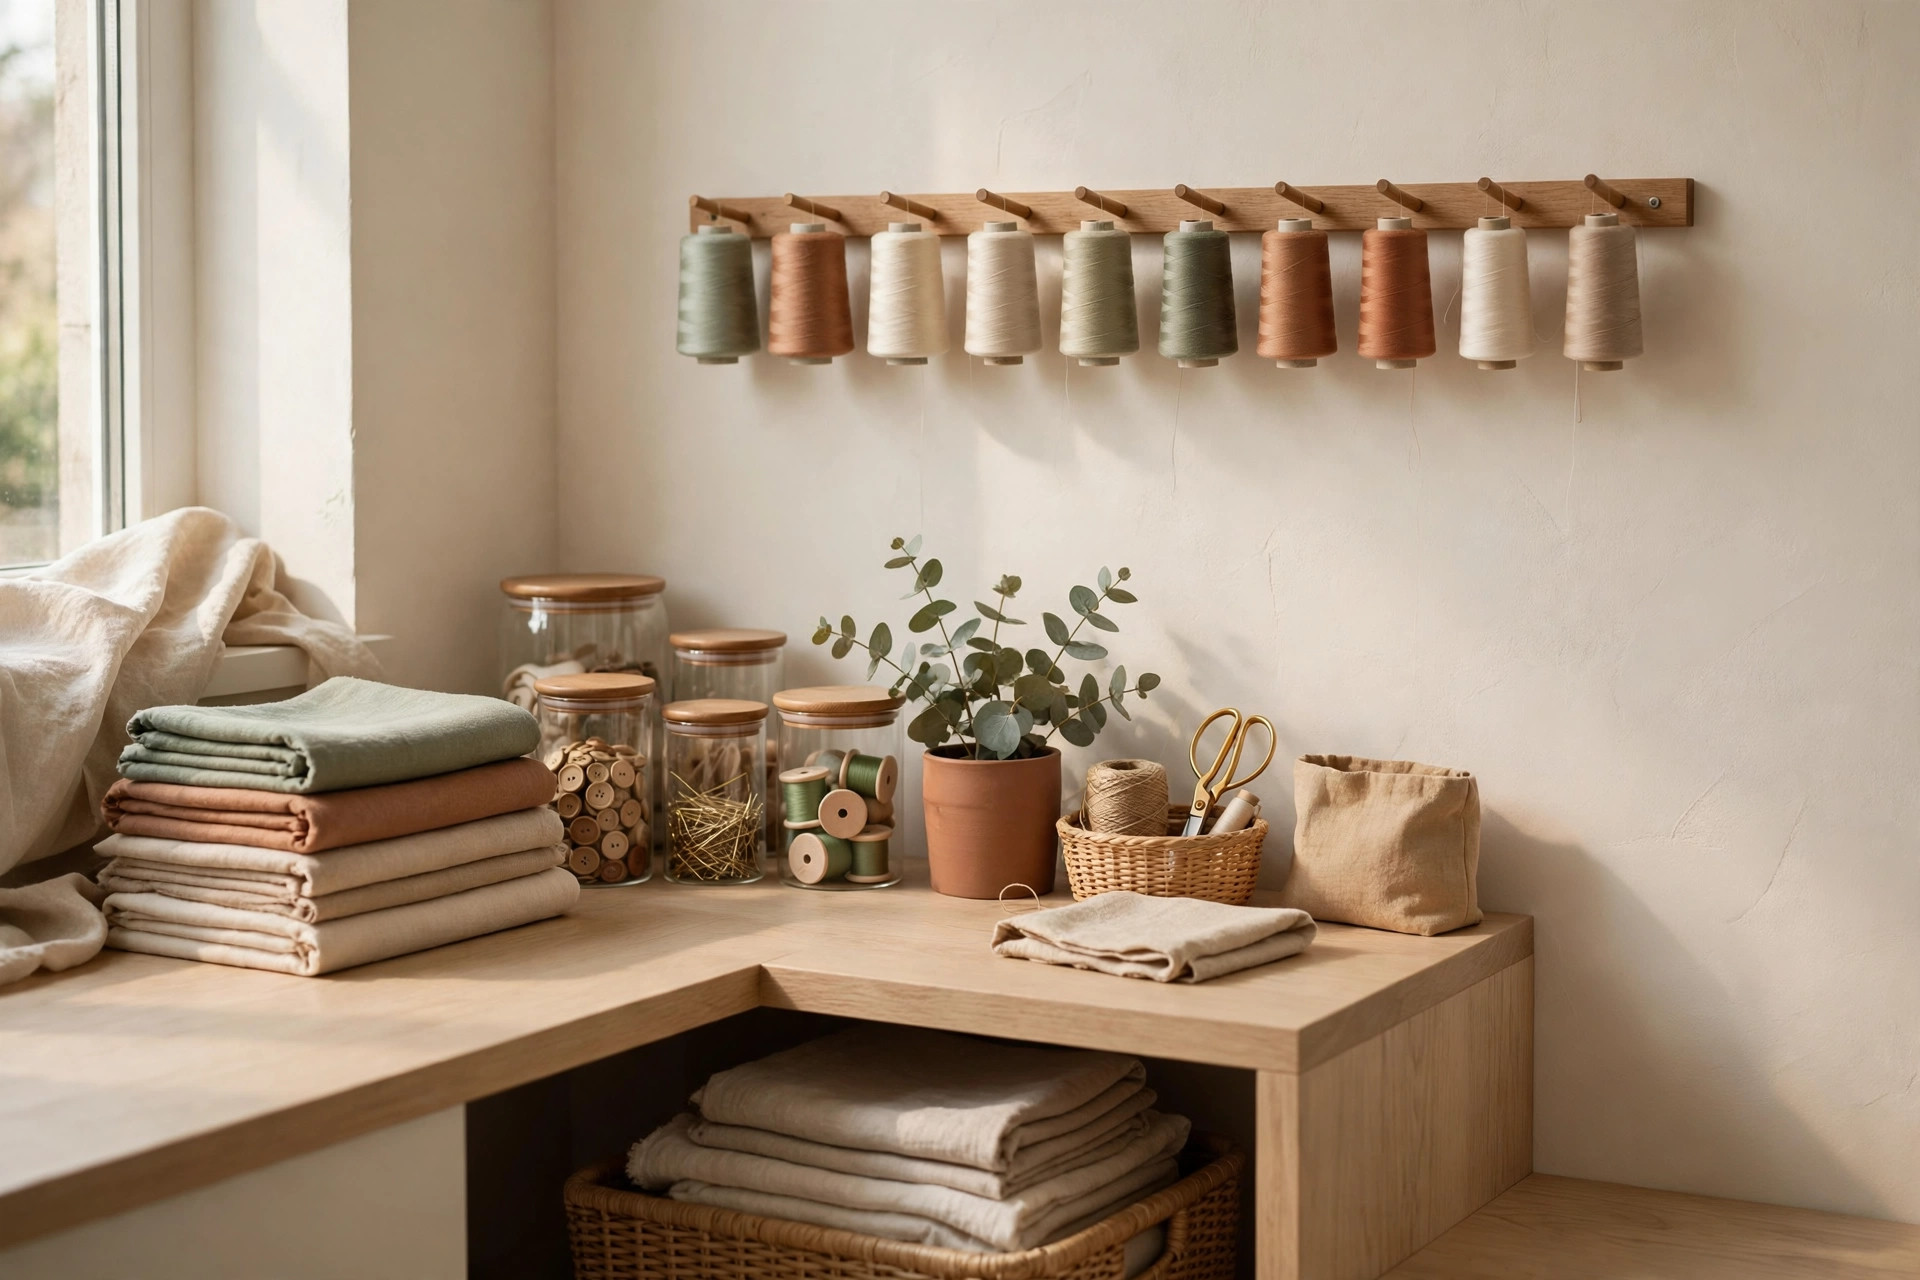
3. Hang a wall-mounted thread rack by color family
A 60-spool wall rack takes about 24 inches of wall and zero counter space. Mount it at eye level and arrange spools by color family. Renters can use adhesive strips rated for 5 pounds, or hang it over a door.
4. Use a compartmented box for bobbins and specialty thread
Bobbins are small, round, and determined to roll away. A divided parts organizer keeps each bobbin in its own compartment, labeled inside the lid. Keep specialty thread in the same box, apart from everyday polyester.
5. Store thread away from sunlight and dust
Thread weakens and fades in direct sun and gathers dust over months. Keep racks off sunlit walls, or cover them with a light cotton cloth between sessions. Rare thread — silk, metallic, vintage spools — belongs in a lidded box, not an open rack.
Fabric folding and filing for small shelves
Folded stacks collapse when you pull one piece from the middle. Filing fabric upright, like books, lets you see every print without unstacking.
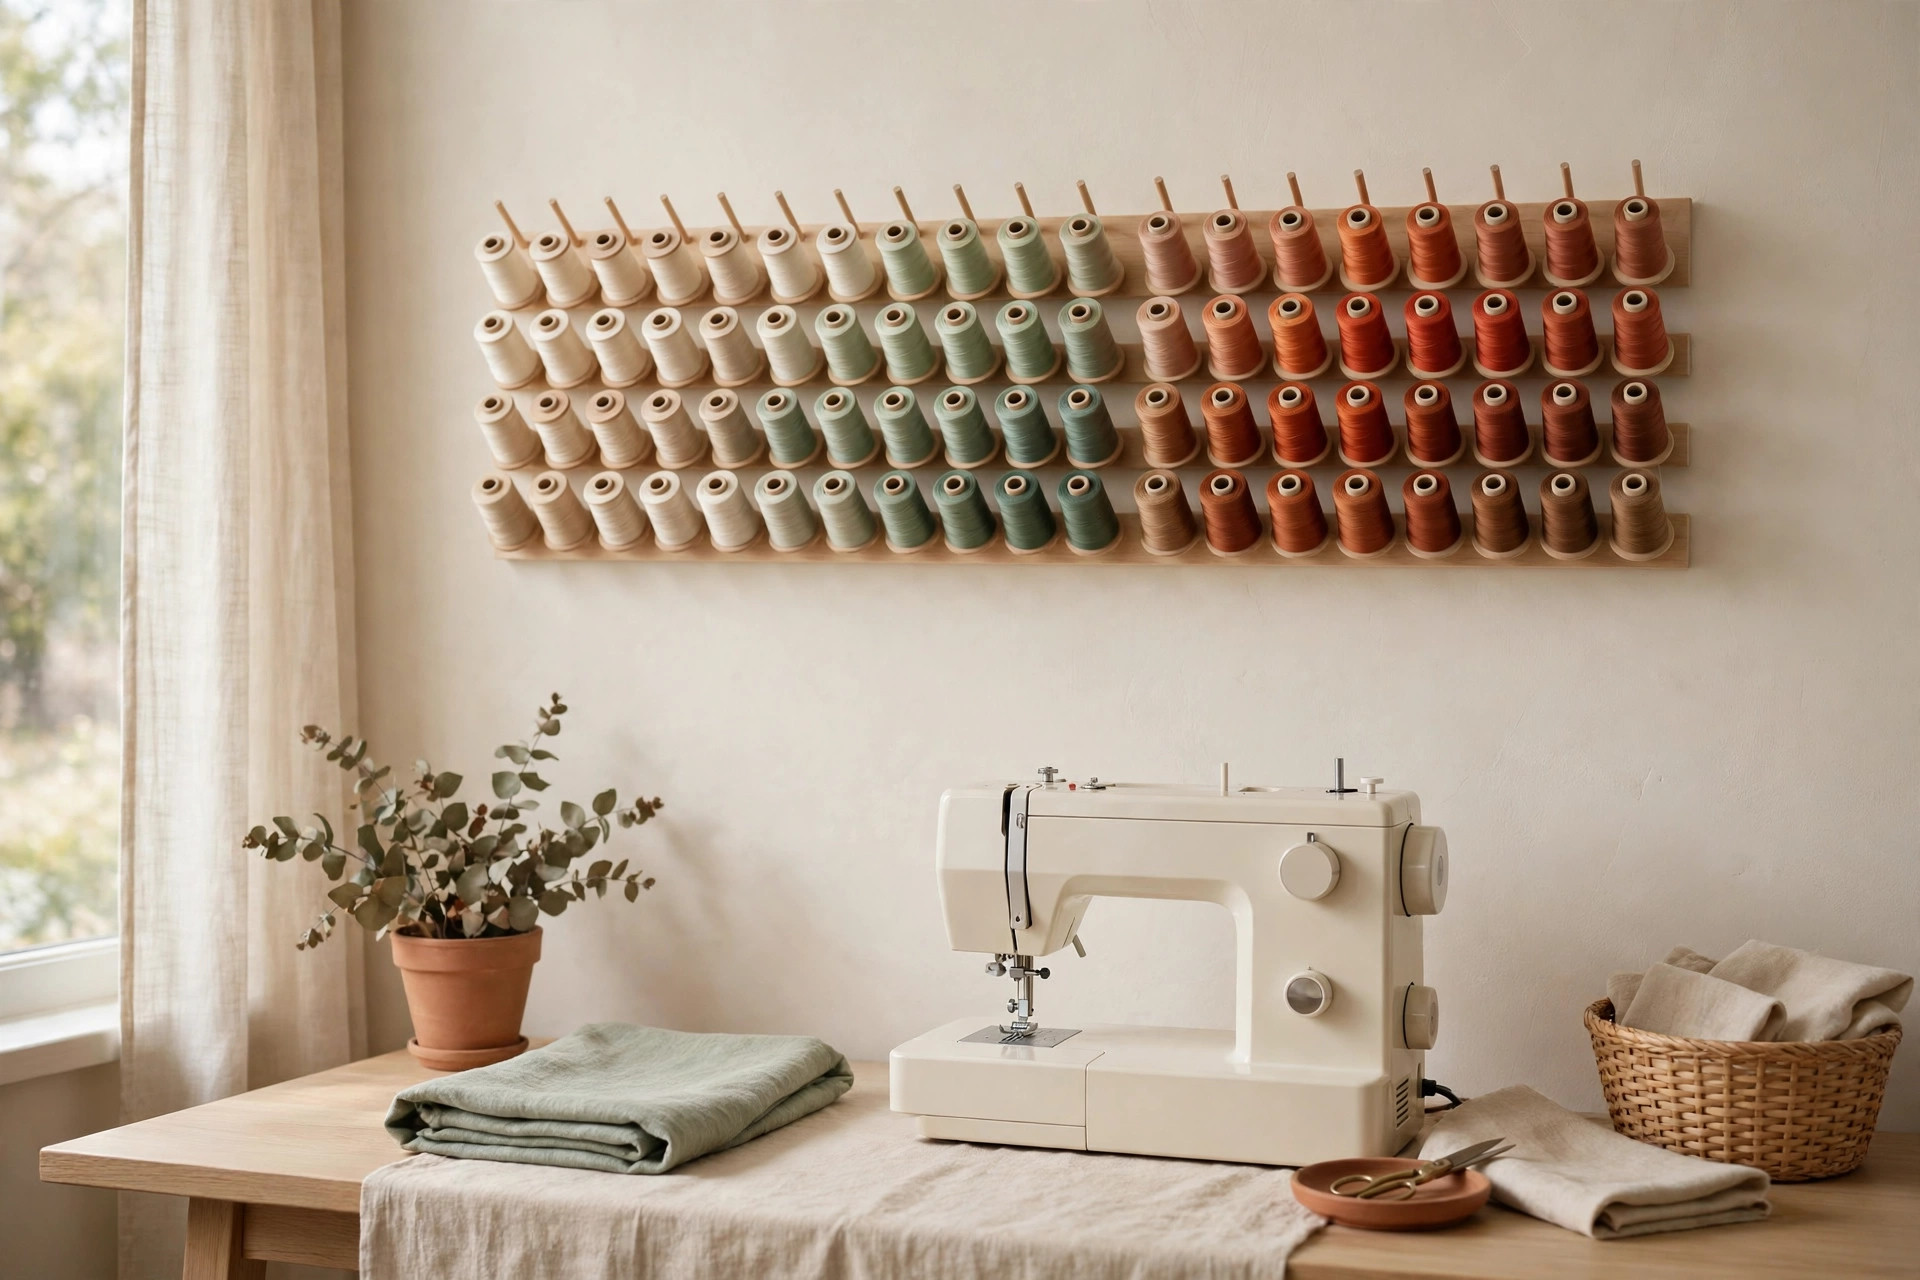
6. File fabric upright like books, not stacked flat
Fold pieces to about 10 to 12 inches tall and stand them upright in a shelf, crate, or bin. You slide a fabric out like a book instead of lifting a stack. Add a bookend or cardboard divider every 6 to 8 inches if pieces flop.
7. Wrap fabric around comic boards for a uniform shelf
Comic book backing boards (about 7 x 10 inches) make fabric look and behave like a mini bolt. Wrap each piece around a board, clip it, and file it upright. Uniform sizes mean no sagging or sliding. Best for quilting cotton and medium-weight fabrics; fold heavy upholstery fabric without a board.
8. Sort fabric by project or color, not by purchase date
A stash sorted by purchase date is a stash you cannot shop from. Choose one system: by color family for garments, or by project type — quilting, apparel, scraps. Label the shelf or bin with painter’s tape so the system survives a hurried day. The same filing logic works for general craft supplies, as shown in 18 Craft Supply Organization Ideas for Small Spaces.
Notions in clear jars: buttons, zippers, pins
Notions are small and easy to lose. Clear containers work because you can identify contents without opening them.
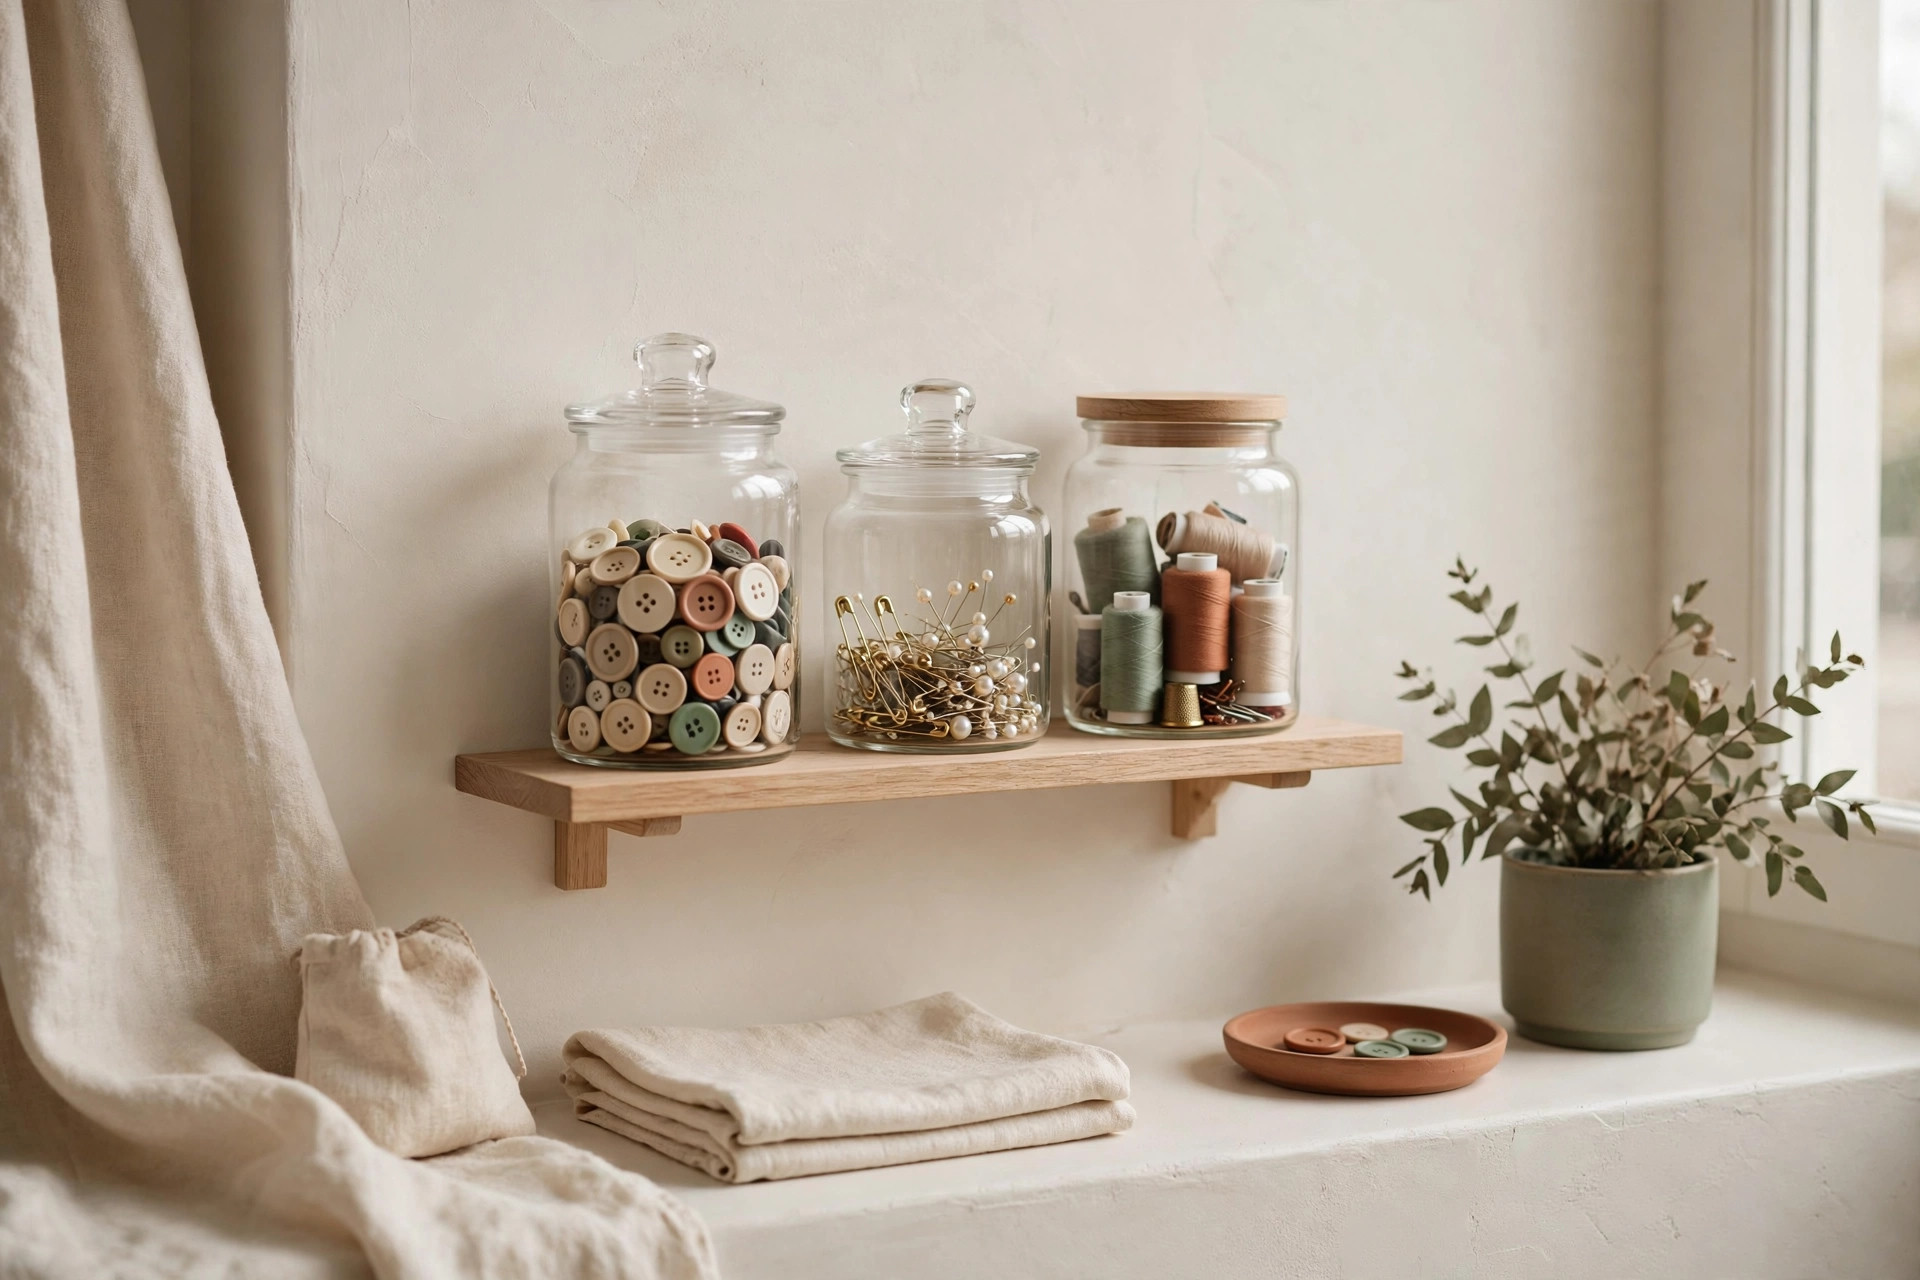
9. Sort buttons by color in small clear jars
One jar per color family is enough for most home sewers. Use small glass or spice jars (about 4 ounces), kept on one tray so the collection travels as a unit. A lost button means checking one jar, not dumping a mixed tin across the table.
10. Store zippers flat in a labeled zippered pouch
Zippers tangle and snag when loose in a drawer. Keep them flat in a clear zippered pouch, sorted by length, with tape on each noting its length and color. A pouch fits in a drawer, on a hook, or inside its garment’s project box. Keep invisible zippers separate from metal ones.
11. Keep pins, needles, and marking tools in one magnetic tray
A small magnetic tray (about 4 inches across) holds pins and needles and catches dropped ones. Pair it with a pincushion and a needle book sorted by type: sharps, embroidery, heavy-duty. Marking chalk, pens, and a fabric eraser live in the same pouch.
The portable kit: sew anywhere, pack away fast
Without a sewing room, your kit is your sewing room. A packed kit lets you sew anywhere and clear up completely when done.
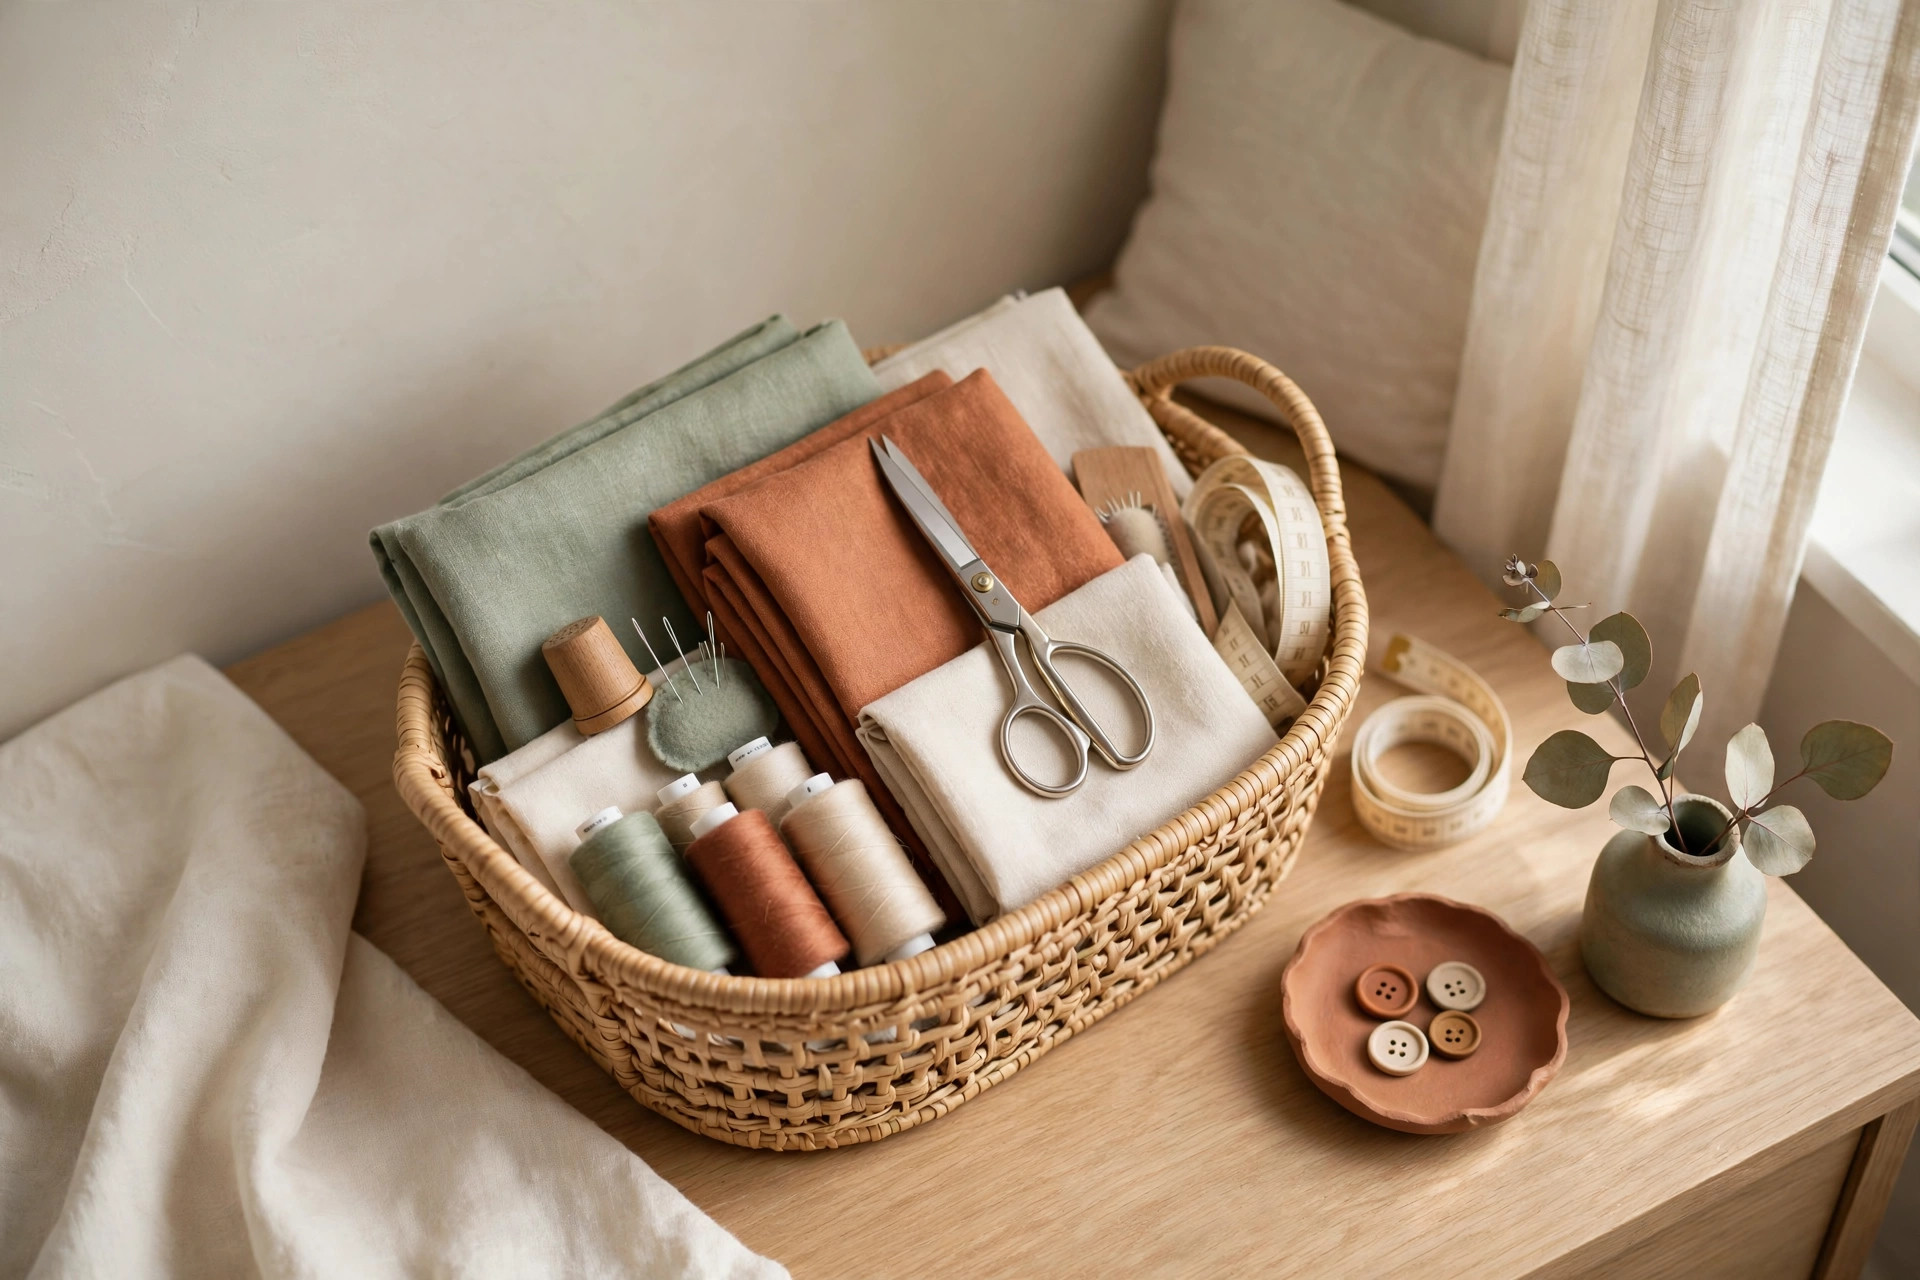
12. Build a grab-and-go kit in a tool roll or caddy
A tool roll — pockets that tie shut — holds scissors, seam ripper, tape, pens, a needle book, and a few spools in a package the size of a rolled magazine. Unroll it to set up; roll it to clear the table in under a minute.
13. Pack a five-minute mending kit separately
Keep a tiny kit — needle book, white and black thread, buttons, pins, small scissors — in a zippered pouch apart from main supplies. Loose buttons and split seams get fixed the same day, instead of waiting for a full session that never happens. Same principle as a tidy desk — daily tools within arm’s reach — as covered in 17 Small Desk Supply Organization Ideas for Tiny Home Offices.
Machine storage: protecting it between projects
A sewing machine is your priciest, hardest-to-store item. It needs protection from dust and bumps, but must stay easy to get out — a buried machine does not get used.
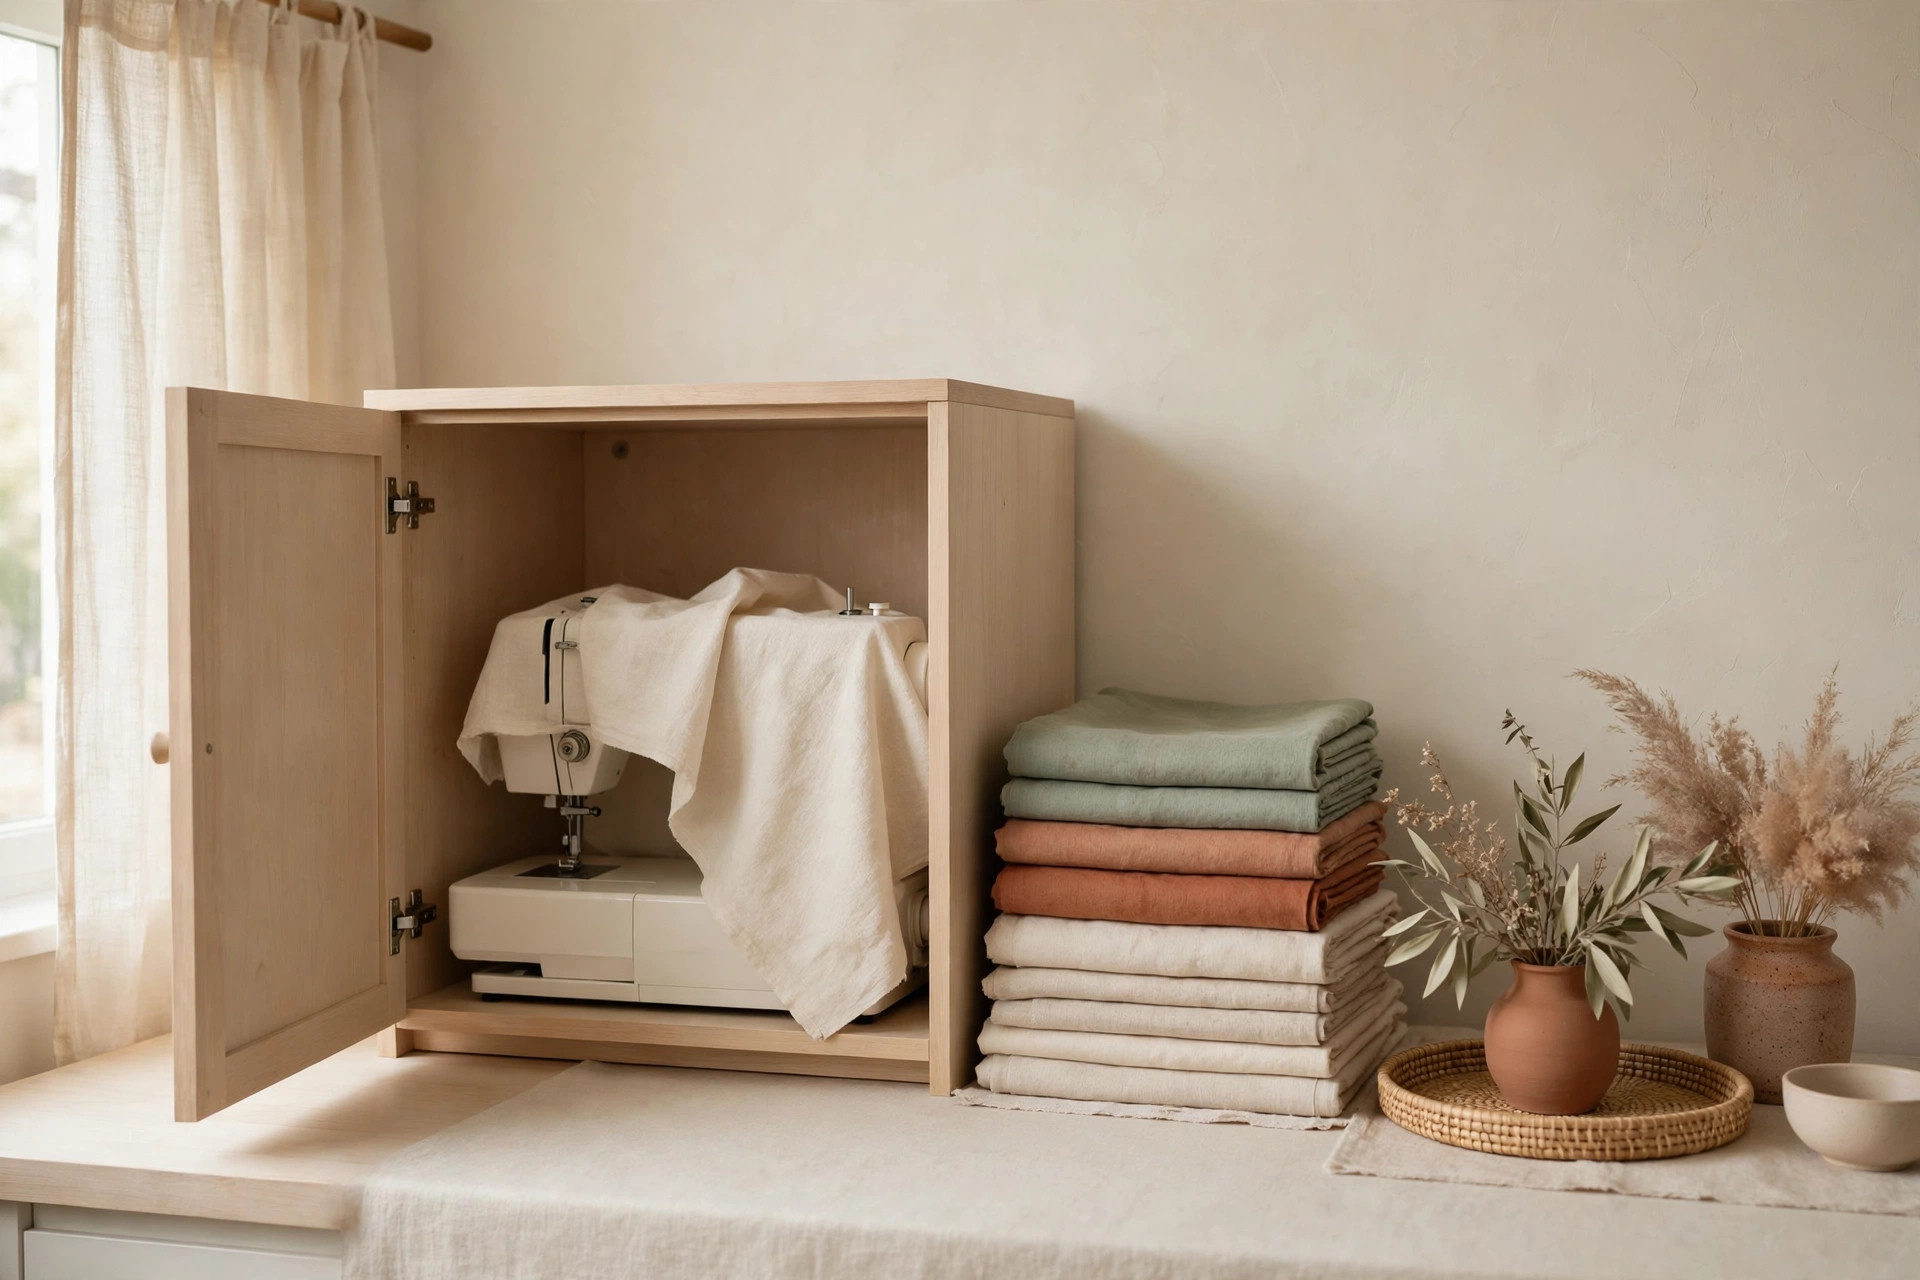
14. Use a hard cover or padded case, and store it at waist height
A hard cover or padded case protects the machine from dust and knocks. Store it at waist height — not on the floor, where it collects dust and risks a kick, and not up high, where lifting 15 to 20 pounds risks a drop. Keep pedal and cord in the case’s pocket.
15. Set up a fold-down or rolling station if space allows
If you sew weekly, a fold-down table or rolling cart earns its footprint. A wall-mounted fold-down table (about 30 x 20 inches open) folds flat against the wall when not in use. A rolling cart with the machine on top and supplies below wheels to the table and back to a corner.
Scrap rule: when fabric becomes clutter
Scraps grow fastest, because every project produces them and throwing fabric away feels wasteful. Without a rule, they fill bins, bags, and eventually your chair.
16. Keep only scraps bigger than your hand
Cutoff: scraps smaller than your open hand (roughly 6 x 6 inches) go, unless rare or expensive. Larger pieces work for patches, pouches, doll clothes, or quilt blocks. Sort keepers by color into one bin; when it is full, something leaves before anything new goes in.
17. Give scraps a monthly use-it-or-toss date
Once a month, spend ten minutes with the scrap bin: cut the best pieces into one planned project (a pouch, coasters), and bag the rest for donation. Fabric stores and textile recycling programs accept clean scraps, and schools welcome usable pieces — the same contained creativity covered in 15 Kids’ Art Supply Organization Ideas for Small Homes (Contain the Creativity).
Mistakes to avoid
The most common sewing storage mistakes are systems that look good for a week and fail in real life.
- Buying matching bins before sorting. Containers bought before the audit usually fit nothing you own. Sort first, measure second, buy last.
- Storing everything in opaque boxes. If you cannot see it, you will forget it and buy it again. Use clear containers or label every opaque box.
- Keeping every scrap and pattern. A stash with no exit grows until it owns the room. Apply the scrap rule from idea 16 to patterns you will never sew again.
- Hiding the machine to keep the room tidy. A machine that takes fifteen minutes to set up gets used once a season. Keep setup under five minutes, even if the machine lives in a closet.
- Organizing by store category instead of workflow. Thread with thread is fine, but your current project’s supplies belong together in the project box, even if that mixes categories.
Frequently asked questions
How can I organize sewing supplies without a dedicated sewing room?
Use a portable kit and one project box per active project, and store the rest on a single closet shelf or cube unit. A fold-down table or rolling cart gives you a work surface that disappears when done.
Can I store fabric in plastic bins without damaging it?
Yes, as long as the fabric is clean and completely dry, and the bin is not stored in a hot attic or damp basement. Leave a small gap for air, and check stored fabric every few months for musty smells. Cotton and linen store well in bins; leather and silk prefer breathable cotton bags.
What is the best way to store thread so it does not tangle?
Keep spools upright and separated — on a wall rack, in a compartmented box, or standing in a jar. Never toss loose spools into a bag or drawer, where they unwind and knot. For bobbins, one bobbin per compartment stops tangles entirely.
How do I keep small sewing notions from getting lost?
Use clear, labeled containers grouped by type — buttons by color, zippers by length, pins in a magnetic tray — kept on one tray or in one drawer. When every item has a visible home, you notice immediately when something is missing.
Conclusion
Small-space sewing organization is not about owning less or buying more containers. It is about giving every supply a visible home, keeping active projects in one box, and making setup fast enough that sewing fits into real life. Start with the audit. Browse the storage ideas category for more, and save this pin for later.