A small living room can absorb an astonishing amount of media gear: a TV, a streaming stick, a soundbar, a game console or two, a router, a tangle of chargers, four remotes, and a stack of discs you never watch. Together, though, they turn the calmest room into a blinking, cable-draped mess. These small apartment media storage ideas fix that without a renovation or a new entertainment unit. The approach is simple: audit what actually plugs in, give every device a zone inside the console, tame the cables in one focused 20-minute session, and build a five-minute weekly reset so the clutter never creeps back.
The media audit: what actually plugs in here
Idea 1: List every device, cable, and remote before buying anything
Take everything out of the console and lay it on the floor. Write a list: TV, soundbar, streaming device, game console, router, and every cable and remote that belongs to each one. Mark anything unused in the last three months. Anything unused for a season gets unplugged, coiled, and boxed in a closet — or donated — and does not earn a spot in the console.
Idea 2: Count your plugs and match them to one power strip
Count the plugs, then use one surge-protected strip with at least two spare outlets. A strip with 8 outlets and a 6-foot cord covers a TV, soundbar, console, streaming stick, router, and a lamp. Mount it inside the console or on its back panel with adhesive strips, so it never sits on the floor collecting dust — and one switch kills standby power at night.
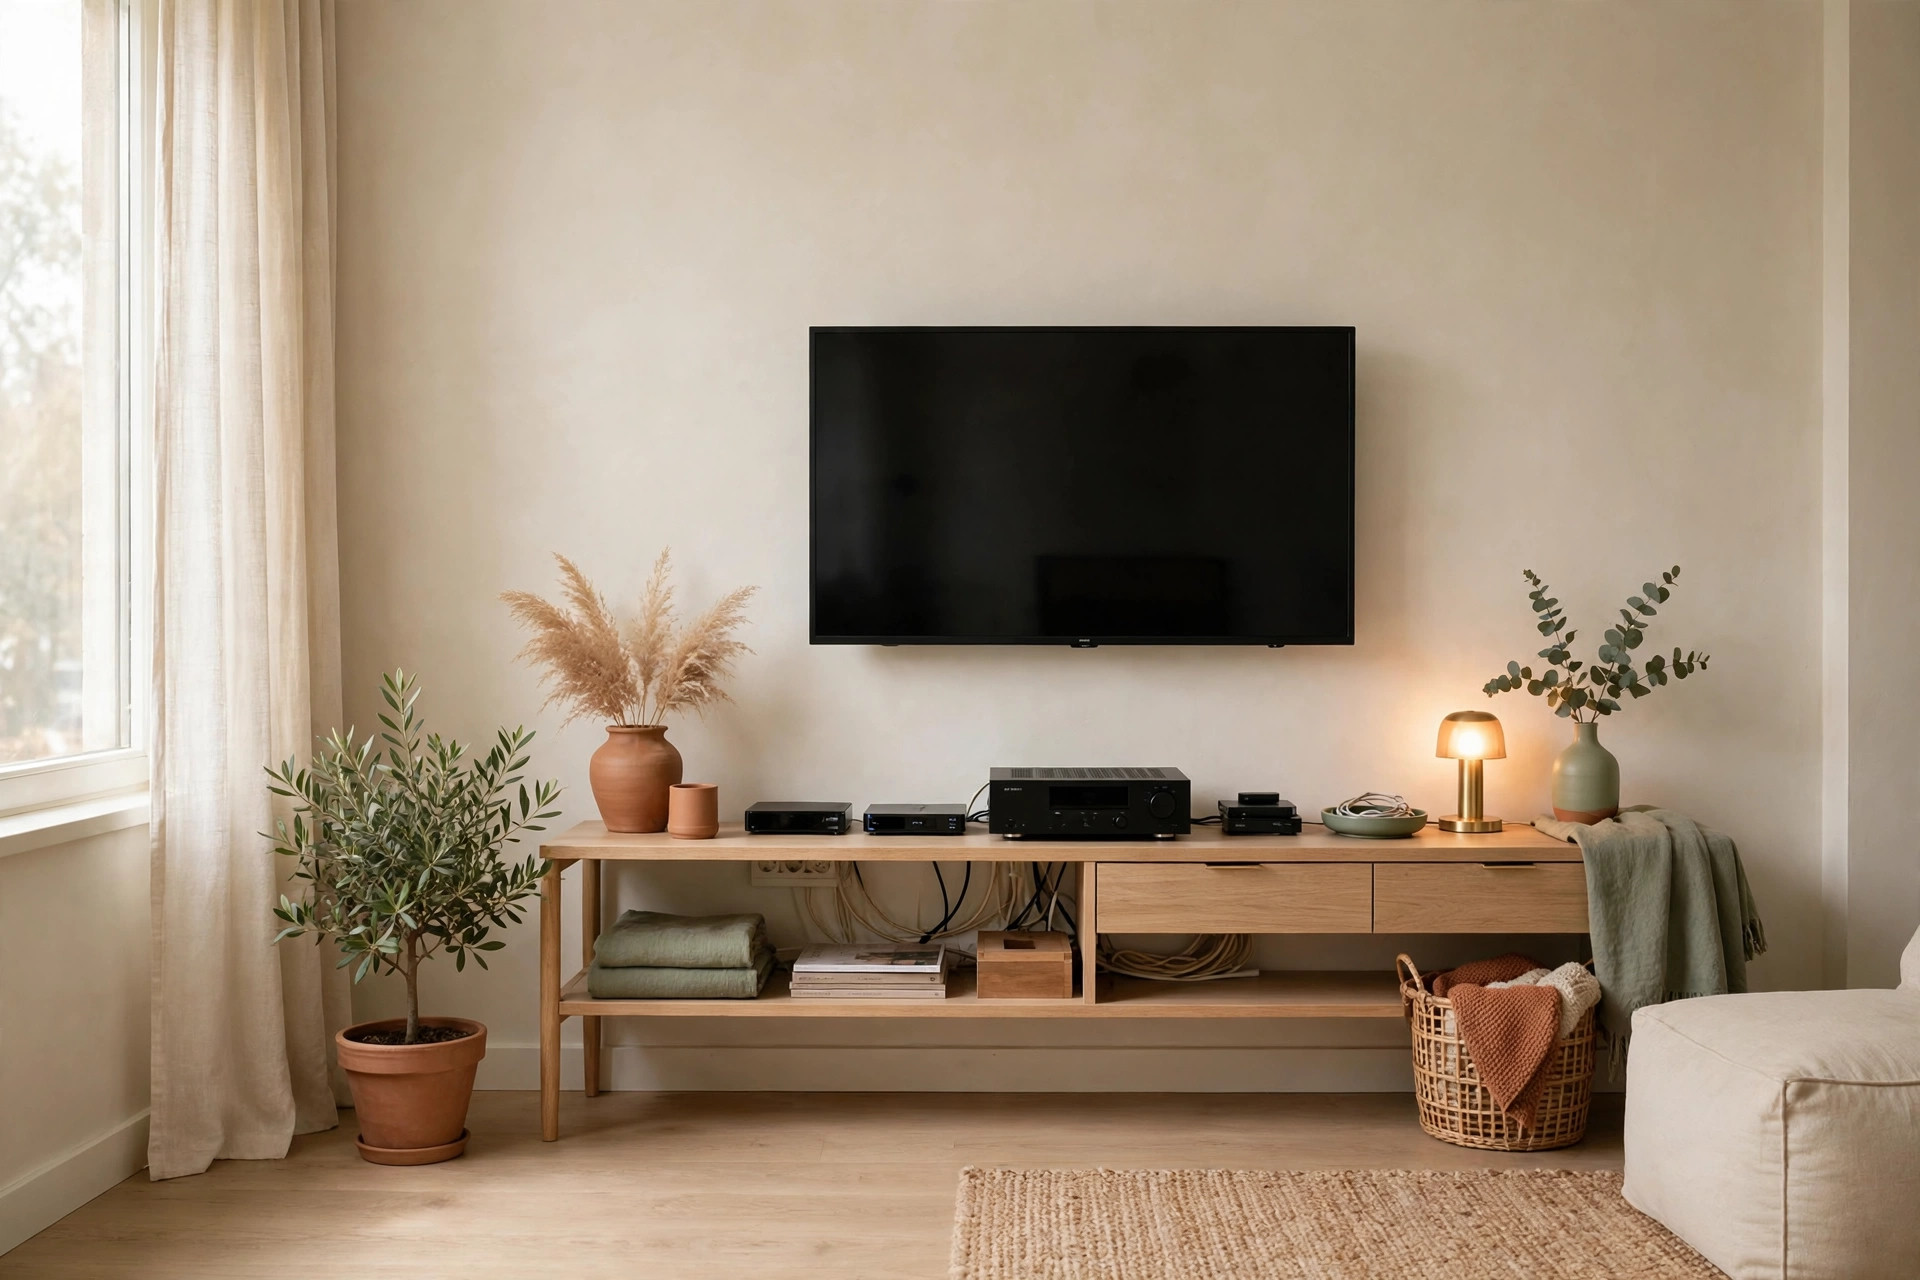
TV console zones: devices, remotes, and the stuff that breeds
Idea 3: Give each device its own shelf slot with breathing room
Stacking a streaming box on top of a game console traps heat and makes both harder to reach. If your console has one long shelf, add a small riser (roughly 12 × 8 inches) to create a second level for the smaller device. Leave at least 2 inches of clearance above each device for airflow. Cool devices last longer, and a reachable shelf stays tidy.
Idea 4: Corral remotes in one lidded tray or a console drawer
Remotes multiply — TV, soundbar, streaming stick, console — and migrate to sofa cushions and kitchen counters. Pick one home for all of them: a shallow lidded tray (about 10 × 6 inches) on the console, or the top console drawer with a small divider. Keep only the remotes you use weekly; the rest go in the labeled box from your audit. For more ideas on keeping the whole room calm, see these 17 small living room storage ideas.
Idea 5: Use stackable 10×6×6-inch bins for discs, batteries, and accessories
Two or three stackable bins, each roughly 10 × 6 × 6 inches, hold spare batteries, HDMI cables, game cases, and manuals in one tidy row. Label each bin — “Cables,” “Discs,” “Batteries” — so anyone can put things back. Opaque bins hide visual noise; clear bins help you find things faster. Pick one style: mismatched bins read as clutter even when organized.
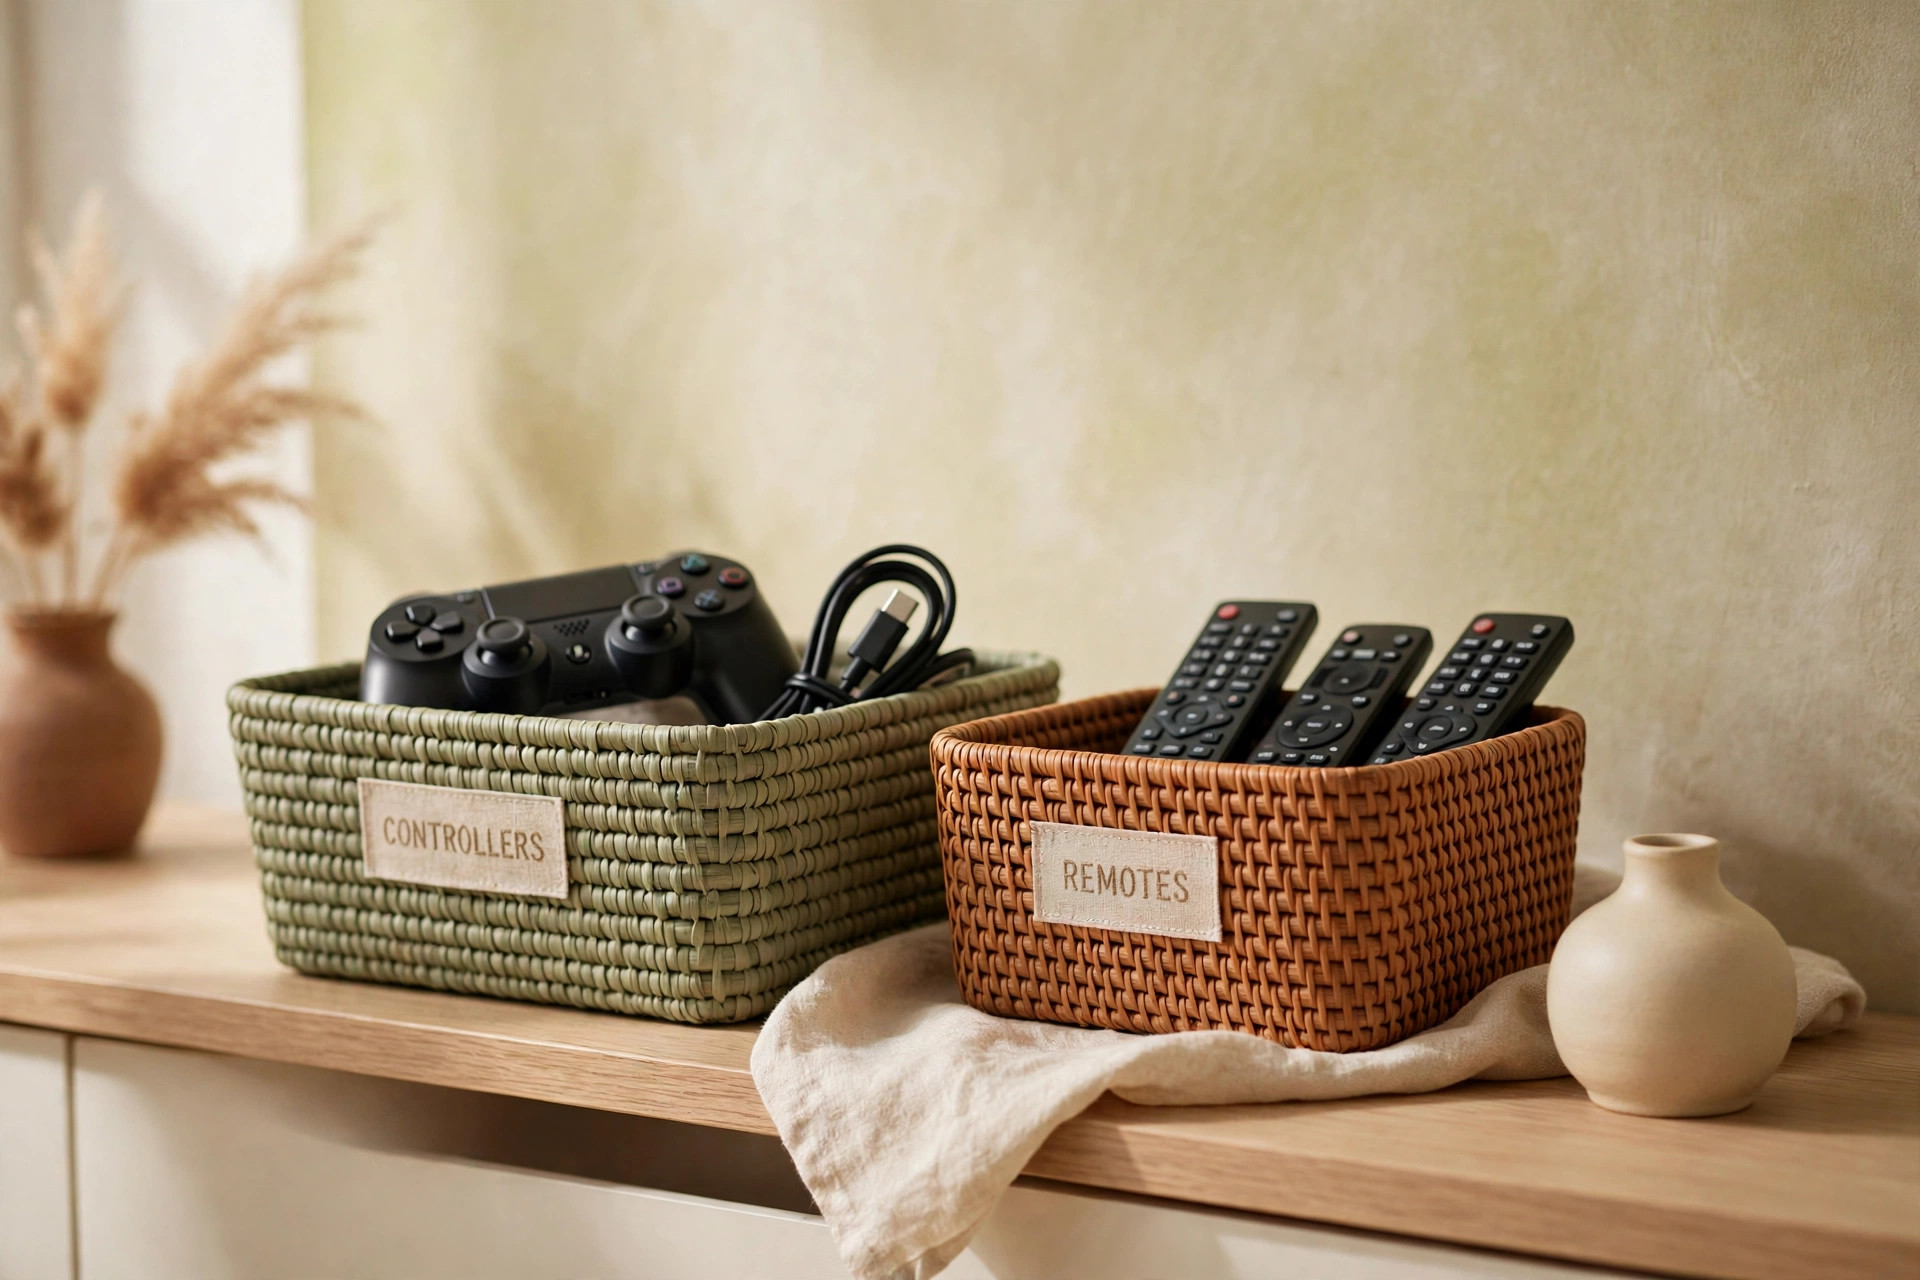
Game and controller storage that stays reachable
Idea 6: Dock controllers on a small stand inside the console
A two-controller charging dock, about 6 inches wide, keeps controllers upright, charged, and off the coffee table. Place it on the console shelf nearest the sofa, or on top if the shelf is full. More than two controllers? Add a second dock — stacked controllers tangle and get forgotten.
Idea 7: Store game cases vertically like books in a slim crate
Game cases stored flat in a pile are impossible to browse and always slide. Stand them upright, spine-out, in a slim crate or magazine file holder about 12 inches tall, shelved on or beside the console. Keep only the ten games you are actively playing in the crate; rotate the rest to a closet shelf. These 18 board game storage ideas show how to keep game night gear from taking over the living room.
Cable control: the 20-minute fix that changes the room
Idea 8: Label both ends of every cable before you bundle anything
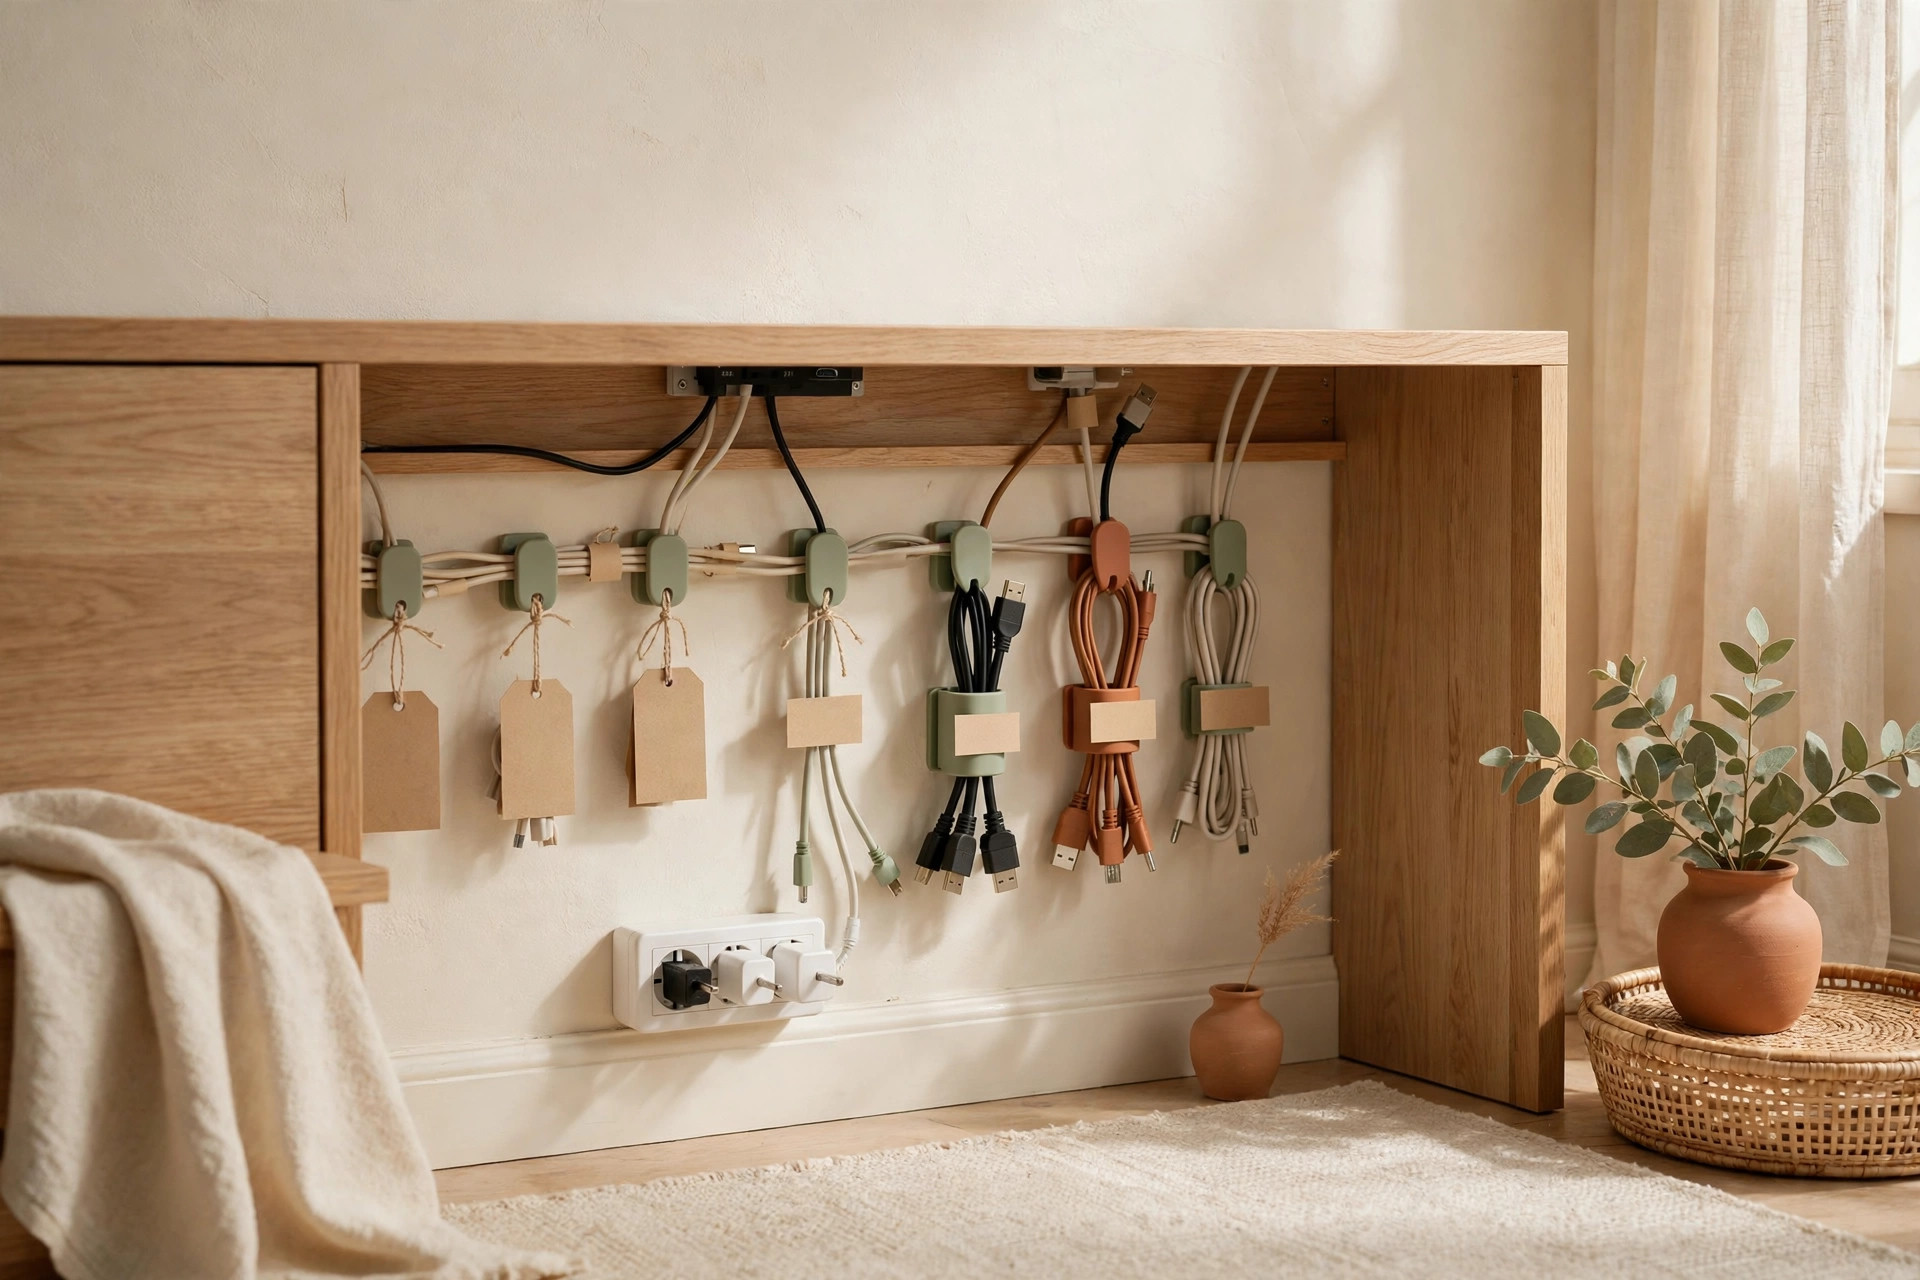
Wrap masking tape around each end of every cable and write what it connects: “TV power,” “Soundbar HDMI,” “Router.” Five minutes now saves you from unplugging the wrong thing every time you rearrange the room. Label both ends — the end you can reach is rarely the end you need to identify. Keep a marker and tape in the console drawer so new cables get labeled on arrival.
Idea 9: Bundle cables with reusable ties and route them along one path
Gather each device’s cables into one bundle with reusable hook-and-loop ties (not zip ties — you will reopen the bundle), spacing ties every 8 inches. Route the bundle along one path — down the console’s back, along the wall, into the power strip — held by two or three adhesive cable clips. One thick, tidy bundle reads as intentional; five loose cables read as chaos. Coil excess cable into a 4-inch loop — never let slack pool on the floor.
Wall-mounting: floating the TV to reclaim the console
Idea 10: Mount the TV and turn the console top into a display shelf
Choose a fixed or tilting mount rated for your TV’s weight — a 55-inch TV typically needs at least 80 pounds — and anchor it into wall studs, not drywall alone. Once the TV is up, the console top holds only a plant, a framed photo, or two books. Renters: ask your landlord first, or use a no-drill floor-standing TV pole — same floating look, zero holes. The U.S. Consumer Product Safety Commission recommends anchoring TVs and heavy furniture to prevent tip-overs — check their tip-over safety guidance before you drill.
Idea 11: Run cables through a paintable cord cover to the console
A wall-mounted TV with dangling cables looks worse than a TV sitting on the console. A paintable cord cover — a slim 2-inch plastic channel — hides the power and HDMI cables in a straight line down the wall. Cut it to length, stick it on with its adhesive backing, and paint it the wall color. If your building forbids wall attachments, route the cables behind the console and use the cover on its back panel only.
Hiding the router and the blinking lights
Idea 12: Hide the router in a ventilated basket on the top console shelf
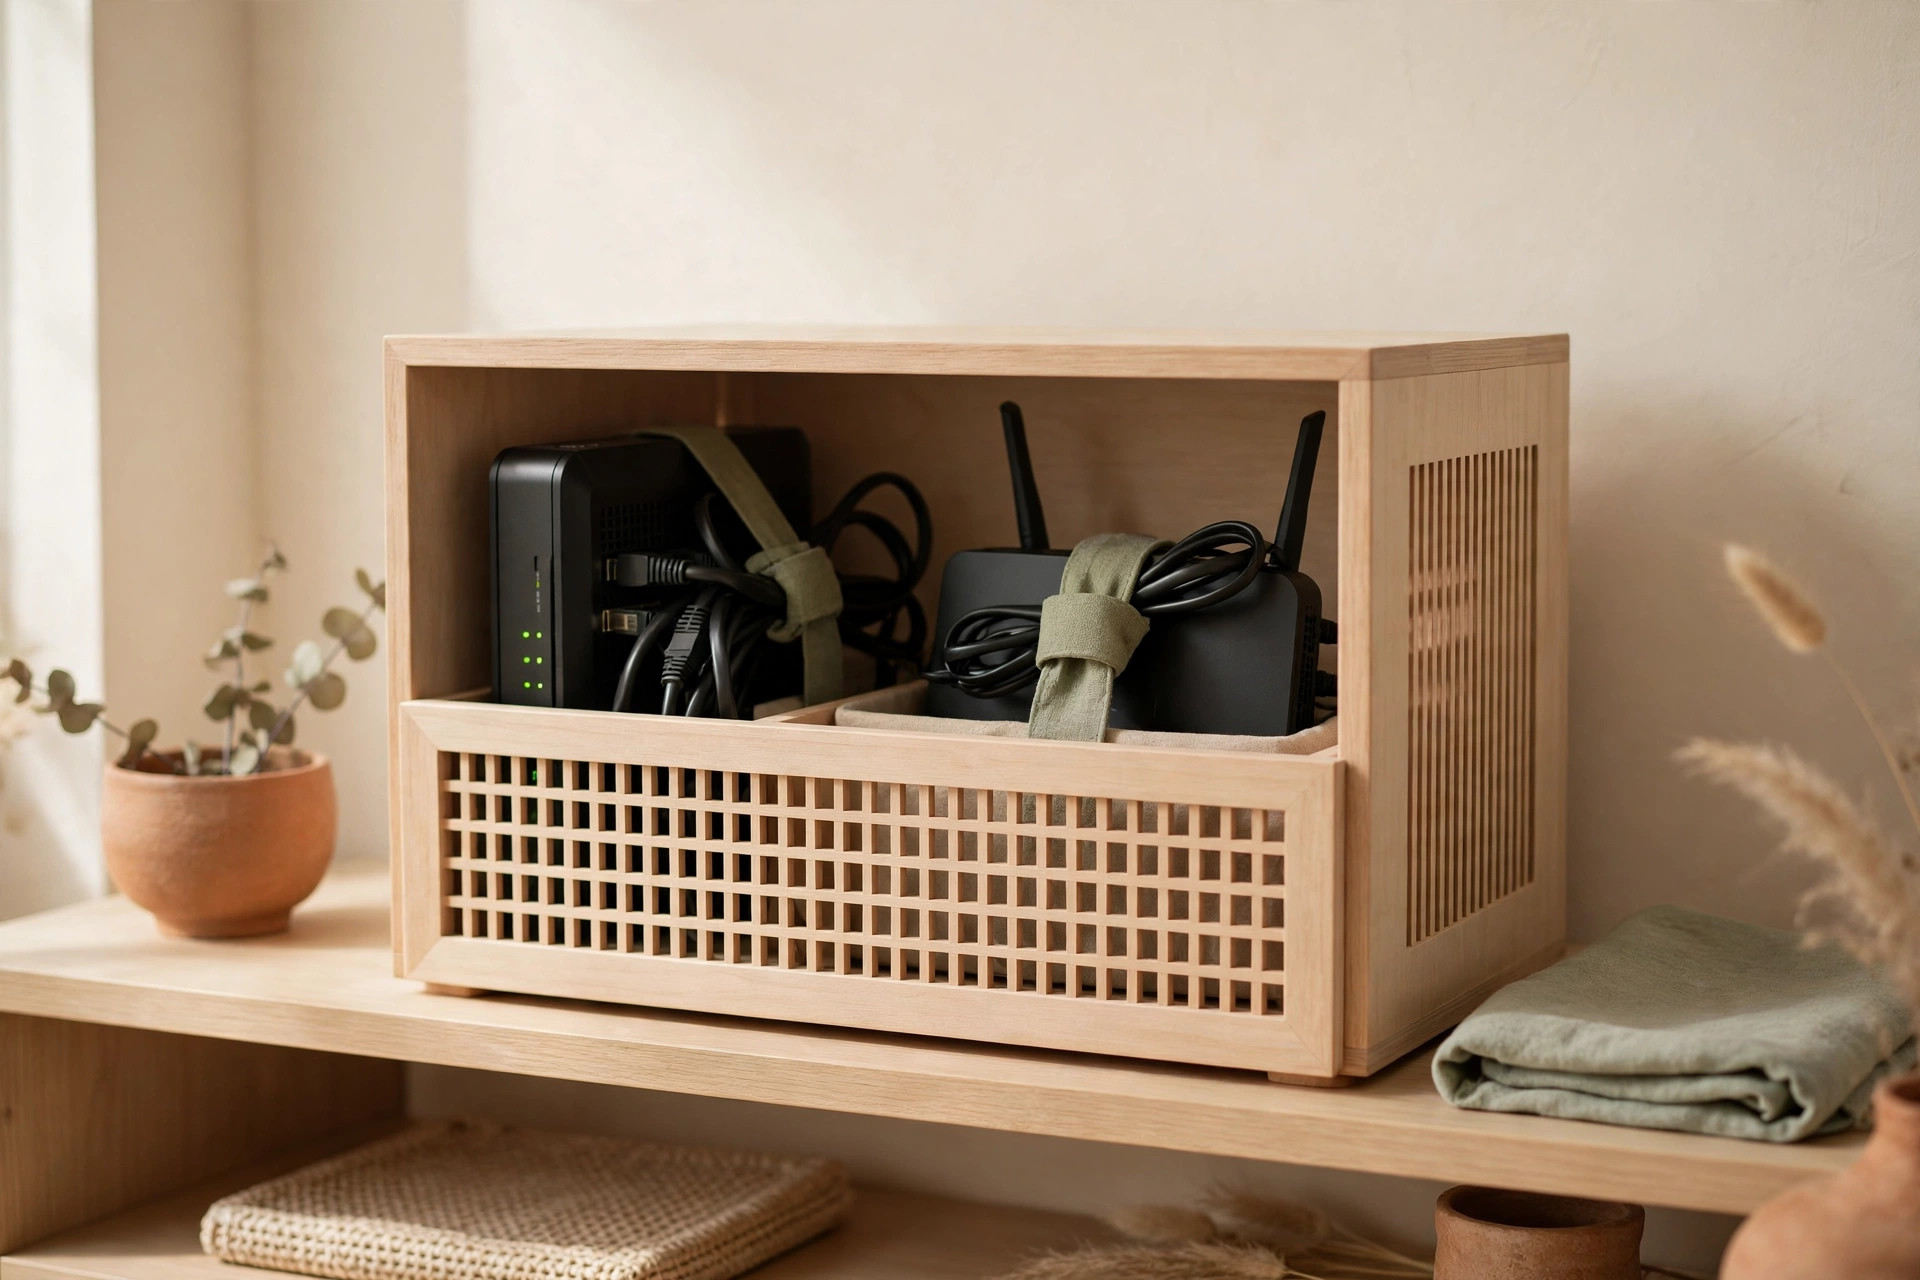
Place the router in a lidded basket with slatted or woven sides — about 12 × 10 × 8 inches — on the console’s top shelf or a high shelf nearby, front facing the room for the strongest signal. The weave hides the blinking lights while letting air and Wi-Fi through. Never put a router inside a closed metal box or behind a solid wooden door; the signal drops and the device overheats. Keep it within 6 feet of the TV so any ethernet run stays short and hidden. If phones and tablets also charge here, see these 15 family charging station ideas for a tidy hub.
Books, discs, and vinyl: what to keep visible
Idea 13: Display ten favorite records or films and rotate the rest
Display your ten most-played records or most-watched films spine-out on one shelf, one facing forward in a small stand as the “now playing” pick. Store the rest in matching closet boxes and rotate a few titles in monthly. A tight shelf looks intentional; a crammed one looks like storage that gave up. The same limit works for books: these 16 bookshelf organization ideas show how one bookcase doubles as storage and decor.
Idea 14: Use a floating ledge for the “now playing” rotation
One floating picture ledge, about 24 inches long at eye level beside the TV, holds three or four records, books, or game cases face-out. It takes zero floor space and turns your current rotation into wall art. Swap titles when your mood changes — it is a display, not storage, so nothing sits there more than a few weeks. In a rental, use heavy-duty adhesive strips rated for the weight, or a narrow leaning shelf that needs no holes.
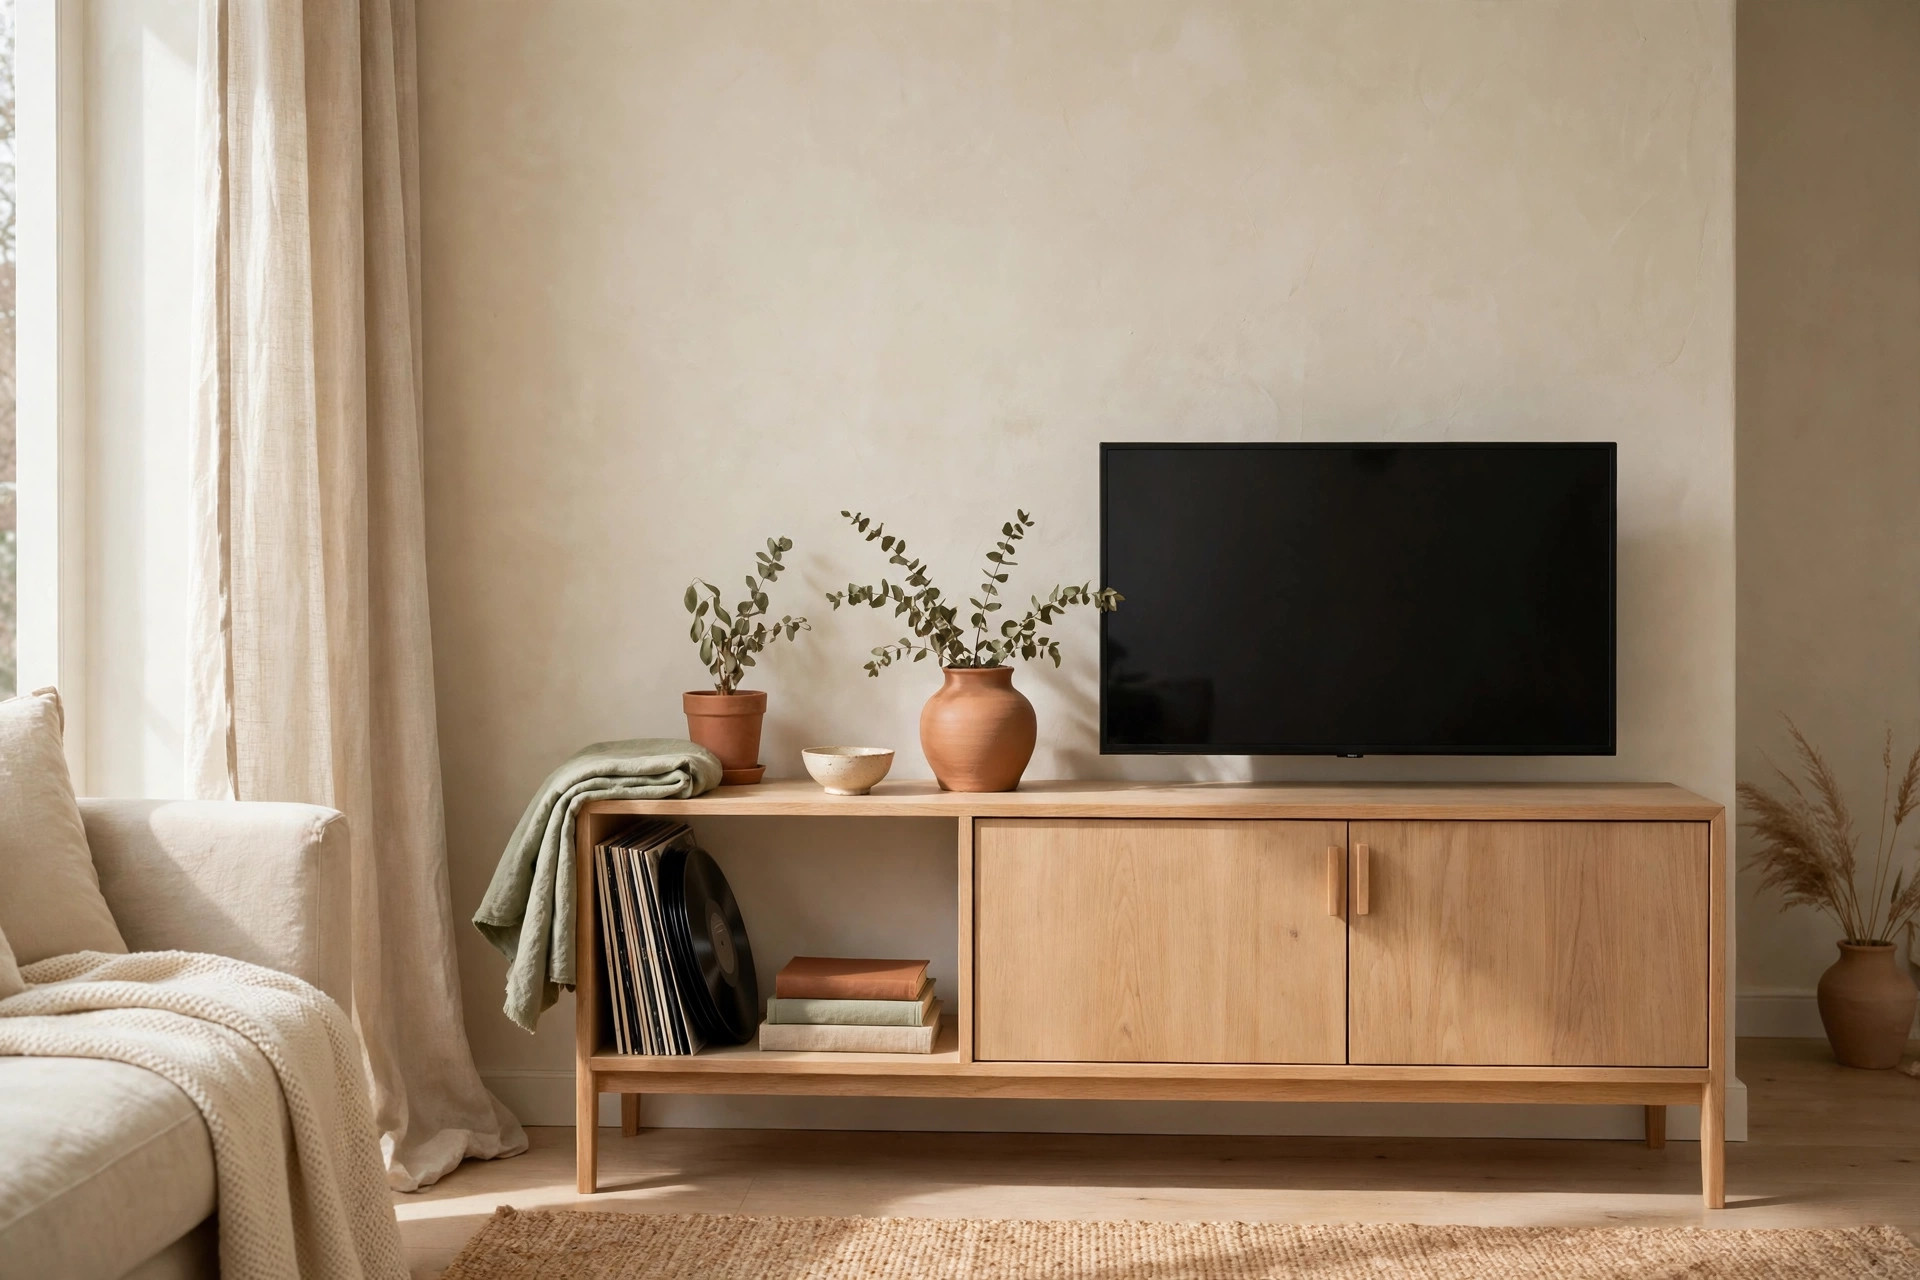
The weekly remote-and-cable reset
Idea 15: Run a five-minute Sunday reset with a “return to home” rule
Once a week, spend five minutes putting every media item back: remotes in the tray, controllers on the dock, cables coiled, discs in their bins. Something with no home gets one — or leaves the living room. The rule: everything media-related sleeps in its zone. Do it while the kettle boils, and walk the household through the zones once.
Mistakes to avoid
Buying storage before the audit. Bins, docks, and cord covers are useless if you do not know what you own. Audit first, measure second, buy last.
Hiding the router in a closed cabinet. A router sealed in a solid cabinet overheats and loses signal — ventilated baskets and open shelves only.
Using zip ties on cables you will move again. Zip ties must be cut off, and cutting near cables nicks them. Reusable ties cost pennies more.
Mounting a TV into drywall without a stud. Drywall anchors cannot hold a 40-pound TV above your sofa. Find the stud, or use a floor-standing mount.
Keeping every disc, game, and remote “just in case.” “Just in case” is how a console becomes a junk drawer. Unused for three months? Closet box, not console.
Frequently asked questions
Can I organize a TV console without drilling any holes?
Yes. Use adhesive cable clips, a floor-standing TV mount, shelf risers, and bins inside the console — none need a drill. An adhesive cord cover hides wall cables, and a leaning shelf adds display space with no holes.
How do I hide cables in a rental apartment?
Bundle them with reusable ties, route them along the console’s back with adhesive clips, and cover vertical runs with a paintable adhesive cord cover. Mount the power strip inside the console so no cables pool on the floor.
Where should the router go in a small living room?
On a high, open shelf or inside a ventilated basket, within 6 feet of the TV, facing the room. Avoid closed cabinets, metal boxes, and the floor behind the sofa — all three weaken the signal and trap heat.
How many remotes should I keep on the console?
Only the ones you use weekly — usually two or three. The rest go in a labeled closet box, and a weekly reset keeps strays from multiplying.
What is the fastest way to make a media setup look tidy?
Do the 20-minute cable fix first: label both cable ends, bundle with reusable ties, and route one tidy bundle to the power strip. Then clear the console top completely.
A calm living room is not about owning less media gear — it is about giving every device, cable, and controller a home it returns to. Start with the audit, fix the cables this weekend, and let the weekly reset do the rest. Browse more small-space organization ideas, and save this pin for later.