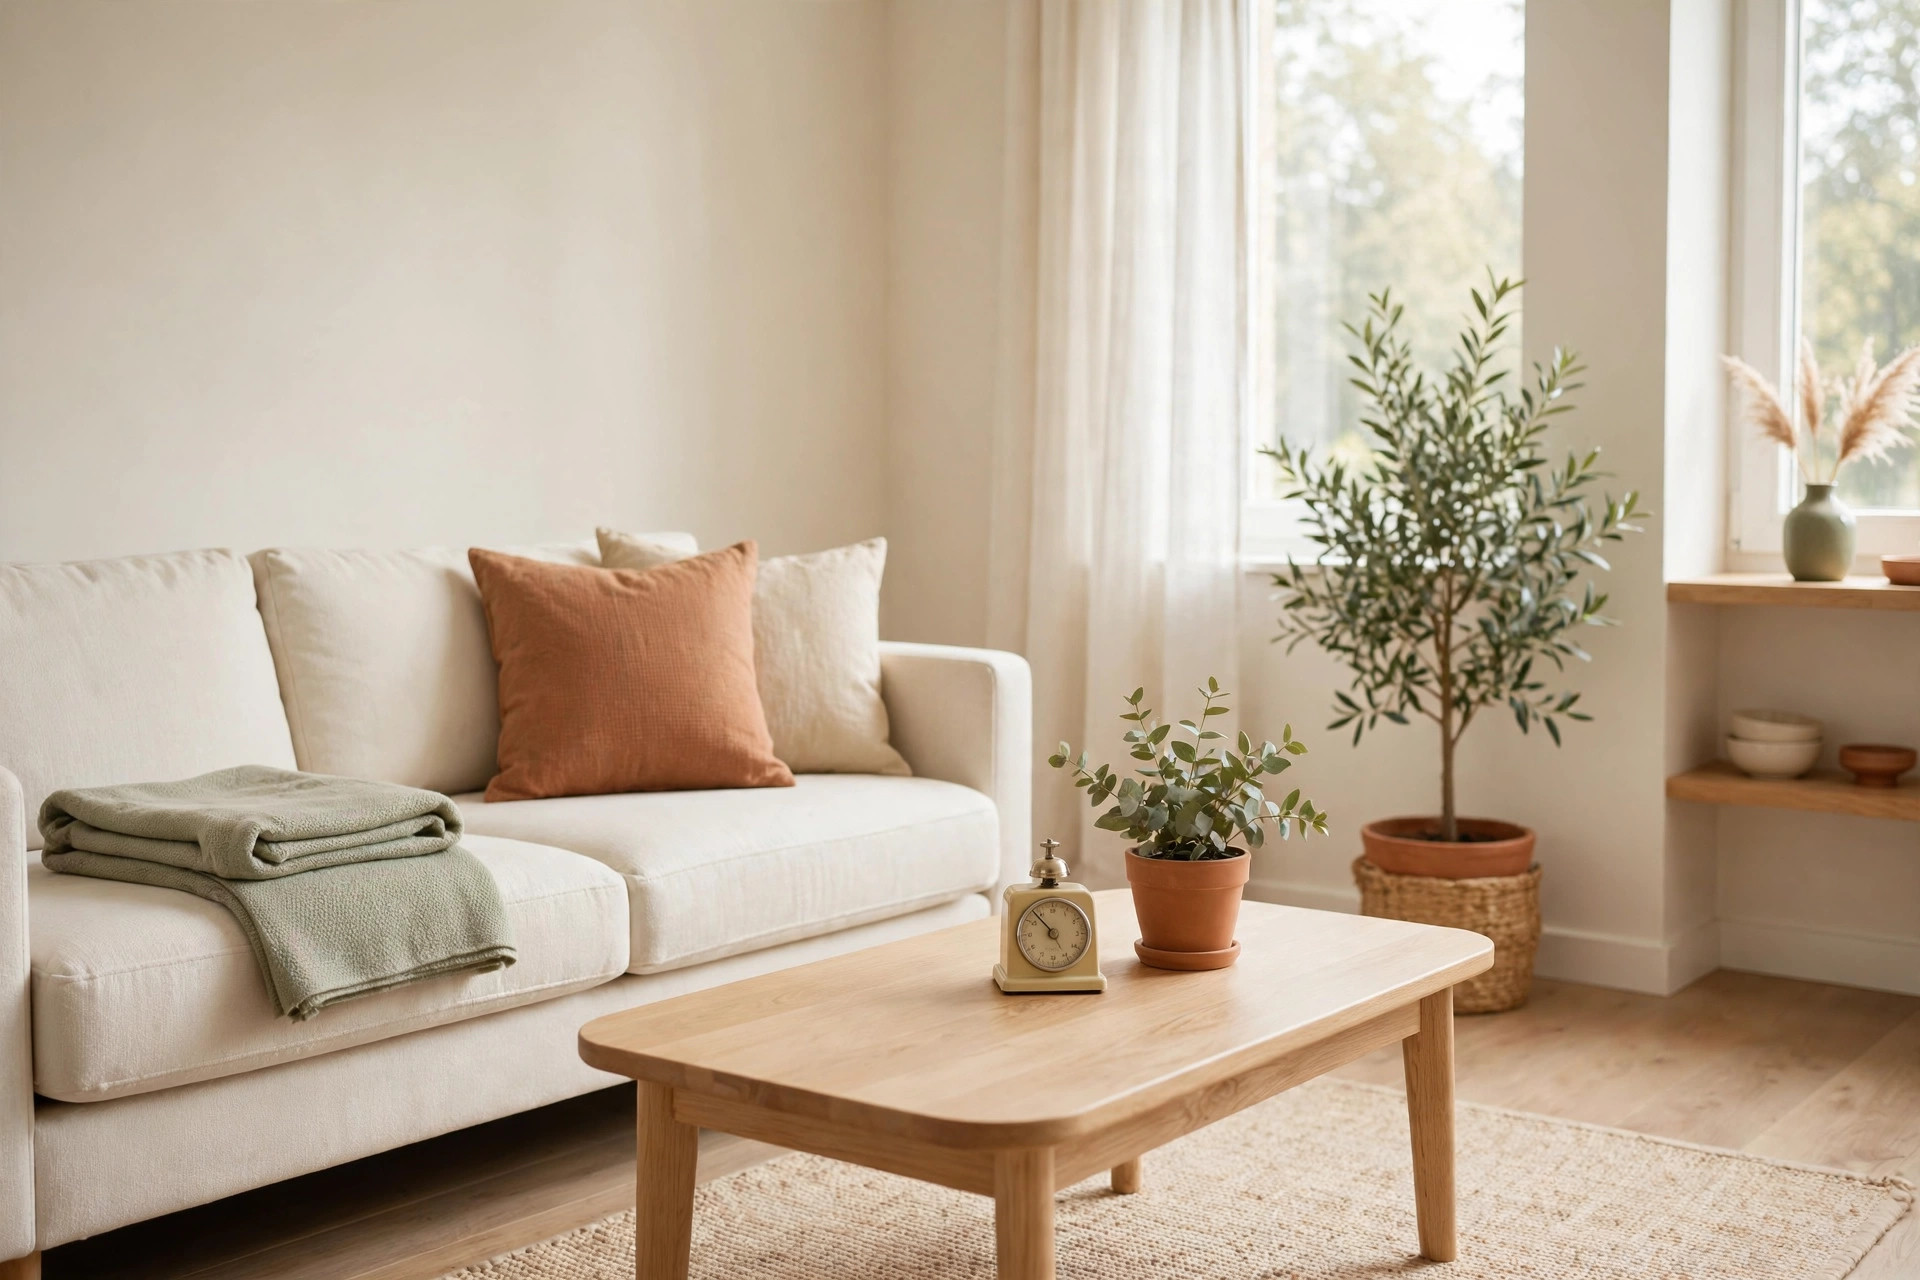
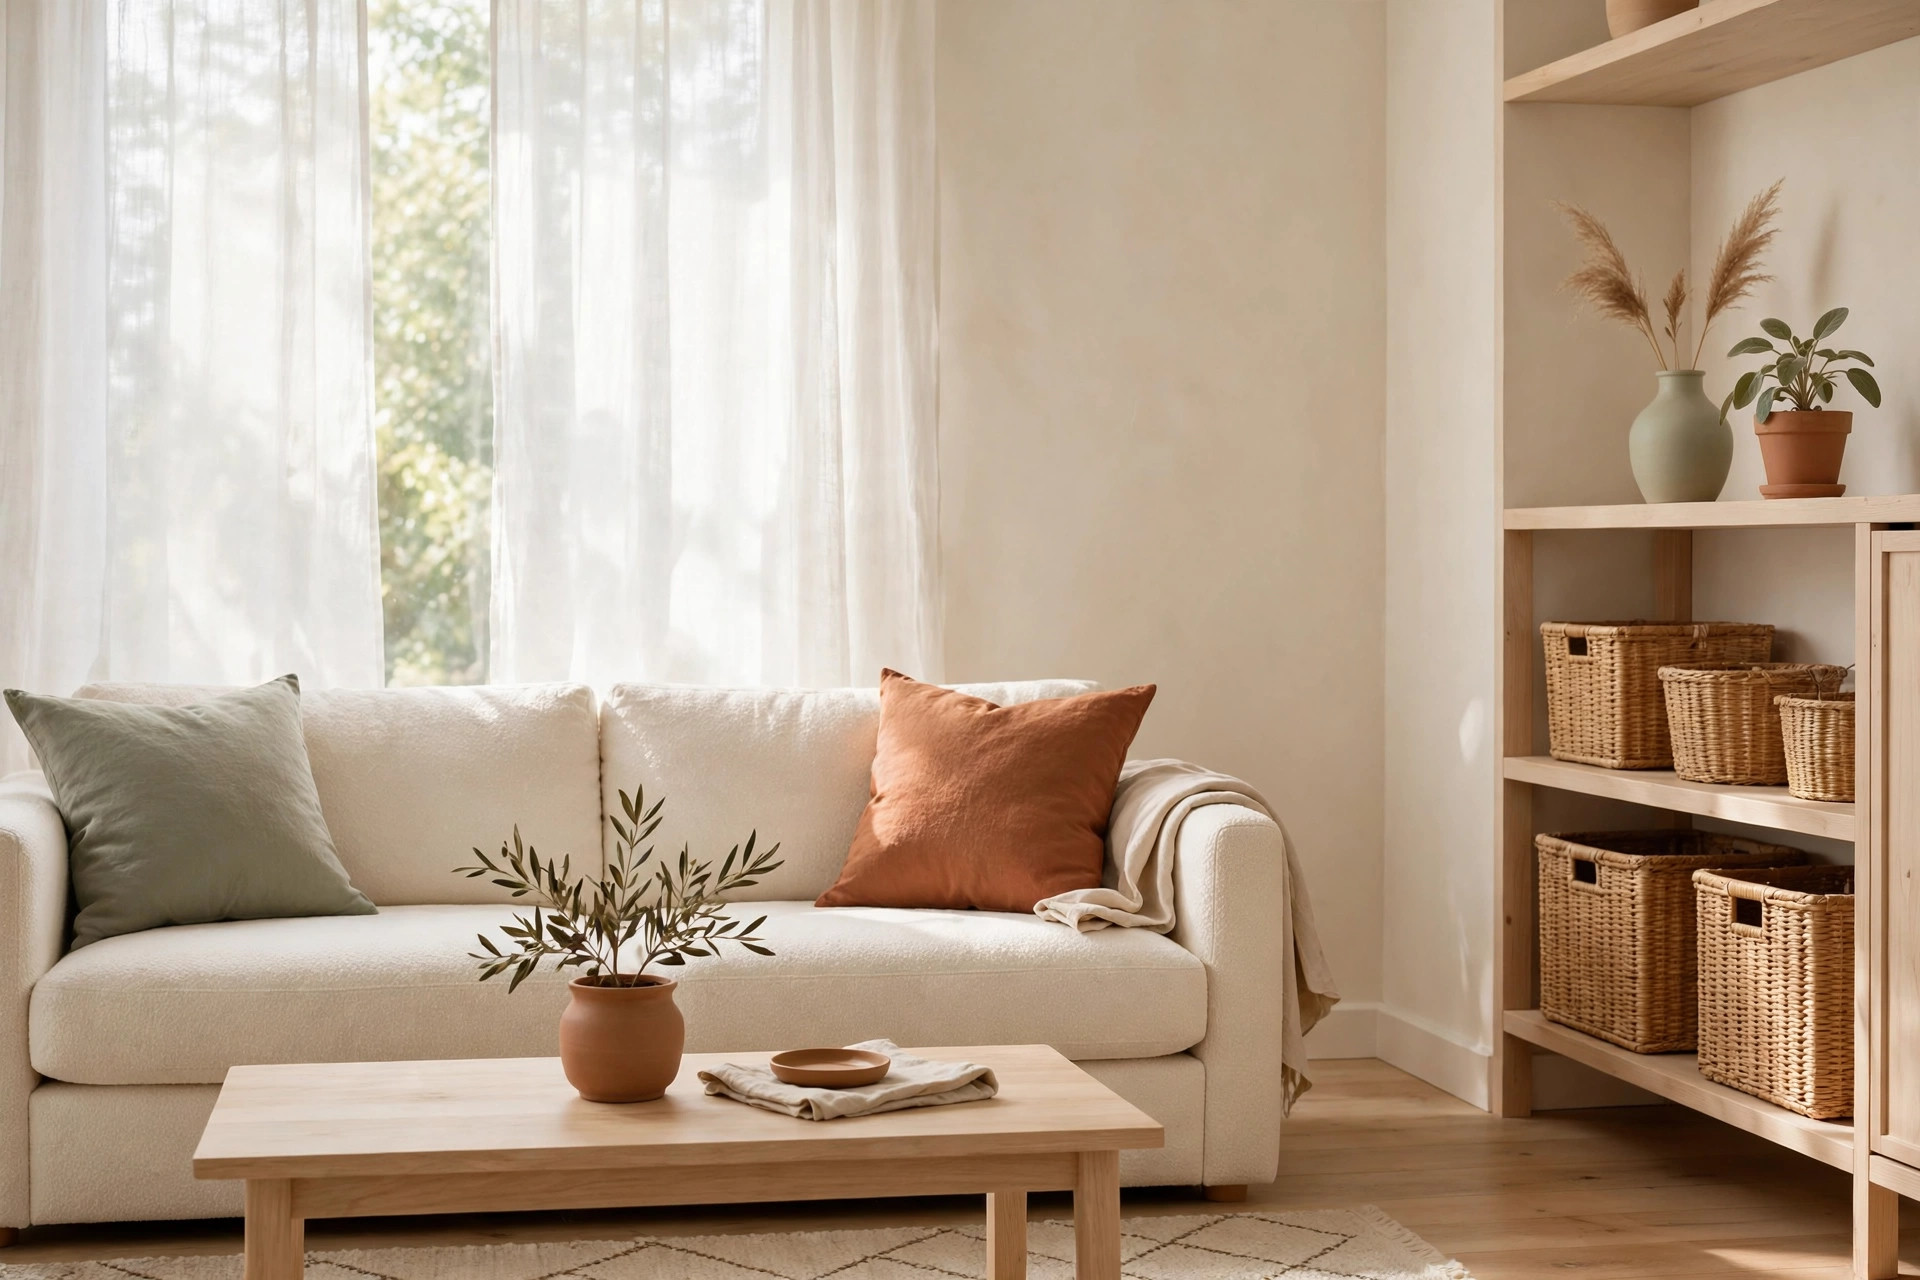
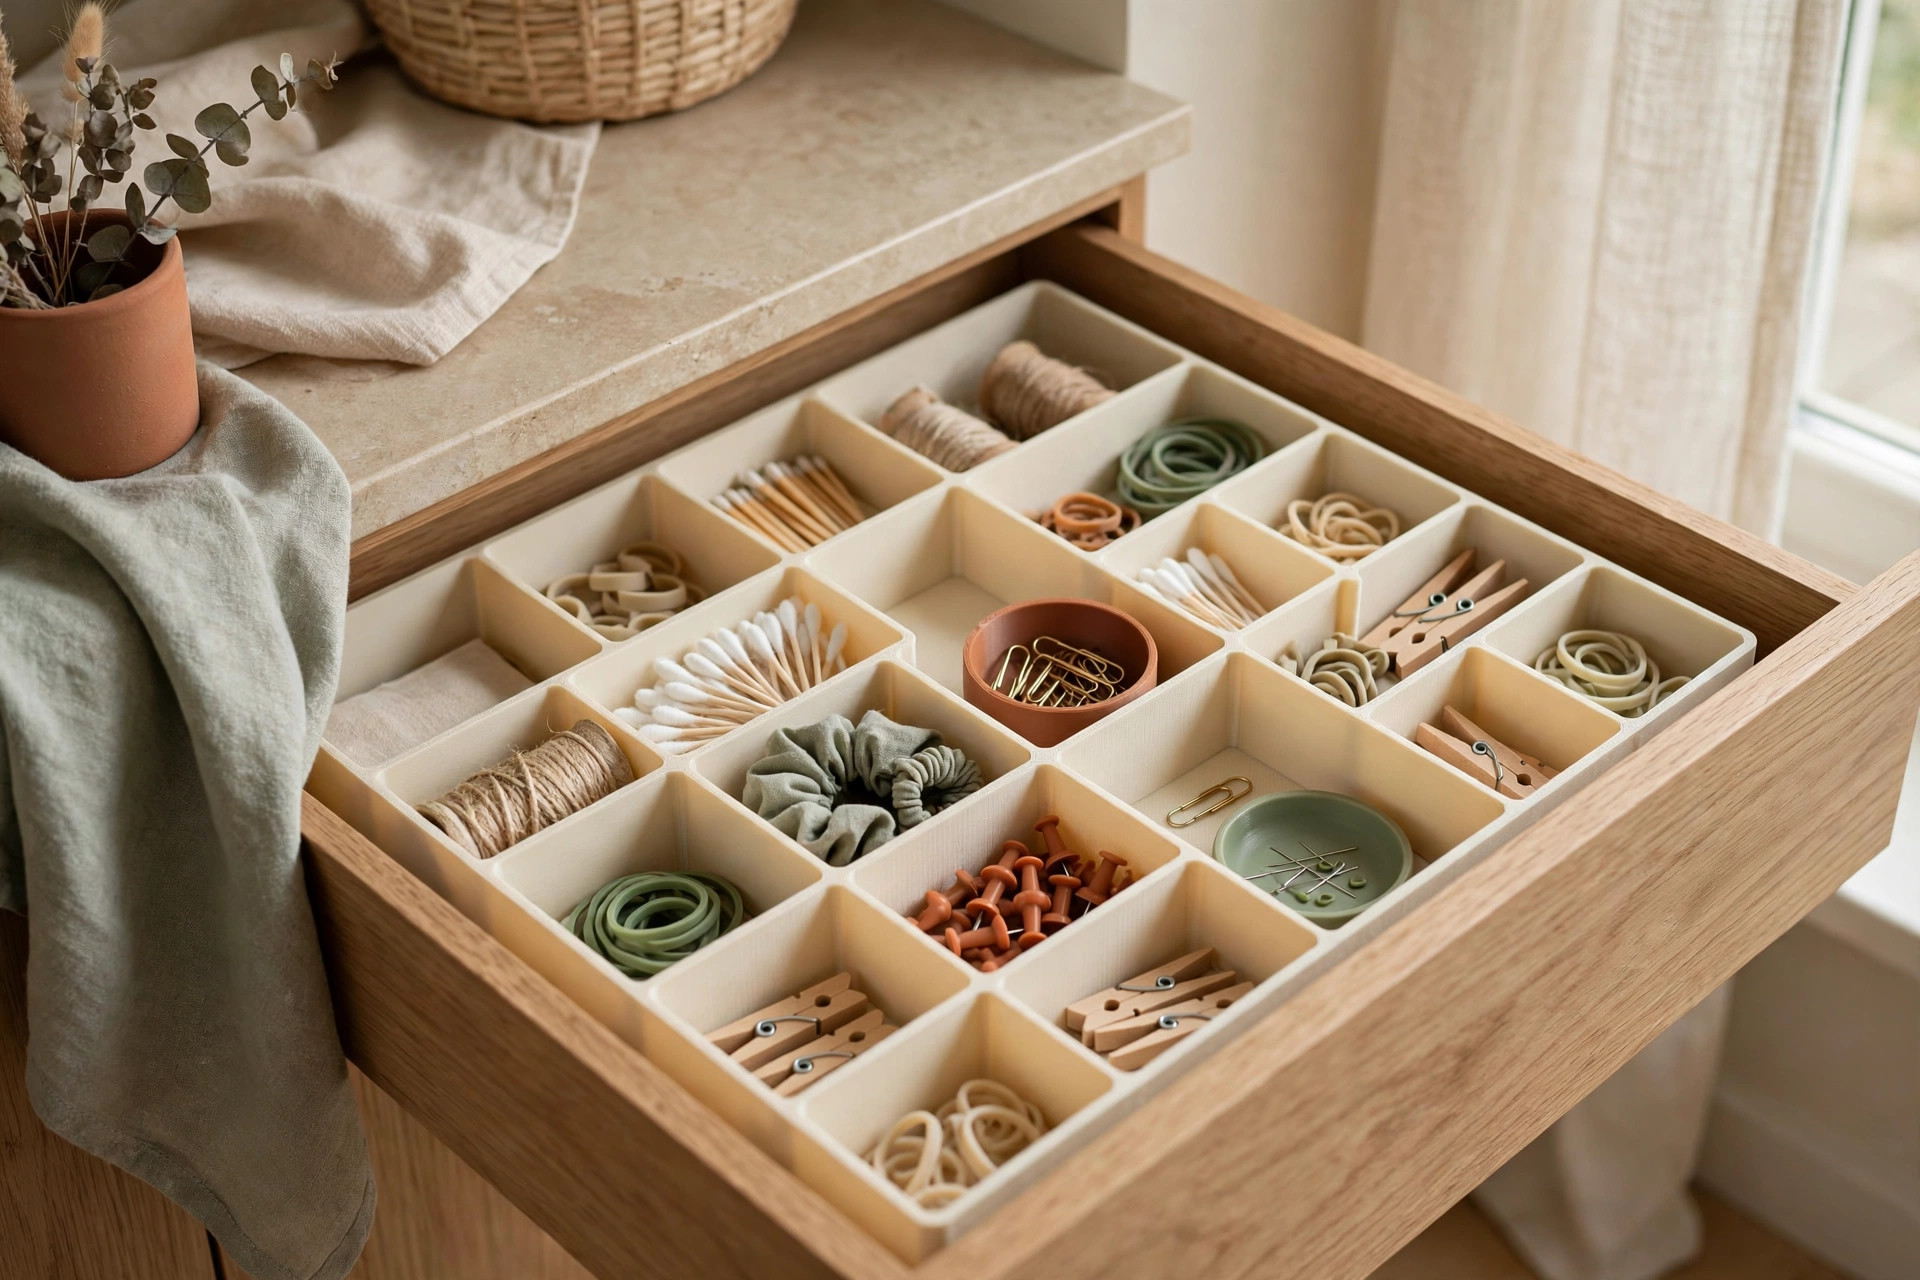
Small apartment storage ideas under $25 sound like a contradiction. Cheap storage usually looks cheap — mismatched bins, sagging shelves, and hooks that peel off the wall by Tuesday. But the gap between a cluttered rental and a calm, expensive-looking one is rarely money. It is consistency, measurement, and a few well-chosen pieces that cost less than a takeout order. Every idea in this guide costs $25 or less per piece, most cost under $10, and all of them are renter-safe. Work through them zone by zone and your apartment will look like you hired an organizer, not like you raided the clearance aisle.
The under-$25 rule: what cheap storage gets right (and wrong)
Cheap storage fails for predictable reasons: random containers bought without measuring, five different styles in one room, and every bin filled to the brim. It succeeds when you treat it like a system — one job per container, one style per zone, nothing bought before you know the exact dimensions it must fit.
1. Set a per-zone budget, not a per-trip budget
Give each zone its own number before you shop: $20 for the bathroom cabinet, $25 for the entryway, $15 for the junk drawer. A per-zone budget stops you spending $40 on one pretty basket and having nothing left for the zones that need help. Write the numbers on your phone and stick to them — the whole point of budget apartment organization ideas is that every zone gets a little, not one zone gets everything.
2. Measure first, buy second — every single time
Measure the width, depth, and height of every shelf, drawer, and cabinet interior before you buy anything, and keep the numbers in your phone. A bin half an inch too wide is useless, and a bin two inches too short wastes space you cannot afford. This one habit is the difference between storage that looks custom and storage that looks accidental.
Matching bins and baskets: the uniformity trick that looks expensive
Walk into any high-end home store and the secret is obvious: everything matches. Same color, same material, same shape, repeated across the room. Your eye reads repetition as intention, and intention reads as expensive. You can buy that effect for a few dollars per bin if you commit to one style per zone.
3. Pick one bin style per zone and repeat it
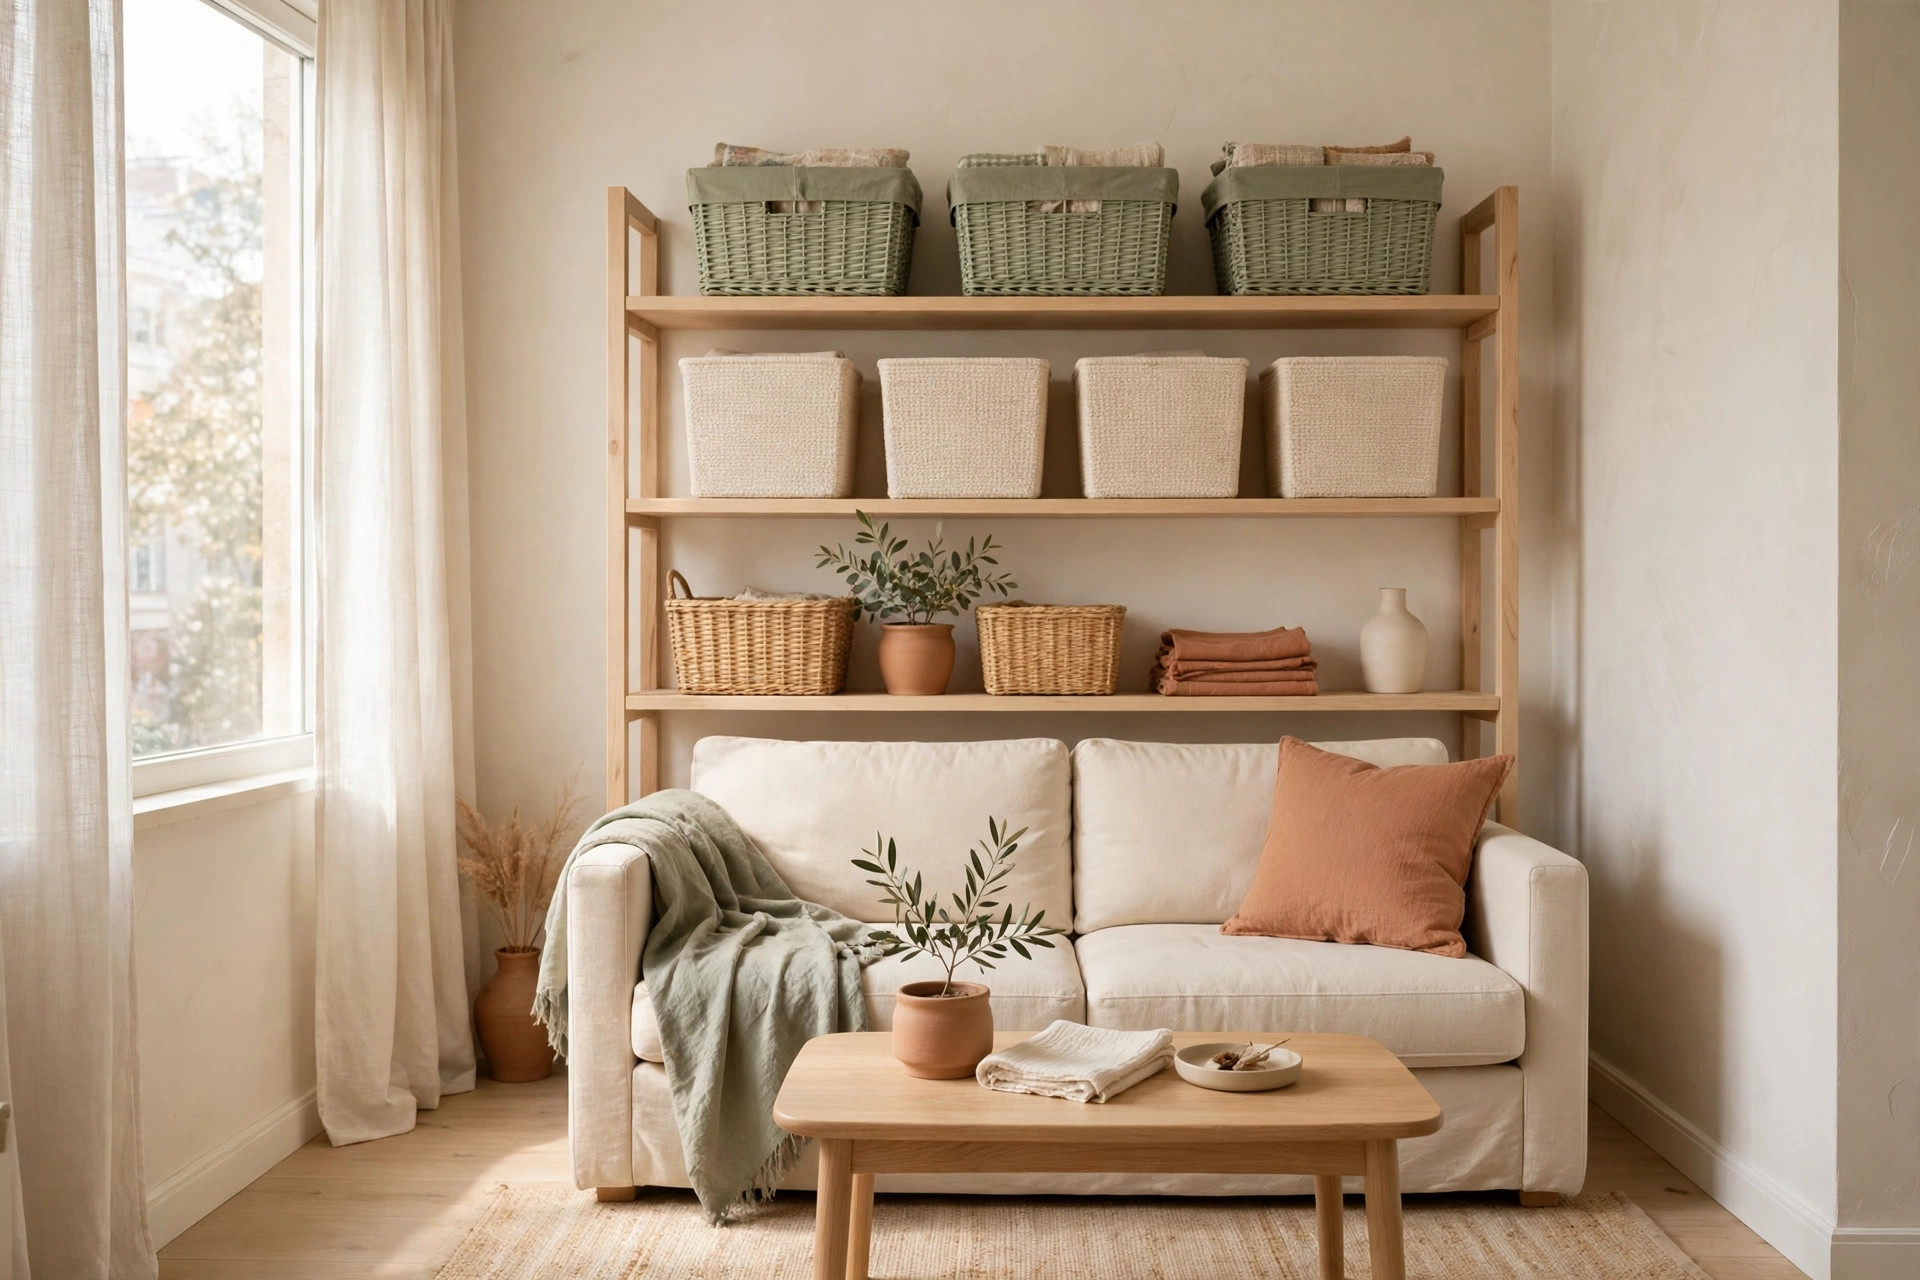
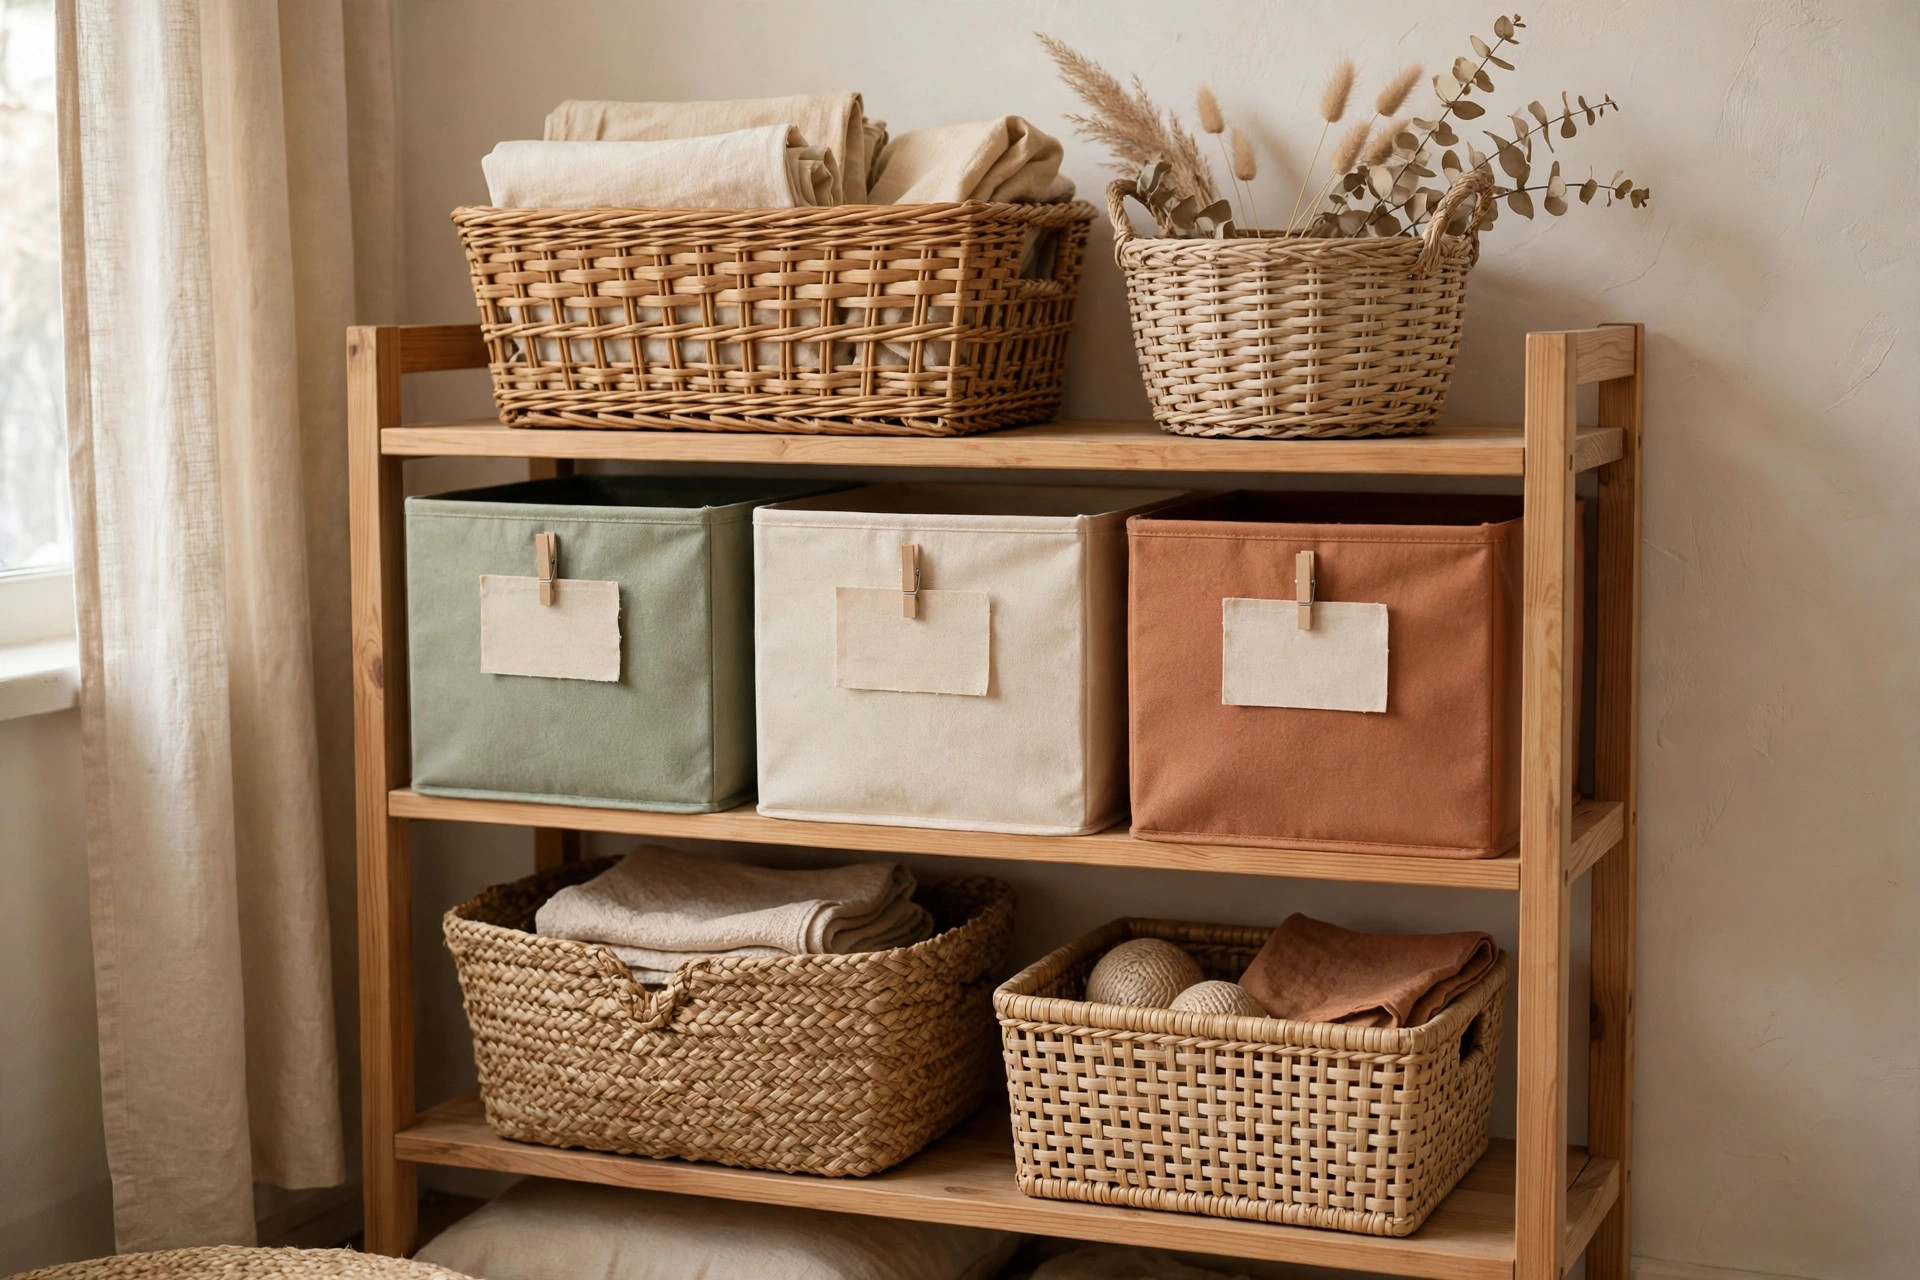
Choose a single bin — same color, same material — and buy three to five of it for one zone. White plastic bins in the bathroom, natural woven baskets on the living room shelves, grey fabric cubes in the closet. Mixed bins look like a yard sale; matching bins look like a system. Three matching 10×6×6-inch bins cost roughly $9–$12 at discount stores and transform a shelf more than any single expensive piece will.
4. Use open baskets on visible shelves, closed bins inside cabinets
Baskets belong where you can see them; lidded bins belong where you cannot. Open woven or wire baskets on shelves hold throws, books, and chargers where they look styled. Inside cabinets and closets, use lidded bins so the contents disappear and the shelf line stays clean. Mixing this up is why cheap storage often looks messy instead of organized.
5. Color-code by room, not by item
Assign one accent color per room and let the bins follow it: sage in the bedroom, terracotta in the kitchen, cream in the bathroom. You do not need to label everything if the color tells you where it belongs. This costs nothing extra — you are just choosing the same color consistently instead of grabbing whatever is on sale.
Tension rods everywhere: under sinks, in cabinets, between shelves
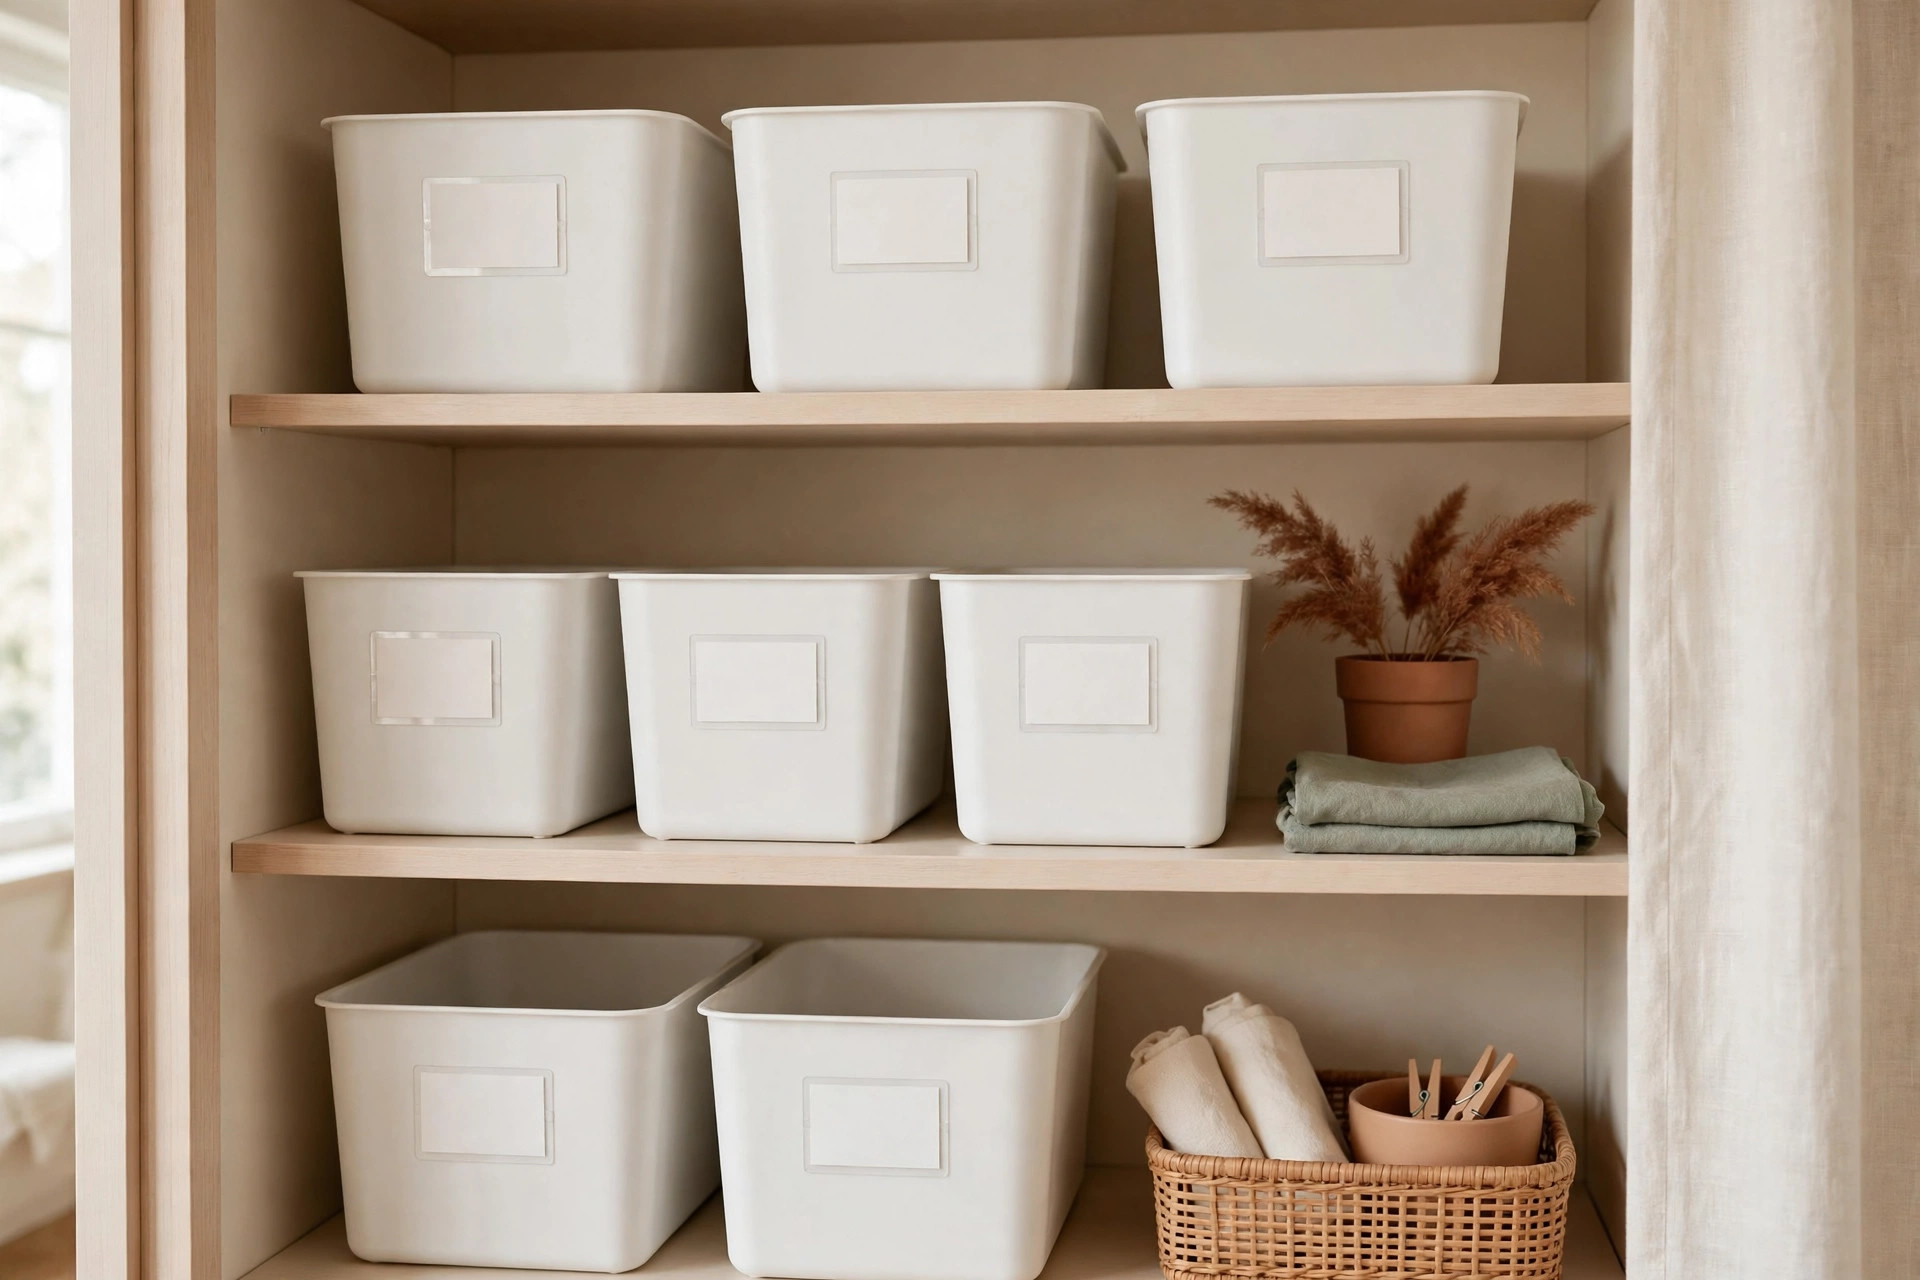
A tension rod is a spring-loaded metal bar that wedges between two surfaces — no screws, no holes, no landlord problems. At $3–$8 each, it is the cheapest structural change you can make to a rental, and it creates storage where none existed.
6. Hang a tension rod under the sink for spray bottles
Mount a tension rod horizontally across the inside of the under-sink cabinet, about 6 inches below the top, and hang spray bottles from it by their triggers. This frees the entire cabinet floor for bins and keeps bottles from tipping over. Measure the cabinet width first — rods come in ranges like 12–20 inches and 18–28 inches, and the wrong range will not hold tension.
7. Stand tension rods vertically to divide shelves and baking sheets
Place two tension rods vertically inside a deep cabinet to create a divider slot for baking sheets, cutting boards, and lids. The same trick works between shelf levels: a horizontal rod set a few inches above a shelf creates a second tier for flat items like placemats. Two rods cost under $10 and replace a $25 cabinet organizer.
Shelf risers and stackable bins: doubling space for a few dollars
Most apartment cabinets waste the top half of every shelf. The gap between a shelf and the one above it is dead air, and risers are how you claim it. A $7–$12 shelf riser adds a second level instantly, with no tools and no installation.
8. Add a shelf riser to every kitchen and bathroom cabinet
A basic metal or bamboo shelf riser, roughly 10×9 inches, creates a second tier inside cabinets. Mugs go on top, plates or bowls underneath; in the bathroom, daily products sit on the riser and backups live below. If your kitchen storage is tight, pair this with the ideas in our 17 Pantry Organization Ideas for Small Pantries (or No Pantry at All) — risers do the same job in pantry cabinets, doubling usable shelf space for about $8.
9. Stack matching bins instead of buying taller ones
Two stackable 12×8×5-inch bins hold more, and look better, than one tall bin of the same footprint — because you can pull out the top bin without emptying everything. Stackable bins with lids also stop dust and keep the pile stable. Buy the stackable version specifically; regular bins stacked without a lip slide off and defeat the purpose.
10. Use small stackable can risers for food and bathroom bottles
Stepped can risers, about $6–$9 for a set of two, let you see the back row of cans, spice jars, or skincare bottles without pulling everything out. They work in kitchen cabinets, bathroom cabinets, and even on deep closet shelves. Visibility is the whole game in a small apartment: if you cannot see it, you will buy a duplicate.
Hooks and rails: renter-safe wall storage that costs almost nothing
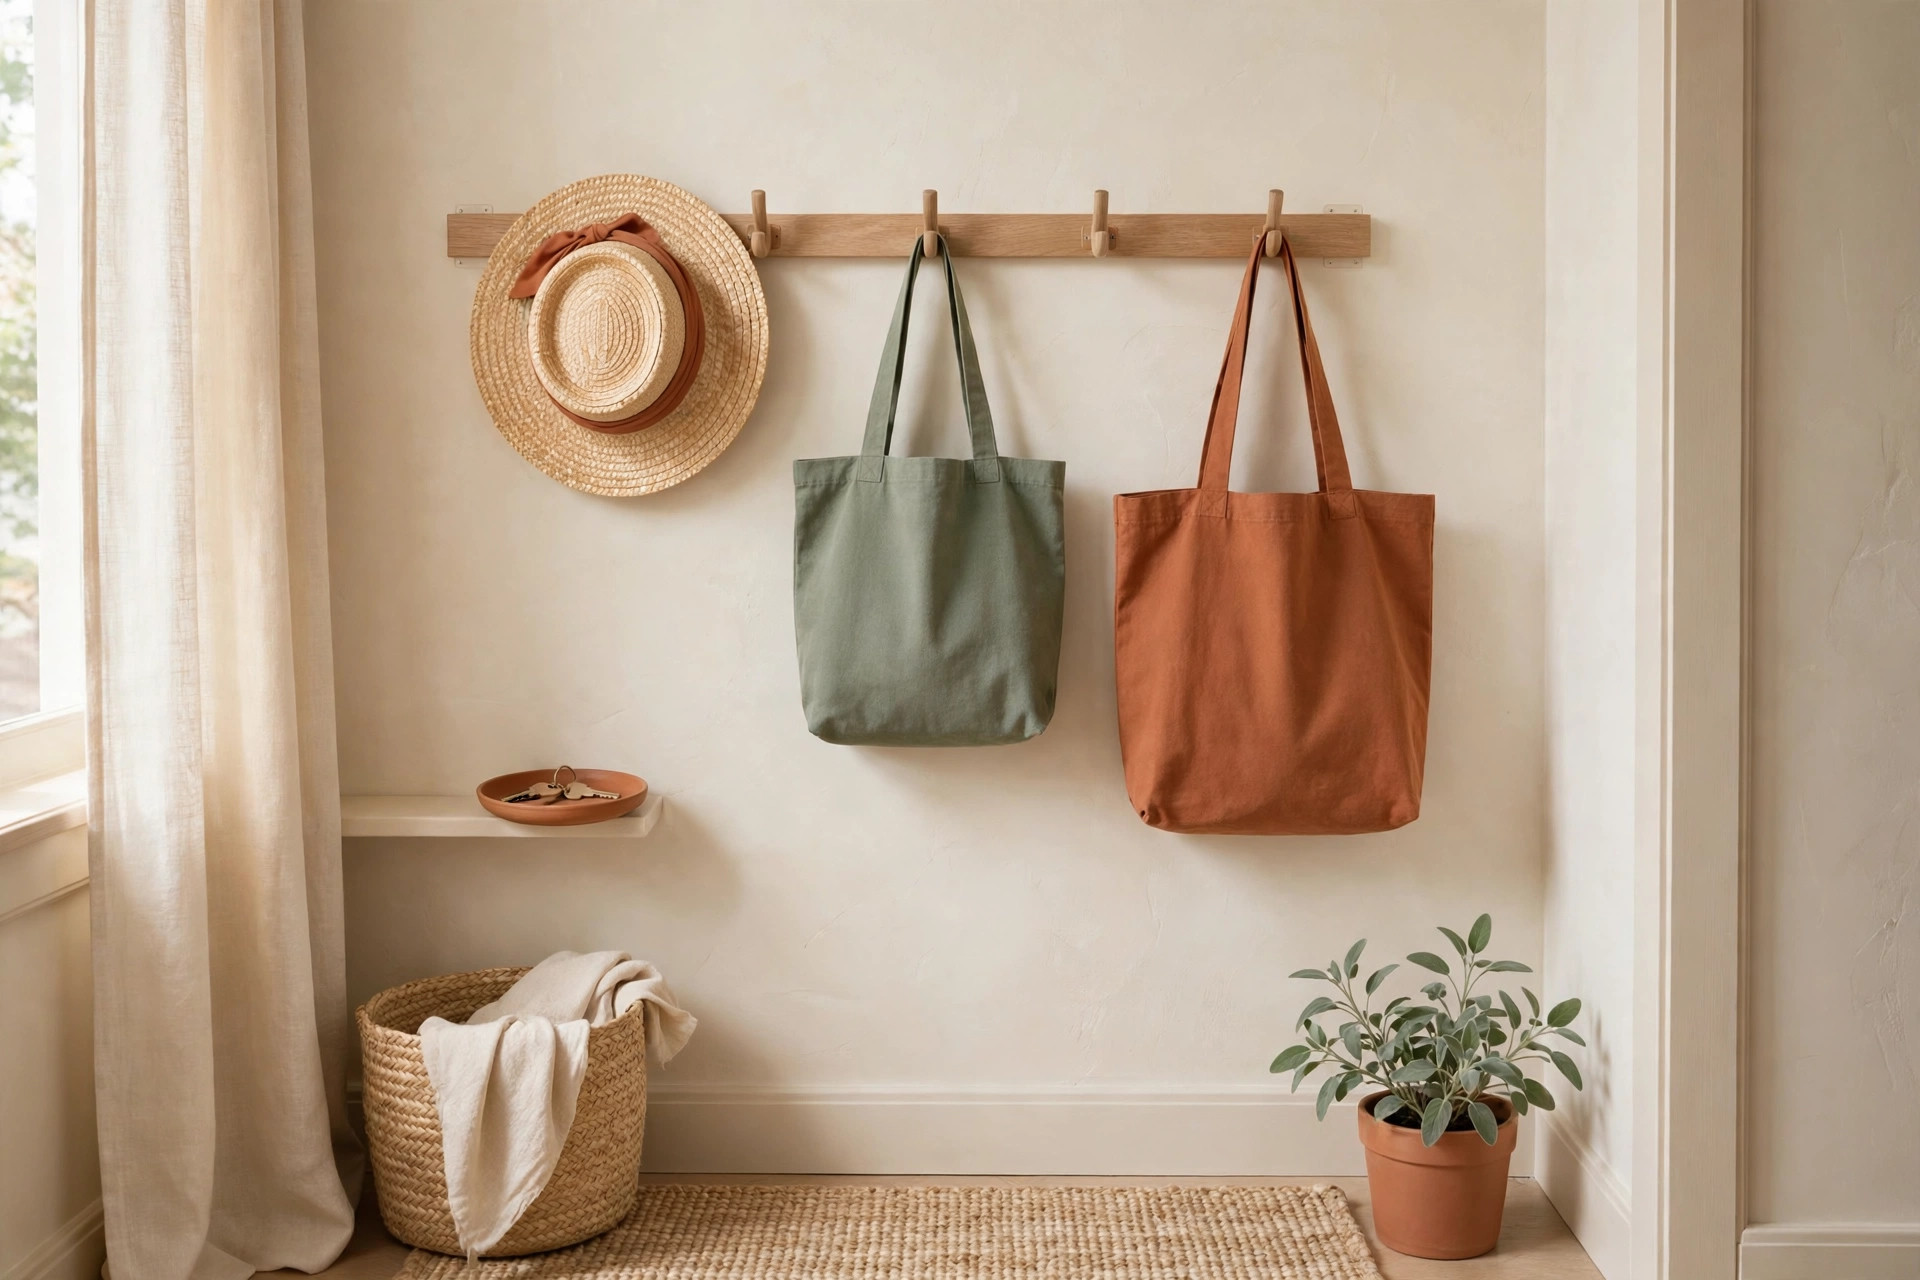
Walls are free real estate in a small apartment, and hooks are the cheapest way to use them. Adhesive hooks and rails leave no holes, cost $1–$5 each, and hold everything from keys to tote bags to measuring cups.
11. Put adhesive hooks inside cabinet doors and on blank wall ends
Stick large adhesive hooks (rated for 3–5 pounds) on the inside of cabinet doors for measuring cups, cleaning cloths, and lids, and on the narrow strip of wall at the end of a counter or hallway for keys, dog leashes, and reusable bags. The trick is placement: hooks on hidden surfaces do the work, while hooks in the middle of a visible wall look cluttered. Keep visible hooks to one neat row, not scattered singles.
12. Mount a rail with S-hooks in the kitchen or entryway
A 16-inch adhesive or screw-free rail with S-hooks, about $10–$15, holds mugs, utensils, scissors, and tote bags in a single vertical line. In the entryway it becomes a key and bag station; in the kitchen it frees a full drawer. Rails beat individual hooks because one rail looks deliberate, while ten separate hooks look improvised.
13. Hang a peg rail behind the bedroom or bathroom door
A small wooden peg rail — two or three pegs, about $8–$12 — mounted with adhesive strips behind a door holds tomorrow’s outfit, a robe, or a hand towel. It is invisible when the door is open and hardworking when it is closed. This is the same principle behind our 18 Under-Bed Storage Ideas That Turn Dead Space Into a Dresser: use the space nobody looks at first, and the visible rooms stay calm.
The thrift and dollar-store upgrade: what to buy, what to skip
Thrift stores and dollar stores are where budget organization either works brilliantly or falls apart. The difference is a list. Walk in without one and you leave with five cute things that fit nothing. Walk in with measurements and a plan and you leave with the same storage a home store sells for triple the price.
14. Thrift baskets and ceramic containers — skip thrifted plastic
Thrift stores are best for things that do not wear out: woven baskets, ceramic canisters, wooden crates, and metal bins. A $2 woven basket that would cost $15 new is a genuine find. Skip thrifted plastic bins — they are usually warped, stained, or missing lids, and a warped bin never looks good no matter how you style it. Check every basket for smell and sturdiness before you buy.
15. Buy dollar-store bins only with a plan — and only the workhorses
Dollar stores sell the same basic bins home stores sell, at $1.25 each, but only some of them are worth it. Buy simple rectangular bins, small drawer organizers, and adhesive hooks. Skip anything with a hinge, a clasp, or a moving part — cheap mechanisms break first. Our full shopping strategy lives in Dollar Tree Organization Hacks That Actually Look Good, including the room-by-room list of what to buy and what to walk past. Budget $15–$30 per room and you can outfit a whole zone in one trip.
Hiding the cheap: labels, liners, and the one splurge rule
Here is the truth about expensive-looking storage: it is not about price, it is about finish. A $3 bin with a clean label and a shelf liner looks more expensive than a $30 bin sitting on a stained shelf. The finishing touches cost almost nothing and do most of the visual work.
16. Label everything visible, and line every shelf
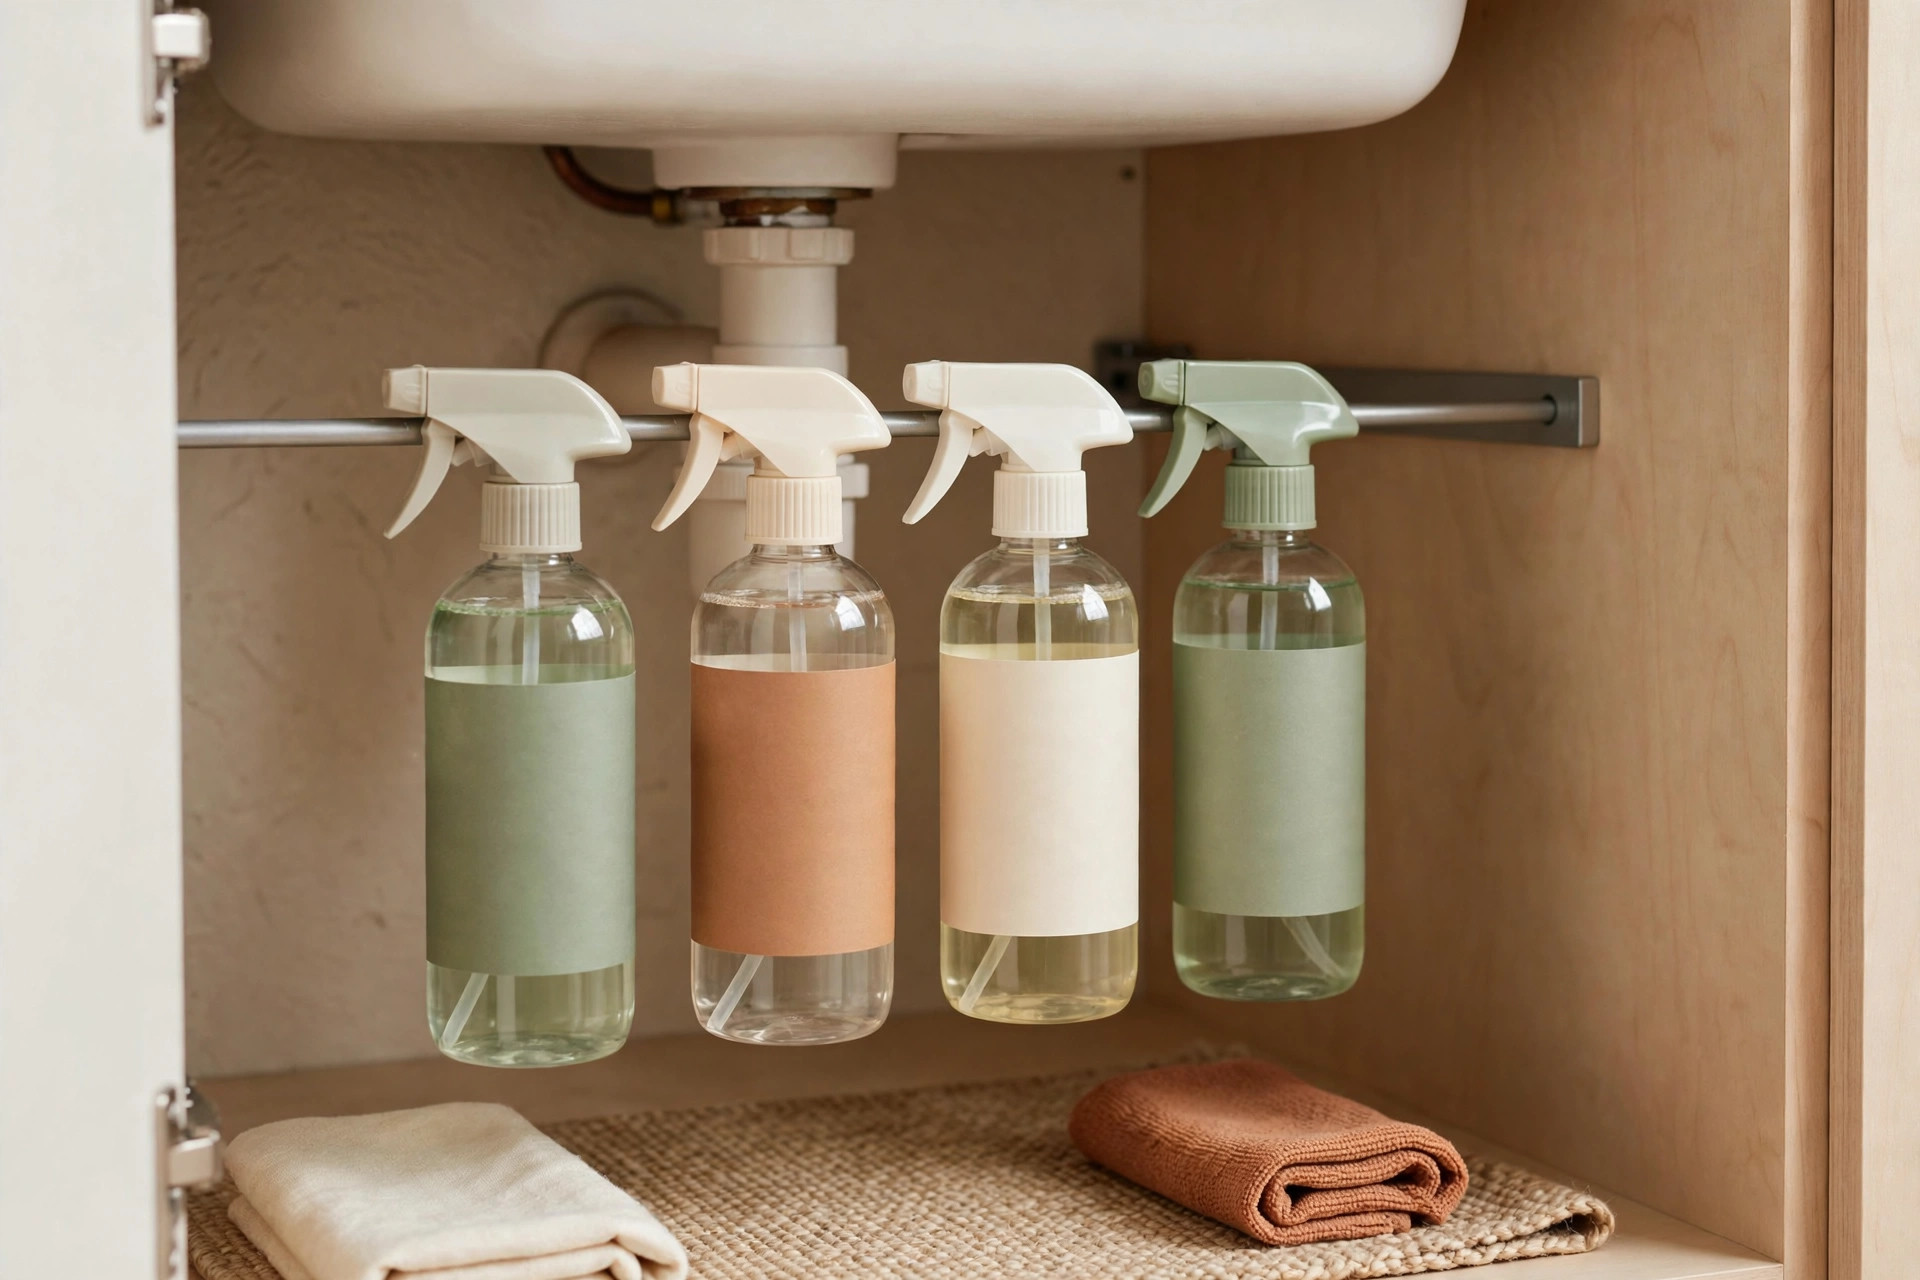
A $5 pack of chalk labels or a simple label maker turns a row of identical bins into a system that looks intentional. Label the front of every bin you can see, even if you know what is inside — the label is for the look as much as the function. Line shelves with $3–$5 adhesive shelf liner in a plain cream or white; it hides stains, stops bins from sliding, and makes the whole shelf read as finished rather than improvised.
17. Follow the one splurge rule: one expensive-looking piece per room
If you want one thing to cost more than $25, make it exactly one per room — a single beautiful basket on the top shelf, one solid wood tray on the entryway table, one quality fabric bin on the open shelf. The eye lands on the splurge and assumes the rest matches it. This is how budget apartment organization ideas stay under budget: the splurge is the exception that sells the whole room, not the start of a spending spiral.
Mistakes to avoid: what NOT to buy
- Oversized bins for small shelves. A bin that sticks out past the shelf edge looks wrong and blocks doors. Measure first, always.
- Clear bins for ugly contents. Clear bins only work when the contents are tidy. For cleaning supplies, cords, and hardware, use opaque bins so the mess disappears.
- Matching sets in five different rooms. One style per zone, not one style for the whole apartment — a bathroom bin does not belong on a living room shelf.
- Cheap suction hooks in the bathroom. Steam kills suction. Use adhesive hooks rated for humid rooms instead, or the hook will be on the floor within a week.
- Buying storage before decluttering. No bin fixes too much stuff. Remove what you do not use first, then buy containers for what remains.
- Wire shelves without liners. Small items fall through wire shelving. A $3 liner fixes it; without one, the shelf is decoration, not storage.
Frequently asked questions
How can I make cheap storage look expensive?
Match one bin style per zone, label everything visible, and line your shelves. Uniformity, labels, and clean shelf lines do more for the look than price ever will — a $3 matching bin beats a $30 random one every time.
What is the best storage for a small apartment on a tight budget?
Start with three things: matching stackable bins, a shelf riser, and adhesive hooks. Together they cost roughly $20–$25 per zone and cover the most common problems — hidden clutter, wasted vertical space, and nowhere to hang daily items.
Can I organize a small apartment without drilling holes?
Yes. Tension rods, adhesive hooks, over-door racks, and freestanding risers all work without a single hole, which is why they are the backbone of renter-friendly storage. Use adhesive products rated for the weight you plan to hang, and follow the surface instructions so they remove cleanly.
How much should I budget to organize a small apartment?
Plan on $15–$30 per zone — kitchen, bathroom, bedroom, entryway — which puts a whole apartment at roughly $60–$120 if you do it all at once. Doing one zone per week spreads the cost and lets you reuse what you learn from the first zone in the next one.
Where should I start organizing a small apartment?
Start with the zone that bothers you most every day, usually the entryway or the kitchen. A visible win in one zone builds momentum, and the system you build there becomes the template for every other room.
Conclusion
Expensive-looking storage is a system, not a price tag: measure first, match one style per zone, claim vertical space with risers and rods, and finish with labels and liners. These 17 small apartment storage ideas under $25 prove that a calm, organized apartment is a weekend project, not a shopping spree. Pick one zone, start with idea one, and work down the list. Save this pin for later, or browse more ideas in our storage ideas collection.