Look at the strip of dead space under your wall cabinets — the 4-to-8-inch band between the cabinet bottom and your head. In most kitchens it holds nothing but dust. That is the problem these under cabinet kitchen storage ideas solve: that strip is free real estate running the full length of your upper cabinets, right where you cook, pour, and prep. Hooks, rails, racks, and stick-on lights turn it into daily-use storage without touching a single drawer or shelf. All 15 are drill-free or renter-friendly and most cost under $20.
The hidden strip: why under-cabinet space stays empty
The strip stays empty because it falls in a blind spot: not a shelf you open, not a counter you clear — just the cabinet underside. But a 36-inch wall cabinet has a bottom face roughly 36 by 12 inches: 3 square feet of free mountable surface. Pair these ideas with a tidy interior using these small kitchen cabinet organization ideas and the whole upper run works twice as hard.
1. Measure your strip before buying anything
Measure each cabinet bottom: width, depth from the front edge to the wall, and clearance to the counter (usually 16 to 20 inches). Note obstacles — a light fixture, a microwave mount, a recessed bottom panel. A 24-inch rail looks silly under a 30-inch cabinet once a 6-inch light eats one end. Five minutes of measuring prevents organizers that collide the day they arrive.
2. Claim one “golden zone” near your most-used station
Pick the cabinet closest to where you stand most — over the coffee maker, the stove, or the main prep counter. That cabinet gets the daily-touch items: mugs, the spatula, the two spices you grab every night. It sits at eye level in arm’s reach, so whatever hangs here gets used constantly.
Hook rails for mugs, utensils, and daily tools
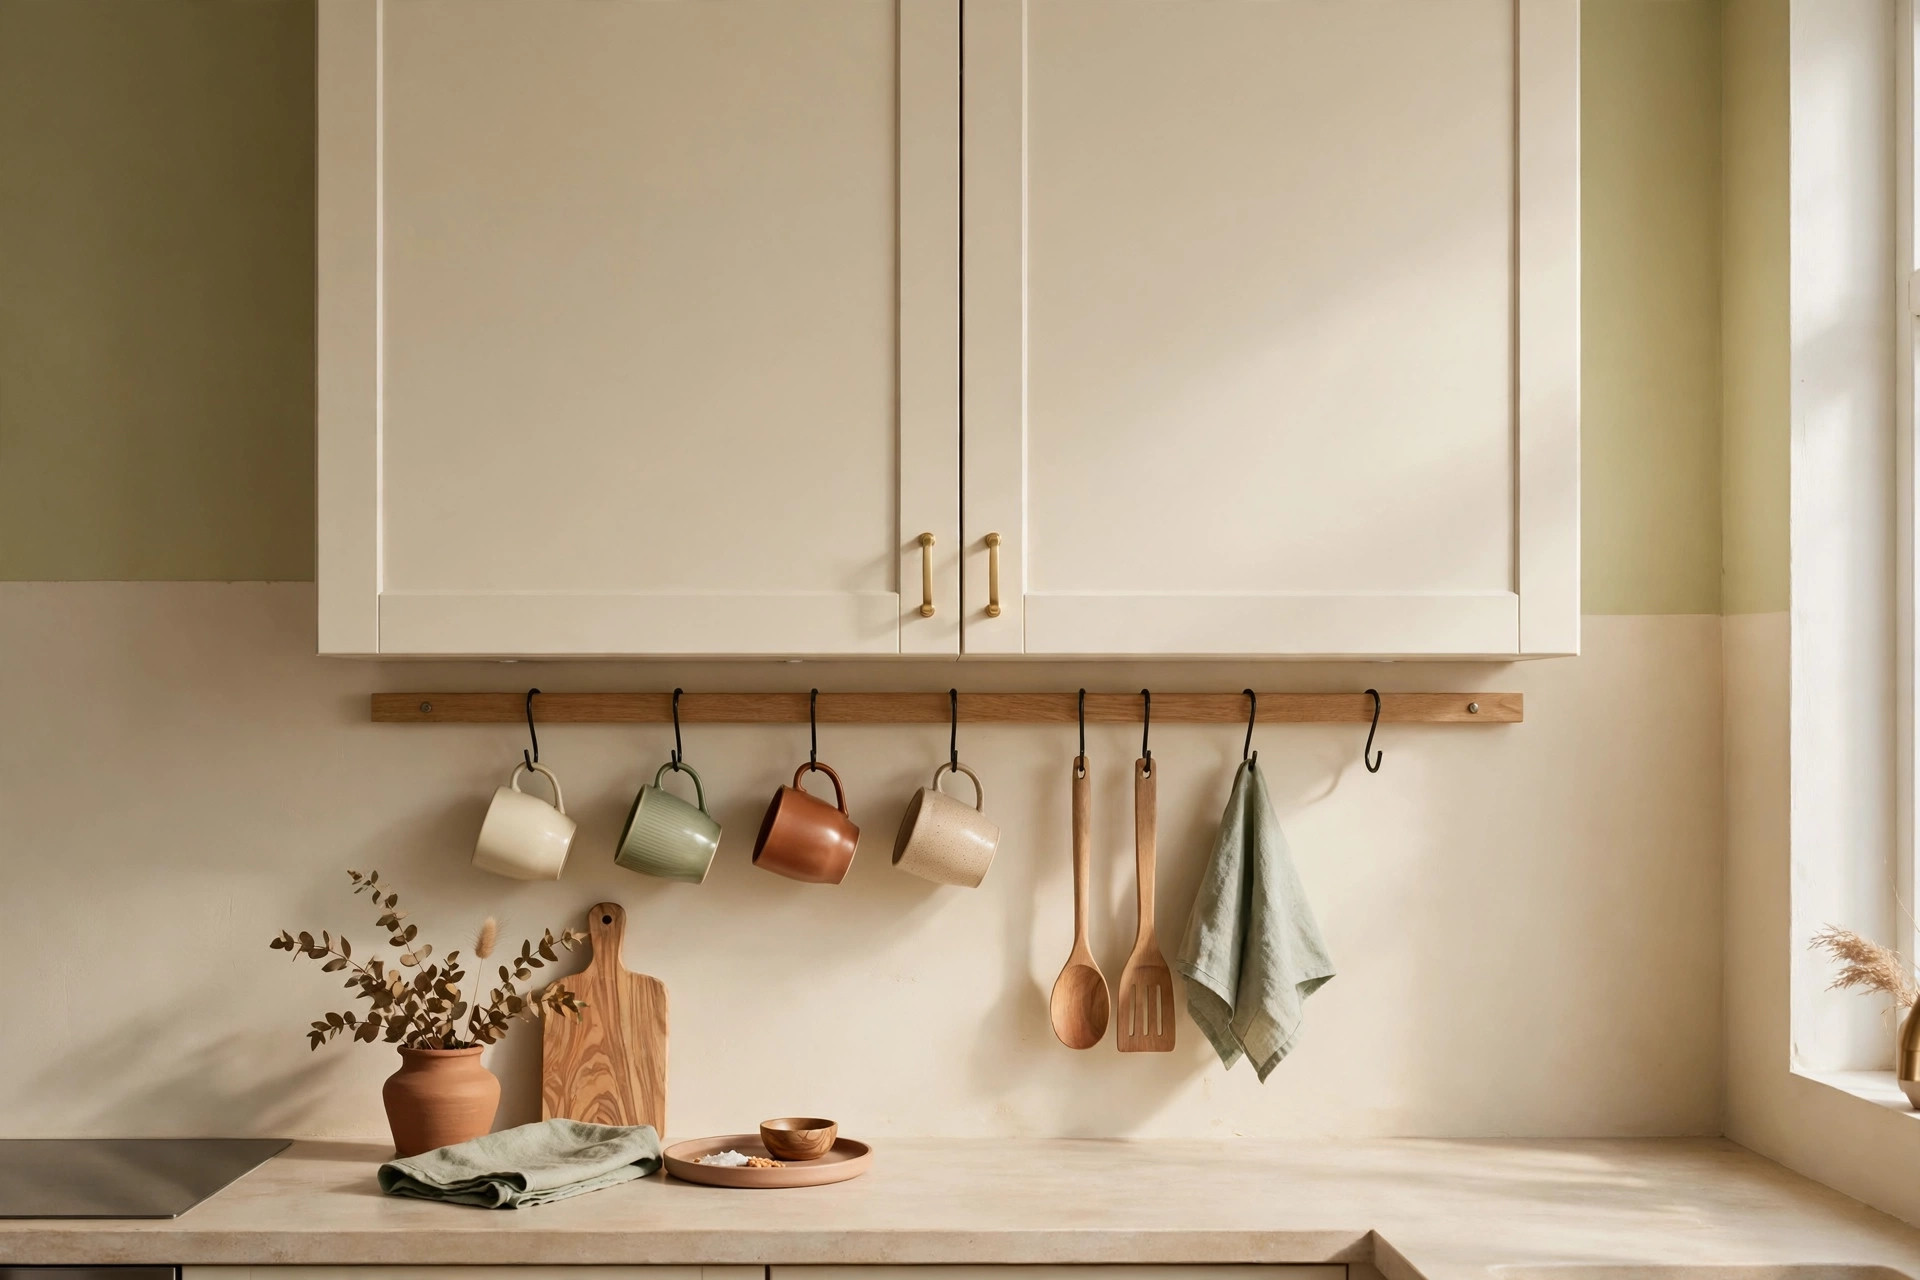
Hooks are the highest-impact under-cabinet move per dollar. A simple rail with sliding S-hooks holds mugs, utensils, and oven mitts — off the counter, fully visible. This pairs well with a kitchen wall storage plan: walls hold the big tools while the under-cabinet rail serves the station below it.
3. Mount an S-hook rail for mugs under the coffee cabinet
A 12-to-16-inch rail mounted flush to the cabinet bottom, loaded with 5 or 6 closed-top S-hooks, parks your daily mugs over the coffee maker. Hang mugs by the handle with 2 inches between hooks so cups do not clink. If the cabinet bottom is recessed, add a spacer block so hooks hang below the front lip.
4. Hang a utensil rail with sliding hooks near the stove
Mount an 18-inch rail for the four tools you touch every cook session: spatula, tongs, ladle, whisk. Set it back 2 inches from the front edge so long handles clear your forehead when you lean in. Heat rule: only stainless tools within the first 12 inches of the heat path above the burners — nothing plastic or wooden there.
5. Add a magnetic knife bar to the cabinet underside
A 10-to-12-inch magnetic bar holds 4 to 6 knives blades-up, out of drawers and away from little hands. It must be rated for knife weight — cheap refrigerator magnets will drop a chef’s knife onto the counter. Mount it toward the back half of the strip so handles clear your knuckles while you work.
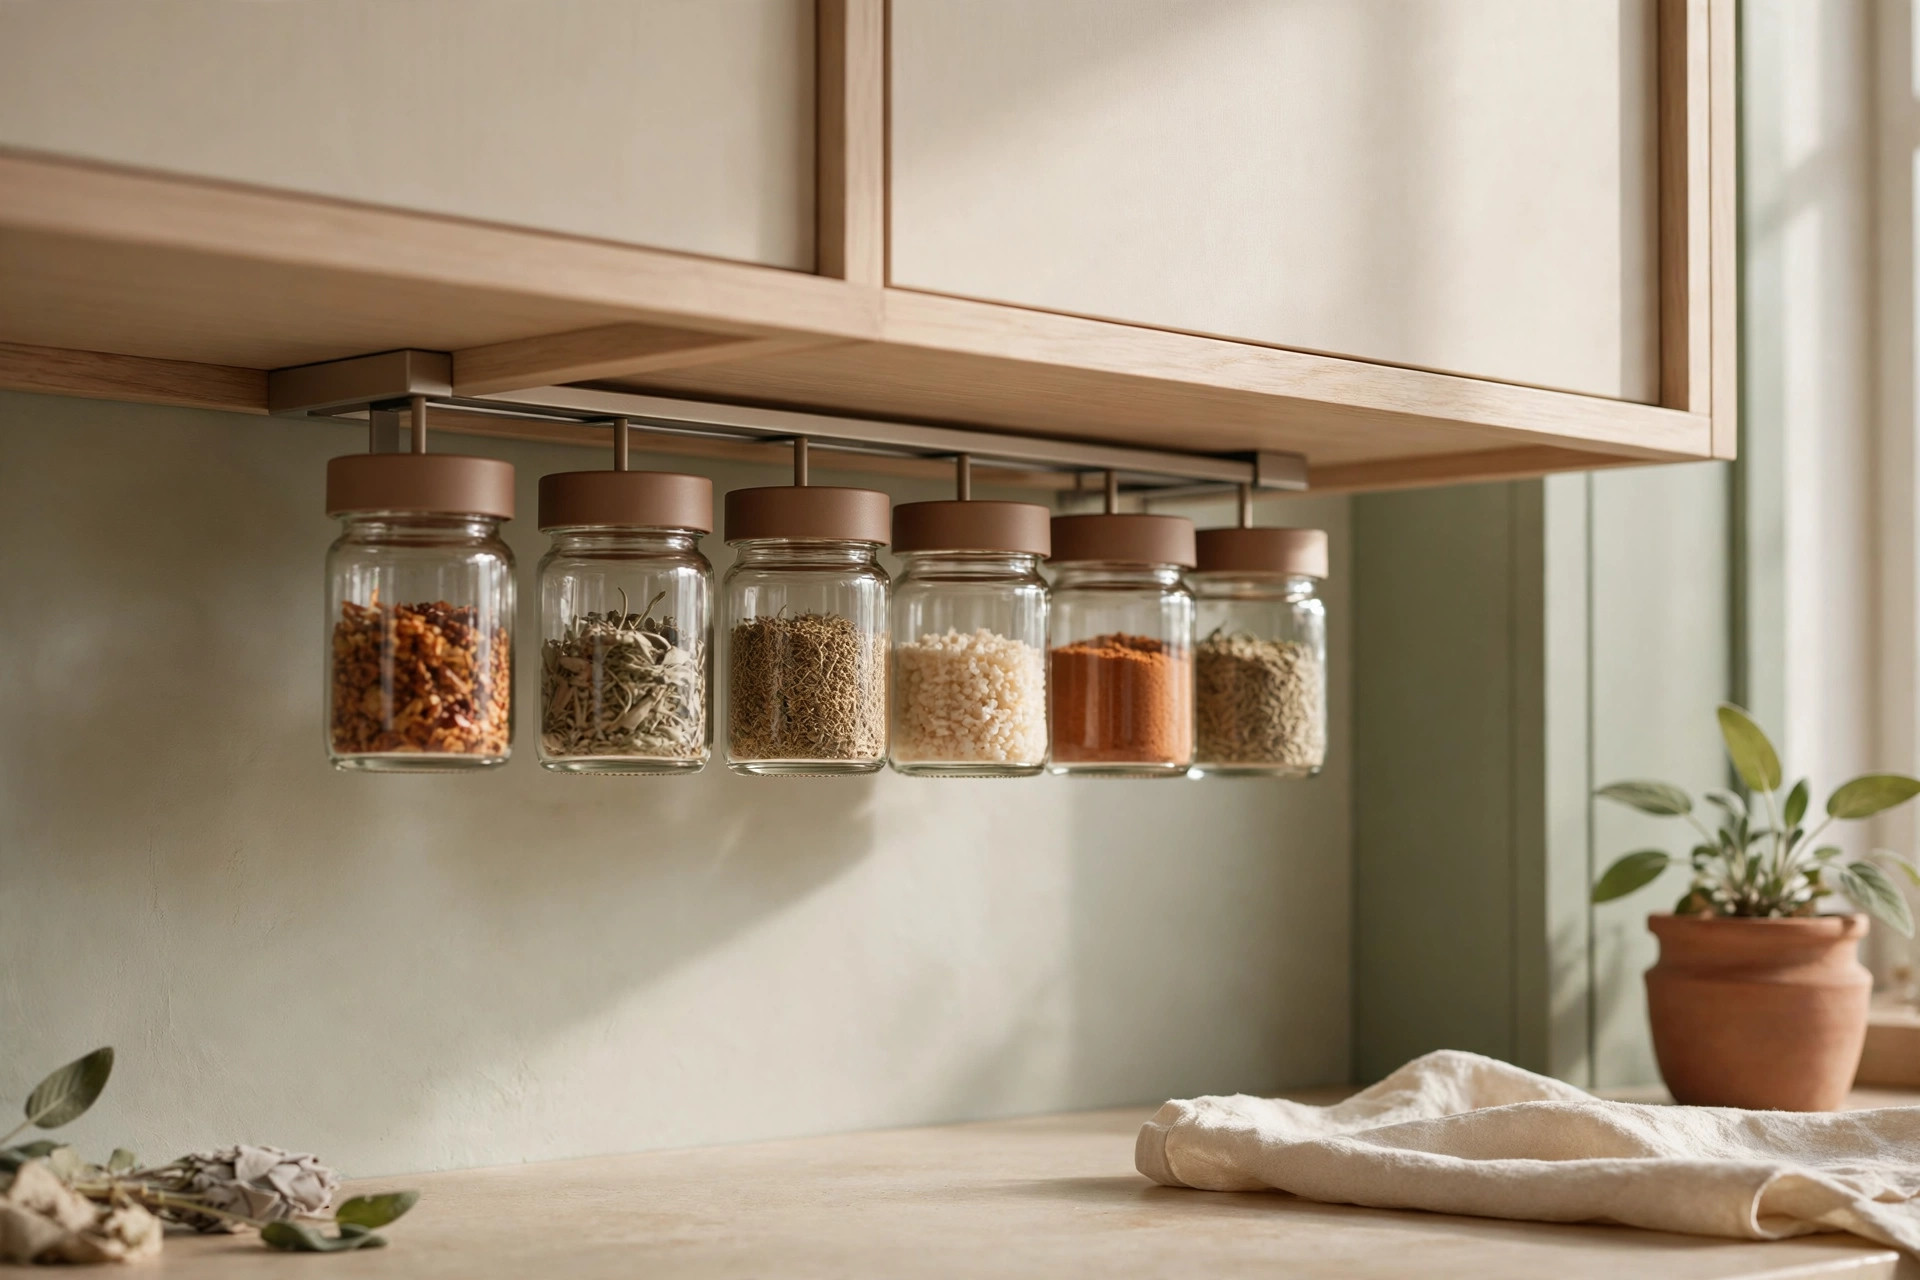
Under-cabinet spice and jar racks
Spices are the classic cabinet black hole: twenty jars, one deep shelf, nothing findable. Under-cabinet racks move the collection to eye level — sorted, visible, one grab from the stove. A standard strip holds 12 to 20 jars in a single row, roughly what a full cabinet shelf holds.
6. Install clip-on spice racks in a single row
Two 12-inch clip-on racks hold about 12 standard 4-ounce spice jars. Mount them with openings facing you so labels read at a glance — jars stored label-down are jars you will never use. Keep the rack near the stove but not over the burner line; steam and heat degrade ground spices fast.
7. Add a single-row jar rail for tall pantry staples
A slim rail with spring clips holds tall, narrow staples — tea boxes, broth cartons, the olive oil bottle — upright over the prep counter. Measure your tallest item first: most strips clear 8 to 10 inches, but a 12-inch bottle will not fit under a cabinet with a recessed light panel. One row deep only.
Drop-down shelves and fold-away racks
When the strip alone is not enough, drop-down hardware adds a second tier that folds flat when you are done. Pricier than hooks, but it effectively doubles the cabinet’s working capacity.
8. Add a drop-down shelf for the tablet or recipe book
A folding shelf, roughly 12 by 10 inches, swings down to hold a tablet or cookbook at eye level, then folds flat when dinner is done — returning the counter to zero. Mount it under the prep-zone cabinet, not over the stove: steam fogs screens and warps paper. Rated load is usually 5 to 8 pounds.
9. Hang a fold-away drying rack under the sink-side cabinet
A collapsible wire rack folds flat against the cabinet bottom and drops down to hold 4 to 6 dishes — the small-kitchen answer to a dish drainer eating half the counter. Get one with a drip lip so water runs to the front edge, not down your cabinet face. If the sink-side strip is claimed, see these under-sink kitchen organization ideas for pipe-aware storage below.
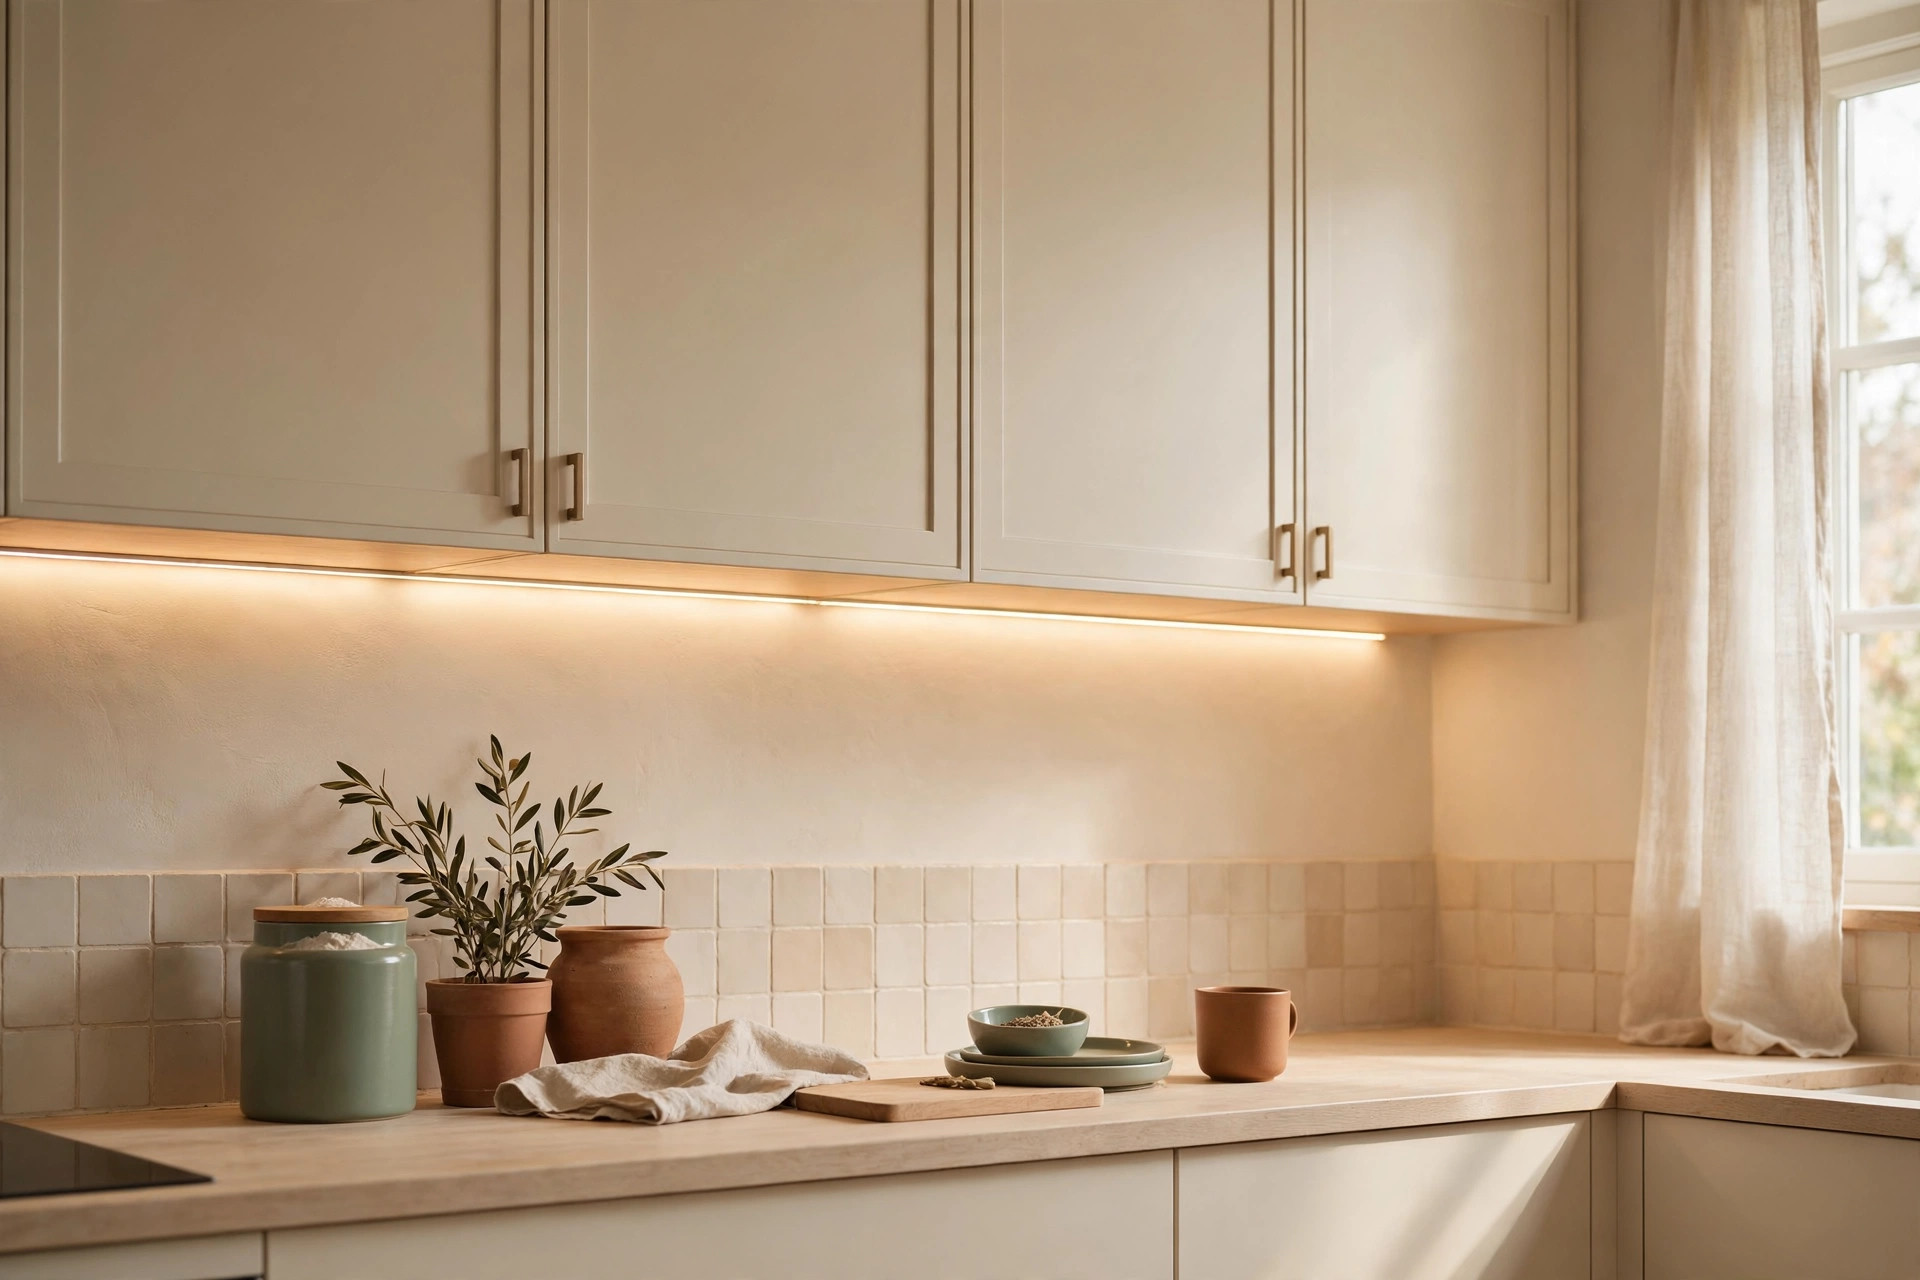
Stick-on lighting that makes the zone usable
Storage you cannot see is storage you will not use. The strip sits in the cabinet’s own shadow, so anything hung there needs light. Stick-on lighting is cheap, renter-safe, and turns the zone from a dark band into a display shelf.
10. Run battery puck lights or an LED strip under each working cabinet
Three battery puck lights per 30-inch cabinet, spaced 8 inches apart and set 2 inches back from the front edge, light the strip without glare. Or run one rechargeable motion-sensing LED strip the full width — it only burns when your hands are under it, stretching a charge to 4 to 6 weeks. Choose warm white (2700–3000K).
Paper towel, wrap, and foil holders under the cabinet
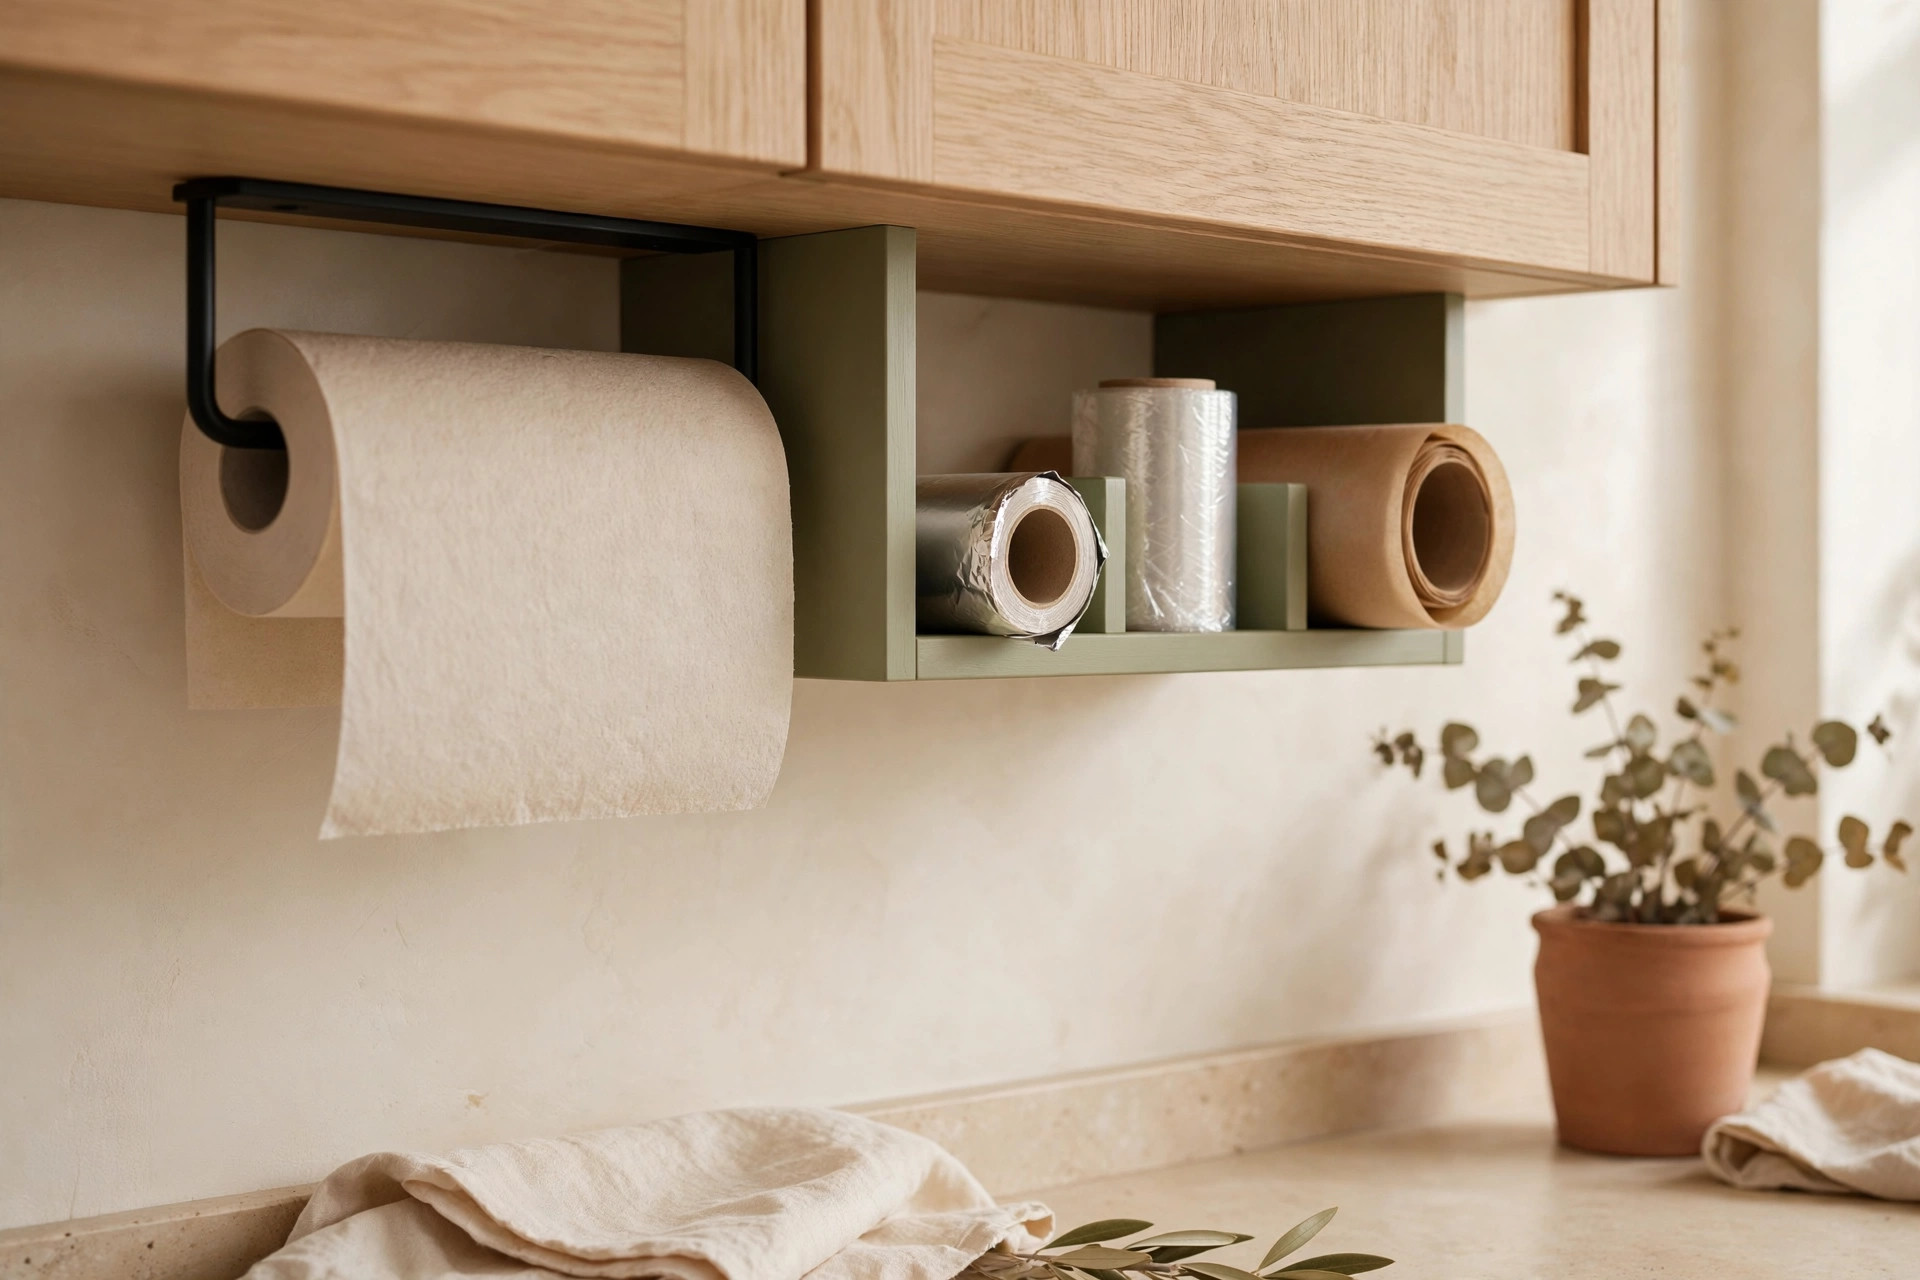
The paper towel roll is the squatter of small kitchens: it lives on the counter because it has nowhere else to go, and it falls over at the worst moment. The cabinet underside is its natural home, and wrap and foil rolls follow the same logic.
11. Mount an under-cabinet paper towel holder near the sink
A spring-loaded holder mounted 3 inches back from the front edge keeps the roll within reach of the sink and off the counter. Measure the roll first: jumbo rolls are 6 inches in diameter and will not clear a short strip — buy the standard 5-inch roll or mount on a spacer. Mount it under the cabinet over the sink, not three cabinets away.
12. Hang wrap and foil rolls on a slim under-cabinet dispenser
A slim wire dispenser holding one cling-wrap box and one foil box, mounted horizontally under the prep-zone cabinet, ends the drawer where boxes jam. Keep the cutter edge facing down and away from where kids reach. Note: a dispenser adds 4 inches of permanent depth, so skip it under the golden-zone cabinet if that strip already carries mugs and a utensil rail.
Renter-safe mounting: adhesive strength, rated and removed cleanly
Everything above works without drilling — but only if the mounting is honest about weight. Renter-safe does not mean weightless; it means the right adhesive, rated for the load, removed with heat instead of a putty knife.
13. Use high-strength adhesive strips, rated at half their label
Heavy-duty removable adhesive strips (rated 7 to 16 pounds per set) hold rails, racks, and light pucks on painted cabinet bottoms. Clean the surface with rubbing alcohol, press and hold 30 seconds, and wait an hour — ideally overnight — before loading. Rate every mount at half its sticker rating; heat and steam weaken the bond.
14. Use clamp-on and tension rails for zero-residue options
If the lease is strict or the cabinet bottom is unfinished wood, clamp-on rails grip the front lip and tension rods span between two cabinet faces — no adhesive at all, nothing to remove later. Clamp rails need a flat front lip at least half an inch deep; tension rods need two facing surfaces 20 to 36 inches apart and suit light loads (towels, wrap rolls).
Keeping it uncluttered: the one-row rule
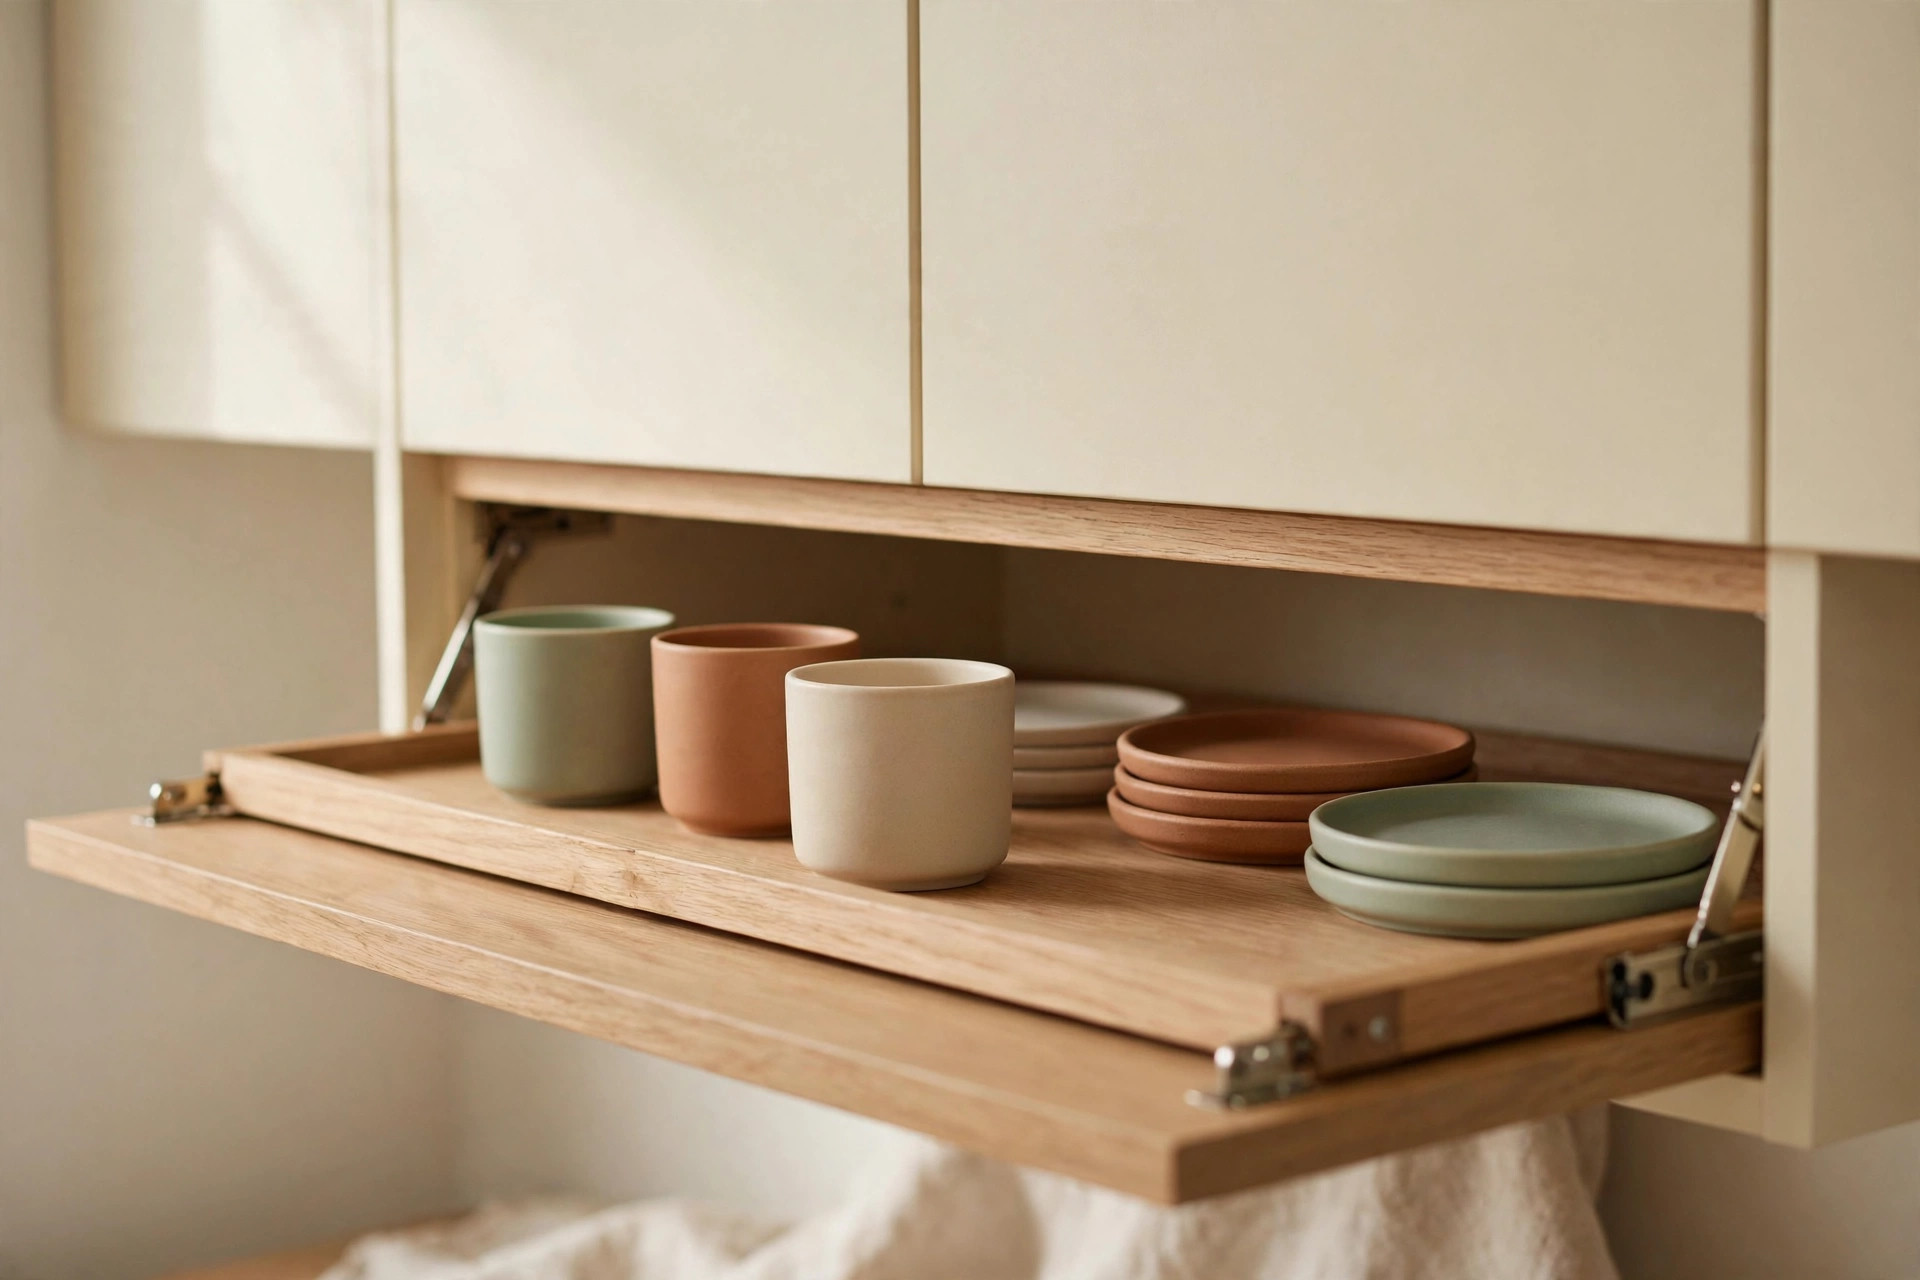
Under-cabinet storage fails the same way every time: the strip fills up, then a second layer starts behind the first, and suddenly you have a dusty back row you cannot see or reach. The fix is a rule, not more hardware.
15. Enforce the one-row rule: nothing behind, nothing stacked
Every under-cabinet organizer holds exactly one row deep, nothing stacked on top. If an item does not fit the front row, it goes back inside the cabinet, into a drawer, or out of the kitchen. Audit monthly: pull everything down, wipe the cabinet bottom (grease film builds fast over a stove), and put back only what earned its row.
What NOT to buy: under-cabinet mistakes to avoid
Not every under-cabinet product earns its keep. Skip these:
- Deep baskets (over 6 inches). They jut past the cabinet front, collect grease, and block the light.
- Over-the-door hangers forced onto cabinet bottoms. Sized for doors, not 12-inch cabinet faces — they slide, tilt, and dump.
- Cheap suction-cup hooks. Steam and temperature swings kill suction in weeks.
- Wine glass racks in a low-clearance kitchen. Glasses need 9 to 10 inches of drop; in an 8-inch strip they hang at forehead height.
- Anything that needs drilling in a rental. A no-drill version exists for nearly every under-cabinet organizer.
Frequently asked questions
Can you hang things under kitchen cabinets without drilling?
Yes. Heavy-duty removable adhesive strips hold rails, racks, and lights on painted cabinet bottoms, and clamp-on rails grip the front lip with zero adhesive. Clean the surface with rubbing alcohol, wait an hour before loading, and rate every mount at half its label rating.
How much weight can under-cabinet adhesive hooks hold?
Half of what the package claims. A hook rated for 5 pounds reliably holds about 2.5 pounds once heat and steam work on the bond — fine for mugs (about half a pound each) and utensils, not fine for a cast-iron skillet.
What is the best under-cabinet organizer for a small kitchen?
Start with an S-hook rail and puck lights: the rail handles mugs and tools (ideas 3–5) and the lights make everything findable (idea 10). Together they cost under $30. Add spice racks (idea 6) and a paper towel holder (idea 11) next, one cabinet at a time.
Will adhesive damage cabinet paint when removed?
Not if you remove it correctly: warm the strip with a hair dryer for 30–60 seconds, then stretch it slowly parallel to the surface. Pulling straight off is what tears paint. On unfinished wood or old flaking paint, use clamp-on rails instead.
Your strip is bigger than you think
That dead band under your wall cabinets is three square feet of storage per cabinet that costs nothing to claim. Start with the golden zone — one hook rail, one set of lights — and let the rest fill in one cabinet at a time. For the next zone to conquer, browse the kitchen category for more small-kitchen storage that works with what you already own.